

This post may contain affiliate links. If you buy through links on this page, we may earn a commission at no extra cost to you.
As an Amazon Associate I earn from qualifying purchases.
A compost pile does not die in winter. It slows down, sometimes to a near stop, and it waits for warmth to come back. That is normal, and it is not a reason to give up on the pile. With a bit of insulation, the right mix of materials, and a lighter touch on turning, a pile can keep working through the cold months, or at least hold its place until spring. We keep our pile going all winter, and the compost we pull out in April is worth the small amount of care it takes in January.
Winter composting is mostly about heat. The microbes that break down kitchen scraps and leaves work fastest when the center of the pile stays warm, and they go quiet when it drops near freezing. Our job in winter is to hold onto whatever heat the pile makes, feed it in a way that keeps the microbes going, and stop expecting summer speed. A pile that finishes in two months in July may need four to six months over winter, and that slower pace is fine as long as the pile is still alive inside.
Why a compost pile slows down in winter
Cold air pulls heat out of a pile from the outside in. A small pile loses heat fast because it has a lot of surface for its size, and a wet pile loses heat faster still because water carries warmth away. Wind strips heat from an uncovered pile, and a frozen crust on top seals the pile off from air. All of that adds up to a pile that looks dead from the outside while the center may still be warm and active.
The signs of a working winter pile are easy to read. Steam rising on a cold morning means the center is warm. A pile that sinks a few inches after a week of mild weather means material is still breaking down. A pile that stays exactly the same shape for a month, with a frozen crust and no steam at all, has gone quiet, and it needs insulation and a fresh layer of greens before it will wake up again.
Build the pile big before the cold arrives
Size is the simplest form of winter insulation. A pile that measures at least 3 feet on each side holds heat far better than a small heap, because the warm center is farther from the cold air. If the pile is smaller than that in late autumn, we add material until it reaches that size, using fall leaves, straw, and finished compost from an older pile to build it up.
A 3-by-3-foot pile holds about 27 cubic feet of material. That sounds like a lot, and it is, but a pile that size can keep its center above freezing through most mild frosts. A pile half that size will freeze through in the first hard cold snap. When we build up a small pile in autumn, we add dry leaves and straw in layers, watering each layer lightly so the pile is damp like a wrung-out sponge, not soaked.
For more on starting from scratch, see our guide to how to make compost at home, which covers the basic mix and the first build.
Insulate the pile with straw and leaves
Once the pile is built, we cover it. A thick blanket of straw, dry leaves, or shredded cardboard over the top and sides holds heat in and keeps rain and snow from soaking the pile. We aim for 6 to 8 inches of cover, tucked in around the edges so wind cannot lift it. A dark tarp over the straw adds a windbreak and sheds rain, and we weigh the tarp down with bricks or logs so it stays put through winter storms.
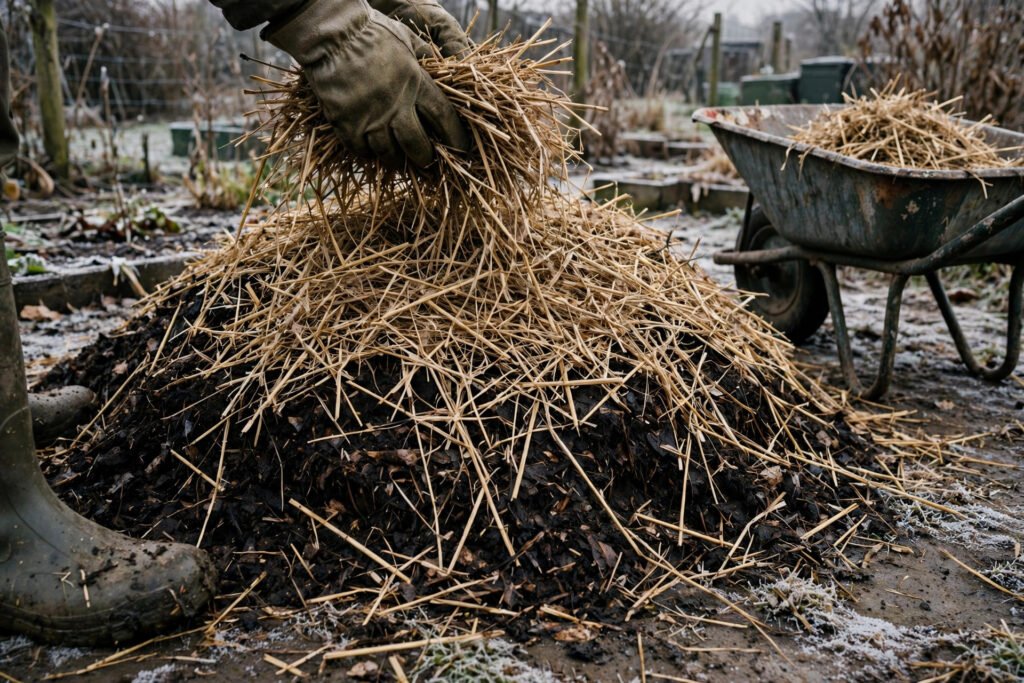
The cover does two jobs at once. It keeps the center warm, and it keeps the pile from getting soaked. A soaked pile goes cold and starts to smell, because water pushes air out and the microbes that need oxygen go quiet. A pile under a tarp and a straw blanket stays damp but not wet, which is the state we want all winter.
A worked example for a 3-by-3-foot winter pile
Here is the winter routine we use for a 3-by-3-foot pile, with the numbers stated so you can scale them to your own pile. Assume the pile starts the winter about 3 feet high, with a mix of fall leaves, garden waste, and kitchen scraps, and assume daytime highs near freezing with a few hard frosts each week.
Insulation: 6 to 8 inches of straw or dry leaves over the top and sides. A 3-by-3-foot pile needs roughly 4 to 5 cubic feet of straw to cover it that thick, which is about one small square bale, fluffed up and spread by hand. Tuck the straw in around the base so wind cannot get under it, then lay a tarp over the top and weigh the edges down.
Feeding: one 5-gallon bucket of kitchen scraps per week, buried in the center of the pile, with two buckets of dry leaves or shredded cardboard on top of each bucket of scraps. The dry material soaks up moisture from the scraps and keeps the pile from turning slimy. Burying the scraps in the center, where it is warmest, keeps them breaking down and keeps animals from digging at the pile.
Turning: once a month at most, on the mildest day of the month, and only the outer layers into the center. Each turn lets heat escape, so we turn less in winter than in summer. If the pile steams when we open it, the microbes are still at work and we close it up again fast.
Expected pace: material added in November is usually ready to use in April or May, which is four to six months instead of the eight to twelve weeks a summer pile needs. That range is an honest estimate, not a promise. A mild winter shortens it, and a long freeze stretches it.
Feeding the pile in winter
Winter is the season when most gardens produce more greens than browns. Kitchen scraps keep coming every day, but the garden stops giving us dry leaves and straw. That imbalance is what makes winter piles go slimy and sour, so we plan for it in autumn by stocking up on browns. We keep two or three bags of dry leaves and a bale of straw near the pile before the first frost, and we shred cardboard boxes as they come in.
The mix that works for us is about two parts brown to one part green by volume in winter, which is more brown than the summer mix. The extra brown soaks up the liquid from kitchen scraps and keeps air moving through the pile. When a pile starts to smell, the fix is almost always more browns and a forkful of air, not less food. For a small-space setup, our guide to composting in a small backyard covers bin choices that hold heat well.
We keep adding kitchen scraps all winter, even when the pile looks frozen. Scraps buried in the warm center keep breaking down, and scraps left near the frozen surface just wait until a thaw. The one thing we avoid is piling scraps on top of the pile in a wet heap, where they freeze into a solid mat and attract animals. Every bucket of scraps goes into a hole in the center, then gets covered with dry leaves.
Turning and watering in cold weather
Turning a winter pile is a tradeoff. Turning adds air, which the microbes need, but it also lets heat out, which the microbes need more. We turn once a month at most, and only on a mild day. We move the cold outer layers into the warm center and put the warm center material on the outside, then cover the pile again right away. A full turn on a freezing day can set the pile back by weeks.
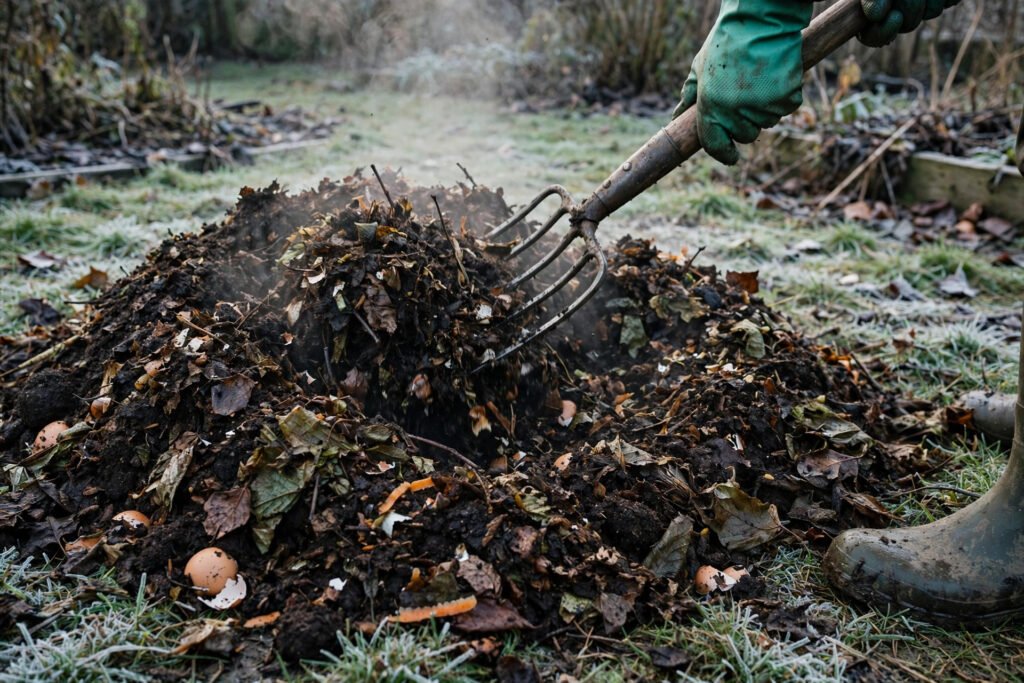
Water is a winter judgment call. A pile that is too dry will not break down at all, and a pile that is too wet will go cold and sour. In most winters, rain and snow keep the pile damp enough, and we add no water at all. If the pile feels dry when we open it on a mild day, we sprinkle a watering can over the center and cover it again. A compost thermometer takes the guesswork out of this, and a compost thermometer is a cheap tool that tells us whether the center is warm enough to keep feeding.
When the pile freezes solid, we leave it alone. Chipping at a frozen pile breaks the structure and lets in more cold air, and the microbes are dormant anyway. We keep adding scraps to a hole in the top, cover the hole with straw, and wait for a thaw. The pile will wake up on its own when the center warms again.
What to do with kitchen scraps when the pile is frozen
A frozen pile still takes kitchen scraps, as long as we put them in the right place. We keep a lidded bucket by the back door for scraps, and once a week we carry it to the pile, open a hole in the straw cover, and tip the scraps into the center. The scraps freeze in place, then break down when the pile thaws. This is the same habit we use for stored crops, and our guide to storing potatoes after harvest covers the same cool, dry storage thinking.
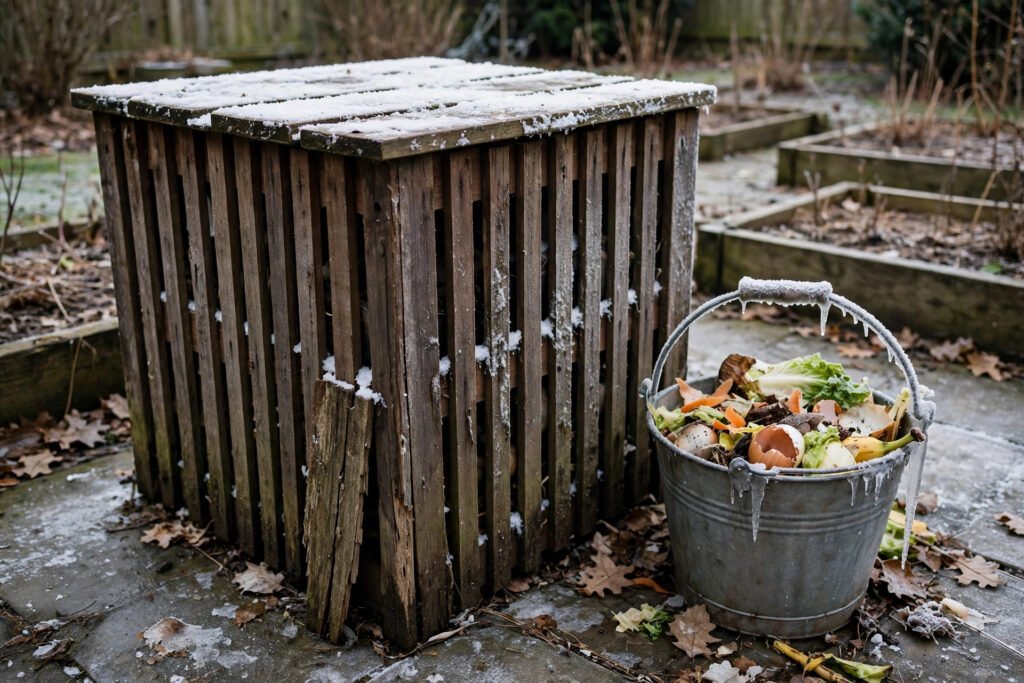
If the pile is small and the ground is frozen hard, a tumbler or a lidded bin can be easier to manage than an open heap, because the bin holds heat and keeps animals out. The tradeoff is size: most tumblers are too small to hold heat through a hard freeze, so they work best as a holding spot for scraps that get moved to the main pile in spring. Either way, the rule is the same. Keep scraps covered, keep them out of reach of animals, and keep the pile damp but not wet.
Meat, dairy, and oily food stay out of the pile all year, and winter is no exception. Those materials break down slowly in the cold, and they draw rats and raccoons when the rest of the garden is bare. Vegetable peelings, coffee grounds, eggshells, and plain bread are the winter staples, and they break down fine once the pile warms up.
When to leave the pile alone
Some winter days are for leaving the pile alone. When the temperature stays below freezing for a week, the pile is dormant, and opening it only lets cold air in. We check the pile by lifting a corner of the tarp and feeling the straw, not by digging into the center. If the straw is damp and the pile smells earthy, everything is fine. If the straw is soaked, we add dry leaves. If the pile smells sour, we add browns and wait.
The payoff comes in spring. A pile that was fed and covered all winter wakes up fast when the weather warms, and the material at the bottom is often ready to use by the time we plant. We screen the finished compost through a half-inch mesh, spread it on the beds, and start the pile again with fresh leaves and straw. Our guide to making leaf mold covers what to do with the extra autumn leaves that did not go into the pile.
Troubleshooting a winter pile
The pile is frozen solid
Leave it alone and keep adding scraps to a hole in the top. The pile will thaw from the center out when the weather warms, and the frozen material will break down then. Building the pile bigger and covering it thicker next autumn is the fix for the following year.
The pile smells sour or like ammonia
A sour smell means too much wet green material and not enough air. Add two or three forkfuls of dry leaves or shredded cardboard, mix the top layer lightly, and leave the tarp off for a dry day so the pile can breathe. An ammonia smell means too much nitrogen, and the fix is the same: more browns, less fresh green material for a few weeks.
Animals are digging in the pile
Animals dig when food sits near the surface. Bury every bucket of scraps in the center, cover it with dry leaves, and weigh the tarp down so animals cannot pull it aside. A bin with a latching lid solves the problem for small piles, and a layer of wire mesh under the pile keeps out burrowers.
Nothing seems to be happening
A pile that never steams and never shrinks may be too dry, too small, or short on greens. Check the moisture first: squeeze a handful, and it should feel damp like a wrung-out sponge. If it is dry, add water on a mild day. If it is damp but still quiet, add a bucket of fresh kitchen scraps and a forkful of finished compost to bring in active microbes, then cover the pile and give it two weeks.
Sources & further reading
Composting guidance from Cornell University, including the Cornell Waste Management Institute composting pages, covers the heat, moisture, and carbon-to-nitrogen balance behind the routine above. University of Minnesota Extension and Iowa State University Extension both publish home composting guides with winter advice for cold climates, and the US Department of Agriculture offers home composting basics for backyard piles. Use your local frost dates and regional planting guidance — not your USDA hardiness zone alone — to choose planting dates.