
This post may contain affiliate links. If you buy through links on this page, we may earn a commission at no extra cost to you.
As an Amazon Associate I earn from qualifying purchases.
You don’t need acreage to make compost. A corner of a small backyard — even a space no bigger than a trash can — can turn kitchen scraps and fall leaves into dark, crumbly garden gold. In fact, small-space composting has real advantages: the pile is easier to manage, materials are always within arm’s reach, and you’ll actually use the finished product because the garden is right there.
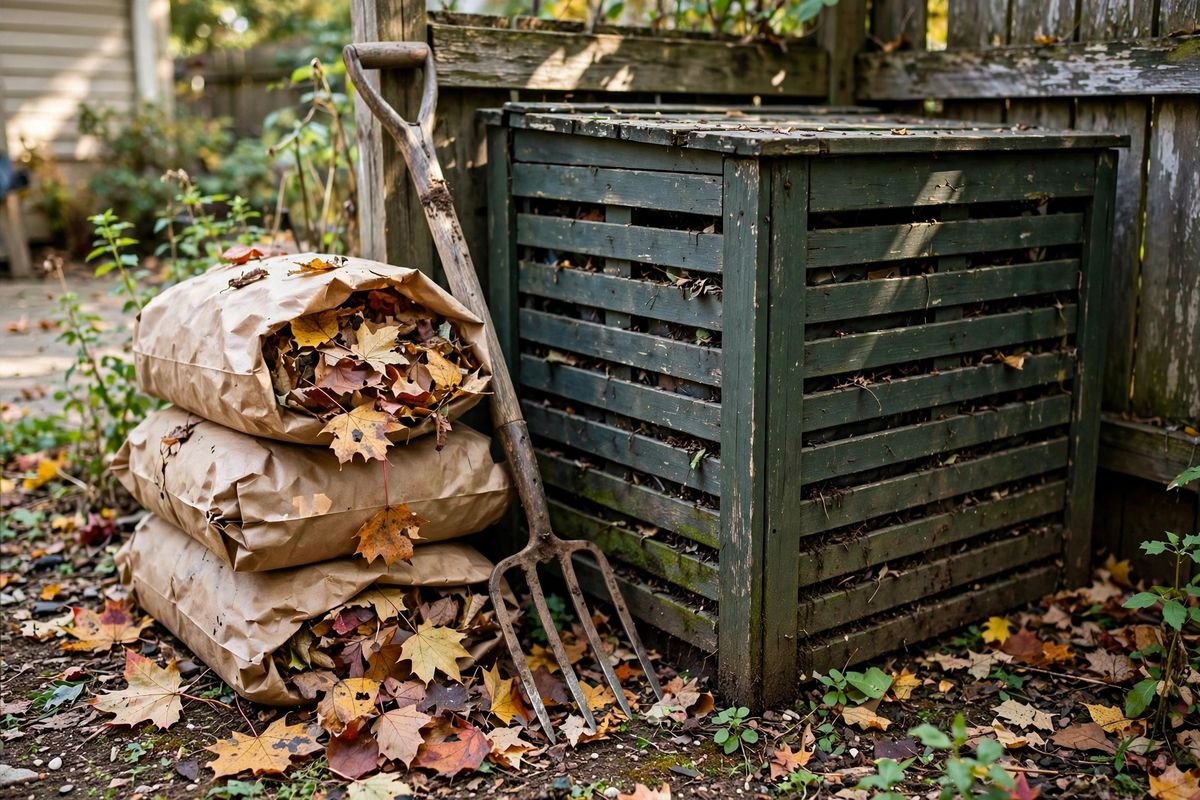
Fall is the perfect time to start. Leaves are falling (free “browns” by the bagful), the garden is winding down, and a pile started now will be well on its way by spring planting. This guide covers choosing a compact setup, the simple greens-and-browns formula, and a low-effort routine that works in tight spaces.
| Space needed | As little as 3×3 feet |
|---|---|
| Best beginner setup | Enclosed bin or tumbler |
| The ratio | About 3 parts browns to 1 part greens by volume |
| Time to finished compost | 2–4 months active, 6–12 months hands-off |
| Fall advantage | Free leaves = unlimited browns |
Step 1: Pick a Compact Setup
For a small backyard, enclosed systems beat open piles — they’re tidier, faster, and far less likely to draw complaints (or rodents). Good options:
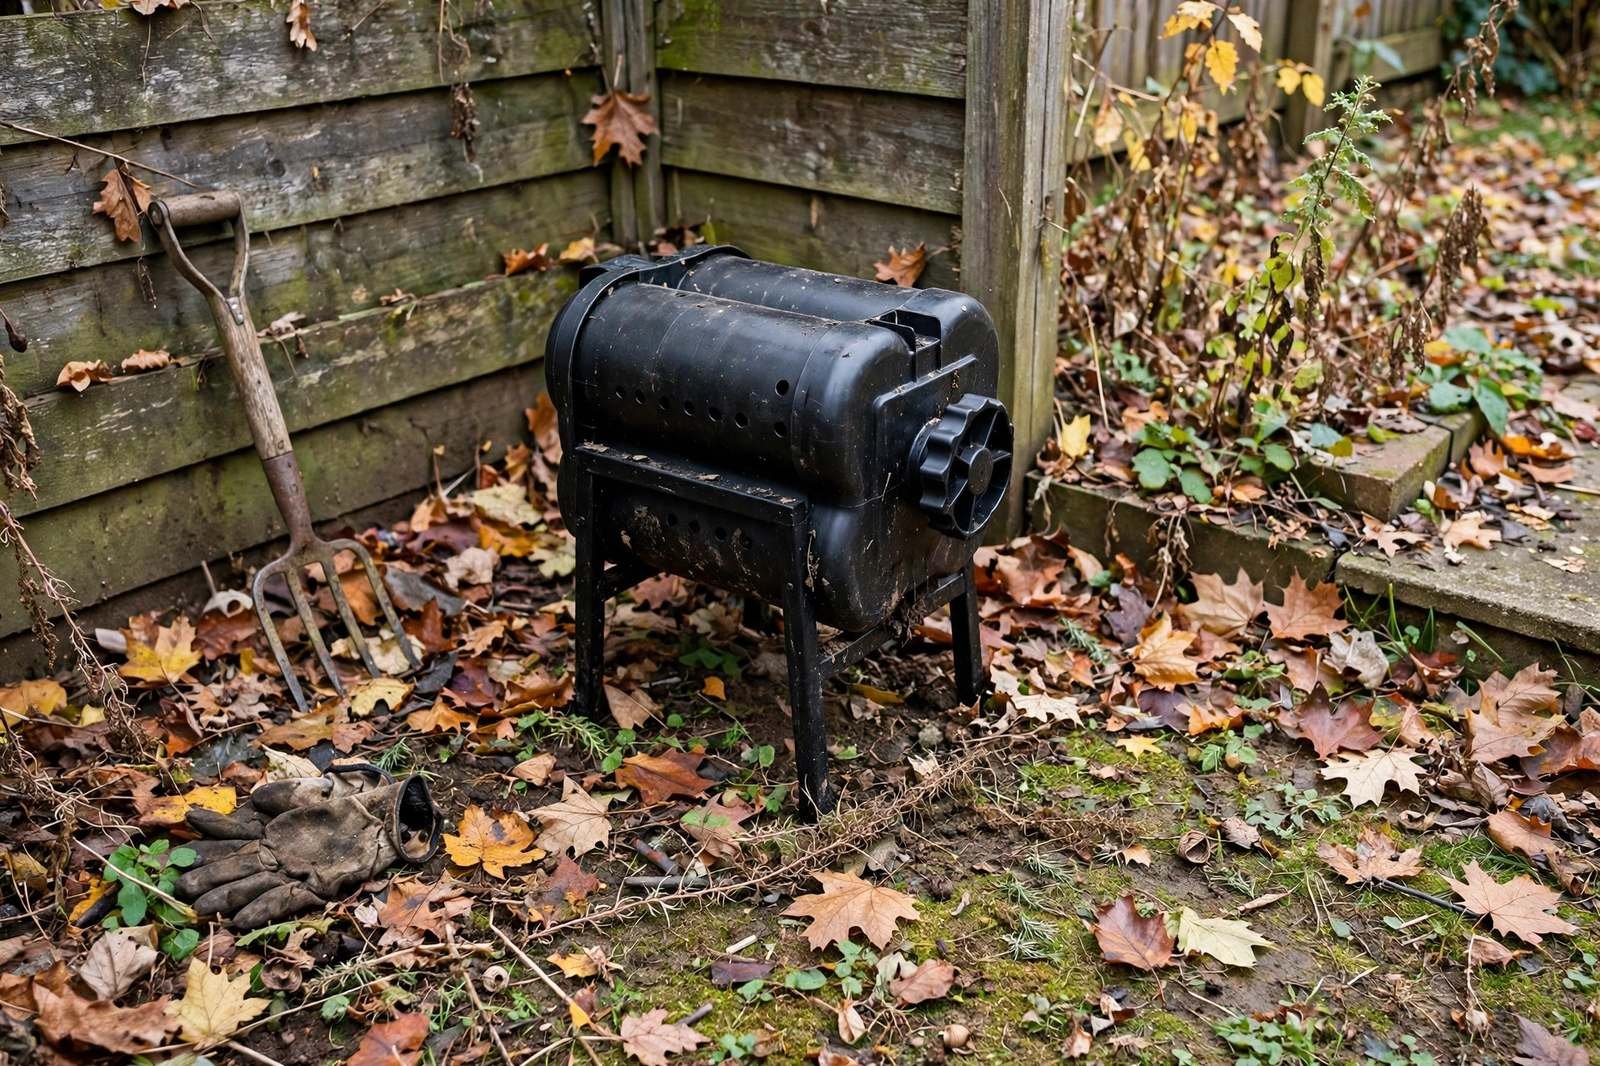
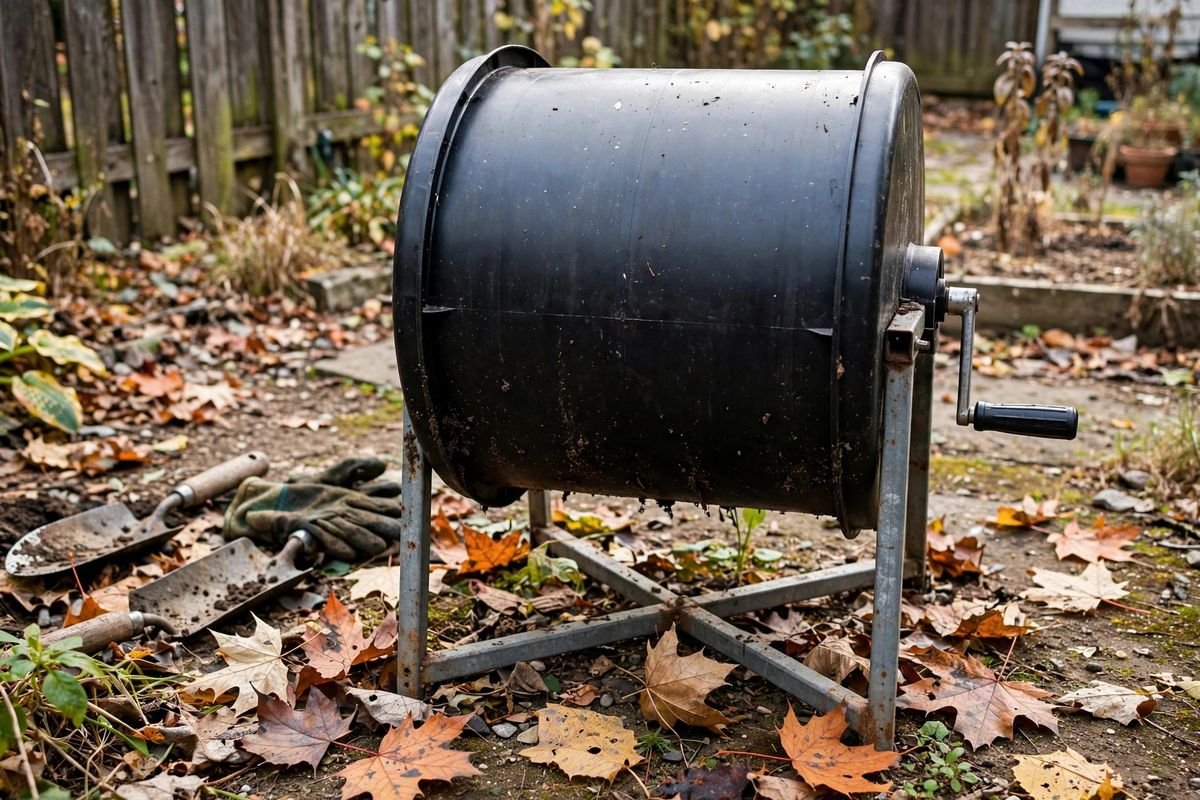
- Compost tumbler. A sealed drum on a stand that you spin to aerate. Compact footprint, no turning with a fork, keeps pests out completely. The easiest truly hands-off option for small yards. A compost tumbler is our top pick for beginners with limited space.
- Stationary enclosed bin. Square plastic bins with a lid and a harvest door at the bottom. Cheap, discreet, and you just keep layering on top.
- DIY pallet or wire bin. Three pallets screwed into a U-shape cost almost nothing and work well — best if you have a back corner where looks don’t matter.
- Worm bin (vermicomposting). For the truly space-starved, a worm bin fits on a patio or in a garage and produces exceptional compost. Different system, same principle.
Whatever you choose, site it on bare soil if possible (worms and microbes migrate up into the pile), in a spot that’s convenient to the kitchen — because a bin you’ll actually walk to gets fed, and a bin across a dark yard in January doesn’t.
Step 2: Learn the Greens and Browns Formula
All composting is one equation: nitrogen-rich “greens” + carbon-rich “browns” + air + water = compost. Greens are moist and fresh; browns are dry and woody:
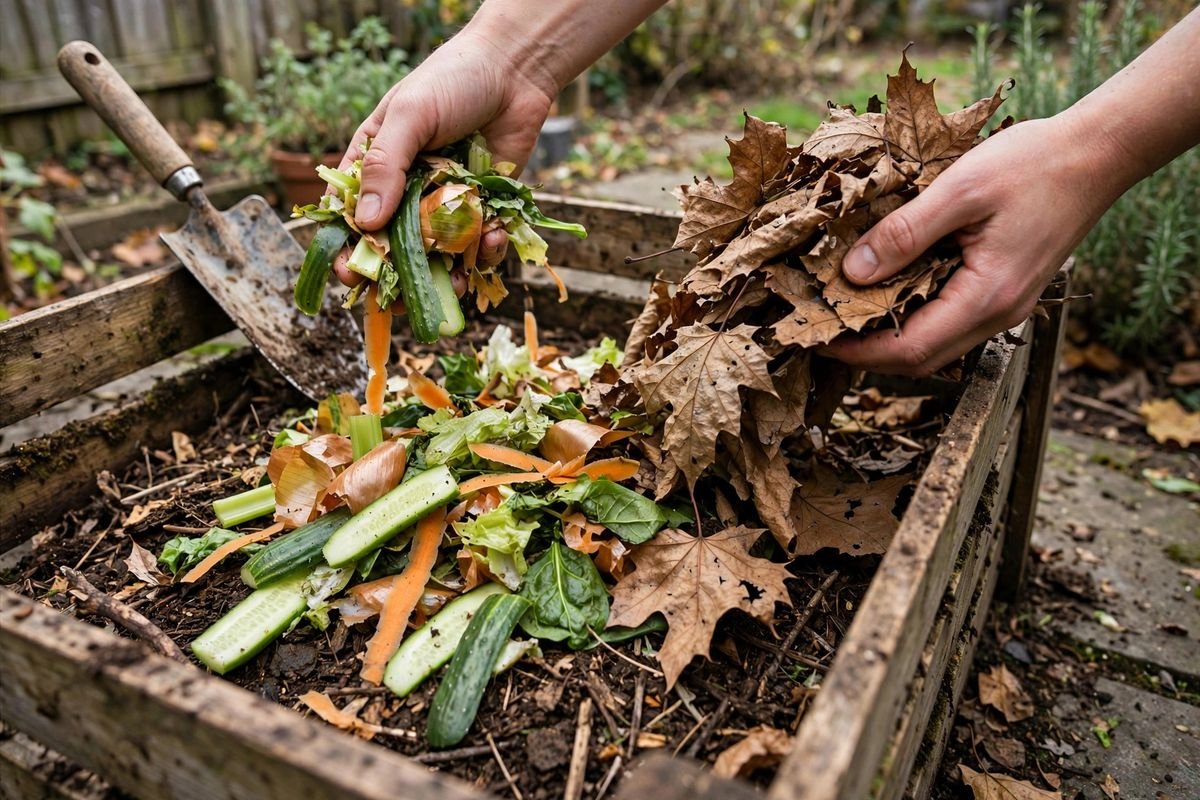
- Greens: vegetable scraps, fruit peels, coffee grounds, tea bags, fresh grass clippings, eggshells.
- Browns: dry fall leaves, shredded cardboard, newspaper, straw, wood chips, paper towel rolls.
Aim for roughly 3 parts browns to 1 part greens by volume. Beginners almost always add too many greens (soggy, smelly pile) — when in doubt, add more browns. Fall makes this easy: bag extra leaves now and stash them near the bin as your year-round brown supply. Our detailed yes/no reference is what can and cannot go in a compost bin.
Step 3: Build the Pile Right
Start with a 4–6 inch layer of coarse browns (sticks, straw) for airflow at the base. Then alternate: a layer of greens, a thicker layer of browns, repeat. Chop or shred big items — smaller pieces decompose dramatically faster. Water each layer lightly as you build; the pile should feel like a wrung-out sponge throughout.
For a deeper dive into the full process, how to make compost at home covers the complete beginner method this guide builds on.
Step 4: The Low-Effort Maintenance Routine
A small pile needs less work than the books suggest. The minimum effective routine:
- Feed it regularly. Add kitchen scraps a few times a week, always burying greens under browns to prevent odors and flies.
- Turn it occasionally. Every 1–2 weeks, fork the pile over or spin the tumbler. Turning adds oxygen, which is what keeps decomposition aerobic and sweet-smelling. A compost aerator tool makes this a two-minute job in a stationary bin.
- Keep it damp. In dry spells, water the pile. In wet seasons, a lid or tarp keeps it from getting soggy.
That’s genuinely it. Compost wants to happen — your job is mostly to not get in the way.
What Size Setup Matches Your Household?
Right-sizing prevents the two classic failures: a bin that overflows by November or a giant system that never fills enough to heat up. As a rough guide, a one-to-two-person household doing casual composting does well with a single 30–40 gallon tumbler or a 3×3-foot bin. A family that cooks most meals at home and has a yard full of leaves will fill that by fall — plan for a two-bin system so one batch can finish while you start the next. When in doubt, start with one enclosed bin; you can always add a second. An overflowing bin gets neglected, while a bin with room to spare gets fed.
Step 5: Know What “Done” Looks Like
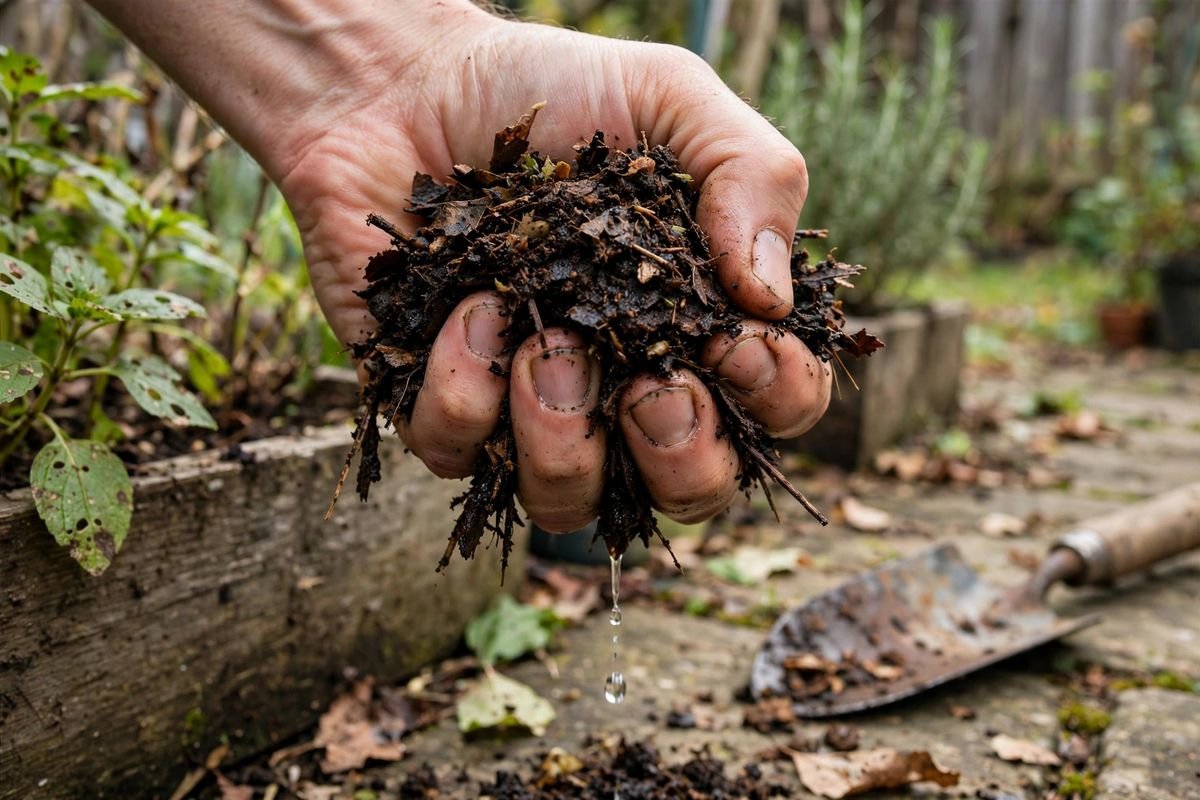
Finished compost is dark brown or black, crumbly, and smells like forest soil. You shouldn’t be able to identify the original ingredients (a few woody bits are fine — screen them out and toss them back in). Depending on your effort level, expect 2–4 months for an actively managed pile or 6–12 months for a hands-off one. Full details in how to tell when compost is finished.
Troubleshooting for Small Spaces
- Smells bad: too many greens or too wet. Add browns, turn it, and bury fresh scraps deeper. A healthy pile smells earthy, never rotten.
- Not heating up: usually too small, too dry, or too many browns. See why compost won’t heat up for the full diagnosis.
- Fruit flies: exposed scraps on top. Always cover fresh additions with browns.
- Rodents: almost always means meat, dairy, or oils went in — or an open pile. Switch to a sealed tumbler and review the no-no list.
- Neighbors: an enclosed bin, no odor, and no visible mess keeps everyone happy. When in doubt, the tidier the setup, the fewer conversations.
FAQ
How much space do I really need?
A 3×3-foot footprint handles a household’s composting. Tumblers need even less ground space. If you have room for a trash can, you have room to compost.
Will it smell and bother neighbors?
A properly balanced pile smells like soil, not garbage. Odor means something’s off — usually excess greens or moisture — and it’s fixable in a day with browns and turning.
Can I compost in winter?
Yes, though decomposition slows in the cold. Keep feeding the bin; it will pick back up in spring. In freezing climates, an enclosed bin keeps things tidier through winter.
Sources & Further Reading
- Cornell Waste Management Institute — composting science and home composting guidance (compost.css.cornell.edu)
- University of Minnesota Extension — backyard composting publications
- USDA Natural Resources Conservation Service — soil health and compost resources
- Oregon State University Extension — composting in small spaces guidance
More composting posts to explore:
- How to Make Compost at Home: A Beginner’s Guide
- What Can and Cannot Go in a Compost Bin?
- Fall Garden Cleanup: 12 Things to Do Before Winter
Bag those fall leaves, pick a bin, and start this weekend — your spring garden will thank you with interest. What’s going in your first layer?