
This post may contain affiliate links. If you buy through links on this page, we may earn a commission at no extra cost to you.
As an Amazon Associate I earn from qualifying purchases.
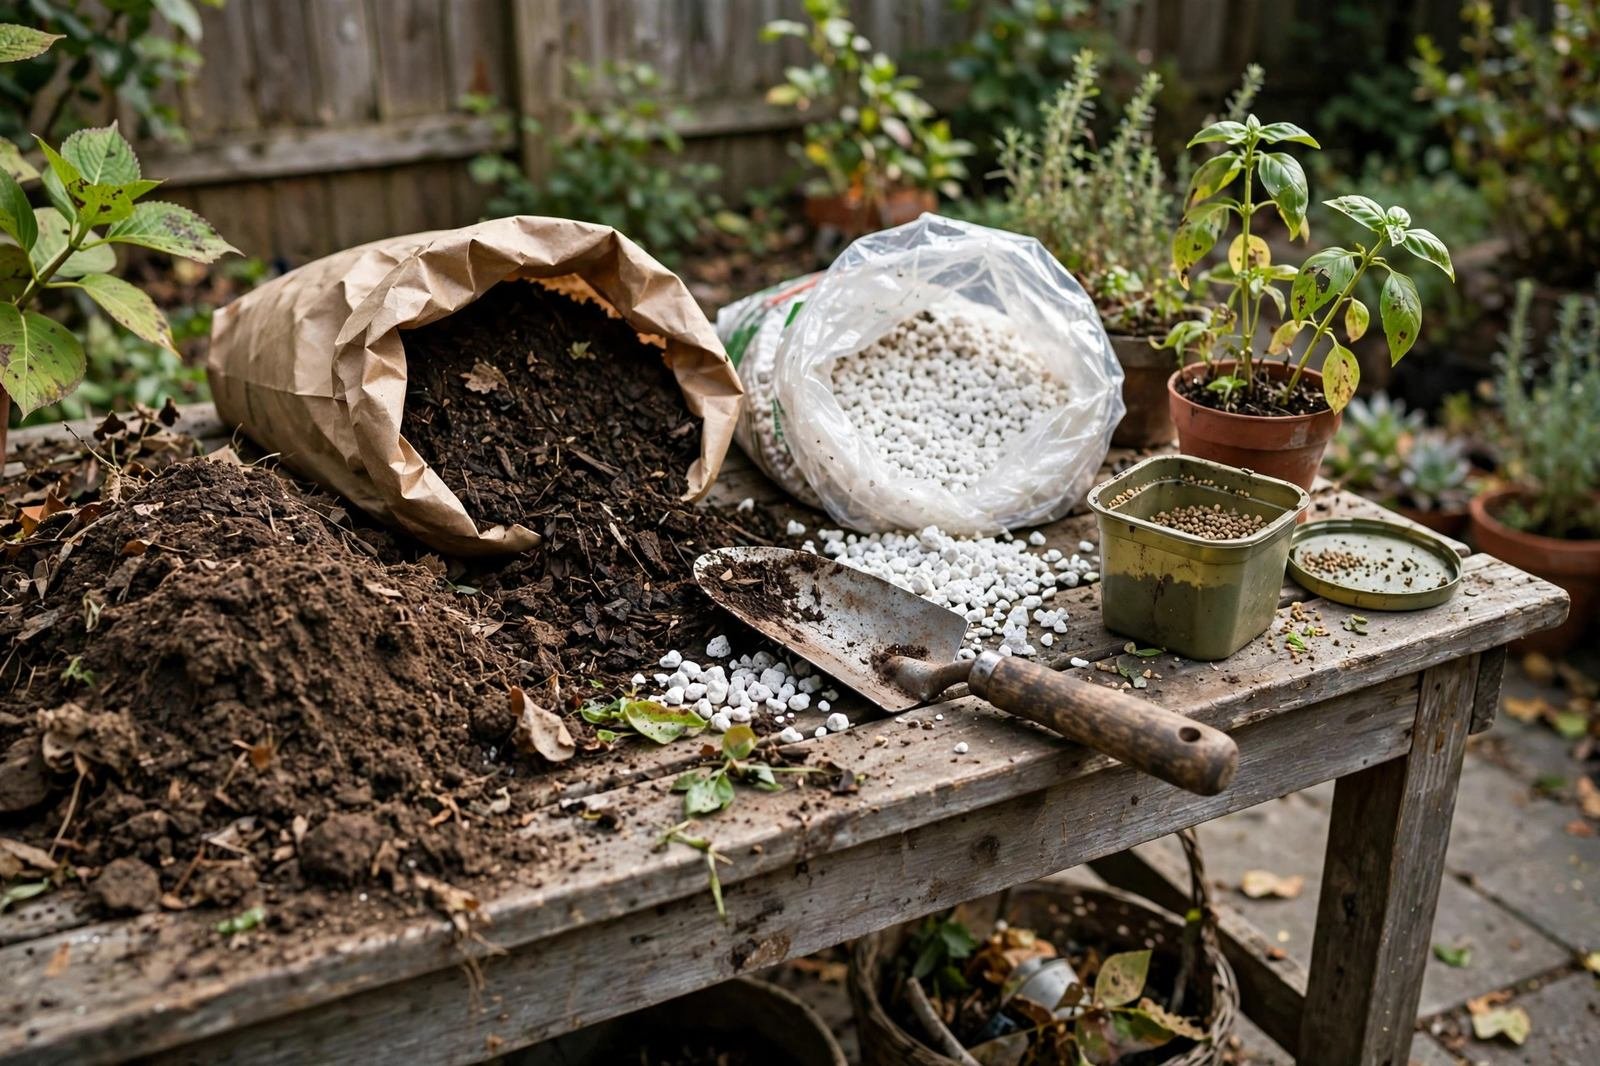
A bag of quality potting mix isn’t cheap, and if you garden in containers, you buy a lot of it. Here’s the good news most garden centers won’t volunteer: last year’s mix isn’t spent — it’s just tired. With about twenty minutes of work and a few inexpensive amendments, you can bring it back to something your plants will thrive in. We’ve refreshed the same batches of mix for multiple seasons running.
This guide gives you the exact method: what to add, how much, and the order to do it in — plus the mistakes that turn a refresh into a waste of time.
| Base | Old potting mix, roots and debris removed |
|---|---|
| Add | ~1/3 finished compost by volume |
| Drainage | Handful of perlite per gallon if mix feels dense |
| Nutrition | Slow-release fertilizer per label rate |
| Finish | Moisten, rest 1–2 weeks before planting |
What You’ll Need
- Old potting mix (triage first — see can you reuse potting soil for when to toss instead)
- A tarp or wheelbarrow to work on
- Finished compost — homemade or bagged
- Perlite or coarse vermiculite
- A balanced slow-release fertilizer
- Optional: a soil sifter for big batches
Step 1: Dump, Sift, and Inspect
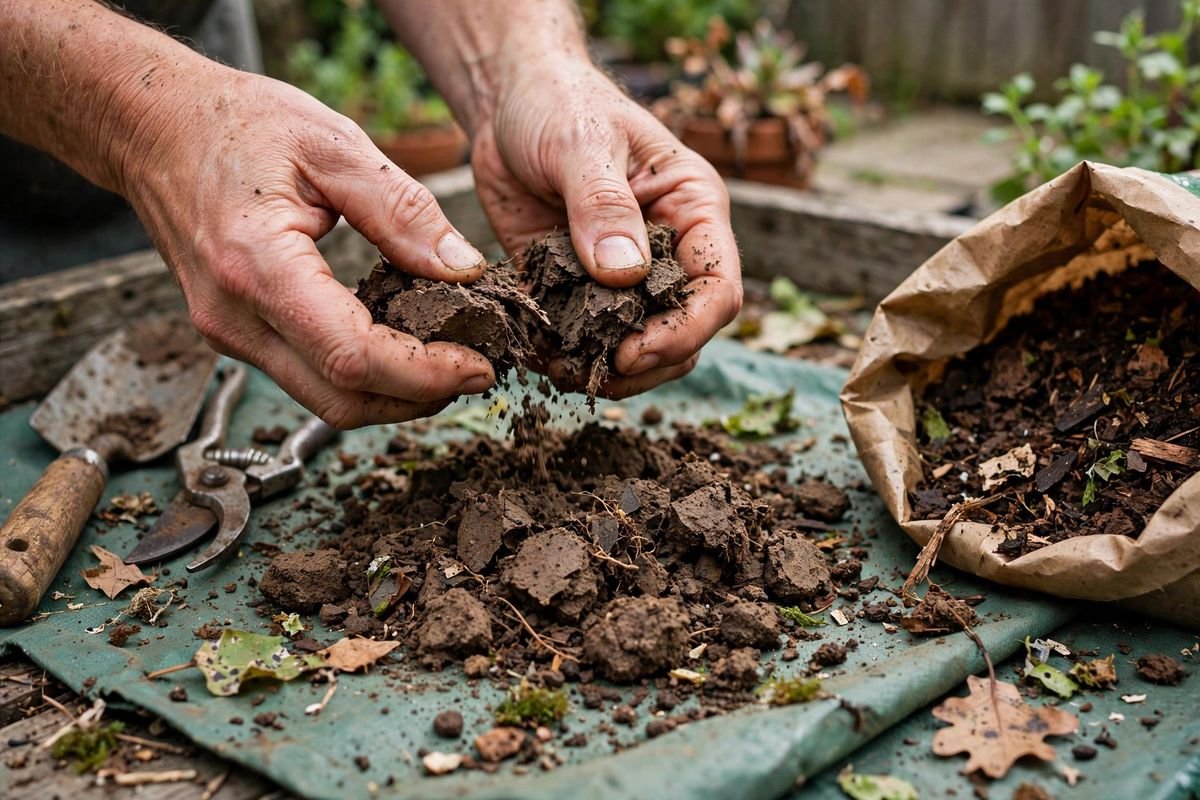
Empty your pots onto a tarp and pull out the old root balls. Shake as much soil free as you can, then pick out dead leaves, old mulch, and debris. For large batches, shovel the mix through a sifter screen over a wheelbarrow — it takes minutes and leaves you with clean, uniform material.
While you work, inspect. Healthy old mix smells earthy. Sour, rotten, or chemical smells are red flags. Look for the warning signs in our reuse guide — diseased plants, nematode knots, severe pest buildup. When in doubt, compost the questionable batch and start fresh.
Step 2: Break Up Compaction
Old mix compacts. Crush clods and break up dense chunks with your hands or a hand cultivator until the whole batch is crumbly. If the mix has degraded into fine, silty dust with no structure left, it’s past refreshing as potting mix — repurpose it as a garden-bed amendment instead and save yourself the amendments.
Step 3: Add Compost (The Main Event)
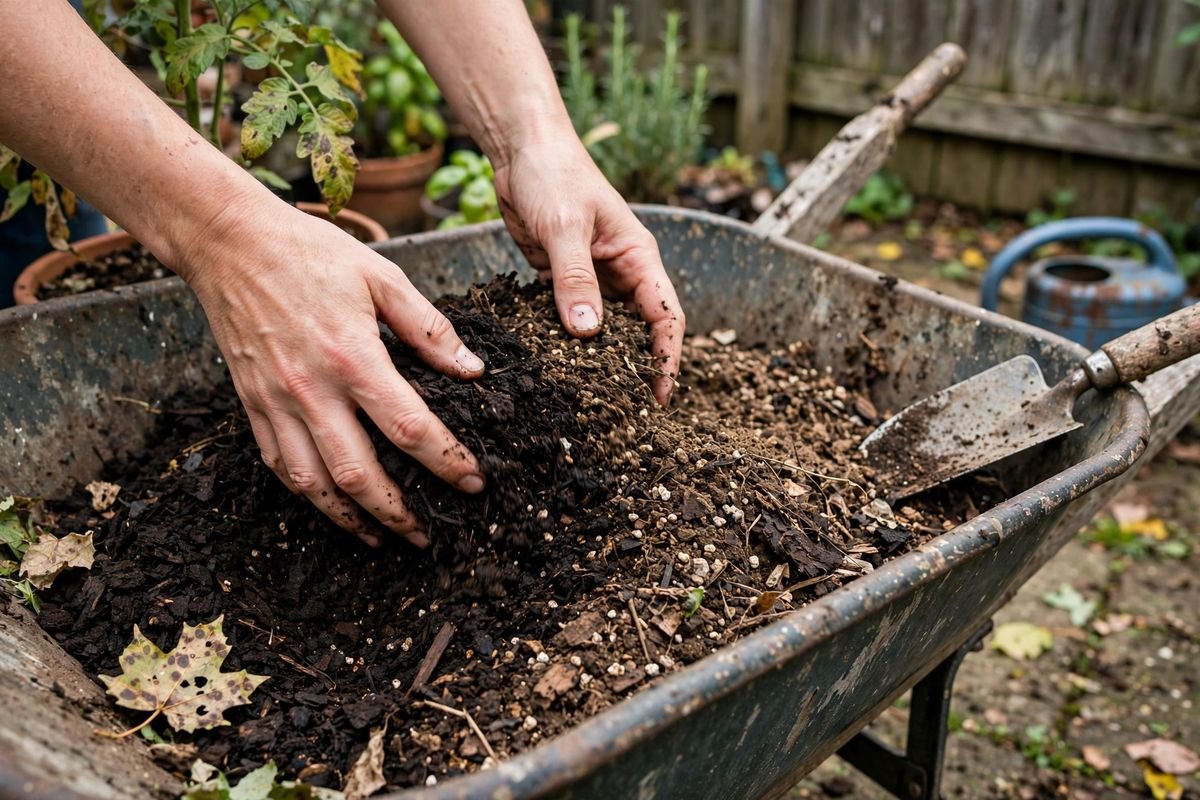
Mix in roughly one part finished compost to two parts old mix — about a third compost by volume. Compost does three jobs at once: it restores the organic matter that decomposed away, adds slow-release nutrients and beneficial microbes, and improves both water retention and drainage. Homemade compost is ideal; a bagged organic compost for containers works fine too. Make sure it’s finished — dark, crumbly, earthy-smelling. Unfinished compost can rob nitrogen from your plants as it continues decomposing.
Step 4: Restore Drainage
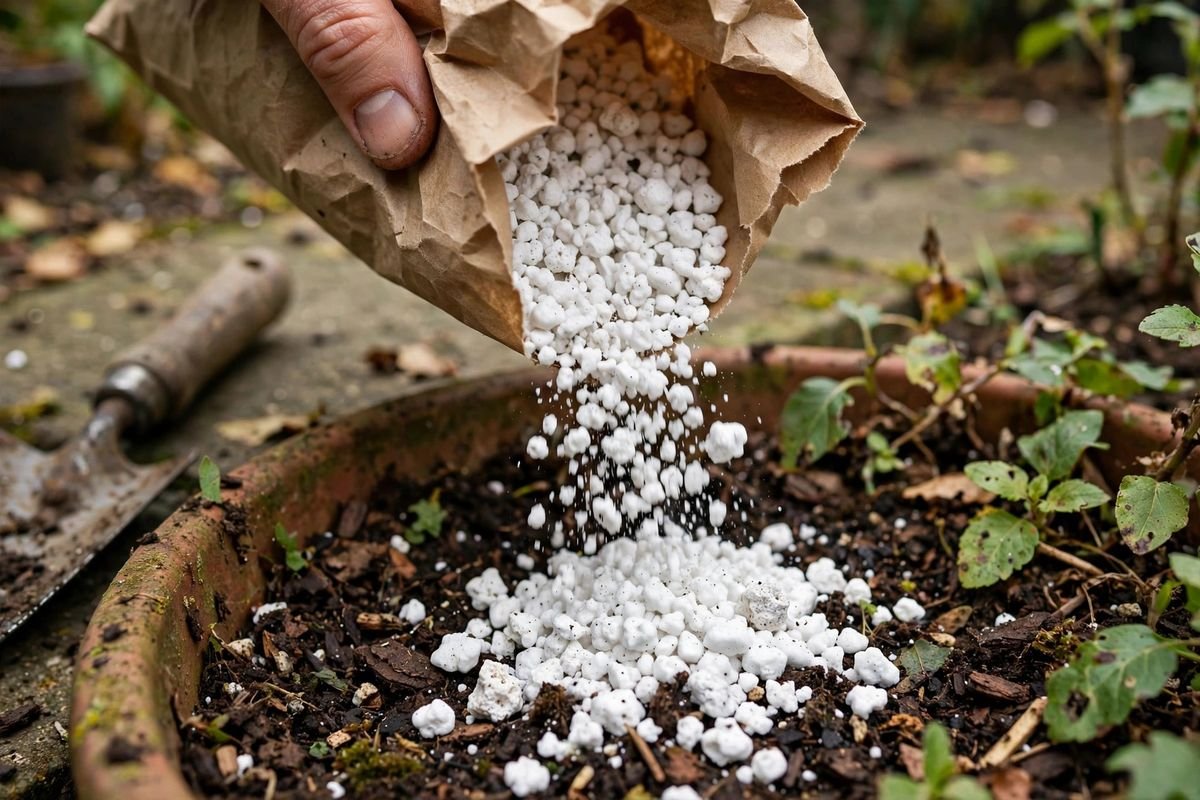
If the refreshed mix still feels heavy and dense, add perlite — about a big handful per gallon of mix. Perlite’s white volcanic granules hold air pockets open in the mix permanently (unlike bark, they don’t decompose). Vermiculite is the alternative if your problem is the opposite — a mix that dries too fast — since it holds water as well as air. Don’t add sand: in potting mixes, sand fills air pores and makes compaction worse, the opposite of what garden-center folklore suggests.
Step 5: Recharge Nutrients
Old mix is nutritionally empty, and compost alone won’t carry heavy feeders through a full season. Mix in a balanced slow-release granular fertilizer at the label rate — something in the general-purpose range works for most container vegetables and flowers. For organic growers, options like feather meal, bone meal, or a blended organic granular fertilizer release slowly and feed soil life too. A bag of slow-release fertilizer for containers lasts most home gardeners a full season or more.
Skip the temptation to double the dose “to make up for lost time.” In the confined space of a pot, excess fertilizer burns roots fast. Label rates exist for a reason.
Step 6: Moisten and Rest
Lightly moisten the finished batch — damp like a wrung-out sponge, not soggy — and let it rest a week or two before planting if you can. The rest period lets moisture distribute evenly and gives microbial life a head start. Pile it in a covered bin or a heavy-duty bag; a trash can with a lid works perfectly for storing refreshed mix through winter.
The No-Dump Shortcut (For Pots You Can’t Empty)
Sometimes dumping isn’t practical — a heavy half-barrel planter, a shrub you don’t want to disturb, a rooftop pot you can’t easily move. For those, do a top-refresh instead: scrape off the top 3–4 inches of old mix and replace it with a blend of compost, fresh potting mix, and slow-release fertilizer. Poke deep holes into the lower mix with a trowel handle or dibber to break up compaction and let water penetrate, then water thoroughly. It won’t fix a truly collapsed mix at the bottom of the pot, but for established plantings it buys a full productive season with ten minutes of work. Plan a full dump-and-refresh the following year.
Mistakes That Waste a Refresh
- Refreshing diseased soil. No amount of compost cures fusarium wilt. Triage honestly first.
- Using unfinished compost. If it still smells like ammonia or you can identify the ingredients, it’s not done — let it finish or buy bagged.
- Skipping the fertilizer. Compost helps, but a season of heavy feeding needs the slow-release backup.
- Reusing for seed starting. Seedlings need sterile, fine-textured mix. Refreshed old soil is for established plants only.
FAQ
Can I refresh soil in the pot without dumping it out?
For a light refresh, yes: scrape off the top 2–3 inches, replace with a compost-and-fertilizer blend, and water in. It won’t fix deep compaction, but it buys a season for established plantings like shrubs or perennials you don’t want to disturb.
How do I know the refresh worked?
The squeeze test: a handful of moistened mix should hold together loosely, then crumble when poked. If it stays in a hard ball, it needs more perlite; if it won’t hold shape at all, more compost.
Is refreshed soil as good as new?
Honestly? For most container vegetables and flowers, properly refreshed mix performs indistinguishably from new. After 2–3 refresh cycles the structure eventually degrades past the point of return — then it graduates to garden-bed duty, where it’s still valuable.
Sources & Further Reading
- Cornell Cooperative Extension — potting media and container culture guidance
- Penn State Extension — soilless media and container growing articles
- University of Minnesota Extension — container gardening publications
- Clemson Cooperative Extension — “Container Gardening” fact sheet (HGIC 1251)
More soil posts to explore:
- Can You Reuse Potting Soil? Yes — Here’s the Honest Answer
- How to Make Compost at Home: A Beginner’s Guide
- Raised Bed Gardening for Beginners: Size, Soil, and Layout
Twenty minutes, a shovelful of compost, and last year’s “spent” mix is back in the game. Your wallet — and your plants — will notice the difference. Ready to dump those pots?