
This post may contain affiliate links. If you buy through links on this page, we may earn a commission at no extra cost to you.
As an Amazon Associate I earn from qualifying purchases.
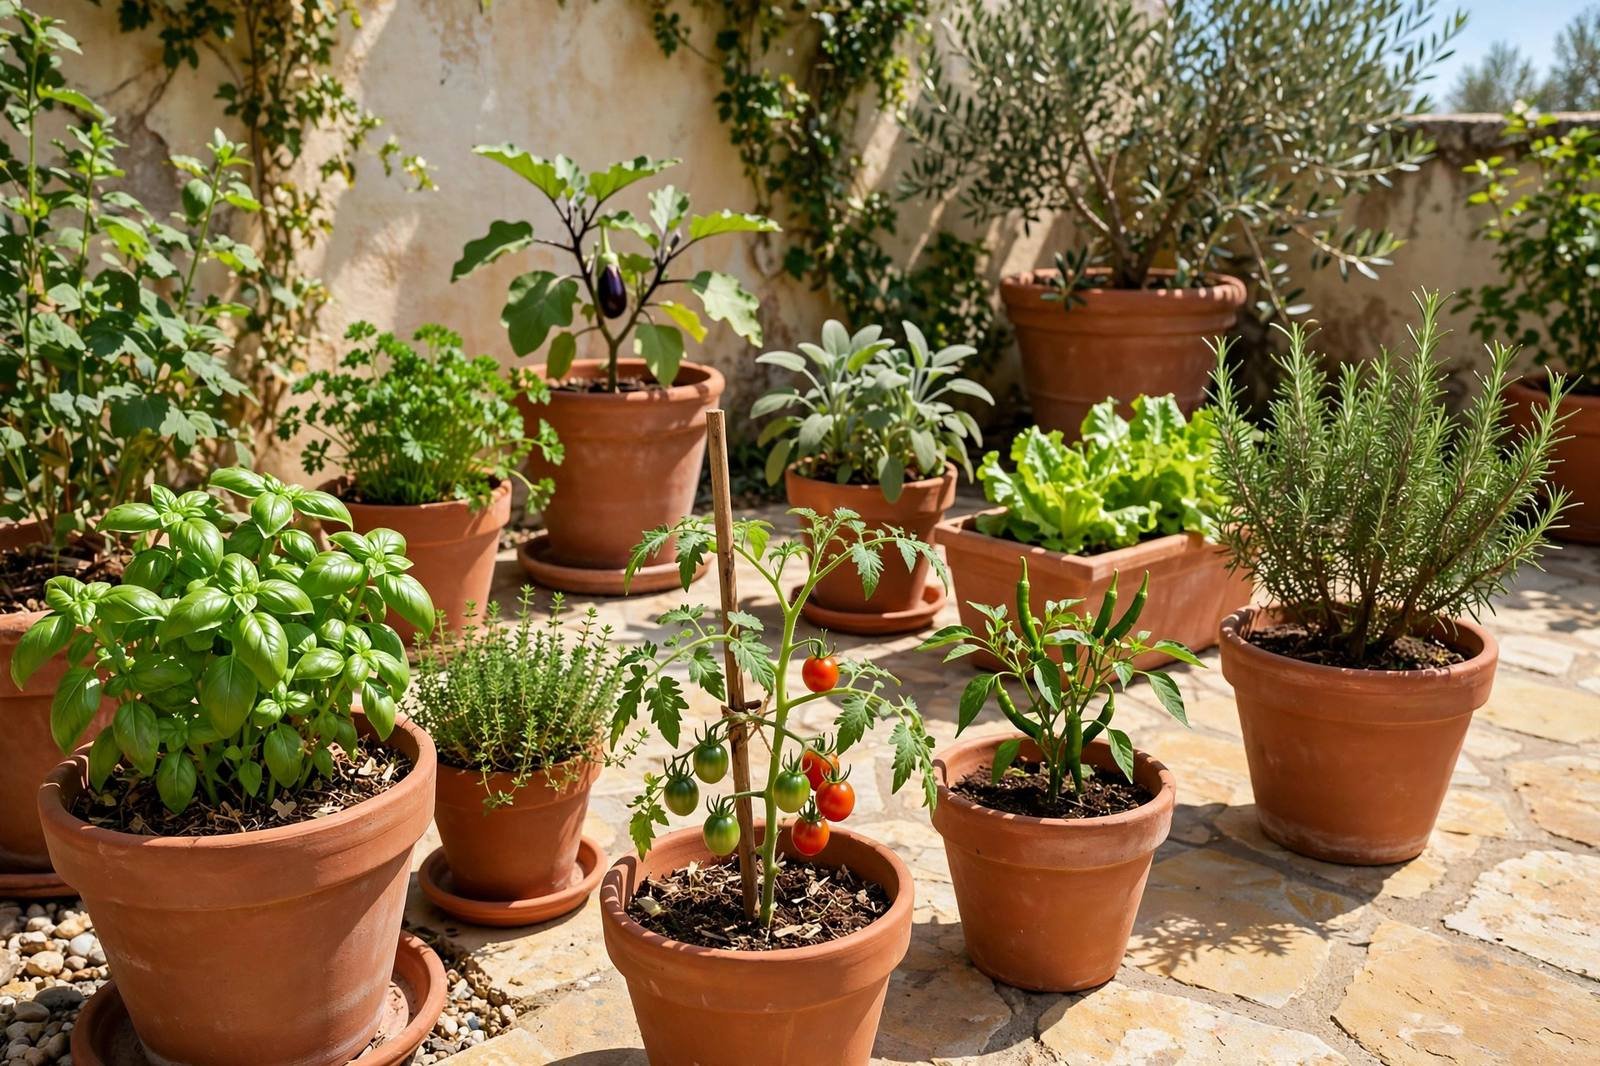
No yard? No problem. A sunny patio, a fire escape landing, even a bright doorstep can grow a surprising amount of food. Cherry tomatoes ripen on balconies barely big enough for a chair; pots of basil and lettuce crowd apartment railings. If you’ve been telling yourself you can’t garden without a yard, you can stop.
Honestly, pots might be the most forgiving way to start growing food, period. You skip the hardest parts of a first garden: digging up lawn, wrestling with clay soil or tree roots, and guessing at dirt you can’t see. Everything happens in a space you can pick up and move.
In this guide, you’ll learn how to pick the right pot size and material, what to fill pots with (spoiler: not garden soil), how to water and feed container plants, and which vegetables and herbs thrive in pots — plus a pot-size cheat sheet you can screenshot. No experience needed.
Why Containers Are a Great Place to Start
A pot garden removes the biggest beginner barriers: no digging up a lawn, no amending terrible soil, no worrying about your lease. You get total control over the growing medium, you can chase the sun — or dodge a hailstorm — by moving pots around, and you can start with three pots instead of a whole bed.

Containers also let you garden around problems. Soil full of tree roots? Grow above it. A patio that bakes in afternoon sun? Hand it to the heat lovers and keep the tender greens in gentle morning light. The feedback loop is fast — and eating a tomato you grew on your porch can make a gardener out of anyone.
Choosing the Right Pot Size
Here’s the rule that matters most: bigger is almost always better. Small pots dry out in hours on a hot day and leave roots cramped. If you’re torn between two sizes, pick the larger one.

These are minimums that actually work, per standard extension guidance — go bigger whenever you can:
| Crop | Minimum pot size |
|---|---|
| Tomatoes (cherry or full-size) | 5 gallons — 7 to 10 is better for indeterminate types |
| Peppers and eggplant | 5 gallons |
| Cucumbers (bush types) | 3 gallons, plus a small trellis |
| Bush beans, dwarf squash | 2 to 3 gallons |
| Lettuce, spinach, arugula | 1 to 2 gallons — a wide window box works beautifully |
| Basil | 1 to 2 gallons |
| Radishes, scallions | 1 gallon |
| Carrots (short types) | 1 to 2 gallons, at least 8 inches deep |
| Parsley, thyme, cilantro | 1 gallon each |
| Mint | 1 to 2 gallons — its own pot, always |
One more thing: group your pots together. They shade each other’s sides, which slows moisture loss on hot days, and watering takes half the time when everything sits in one spot.
Pot Materials: Pros and Cons
Every material grows plants — they just behave differently. Pick based on your climate and how often you’re willing to water.
Terracotta
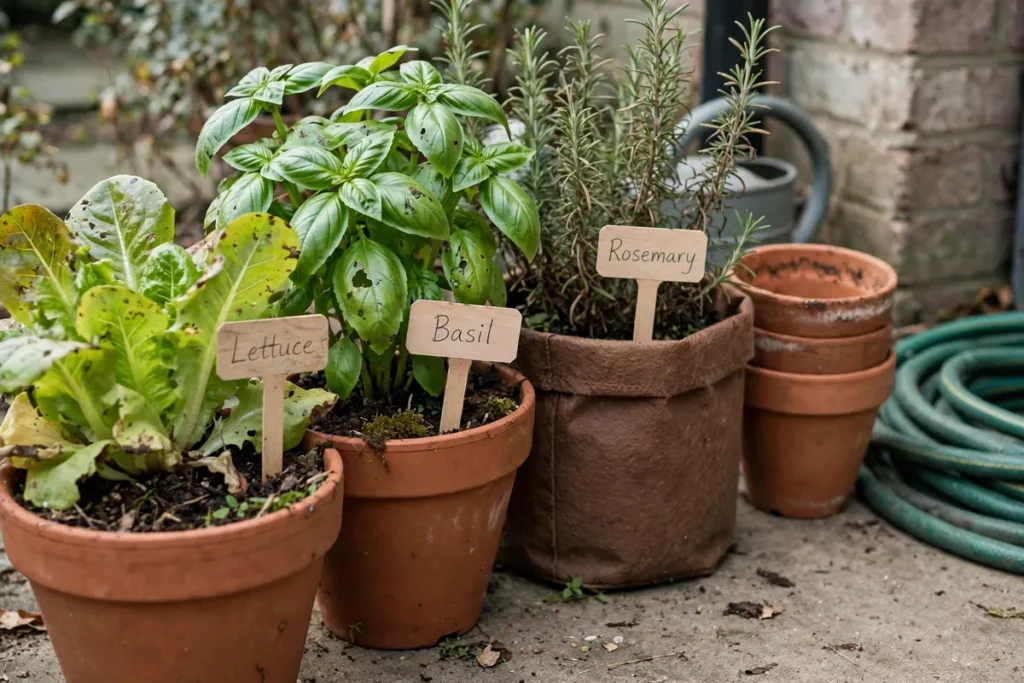
Classic clay pots breathe — great for root health and for plants that hate wet feet, like rosemary and thyme. The downside: they dry out fast. In hot-summer climates a terracotta pot in full sun may need watering twice a day in July and August. They’re heavy, and they can crack in freeze-thaw cycles, so move them under cover before winter in zones 6 and colder.
Plastic and Glazed Ceramic
These hold moisture far longer than terracotta because the walls don’t wick water away — a real advantage for thirsty plants like tomatoes and cucumbers. Plastic is cheap and light, which matters when you’re dragging a full 10-gallon pot across the patio. The trade-off: drainage depends entirely on the bottom holes, so they’re less forgiving if you overwater. Glazed ceramic looks beautiful and holds moisture well, but gets heavy and pricey at larger sizes.
Fabric Grow Bags
Ask vegetable gardeners what they grow in and fabric bags come up fast. The fabric lets air reach the roots, causing natural “air pruning”: roots stop at the edge instead of circling, so you get a denser, healthier root system. Drainage is nearly foolproof, and they fold flat for winter storage. The trade-off: they dry out faster than plastic, so in hot climates expect daily watering. If you’re shopping for some, look for fabric grow bags for vegetables, sold in a range of gallon sizes to match the cheat sheet above.
Drainage Holes Are Non-Negotiable
Whatever container you use, it must have drainage holes. No holes means water pools at the bottom, roots suffocate, and your plant drowns — slowly and sadly.

If you fall for a decorative pot with no holes, drill them with a masonry bit — or use it as a cachepot: nest a holed nursery pot inside and empty the excess water after watering.
Potting Mix vs. Garden Soil
This is the single most common beginner mistake: filling pots with soil dug from the garden. Don’t. Garden soil compacts into a dense brick in containers, drains poorly, and can harbor weed seeds and diseases.

Use bagged potting mix instead — a soilless blend of peat or coco coir, bark, and perlite. It’s light, drains freely, and starts out essentially free of weeds and diseases. A good bag of mix makes more difference to container success than almost anything else on this page. Want to stretch a big bag and feed your plants at the same time? Mix in up to one-third finished compost — our guide to making compost at home shows how to produce your own.
One note: if you have leftover “garden soil” or “raised bed mix” from another project, it’s too heavy for pots on its own. Lighten it 50/50 with potting mix — but straight garden soil in a pot is a recipe for sad plants.
Watering: Containers Dry Fast
This is the part that surprises beginners most. A container holds a tiny reservoir of soil, and in summer heat a 5-gallon pot of tomatoes can swing from moist to bone dry in a single day. When a container garden fails, watering is usually why.

The essentials:
- Check daily in summer. Stick your finger an inch or two into the mix. Dry at your fingertip? Water. In 90°F-plus heat, plan on daily watering; for small terracotta pots, maybe twice.
- Water in the morning. Leaves dry faster and plants head into the heat hydrated.
- Water until it drains. A light sprinkle only wets the top inch. Water until it runs from the drainage holes — that means the whole root zone got soaked.
- Mulch the surface. A 1 to 2-inch layer of straw, shredded bark, or even shredded leaves on top of the mix slows evaporation dramatically.
If daily watering sounds like too much, self-watering planters are worth a look: a built-in reservoir wicks moisture up into the soil, buying you a few extra days between waterings. And drip irrigation on a simple battery timer turns container watering into a non-issue.
Feeding Your Container Plants
Potting mix starts out with very little nutrition, and every watering washes nutrients out through the drainage holes. Container plants need regular feeding — noticeably more than the same plants in the ground.
Two approaches both work:
- Liquid feed every 1 to 2 weeks. A balanced liquid fertilizer (10-10-10 or fish emulsion) mixed into your watering can. This gives you the most control and is the most forgiving option for beginners.
- Slow-release fertilizer at planting. Mix granular slow-release fertilizer into the mix at planting for 2 to 3 months of feeding — just reapply mid-summer for long-season crops like tomatoes and peppers.
Signs your plants are hungry: pale or yellowing lower leaves, slow growth despite good watering, and disappointing fruiting. A mid-season slump in container tomatoes is often hunger, not disease — liquid feed usually greens them up within a week.
The Best Crops for Pots (and Their Minimum Pot Sizes)
A surprising amount thrives in containers. Start with these proven winners:
- Cherry tomatoes (‘Sweet Million’, ‘Sun Gold’) — 5+ gallons. Cherries are more forgiving than big slicers in pots — see our tomato growing guide for variety picks.
- Peppers (‘Jalapeño’, ‘California Wonder’ bell, ‘Lunchbox’) — 5 gallons. Naturally compact, and they love the extra warmth containers provide.
- Bush beans (‘Provider’, ‘Contender’) — 2 gallons. Sow 3 to 4 inches apart and harvest often.
- Cucumbers (bush types like ‘Spacemaster’ or ‘Bush Pickle’) — 3 gallons with a small trellis.
- Lettuce and spinach — 1 to 2 gallons or a wide window box. Sow every 2 to 3 weeks spring and fall for continuous cut-and-come-again harvests.
- Radishes (‘Cherry Belle’, ‘French Breakfast’) — 1 gallon, at least 6 inches deep. Ready in 25 to 30 days — perfect for impatient beginners.
- Carrots (short types like ‘Paris Market’ or ‘Thumbelina’) — 1 to 2 gallons, at least 8 inches deep. Full-size carrots want 10 to 12 inches of depth, so stick with stubby varieties in pots.
- Basil — 1 to 2 gallons. Pinch off flower buds to keep leaves coming.
- Parsley and thyme — 1 gallon each. Undemanding and productive for months.
- Mint — its own 1 to 2-gallon pot, ALWAYS. Mint spreads by underground runners and will strangle everything else in a shared container.
Related Post: Still deciding what to grow first? Our roundup of the 10 easiest vegetables for beginners pairs well with this list.
Placement and Sun
Most vegetables need 6+ hours of direct sun a day — 8 for tomatoes, peppers, and cucumbers. Leafy greens tolerate less; lettuce and spinach even prefer afternoon shade in hot climates, since it delays bolting.
Before you commit, spend a day watching your space: which spots get gentle morning sun versus harsh afternoon sun, and where fences or buildings cast shade. In cooler climates, a south- or west-facing patio is usually ideal; where summers are hot, an east-facing spot that escapes the worst afternoon heat can be kinder to greens.
Heavy pots are miserable to move once full and wet: set large containers on wheeled plant caddies from day one — you’ll thank yourself at the first storm. Keep a watering can or hose within easy reach: the easier watering is, the more consistently it gets done.
Troubleshooting Common Container Problems
Leggy, stretched-out seedlings
Tall, pale, floppy seedlings with long bare stems are reaching for light they aren’t getting. Move them to your sunniest spot (6-plus hours of direct sun) and rotate the pots every few days. Starting seeds indoors? A shop light hung inches above the seedlings beats a windowsill. Badly stretched seedlings rarely recover, so it’s usually faster to sow a fresh batch in better light.
The pot dries out every single day
Some drying is normal in summer, but a pot that’s bone-dry 24 hours after watering needs a change. Usual culprits: the pot is too small, it’s terracotta baking in full sun, or wind and reflected heat are ganging up on it. Size up a gallon or two, add that 1 to 2-inch mulch layer, and group pots so they shade each other’s sides. For heavy drinkers like tomatoes, a self-watering planter may suit your schedule better than a daily watering chore.
Root-bound plants
Signs: roots circling out of the drainage holes, water running straight through the moment you pour it in, and a plant that stalls despite good sun, water, and feeding. The fix is a bigger pot — go up 2 to 3 gallons. Tip the plant out, gently tease the circling roots loose (roughing them up encourages new outward growth), and replant in fresh potting mix. Water it in well; most plants perk up within a week.
FAQs About Container Gardening
Can I reuse potting mix from last year?
Yes, with refreshing. Dump it out, pick out old roots, and mix in about one-third fresh potting mix or finished compost. If last year’s plants had disease problems, don’t reuse that mix — start fresh.
How many plants can go in one pot?
Fewer than you think. One tomato or pepper per 5-gallon pot. For greens, sow thickly but thin to the spacing on the seed packet — if mature plants will touch, you’ve planted too many. Our beginner’s guide to starting a vegetable garden has more on spacing.
Can I keep growing in containers through fall and winter?
Depends on your climate. In regions with mild winters (roughly USDA zones 8–10), you can garden in containers nearly year-round.
Do I still need fertilizer if I mixed compost into the pots?
Compost helps, but it’s a slow feed — and container watering keeps leaching nutrients away. For heavy feeders like tomatoes and peppers, supplement with liquid feed or slow-release fertilizer anyway. Think of compost as the foundation and fertilizer as the top-up.
More Container Gardening Posts to Explore
- How to Start a Vegetable Garden for Beginners: The Complete Guide
- 10 Easiest Vegetables to Grow for Beginners
- How to Grow Tomatoes: From Seed to Harvest
- Raised Bed Gardening for Beginners: Size, Soil, and Layout — when you’re ready to size up from pots
- How to Make Compost at Home: A Beginner’s Guide
- Fall Garden Cleanup: 12 Things to Do Before Winter
Start Small and Grow From There
You don’t need twenty pots to have a real garden. Three containers — a 5-gallon cherry tomato, a 2-gallon pot of bush beans, a window box of lettuce — can teach you most of what you need to know in a single season. Once watering and feeding feel like second nature, expand.
What’s going in your first pot — tomatoes, herbs, or salad greens? Tell us in the comments.
Worked Example: What a 10-Gallon Pot Really Holds
Container advice gets easier once the volumes are concrete. Here is a worked example with the assumptions stated, using the standard conversion that 1 US gallon is about 0.134 cubic feet.
A 10-gallon pot therefore holds about 1.34 cubic feet of mix before settling. If your potting mix comes in 1.5-cubic-foot bags, one bag fills one 10-gallon pot with a little left for top-ups; two 5-gallon pots need roughly the same single bag. That is why “just grab one more bag” so often falls short mid-transplant: three 10-gallon tomato pots need about 4 cubic feet of mix, or roughly three 1.5-cubic-foot bags once you allow for settling and the space you leave below the rim for watering.
Water follows the same scale. A freshly watered 10-gallon pot can hold roughly 1 to 1.5 gallons of water in the mix before it drains freely, depending on the mix. In warm weather a large tomato can use a meaningful share of that in a day, which is the practical reason big pots forgive a missed morning and small pots do not. For thirsty crops on a sunny patio, compare materials before you buy more pots: our Terracotta vs Plastic Pots comparison covers weight and water loss side by side, our size-first picks are in Best Pots for Tomatoes, and if weekends away are the real problem, Best Self-Watering Planters for Patio Gardens shows the reservoir math we use to plan days of buffer.
Sources & Further Reading
- Container Gardening — Alabama Cooperative Extension System. Drainage hole mandatory; minimum 5-gallon container for tomatoes; soilless mix beats garden soil; slow-release fertilizer plus water-soluble supplements; watering frequency; porous terra cotta wicks water away.
- You can grow vegetables in containers — LSU AgCenter. At least 6 hours direct sun; drainage holes required; commercial potting mix; water until it drains; soluble fertilizer every 2 weeks (or slow-release); minimum pot-size chart incl. 1-gal greens/radishes.
- Gardening in Containers — University of Georgia Cooperative Extension. Soilless commercial mixes ideal; drainage holes / double-potting for hole-less decorative pots; nutrients leach with watering so liquid feed every 1-3 weeks and slow-release ~3 months; think in several-gallon pots.
Fall container reset: a routine for the end of the season
Containers that carried summer crops need a reset before fall planting, and the reset is mostly removal and refresh rather than a full soil change. Pull spent tomato, pepper, and cucumber plants once they stop producing, shake the loose mix off the roots back into the pot, and set the old stems aside for compost if they show no disease. Plants with spots, mold, or wilt go in the trash, not the compost, so problems do not carry into the next planting.
Next, refresh the top third of the mix in each pot. Scoop out the top few inches, work in fresh potting mix and a scoop of compost, and water until it drains from the bottom. A full soil change is rarely needed for pots that drained well all season; the refresh restores structure and nutrients where roots actually feed. Pots that stayed soggy need a different fix: check that drainage holes are open, add a layer of coarse mix at the bottom only if the pot has no drainage at all, and consider a lighter mix next season. Our guide to keeping container soil from drying out covers the watering side of the same problem.
Fall crops suit pots well because a pot can move to sun or shelter as nights cool. Lettuce, spinach, radishes, and kale all grow in containers through fall in most regions, and a pot of each covers a household salad bowl. Minimum pot sizes from the crop sections above still apply: salad greens do well in a 6 to 8 inch deep pot, radishes need about 6 inches of depth, and kale wants a 12 inch pot or larger. For variety picks and timing, see how to grow lettuce in fall and how to grow spinach in fall. Use your local frost dates and regional planting guidance — not your USDA hardiness zone alone — to choose planting dates. When a hard freeze is forecast, move pots against a sheltered wall or under cover; frost covers for raised beds and containers lists options that fit pots as well as beds.
Empty pots also need care before winter. Scrub them, let them dry fully, and stack them upside down under cover so water does not freeze inside and crack them. Terracotta pots crack first in a freeze, so they get indoor storage first. Label each stored pot with what grew in it this year, so next spring starts with a rotation plan instead of a guess.