
This post may contain affiliate links. If you buy through links on this page, we may earn a commission at no extra cost to you.
As an Amazon Associate I earn from qualifying purchases.
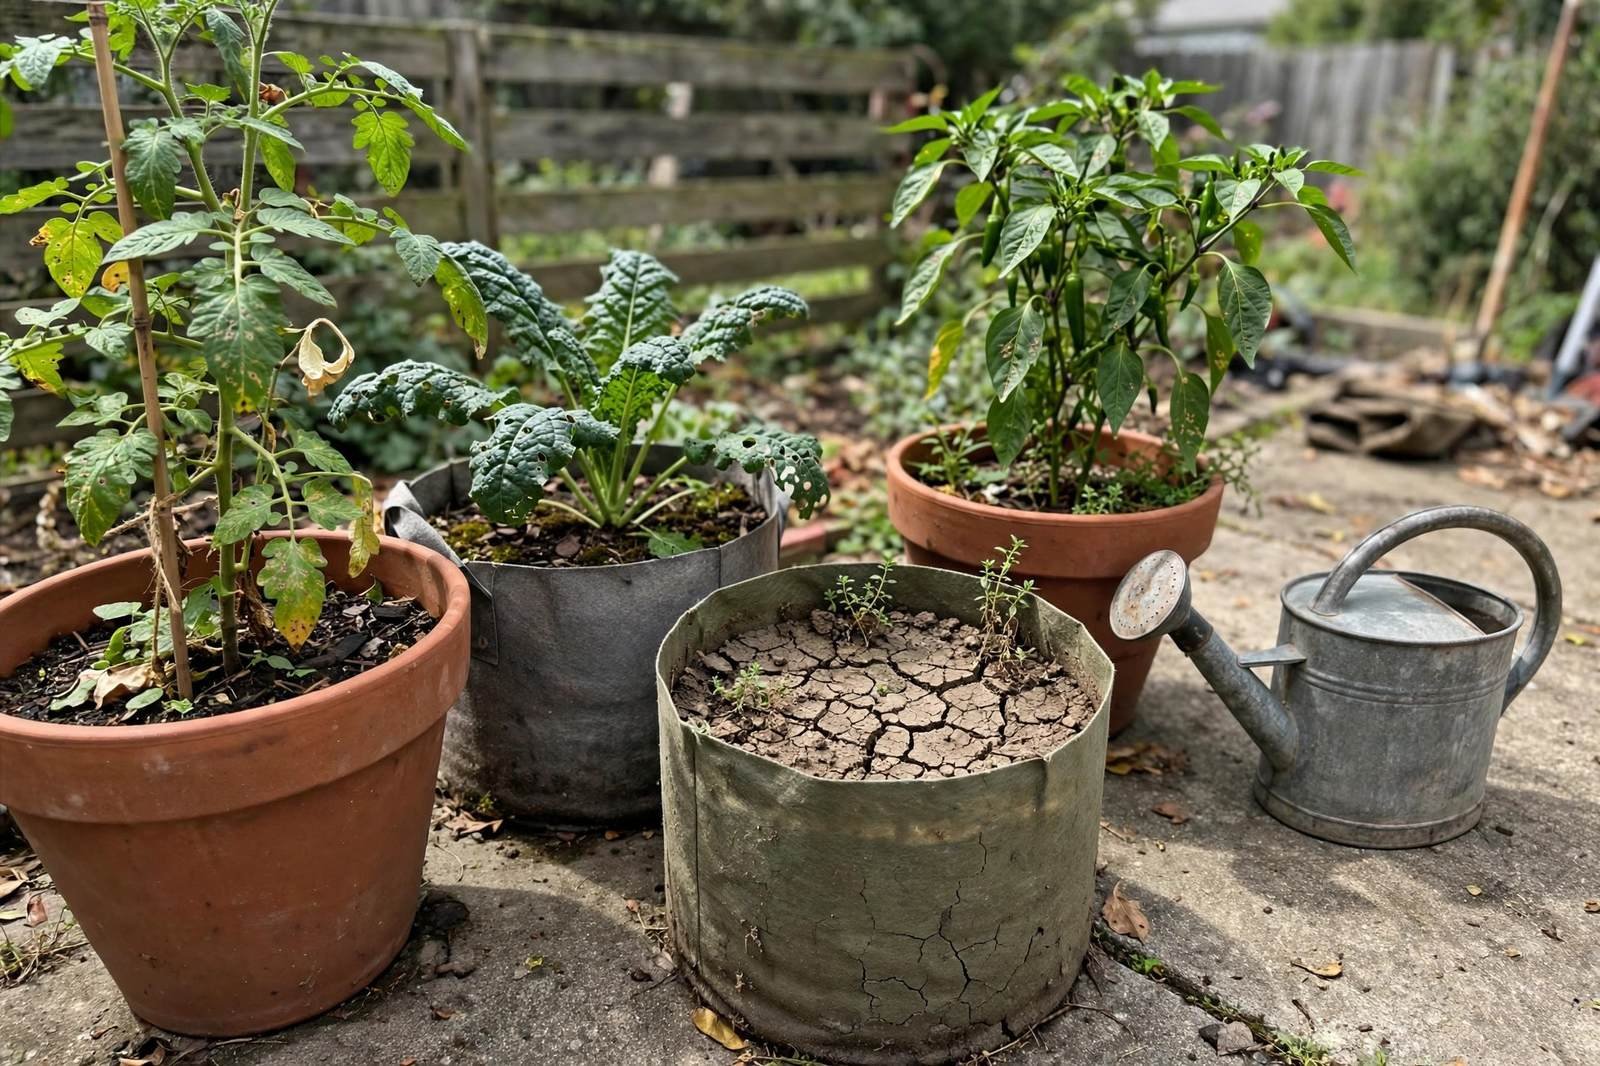
You water in the morning, and by late afternoon the soil in your pots has shrunk away from the edges again. The plant looks thirsty, you’re dragging the hose out twice a day, and somewhere along the way container gardening started to feel like a chore instead of a hobby. Sound familiar? This is the single most common complaint we hear from container gardeners — and the good news is that fast-drying pots are usually fixable with a few changes to setup, not more watering marathons.
In this guide, we walk through why container soil dries out so much faster than garden beds, then lay out nine practical fixes — from pot choice and soil mix to mulch, watering technique, and simple self-watering setups. Most of these cost little or nothing.
| Main cause | Small soil volume + evaporation + porous pot walls |
|---|---|
| Fastest fix | Add 2–3 inches of mulch on the soil surface |
| Best long-term fix | Bigger pots + moisture-holding soil mix |
| Watering rule | Deep, slow watering until it drains from the bottom |
| Check moisture | Finger test: dry 1–2 inches down means water now |
Why Container Soil Dries Out So Fast
A pot is a small island of soil surrounded by air on five sides. In a garden bed, moisture wicks sideways from surrounding soil; in a container, there is no surrounding soil — every surface of the pot is an evaporation surface. Warm air moving across the pot walls pulls moisture straight through porous materials like terracotta and fabric. Add a plant drinking steadily, and a 5-gallon pot in July heat can lose a surprising share of its water every single day.
Several factors speed up the process:
- Pot material. Unglazed terracotta and fabric pots breathe — great for roots, but they wick moisture out fast. Glazed ceramic, plastic, and resin hold water much longer.
- Pot size. A 2-gallon pot has a huge surface-to-volume ratio compared to a 10-gallon pot. Small pots swing between soaked and bone-dry; big pots buffer.
- Soil mix. Bagged mixes heavy on bark fines and perlite drain fast by design. That’s good for root rot prevention but means more frequent watering.
- Exposure. Pots on a hot concrete patio or against a sun-baked wall dry faster than the same pots on soil or grass in a breezy spot.
- Plant size. A full-grown tomato transpires far more water than the seedling it was in May. Water demand grows with the plant.
1. Mulch the Surface (The Easiest Win)
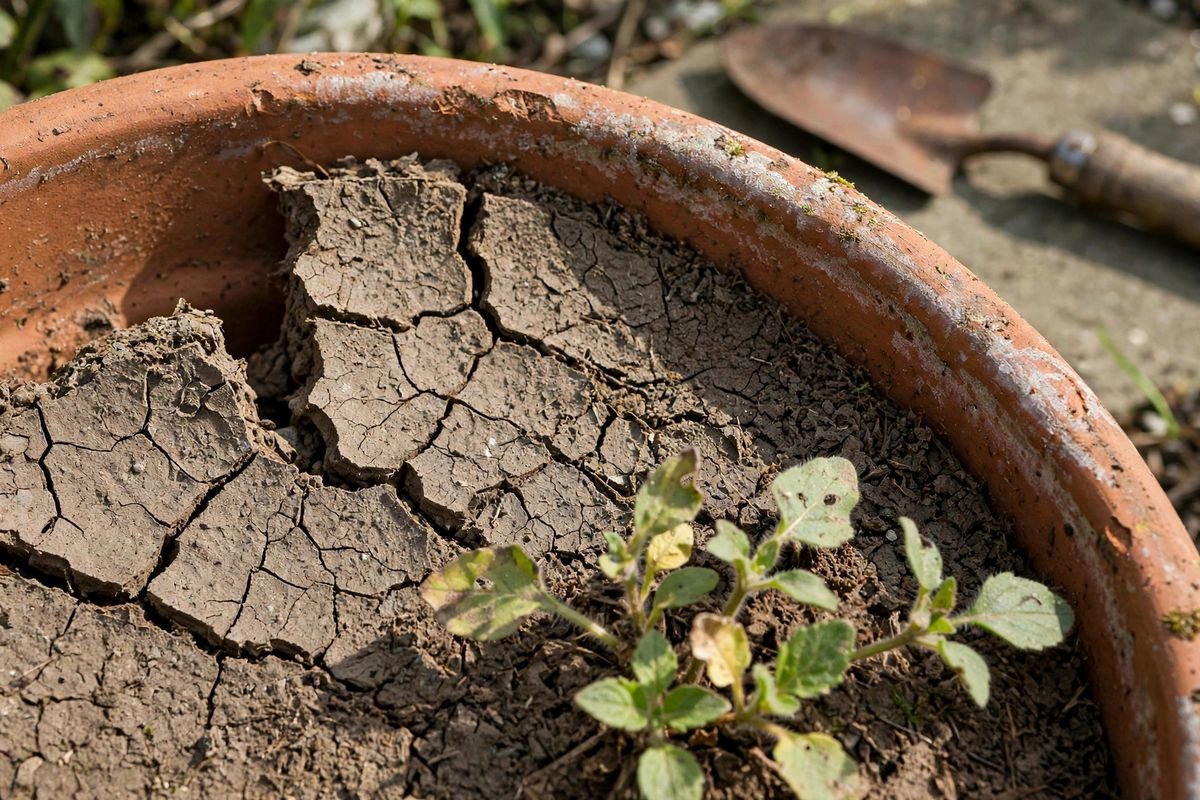
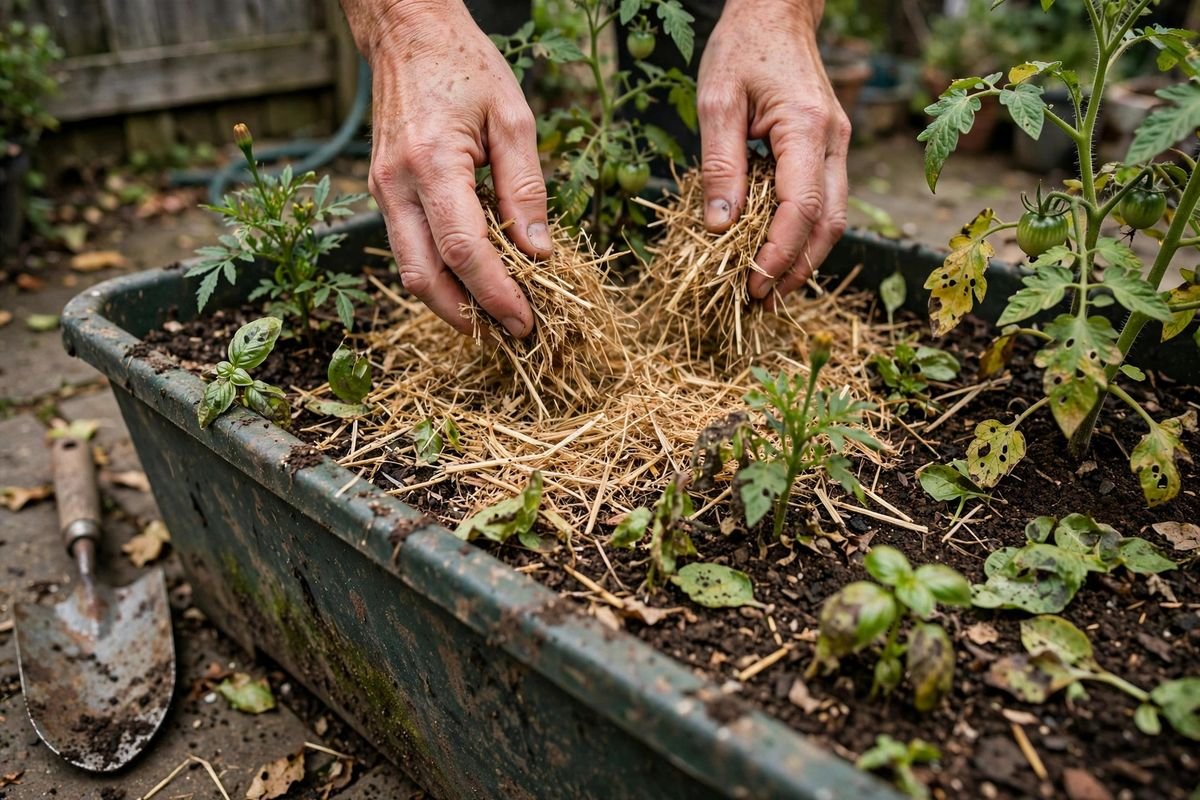
If you do nothing else, do this: cover the soil surface with 2–3 inches of mulch. Mulch shades the soil, slows evaporation, and keeps the surface from crusting over. Straw, shredded bark, cocoa shells, or even a layer of compost all work. In our experience guiding new container gardeners, mulching alone often cuts watering frequency by a full day.
Keep the mulch an inch or so away from plant stems to avoid trapping moisture against them, and skip dyed mulches in food containers — plain, undyed materials are the safer pick. A bag of straw mulch for garden containers goes a long way across a patio of pots.
2. Size Up Your Pots
The jump from a 2-gallon to a 5-gallon pot more than doubles the water reservoir while barely increasing the exposed surface. For thirsty crops like tomatoes, cucumbers, and squash, a bigger pot is the difference between watering twice daily and watering once. Our rule of thumb: when choosing between two pot sizes, take the bigger one — plants rarely complain about extra root room. See what size pot a tomato plant needs for crop-by-crop minimums.
3. Choose Less Thirsty Pot Materials
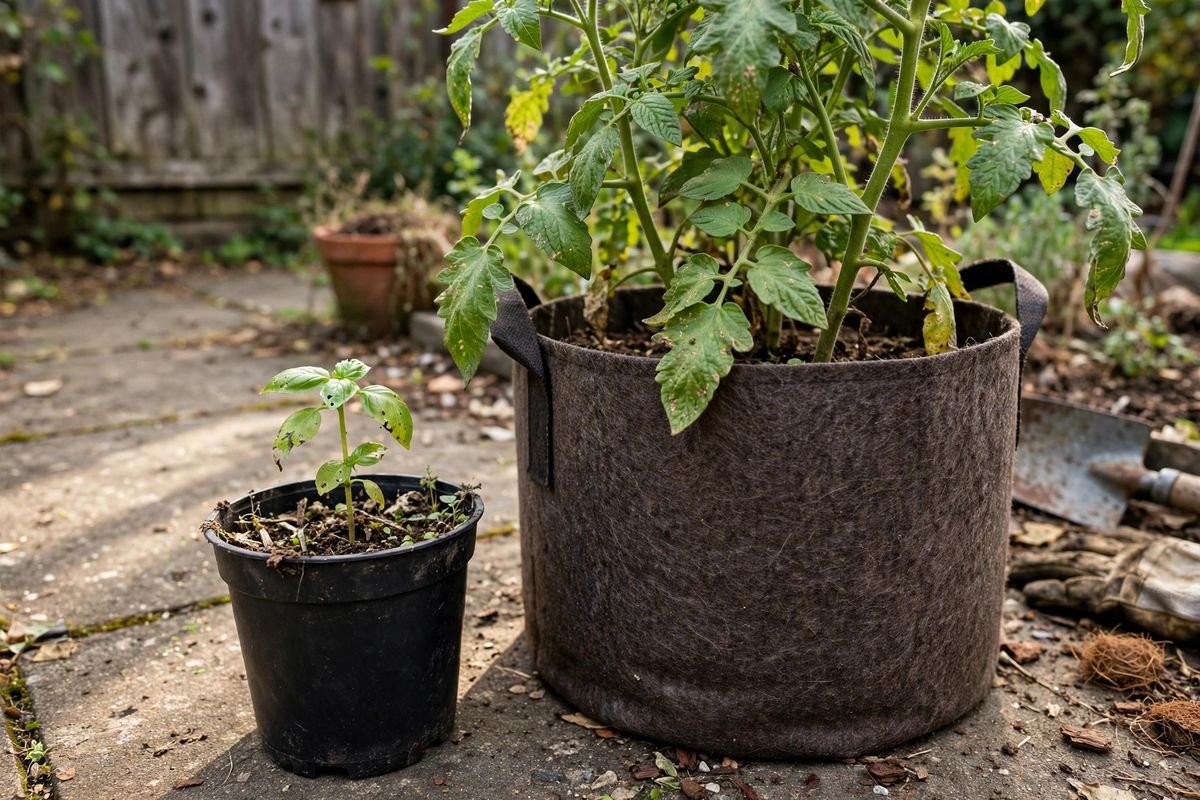
Terracotta looks wonderful and breathes beautifully — but in a hot, windy spot it can dry out a full day faster than a plastic pot of the same size. If you’re tired of the watering treadmill, consider:
- Glazed ceramic or resin pots — nearly sealed walls, much slower moisture loss.
- Plastic nursery pots slipped inside decorative cachepots — the function of plastic with the look you want.
- Double-potting — nesting a terracotta pot inside a slightly larger one with damp sphagnum or soil between the walls insulates and slows evaporation.
Fabric pots sit in the middle: they air-prune roots nicely but dry quickly in wind. If you love grow bags, plan on mulch plus a saucer underneath (more on saucers below).
4. Build a Moisture-Holding Soil Mix
Fast-draining mixes are sold as “all-purpose,” but a mix that’s perfect for a rainy spring can be too lean for a scorching August. You can amend any bagged potting mix to hold water longer:
- Add compost (about one part compost to three parts mix) — compost holds several times its weight in water and feeds soil life.
- Add coconut coir — coir rewets easily even after drying out, unlike peat moss, which can turn hydrophobic and shed water.
- Add vermiculite (not perlite) — vermiculite absorbs water; perlite only improves drainage.
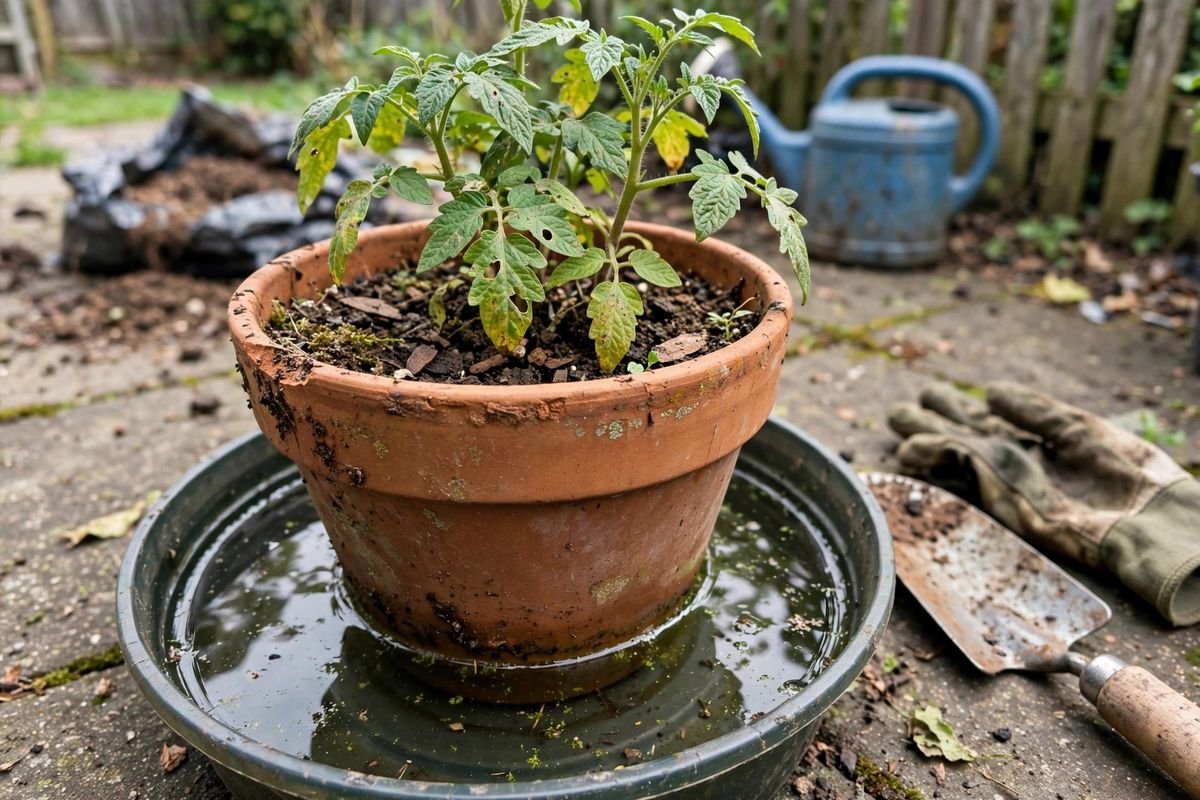
If your soil has gone hydrophobic — water beads and runs straight through — set the whole pot in a tub of water for 20–30 minutes so the mix can soak from the bottom up. A drop of plain liquid soap in the soak water can help it rewet, though plain water and patience usually do the job.
5. Water Deeply, Not Frequently
Light daily sprinkles wet only the top inch and train roots to stay shallow — which makes the plant even more drought-sensitive. Instead, water slowly until it flows freely from the drainage holes, then wait until the top 1–2 inches are dry before watering again. Deep watering pushes roots down where moisture lasts.
Water early in the morning so foliage dries quickly and less water is lost to midday heat. In peak summer, large fruiting plants may still need a second watering — that’s normal, not a failure of your setup.
6. Try Bottom Watering for Stubborn Pots
When a pot’s soil has pulled away from the sides, top watering just runs down the gap and out the bottom. Set the pot in a saucer or tub of water and let it wick moisture up for 20–40 minutes. This rehydrates the whole root ball evenly. Heavy saucers or boot trays under pots also catch drainage and let the plant sip it back — a simple, cheap form of self-watering. Our full walkthrough is in how to bottom water (the same principle works for full-size containers).
7. Add Drip Irrigation or Self-Watering Pots
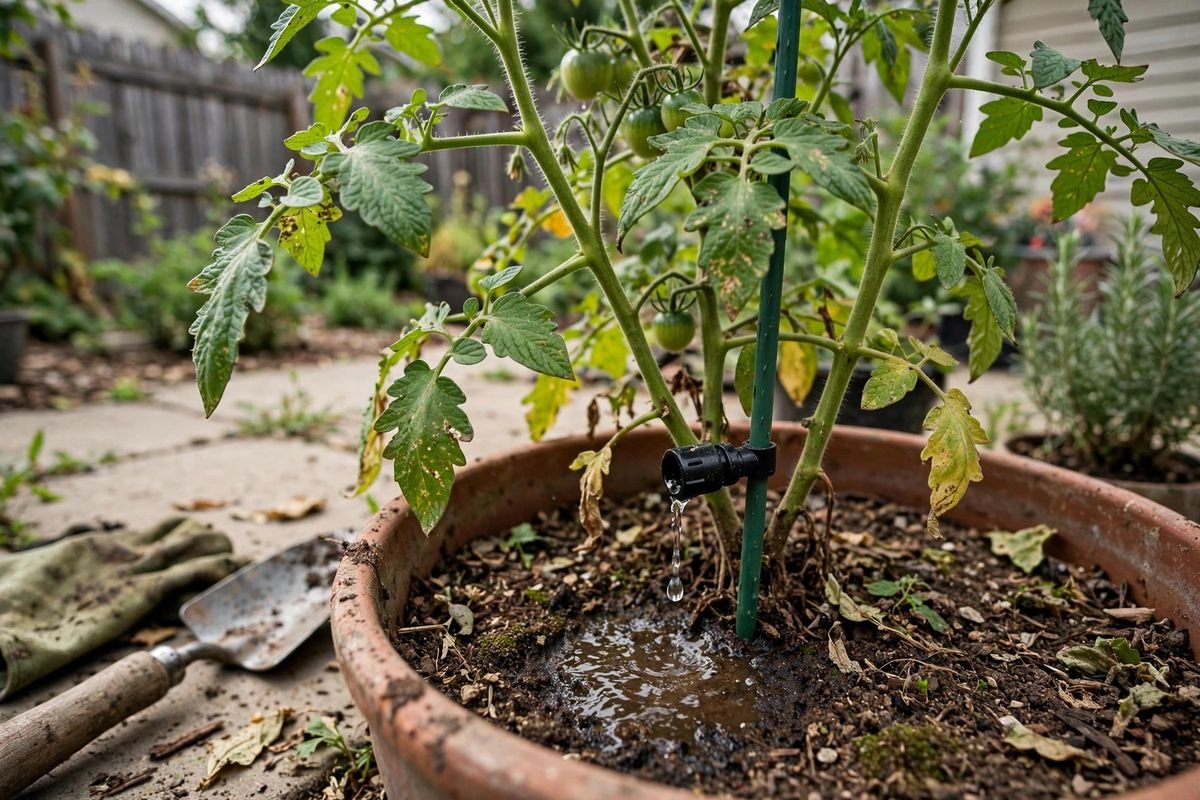
A simple drip kit with adjustable emitters turns watering into a background task. One emitter per pot, run from a hose timer, delivers slow, deep water right where roots need it — and slow delivery means far less runoff than a hose blast. A basic drip irrigation kit for containers plus a battery hose timer is the classic upgrade for busy gardeners.
Self-watering planters with built-in reservoirs are the other low-effort option: you fill the reservoir every few days instead of watering daily. They shine for thirsty crops and for anyone who travels.
8. Group Pots and Give Them Afternoon Shade
Pots clustered together shade each other’s walls and create a pocket of humid air — the group dries noticeably slower than the same pots scattered across a patio. Moving containers off hot concrete onto soil, mulch, or even a wooden pallet also helps, since concrete radiates heat into pot walls.
In extreme heat, shifting pots to a spot that gets afternoon shade is legitimate plant care, not cheating. Many vegetables do fine with morning sun and afternoon shade when temperatures climb past 90°F.
9. Check Moisture Before You Water
The finger test never lies: push a finger 1–2 inches into the mix. Cool and damp? Wait. Dry and crumbly? Water now. A soil moisture meter takes the guesswork out if you have a lot of pots — just know that cheap meters are approximate guides, not lab instruments. The goal is to water on the plant’s schedule, not the calendar’s.
Troubleshooting: When Pots Still Dry Too Fast
- Water runs straight through: the mix is hydrophobic or too coarse. Bottom-water to rehydrate, then top-dress with compost.
- Only the top dries: that’s normal and fine — check 2 inches down before watering.
- Plant wilts every afternoon but recovers by morning: heat stress more than drought; add afternoon shade and mulch before watering more.
- Soil level keeps dropping: organic matter is decomposing and settling — top up with fresh mix or compost mid-season.
FAQ
Should I put rocks in the bottom of pots to hold water?
No — a gravel layer doesn’t improve water retention; it just raises the perched water table and steals root space. A uniform, quality mix all the way through drains and holds water more evenly. For the drainage-hole details, see how many drainage holes a pot should have.
Do saucers cause root rot?
A saucer that stays full for days can suffocate roots, but a saucer that empties within a few hours is fine and genuinely helps in hot weather. Empty saucers after heavy rain.
Is it okay to water containers every day in summer?
Yes, if the plant needs it — many large fruiting containers in hot climates genuinely need daily water. The fixes above reduce the need, but daily watering in peak summer is normal, not a sign you’re doing something wrong.
Sources & Further Reading
- Cornell Cooperative Extension — container gardening and watering guidance (Cornell Garden-Based Learning)
- Iowa State University Extension — “Container Vegetable Gardening” publication
- Clemson Cooperative Extension — “Container Gardening” fact sheet (HGIC 1251)
- University of California Agriculture and Natural Resources — container growing guidance
More container growing posts to explore:
- Container Gardening for Beginners: What Grows Best in Pots
- What Size Pot Does a Tomato Plant Need?
- How to Protect Balcony Plants From Strong Wind
Mulch first, size up second, and let the finger test — not the calendar — decide when to water. Your pots (and your schedule) will thank you. Which fix are you trying first this season?