

This post may contain affiliate links. If you buy through links on this page, we may earn a commission at no extra cost to you.
As an Amazon Associate I earn from qualifying purchases.
Seed starting ends in late spring, and the grow lights that ran for months suddenly have nothing to do until fall. A bar left on a shelf with dust on the diodes and a cord tangled around it will still turn on in September, but months of heat, dust, and damp air wear down the parts that matter. A short storage routine protects the lights and saves a scramble when seedlings need them again.
This guide walks through the six steps in order: unplug and cool, clean, coil and label, measure the storage space, pick the right spot, and test before fall reuse. The worked example uses a common setup, four shelves with two 2-foot bars each, and shows how little space the whole set needs once it is packed flat. For the setup side of the same gear, see our guide on how to set up grow lights on a shelving unit.
Unplug and let the lights cool
Pull the plug before you touch any part of the light. A bar that has been on all day holds heat in the housing, and wiping a hot bar can smear dust into the surface instead of lifting it off. Give each bar at least 30 minutes after switch-off before you clean it, and let screw-in bulbs cool until you can hold them without flinching.
Unplug the timer at the same time, and write down its settings before you clear them. Timers lose their programs when they sit unplugged for months, and the on-off schedule you tuned in spring is easy to forget by fall. A strip of masking tape on the timer with the hours written on it takes ten seconds and saves a full re-tune later. For a refresher on timer settings, see our guide on how to use a timer with grow lights.
Check each cord as you unplug it. Look for nicks, melted spots near the plug, and any place where the cord bends sharply at the housing. A cord with cracked insulation should not go back into service, and summer storage is the right time to spot that damage, not the week seedlings are waiting.
Clean the bars and bulbs
Dust on the diodes blocks light, and a season of misting and soil dust leaves a film that a dry cloth alone will not always lift. Start with a dry microfiber cloth and wipe the full length of each bar, top and bottom. Then dampen a second cloth with warm water and a drop of mild dish soap, wipe again, and finish with a dry pass so no moisture sits in the seams.
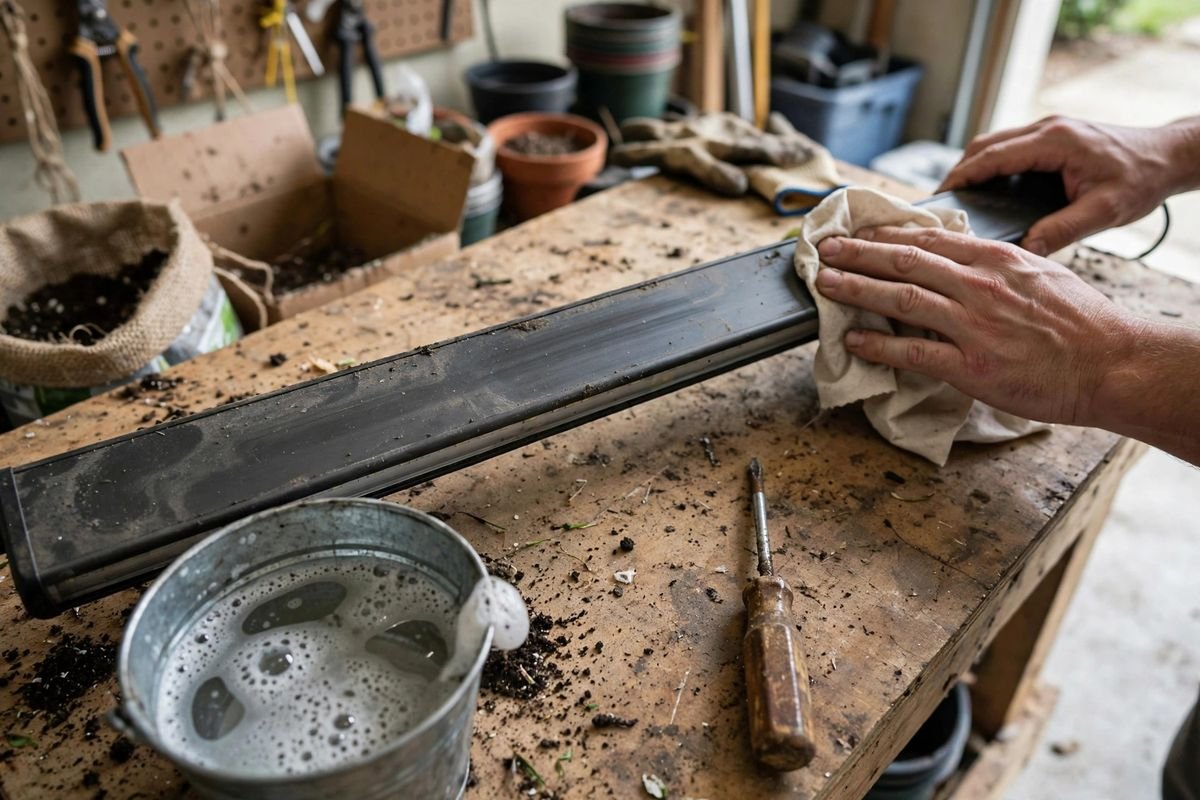
Never spray water or cleaner straight onto a bar or a bulb. Liquid that runs into the housing or the socket can corrode contacts over the summer, and a light that worked in May can fail in September for that reason alone. Dampen the cloth, not the light. For screw-in bulbs, wipe the glass and check the metal base for green or white corrosion, which points to damp air in the growing area.
Clean the vents and any fan grilles too. A soft brush or a dry toothbrush clears dust from slots that a cloth cannot reach. Blocked vents make a bar run hot, and heat shortens the life of the diodes. Four cloths cover a full rack in this guide: one dry and one damp cloth per two bars, with a fresh cloth if the first one picks up heavy soil dust. If you need more cloths, you can browse microfiber cleaning cloths on Amazon. We have not tested the products linked here, and we give no current store prices. Check each listing for current dimensions, materials, and pack counts before you buy.
Coil the cords and label each light
Coil each cord in loose loops about 12 inches across, and fasten the coil with a reusable tie or a strip of hook-and-loop tape. Tight knots and sharp bends stress the wires inside the cord, and a cord that was fine in spring can develop a break at the bend after a summer of hanging folded. Keep the coil with its own light, not in a shared pile where cords tangle and plugs snag.
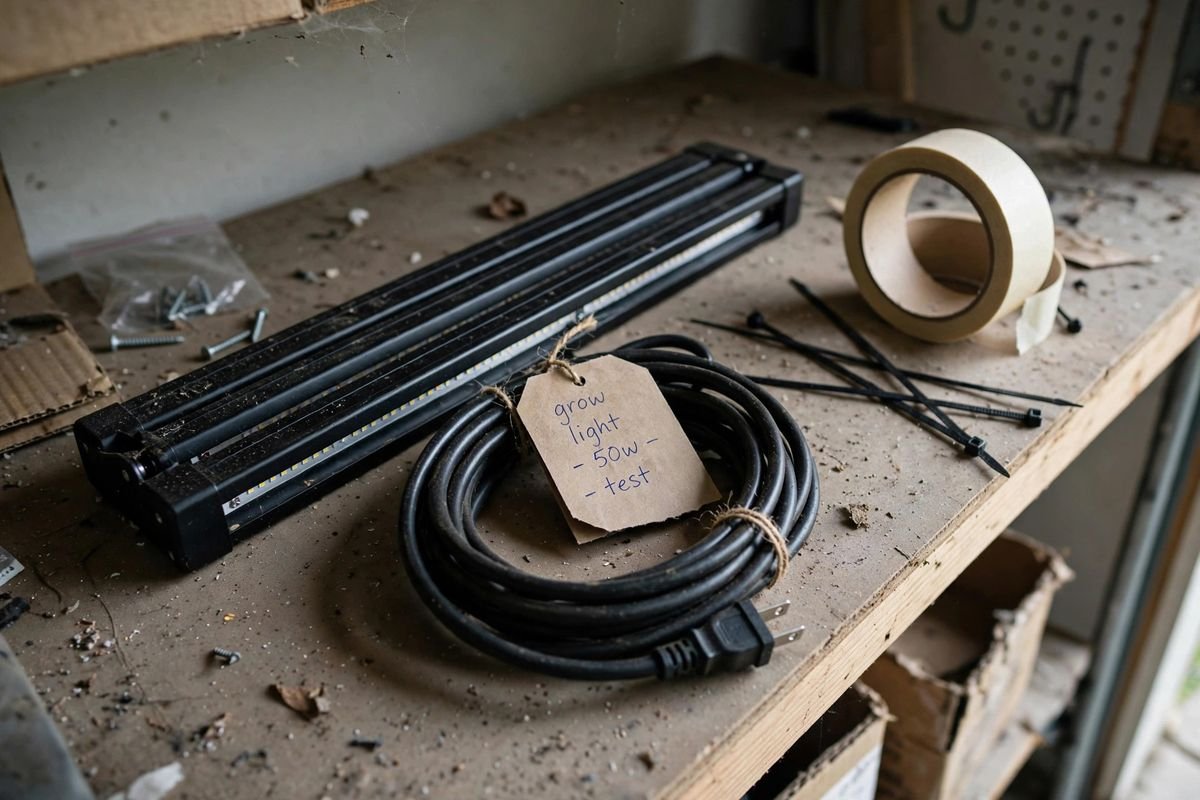
Label every bar and every cord with the same tag. Write the shelf it hung on, the wattage, and the month it went into storage. A tag that reads “shelf 2, 40W, June” tells fall-you exactly what the light is and where it belongs, without a guessing game at setup time. Masking tape and a thick marker hold up all summer in a garage, and the tape peels off clean in fall.
Keep the timer with the light it served. A timer stored in a different box from its light is a timer you will hunt for in September. If you run two timers on one rack, label each one with its shelf number so the pair stays matched. If you need ties for the coils, you can browse reusable cable ties on Amazon.
Our worked example: one bin holds a four-shelf setup
Here is the storage math for a common setup: a four-shelf rack with two 2-foot LED bars on each shelf, eight bars in total. Each bar measures 24 inches long, 2 inches wide, and 1.5 inches tall. Each cord is 6 feet long and coils into a loop about 6 inches across and 1 inch thick. Two plug-in timers serve the rack. These are our own computed numbers, and the assumptions are stated in the table below.
| Item | Count | Size each | Volume |
|---|---|---|---|
| LED bar | 8 | 24 by 2 by 1.5 inches | 72 cubic inches each, 576 total |
| Cord coil | 8 | 6-inch loop, 1 inch thick | About 28 cubic inches each, 226 total |
| Plug-in timer | 2 | 3 by 2 by 1.5 inches | 9 cubic inches each, 18 total |
| Total gear | About 820 cubic inches, 0.47 cubic feet |
One cubic foot holds 1,728 cubic inches, so 820 divided by 1,728 gives 0.47 cubic feet for the whole rack. An 18-gallon storage bin holds 2.4 cubic feet, because 18 divided by 7.48 gallons per cubic foot is 2.4. One bin holds the full set with room to spare for the timers, the ties, and a spare cloth.
The shelf-space math gives the same answer from the other side. Stack the eight bars flat in two stacks of four. Each stack has a footprint of 24 by 2 inches and stands 6 inches tall. Both stacks side by side need 24 by 4 inches of shelf, or 96 square inches. A standard 48 by 18 inch shelf has 864 square inches, so the full rack of lights takes about 11 percent of one shelf. If you need a bin, you can browse plastic storage bins with lids on Amazon.
Pick a dry, dark storage spot
A garage shelf, a closet shelf, or the space under a workbench all work, as long as the spot stays dry and out of direct sun. Sunlight through a garage window degrades plastic housings over a summer, and a bar left in a sunny corner can yellow and turn brittle. A dark corner or a closed bin blocks that light.

Set the lights off the floor, even inside a bin. Garage floors sweat in damp weather, and a bin sitting flat on concrete can wick moisture through a small gap in the lid seal. A shelf, a pallet, or a few scrap boards under the bin keeps the bottom dry. Keep the bin away from fertilizer bags and chemicals, because dust and drips from those bags can settle on the lights.
Cover the bars with an old towel or a sheet if they sit open on a shelf. The cover keeps dust off the diodes and stops a falling tool from scratching the lens. Do not stack heavy boxes on top of the bars. A bar under a box of pots can bend, and a bent housing can crack a diode board.
Heat alone is less of a problem than damp. A hot garage in July will not hurt an unplugged LED bar, but damp air will corrode contacts and sockets over months. If your garage gets damp, put the bars in a lidded bin with a few silica gel packets, or move the bin to a drier closet indoors.
Check the lights before fall reuse
Test the lights two weeks before you plan to start seeds, not the day the seeds go in. Plug each bar in on a bench and look at every diode. A bar with a dark section or a flicker needs a fix or a replacement, and two weeks gives you time to order one. If a bar is dead when you test it, our guide to the best grow lights for seedlings can help you pick a replacement.
Test the timer on the same day. Plug the timer in, set a short on-off cycle, and confirm it switches the light. A timer that sat unplugged all summer can lose its program or stick in one position, and a timer that stays on all night will stretch seedlings. For help picking a timer, see our guide on the best timers for grow lights.
Use your local frost dates and regional planting guidance — not your USDA hardiness zone alone — to choose planting dates. That rule sets the seed-starting date, and the seed-starting date sets the day the lights come out of storage. Count back from your last frost date by the days each crop needs indoors, and test the lights a full two weeks before that date.
Troubleshooting
The light flickers after storage
A flicker after months in storage often traces to a loose plug or a corroded contact. Push the plug firmly into the outlet and the cord firmly into the bar, and wipe the plug prongs with a dry cloth. If the flicker stays, try a different outlet to rule out the socket. A bar that still flickers on a known-good outlet has a failing driver and should be replaced.
One section of diodes stays dark
A dark section on a bar points to a dead diode group or a cracked board inside the housing. Check whether the bar was stored under weight or took a knock during the move. A single dark section does not always mean the bar is useless, but the light over that section will be uneven, so seedlings under it will lean. Replace the bar if the dark area covers more than a small part of its length.
The cord smells hot or the plug is loose
Unplug the light at once and do not use that cord again. A hot smell or a plug that wobbles in the socket means damaged wiring, and a damaged cord is a fire risk. Replace the cord if the maker sells one, or retire the light. Never wrap a damaged cord in tape and keep using it.
The bar works but the seedlings still stretch
Stretch after storage usually means the light hangs too far above the seedlings, not that the bar is broken. Lower the bar to the distance the maker lists for seedlings, and check that the timer still runs the hours you set. Dust left on the diodes also cuts light, so wipe the bar again if you skipped the cleaning step.
Frequently asked questions
Can I leave grow lights hanging all summer?
You can, but they collect dust and sit in damp summer air for months, and a hanging bar is easy to knock while you move other gear. Taking them down, cleaning them, and storing them flat takes under an hour for a full rack and keeps the diodes clean for fall.
Should I store lights in a hot garage?
Heat alone does not hurt an unplugged LED bar, but damp does. A hot, dry garage is fine. A damp garage calls for a lidded bin, and a garage that floods in storms calls for a shelf well above the water line or a spot indoors.
Do LED bars need a cover in storage?
A cover helps when the bars sit open on a shelf, because it keeps dust off the diodes and stops scratches. A towel, an old sheet, or a pillowcase all work. Bars inside a closed bin do not need a separate cover.
How long do LED grow lights last?
Most LED bars run for many seasons when they are kept clean, dry, and free of knocks. The diodes fade slowly rather than burning out at once, so a bar that looks dimmer than it did three years ago is likely at the end of its useful life even though it still turns on.
Sources and further reading
- University of Minnesota Extension, Growing Plants Indoors With Artificial Light
- Penn State Extension, Indoor Lighting for Plants
Related reading: How to Set Up Grow Lights on a Shelving Unit, Best Grow Lights for Seedlings, Best Timers for Grow Lights, How to Use a Timer With Grow Lights
By the Pot and Plot Team