
This post may contain affiliate links. If you buy through links on this page, we may earn a commission at no extra cost to you.
As an Amazon Associate I earn from qualifying purchases.
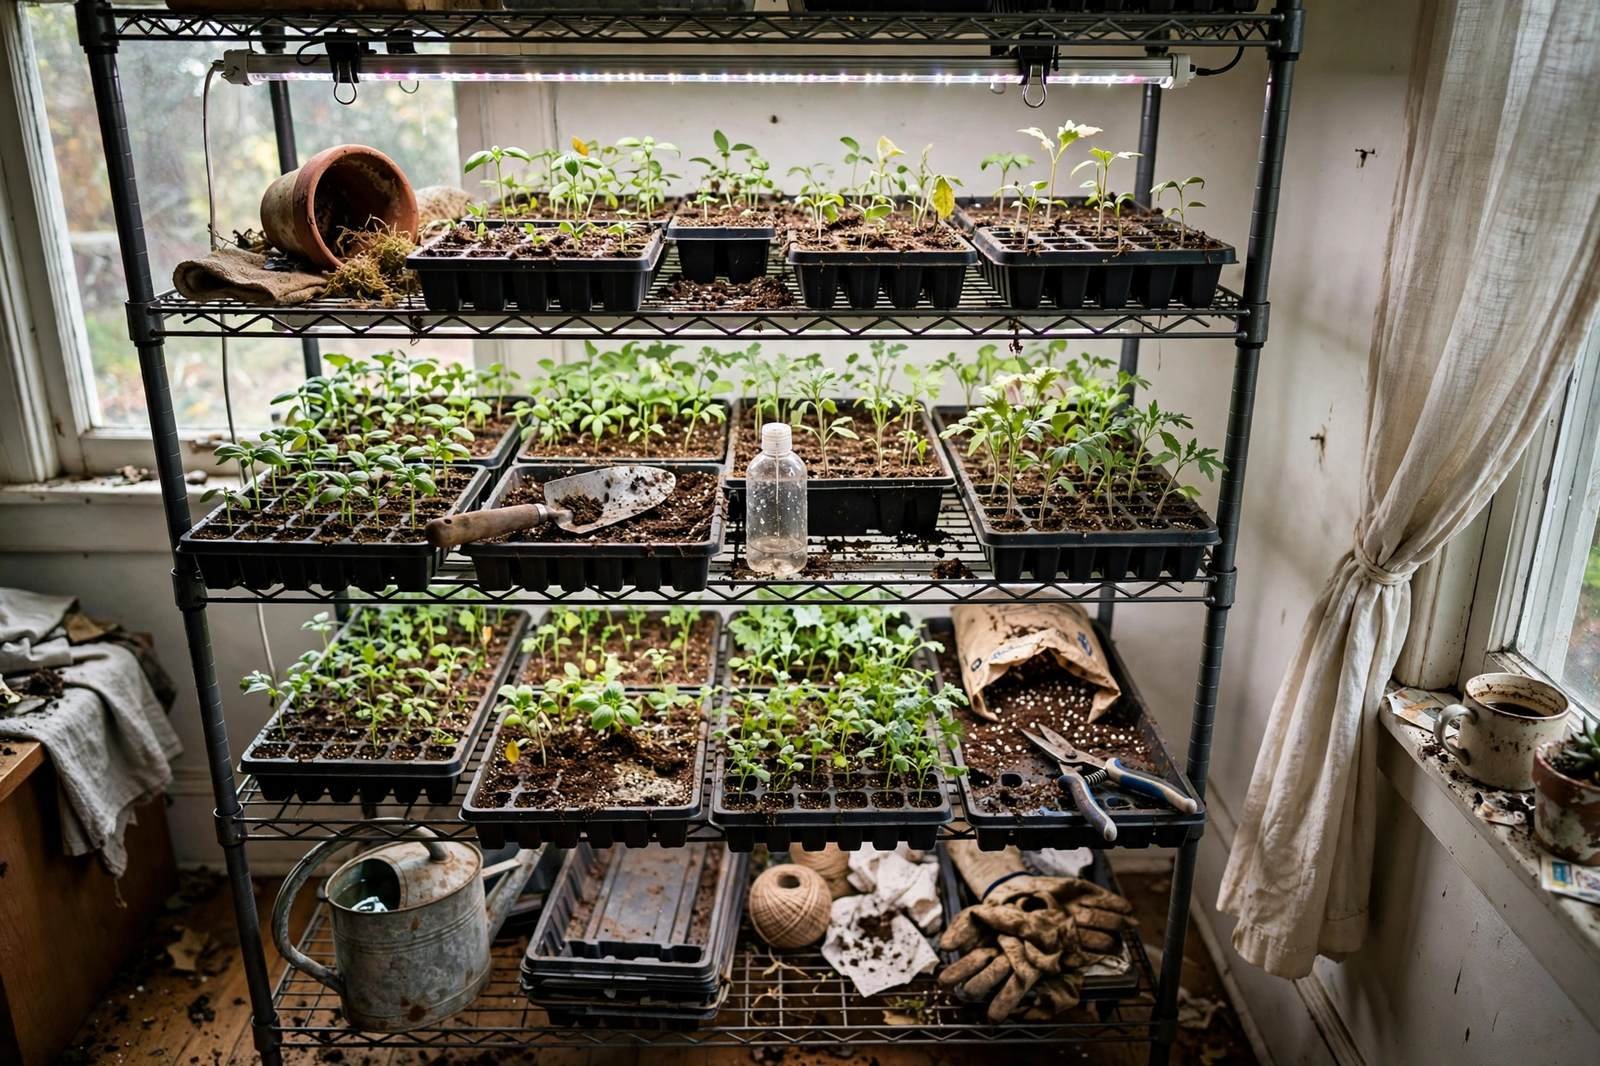
A wire shelving unit, a few light bars, and a timer: that humble stack in a spare room or garage corner is the engine behind most home seed starting. Set it up well and you get compact, dark-green transplants on your schedule. Set it up casually — lights dangling too high, cables in the watering path, trays hanging off the edges — and you get leggy seedlings, daily frustration, and a quiet urge to buy nursery starts instead.
This guide shows you how to plan, mount, wire, and fine-tune a grow light shelving unit that actually works, from choosing the shelf to the small safety habits that keep water and electricity politely apart.
| Best all-around shelf | Steel wire shelving, 36–48 inches wide, 18 inches deep, height adjustable |
|---|---|
| Shelf spacing | 14–20 inches between tiers for seedlings; adjustable shelves preferred |
| Lights per shelf | One 4-foot LED bar or two 2-foot bars per standard 1020 tray row |
| Light height | Fixture 2–4 inches above the canopy, adjustable as plants grow |
| Controls | Outlet timer set to 14–16 hours on, plus a switched power strip |
Start With the Shelf Itself
Steel wire shelving earns its popularity for seed starting. The open wire lets light and air pass, shelves adjust in small increments, and the units are light enough to move but strong enough for trays, lights, and the occasional full watering can. Solid shelves work too, but wire makes hanging lights and routing cables far easier.
Size is your first real decision. A 36- or 48-inch-wide unit fits standard 1020 seed starting trays neatly in rows and matches common 4-foot light bars. Depth of 14–18 inches holds one row of trays front-to-back with a little working room. Go narrower only if your space demands it — a cramped shelf stays cramped all season. A typical 4-tier adjustable wire shelving unit gives most home growers two lit shelves plus storage, with room to grow.
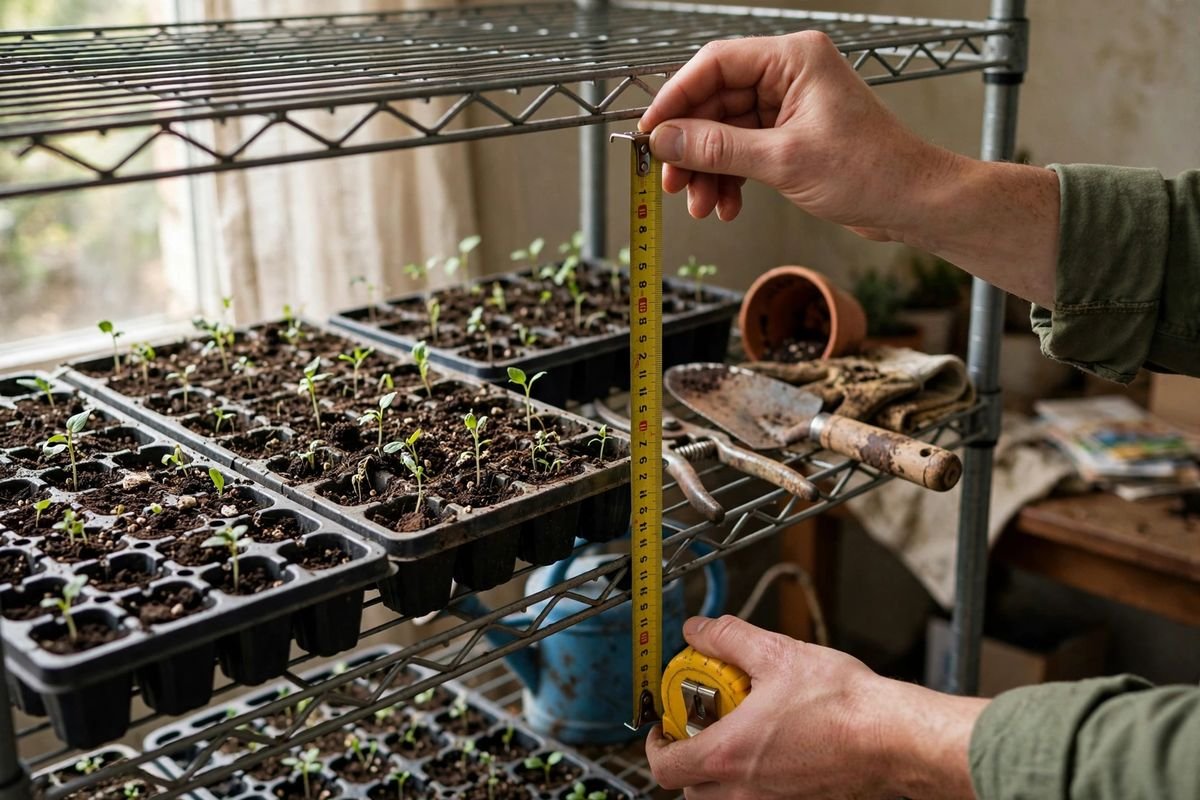
Measure your ceiling and your doorway before you order. Tall units are wonderful until they refuse to turn the corner into the spare room. Also plan the home for the unit: a spot with an accessible outlet, away from direct heating vents, where a little splashed water will not ruin flooring. A washable mat under the unit saves floors and nerves.
Choose Lights That Fit the Shelf
Light bars are the natural match for shelving because their shape mirrors the tray row beneath them. Full-spectrum white LED bars give even coverage edge to edge, run cool, and sip electricity compared with older fixtures. Bulb-based setups can work for a single small tray, and we compare the trade-offs honestly in grow light bars vs. bulbs.
Match fixture length to shelf length. A 48-inch shelf pairs with a 4-foot bar; a 36-inch shelf pairs with a 3-foot or paired 2-foot bars. One bar per tier is enough for most seed starting when hung close; two bars side by side help for wider shelves or light-hungry crops. If you are pairing this build with your first trays, our notes on best seed starting trays will help you keep tray and light footprints in sync.
Skip fixtures marketed with inflated wattage claims and no real specifications. For seedlings, even and close beats exotic. A modest bar hung two inches above the canopy outperforms a powerful light hung two feet away, every time — which is also the short answer to why seedlings get leggy under grow lights.
Plan Shelf Spacing Before You Hang Anything
Seedlings need headroom, but wasted inches are wasted shelves. We plan 14–20 inches between tiers: enough for the fixture, the tray, and a plant that will reach 6–10 inches before transplant, with air to spare. Adjustable shelves let you tighten spacing for young trays and open it for taller transplants later.
Set your shelf heights with a real tray and a real light in hand, not from the product diagram. Stack the tray, hold the light at working distance, add the tallest plant height you expect on that tier, then add two inches of breathing room. That is your tier spacing. Repeat per tier — pepper shelves and tomato shelves rarely want the same height in April.
Hang the Lights So They Can Move
Seedlings grow up toward a fixed light, so the light — or the tray — must move. The common, reliable methods are adjustable chains with S-hooks, ratchet hangers borrowed from the indoor-growing world, and simple zip ties paired with risers under the trays.
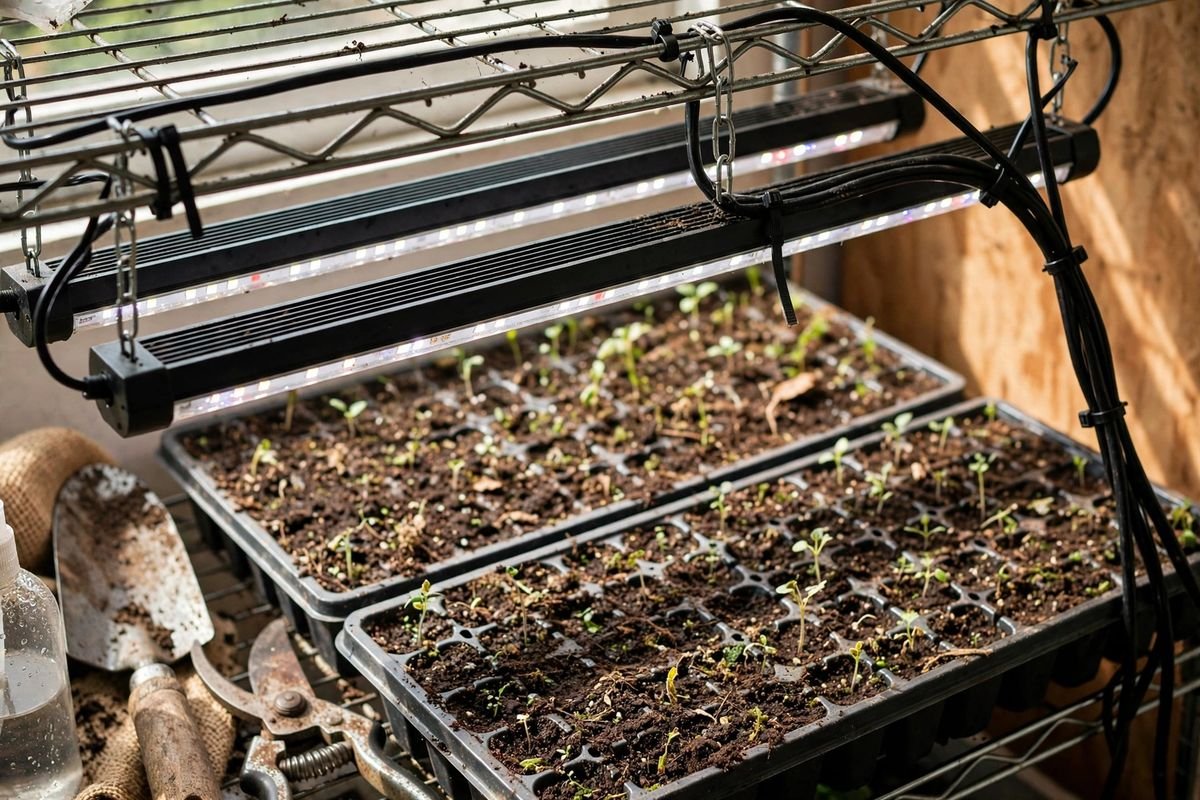
Chains and hooks are our default recommendation: cheap, strong, and adjustable one link at a time without tools. Ratchet hangers are smoother still — pull a cord to raise, press a tab to lower — and worth it if you adjust often. Whichever you choose, hang every fixture level, test its hold with a firm tug, and never trust a single zip tie with a fixture over water. Redundancy is a virtue anywhere electricity, water, and gravity share an address.
The tray-riser trick deserves mention too: set young trays on upturned empty pots or sturdy boxes to bring them close to a fixed light, then remove height as plants grow. It is the same principle as our broader seed starting station layout, applied one shelf at a time.
Arrange Trays, Mats, and Airflow
With lights hung, load the shelves thoughtfully. Trays sit centered under their fixtures — light falls off toward the edges, so rotate trays a quarter-turn every few days for even growth. Leave a small gap between trays for air; wall-to-wall plastic traps humidity and invites mold.
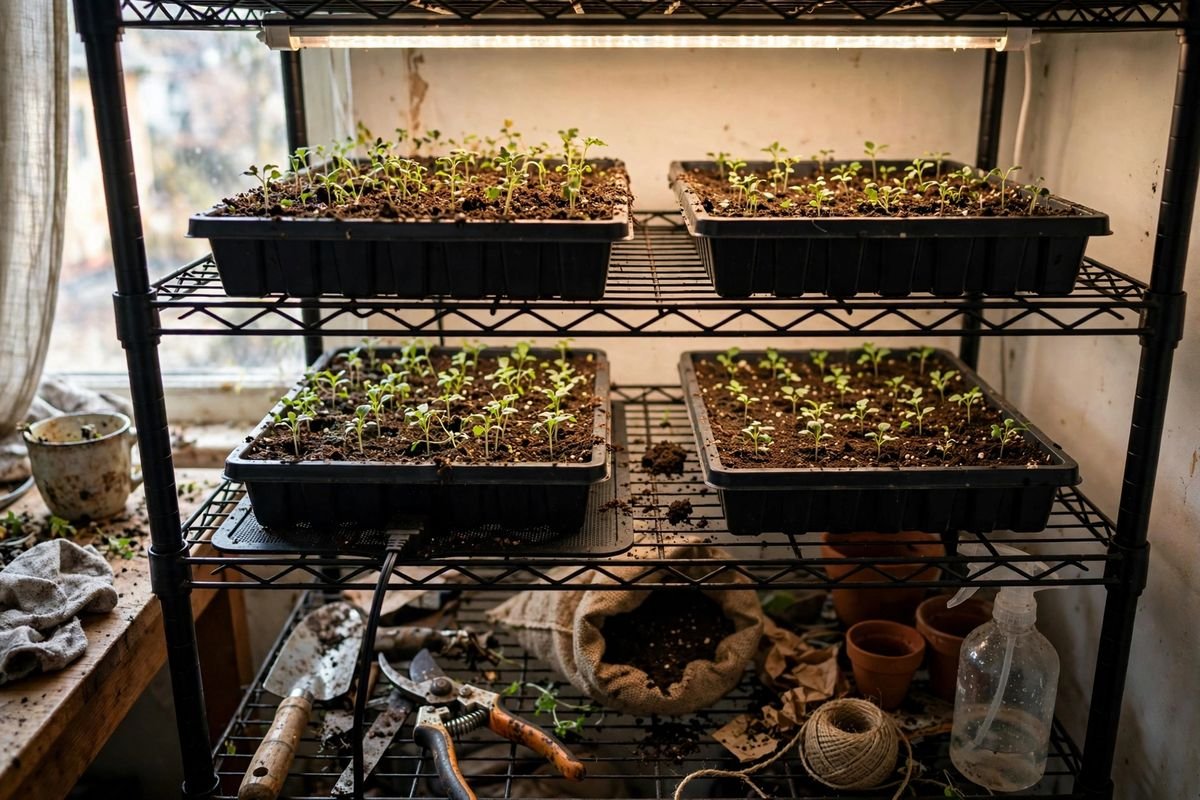
Heat mats, if you use them for germination, belong under the tray for the sprouting window only. Once seedlings are up, remove the mat so roots stay cool. Pair that habit with a small fan moving air gently across the tops of the plants for part of the day. Moving air discourages fungal problems and encourages the short, thick stems every seed starter wants. A compact seedling heat mat with a thermostat is a reasonable buy for germination shelves; just retire it on schedule.
Wire It Safely: Timers, Strips, and Water Discipline
Every light on the unit should run through one timer so the whole station keeps the same day: 14–16 hours on, 8–10 off, automatically. Plug the timer into the wall, a quality power strip into the timer, and fixtures into the strip. That chain gives you one switch for the whole unit and a schedule that survives your busiest week. A simple outlet timer for grow lights pays for itself in saved seedlings the first time you forget a manual switch.
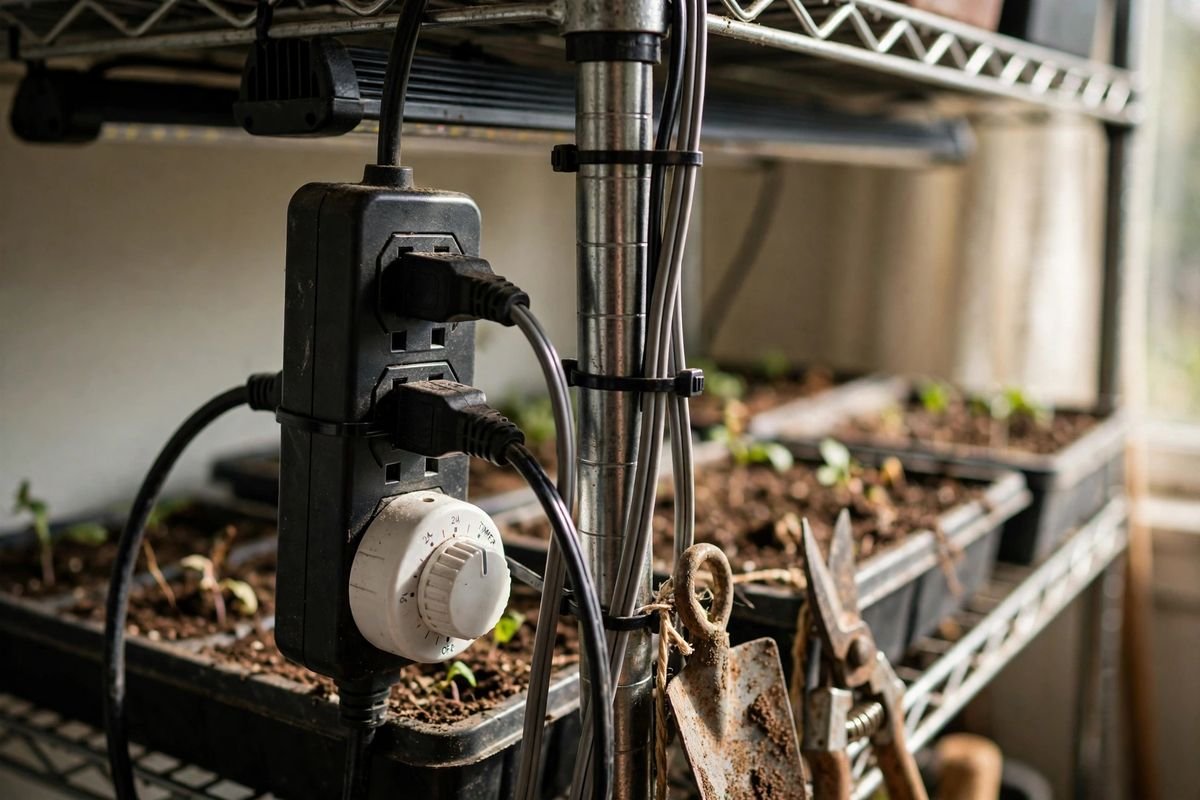
Safety habits that matter: mount the power strip on the side of the unit, raised off the floor and away from the watering path. Add drip loops — let each cord dip below the outlet before rising to it — so stray water runs down and drips off rather than tracking into the socket. Keep cords off wet surfaces, never daisy-chain strip into strip, and keep the total load comfortably under the strip rating. Water seedlings at the tray, with the strip in sight and dry. It takes one extra second and removes nearly all the risk in the system.
Two Sample Layouts
The starter two-shelf. One 36-inch unit, two lit tiers, four to six trays total. Top tier for germination with a mat, lower tier for growing on. Fits a corner, feeds a modest garden, and teaches you your own habits before you scale.
The four-tier producer. A 48-inch unit with three lit tiers and one storage tier for soil, labels, and spare trays. Stagger sowing dates by tier — cool-season crops up top, warm-season below — and the unit runs from late winter to late spring without idle weeks. If you garden in containers too, the same trays feed straight into your container plans for spring.
Both layouts follow one rule: every tier earns its electricity. An unlit, unplanned shelf becomes storage creeping toward the lights. Decide each tier’s job before the season starts.
Troubleshooting Shelving Setups
| Seedlings leggy despite lights | Fixture too high or day too short. Lower to 2–4 inches above the canopy and confirm 14–16 timer hours. |
|---|---|
| Plants leaning to one side | Uneven coverage. Center trays under fixtures and rotate a quarter-turn every few days. |
| Algae or mold on soil surface | Too wet, too still. Water from below, let surfaces dry slightly, and add gentle fan time. |
| Shelf feels wobbly | Load uneven or feet unlevel. Level the feet, keep heavy trays low, and check shelf clips are seated. |
| Tripped breaker or warm strip | Overload risk. Add up fixture wattage, stay under strip and circuit ratings, and split tiers across circuits. |
FAQ
How far apart should shelves be for seedlings?
Plan 14–20 inches between tiers for most vegetable seedlings. Measure with a real tray, the fixture at working height, and the tallest plant you expect on that tier, then add two inches. Adjustable wire shelves make this easy to tune mid-season.
How many grow lights do I need per shelf?
For a standard 36–48 inch shelf with one row of 1020 trays, one full-length LED bar hung close to the canopy is usually enough. Wider shelves or very light-hungry crops do better with two bars side by side for even coverage.
Can I put my shelving unit in a garage?
Yes, if temperatures stay moderate. Seedlings grow stockiest around 60–70°F after germination. An unheated winter garage can be too cold and a summer garage too hot, so check with a simple thermometer before committing a whole season to the spot.
Do I need a fan on a seed-starting shelf?
We strongly recommend one. A small fan on low for a few hours a day strengthens stems through gentle movement and reduces the damp, still air that encourages fungal problems. It is the cheapest quality upgrade in the whole setup.
Sources & Further Reading
- University of Minnesota Extension — starting seeds indoors, lighting, and seedling care guidance (extension.umn.edu)
- Purdue University Extension — indoor seed starting and transplant production resources
- Iowa State University Extension and Outreach — starting seeds indoors under lights
- USDA Agricultural Research Service — plant growth responses to light and environment
Measure twice, hang level, keep the lights close and the cords dry. A shelving unit built on those habits turns a spare corner into the most productive square footage in your home each spring — and your transplants will show it.