
This post may contain affiliate links. If you buy through links on this page, we may earn a commission at no extra cost to you.
As an Amazon Associate I earn from qualifying purchases.
Every gardener remembers their first batch of indoor seedlings: a hopeful row of tomato starts on the windowsill that stretched into pale, floppy noodles leaning toward the glass. The problem wasn’t the gardener — it was the setup. A windowsill in February delivers a fraction of the light seedlings need, and no amount of rotating the tray fixes that.
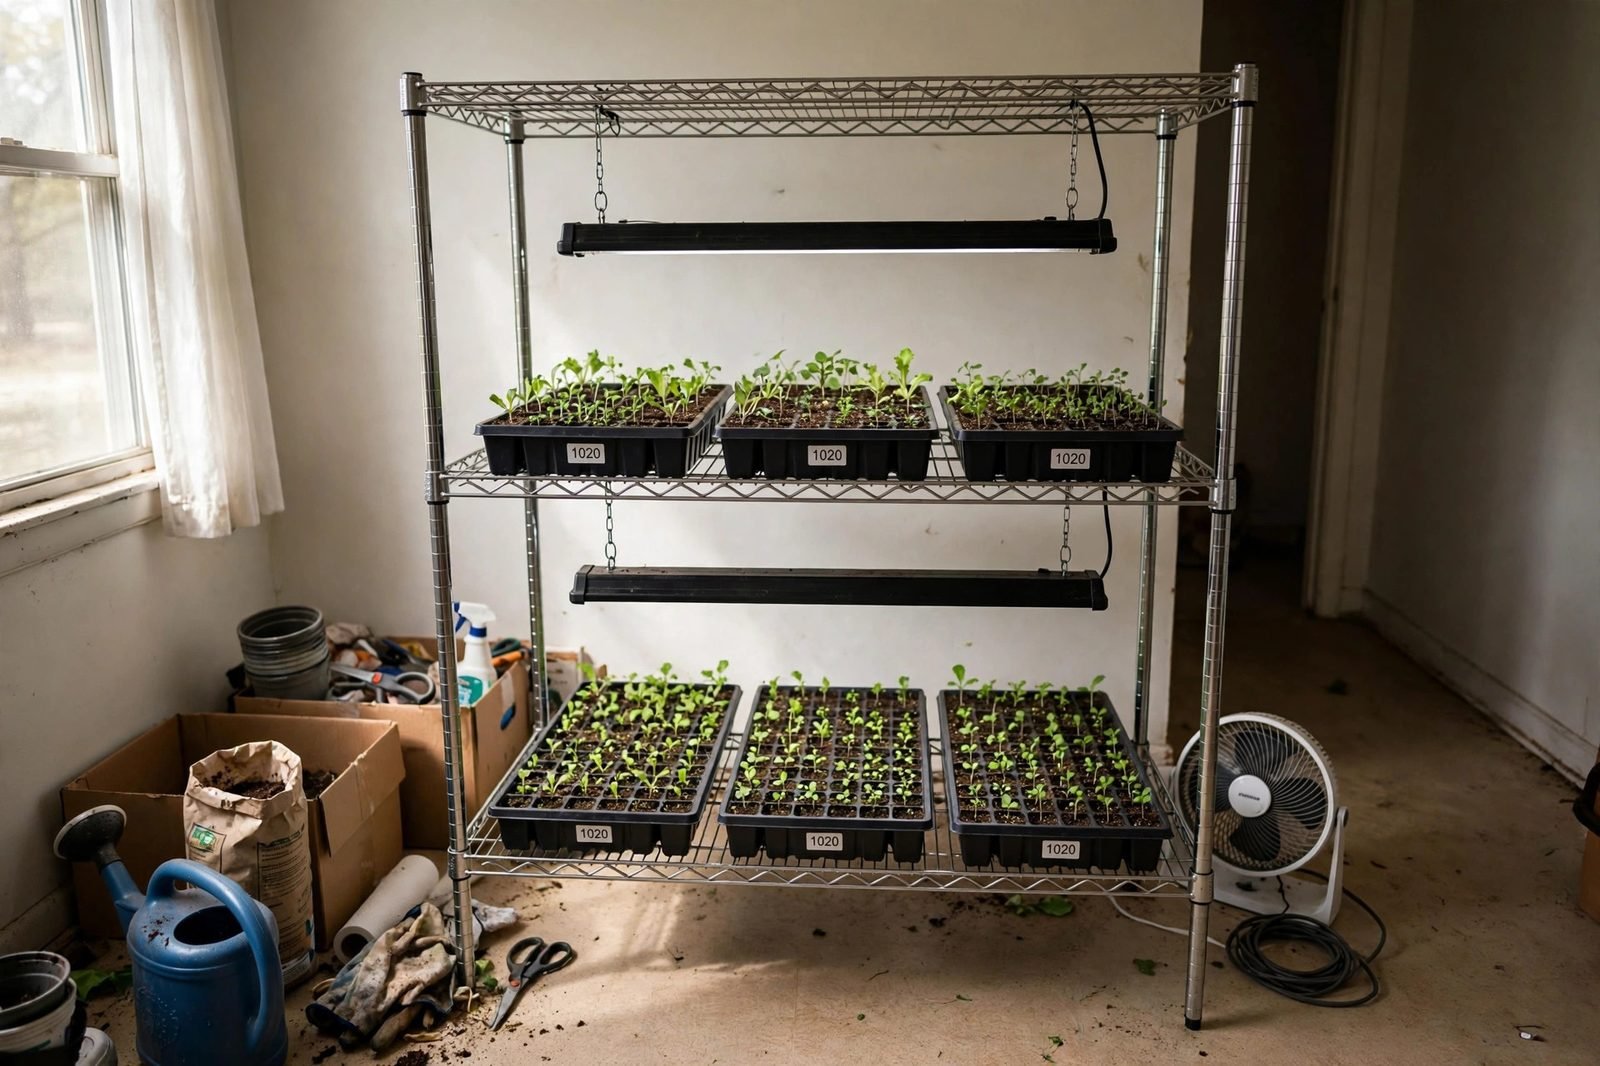
The fix is a dedicated seed starting station: a shelf, a set of grow lights, trays, a timer, and a fan, arranged so hundreds of seedlings get strong light, steady air, and consistent water for the 6 to 8 weeks before transplant day. It sounds like a project, but most gardeners build one in a weekend from parts that last for years.
In this guide, we’ll walk through what a station actually needs (and what it doesn’t), three budget tiers from bare-bones to full build, step-by-step assembly, and the troubleshooting fixes for the problems every beginner hits.
What a Seed Starting Station Actually Includes
Strip away the gadgetry and a station is a handful of things working together:
| Component | Its job | Can you skip it? |
|---|---|---|
| Shelf or sturdy table | Holds the trays; anchors the lights | No — everything hangs off this |
| Grow lights | 14–16 hours of strong, close light | No — this is the whole point |
| Trays, cells & seed-starting mix | A home for the seeds | No |
| Timer | A consistent light schedule without babysitting | Strongly recommended |
| Fan | Airflow for sturdy stems and less disease | Recommended |
| Heat mat + thermostat | Warm soil for peppers, tomatoes, eggplant | Optional — see our heat mat guide |
| Humidity domes | Holds moisture during germination | Nice to have |
If that list looks short, that’s the point. Most failed indoor setups aren’t missing exotic gear — they’re missing close, long-lasting light.
Three Budget Tiers: Pick Your Build
Tier 1 — The Minimalist
The cheapest station that actually works: a sturdy table you already own, one or two 4-foot LED shop lights hung on chains a few inches above the trays, 1020 trays with cell inserts, and a bag of seed-starting mix. You water by hand and switch the lights on and off yourself. The only new gear to buy is lights, trays, and mix.
What you give up: capacity (one table fills up fast), automation, and airflow — brush the seedling tops with your hand daily to toughen the stems. This tier grows perfectly good transplants; it just asks more of your schedule.
Tier 2 — The Workhorse (Our Pick for Most Gardeners)
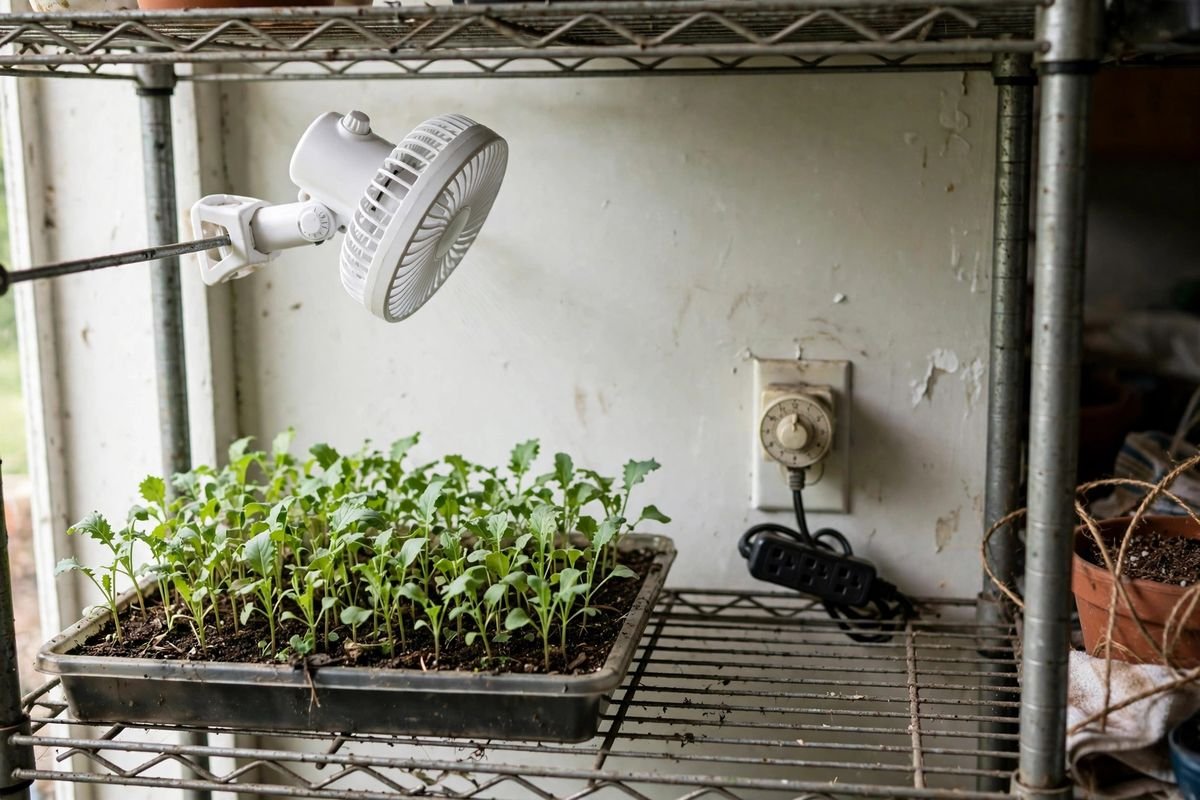
A wire shelving unit with one light fixture per shelf, a plug-in timer running 14–16 hour days, a small clip-on fan, humidity domes for germination, and a heat mat with a thermostat for the warm-season tray. Trays get bottom-watered in solid flats. This is the setup we’d recommend to any gardener starting more than a dozen plants — it practically runs itself on weekdays.
Tier 3 — The Full Build
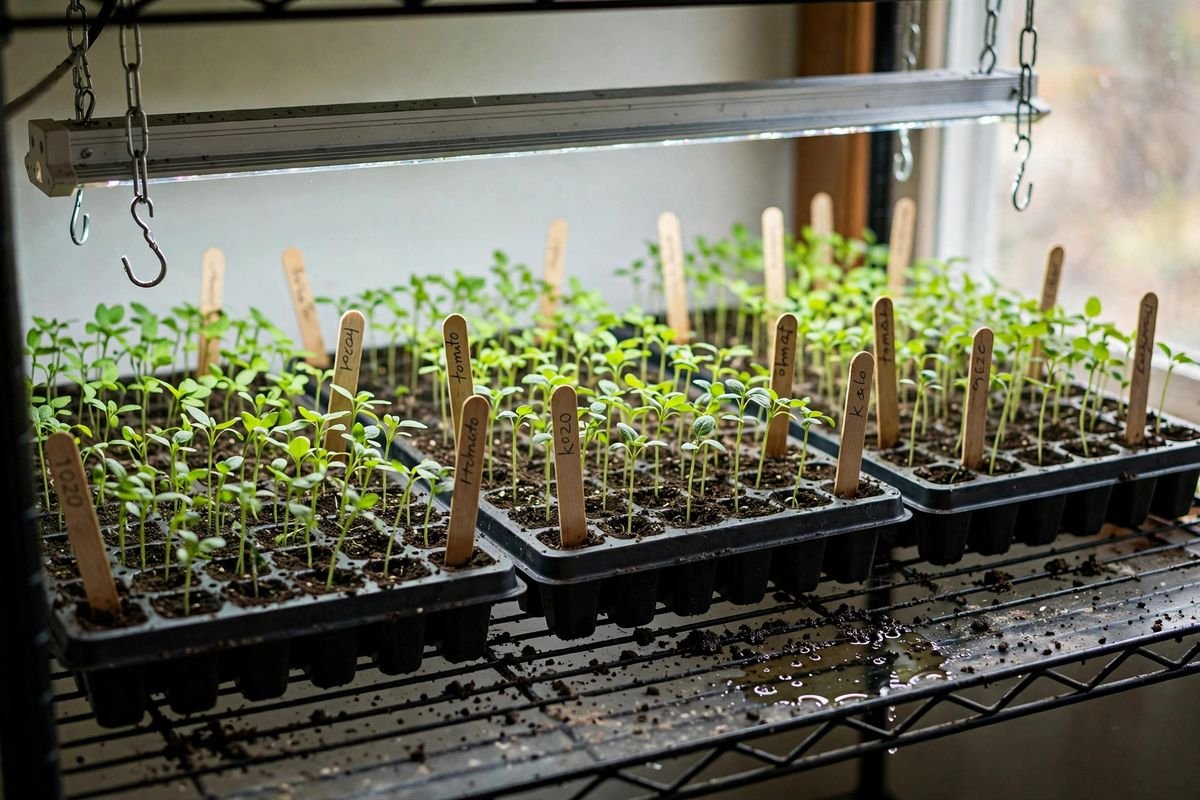
Multiple shelves with a full-spectrum fixture over each, a heat mat and thermostat per warm-crop tray, a fan per shelf, and a real labeling system instead of fading marker on popsicle sticks. Built for big vegetable gardens, seed swaps, and succession sowing every two weeks. Wonderful — and completely unnecessary until your garden outgrows Tier 2.
Whichever tier you choose, the assembly steps below are the same. Start where your budget and ambition meet; you can upgrade a tier at a time over the years.
Step-by-Step: Build It in a Weekend
Step 1: Choose the Spot
Pick a location near an outlet and a water source, with a floor that tolerates the occasional spill — a spare room, basement corner, or heated garage all work. Ambient temperatures of 60–75°F are ideal; cooler spots are fine if you’ll use a heat mat for the warm crops. Keep the setup a few inches off a cold exterior wall in deep winter, and make sure you can reach every tray comfortably for watering.
Step 2: Assemble the Shelf
A basic wire shelving unit is the classic choice: sturdy, adjustable, and ventilated so spilled water drains through instead of pooling. Set shelf heights to leave 18–24 inches of clearance above each tray — enough room for the light fixture, its chains, and seedlings at full pre-transplant height. Anchor tall units to the wall if kids or pets share the space.
Step 3: Hang the Lights
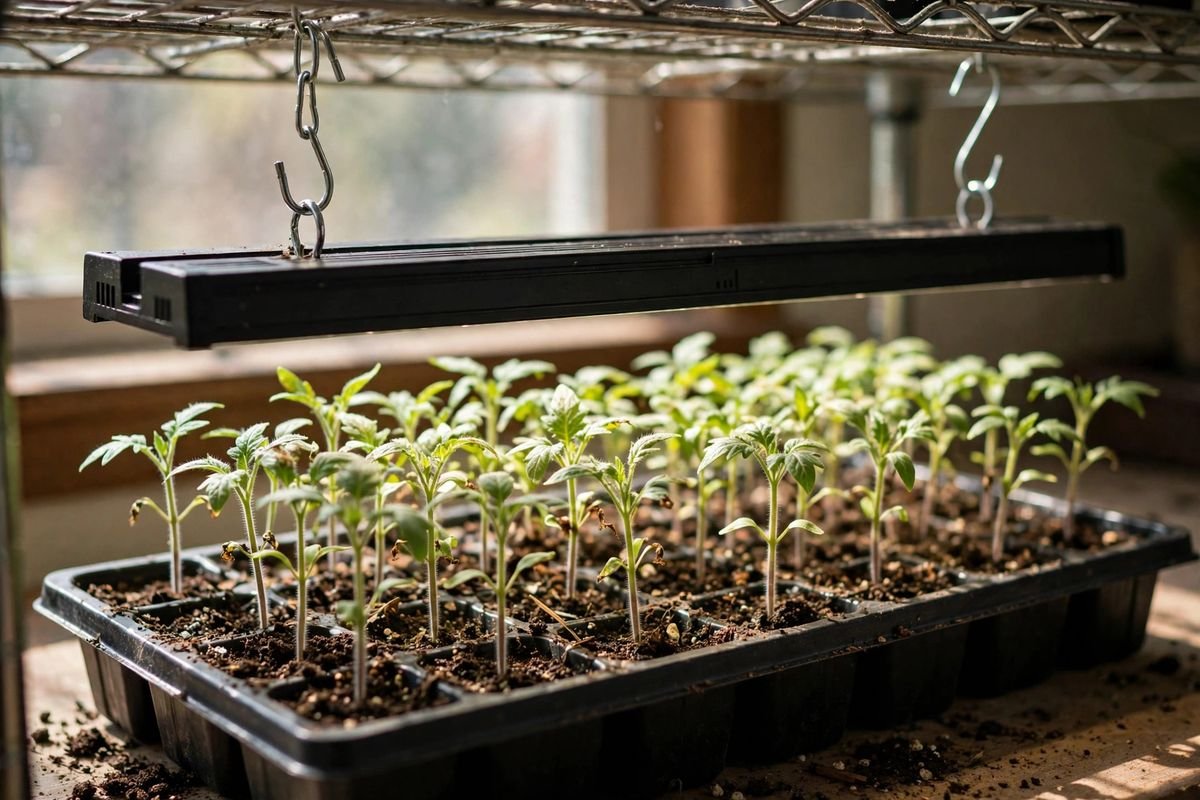
Suspend each fixture on lightweight chain or adjustable rope hangers with S-hooks so you can raise it as seedlings grow. Start with the light 2–4 inches above the tops of the trays — yes, that close. Seedlings stretch toward weak, distant light; close light grows them short and stocky. A simple 4-foot LED shop light in daylight color (5000–6500K) is the budget workhorse here — bright, cool-running, and cheap to leave on all day.
Step 4: Put the Lights on a Timer
Seedlings want 14–16 hours of light a day — more than any winter windowsill provides. A plug-in mechanical timer handles it for very little money: set the on/off pins, plug the lights in, and stop thinking about it. Consistency matters more than perfection — plants adapt to a steady schedule far better than to a random one.
Step 5: Prep Trays and Sow
Fill cell inserts with pre-moistened seed-starting mix — not garden soil, which compacts and harbors disease — and sow at the depth on the packet (roughly twice the seed’s width). Label everything; every gardener has a story about the mystery tray. A standard 1020 tray setup with a solid bottom flat makes bottom-watering easy, and our tray guide compares the sturdier reusable options worth the upgrade.
Step 6: Add Bottom Heat Where It Counts
Peppers, eggplant, and tomatoes germinate dramatically faster in warm soil. Slide a heat mat under just that tray, with the thermostat probe in the soil — our heat mat guide has the temperature targets for each crop. Cool-season crops stay off the mat.
Step 7: Water From Below, Add Airflow
Set the cell tray inside its solid flat and pour water into the flat, letting the mix wick it up — our bottom-watering guide walks through the technique. Once seeds sprout, run a small clip-on fan on low nearby for a few hours a day. The gentle wobble thickens stems and discourages the fungal diseases that love still, damp air.
Step 8: Maintain, Pot Up, and Move Out
Raise the lights as seedlings grow, keeping that 2–4 inch gap. When roots fill the cells and white tips show at the drainage holes, pot up into 3–4 inch pots with regular potting mix. A week or two before transplant day, harden seedlings off with gradually longer outdoor visits. And to time it all: use your local frost dates and regional planting guidance — not your USDA hardiness zone alone — to choose planting dates. For a seasonal sense of what goes in when, see what to plant in October and our easiest vegetables for beginners.
Troubleshooting Your Seed Starting Station
Seedlings are tall, pale, and floppy.
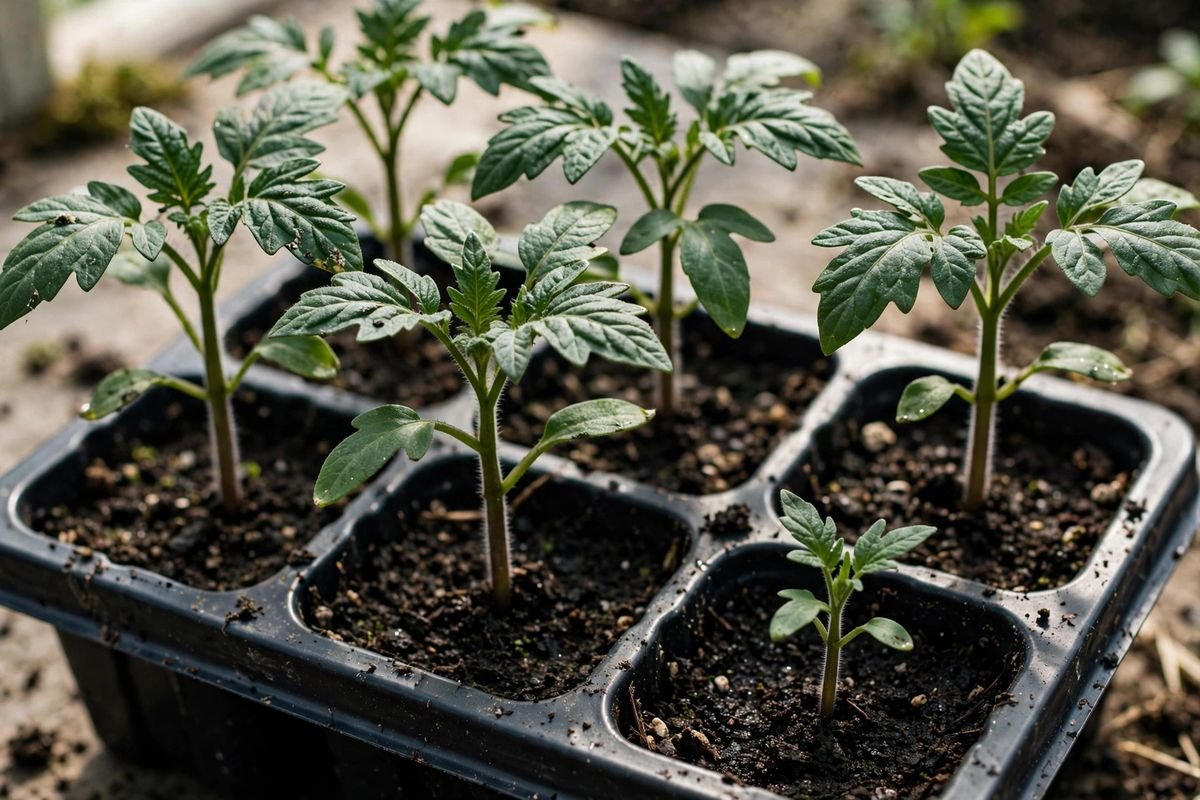
Classic legginess: the light is too far away, too weak, or on for too few hours. Lower fixtures to 2–4 inches above the tops, run 14–16 hours daily, and add the fan. Already-leggy seedlings rarely recover fully — sow a fresh tray; there’s usually still time.
Seedlings keeled over at the soil line.
Damping-off. It strikes in cool, wet, still conditions. Start with fresh mix, don’t overwater, remove domes after sprouting, and keep air moving. Bottom-watering keeps the stem bases drier.
Green slime or algae on the soil surface.
Too much water plus light on the surface. Let the top dry between waterings, water from below, and ease off. Algae itself rarely kills seedlings, but it signals the damp conditions that invite damping-off.
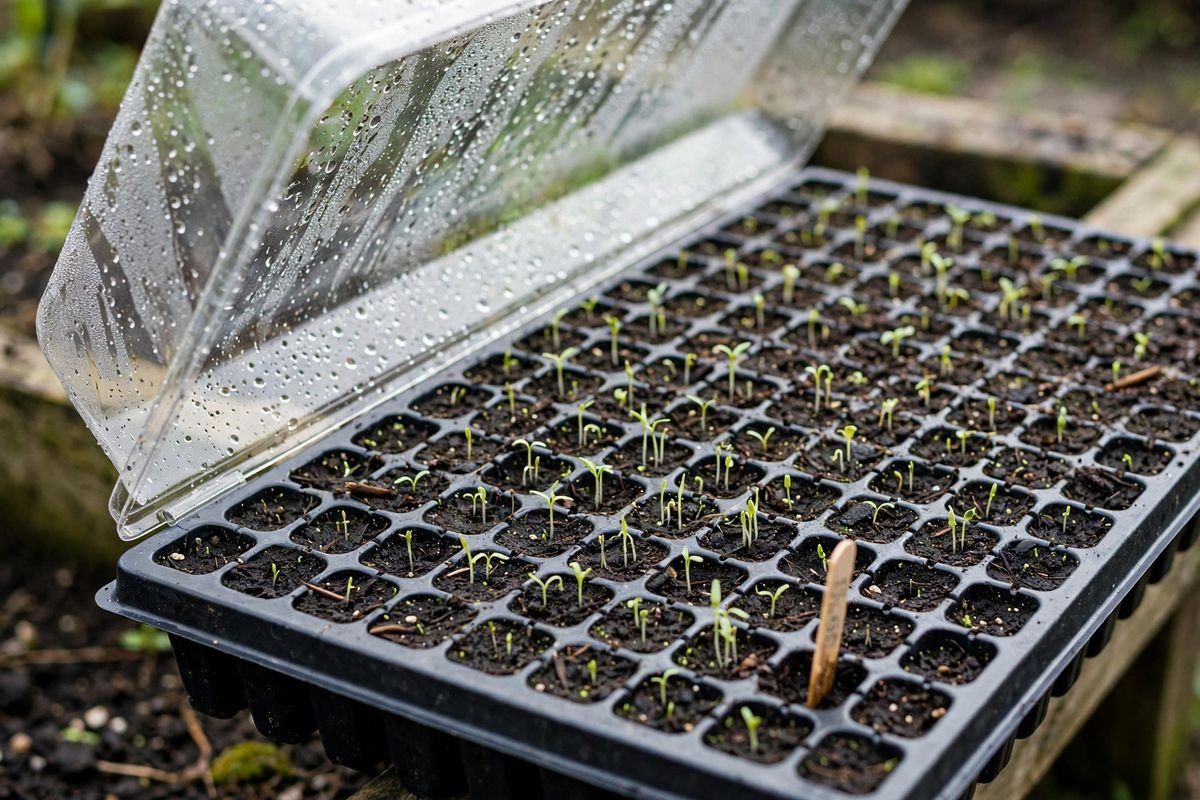
White mold under the humidity dome.
The dome stayed on too long. Vent it once seeds sprout and remove it entirely within a day or two. Airflow and drier surfaces solve this — no folk remedies needed.
Half the tray sprouted, half didn’t.
Uneven temperature or moisture. Check for cold spots on the side facing an exterior wall, rotate the tray every few days, and make sure the mix was evenly moist at sowing. Old seed can also be patchy — check the packet date.
Seedlings stall after potting up.
Usually transplant shock or cold. Pot up before they’re root-bound, keep them warm for a few days after, and don’t rush them outside — cold soil stalls warm-season crops for weeks.
FAQs About Seed Starting Stations
How many hours of light do seedlings need?
14 to 16 hours a day. Less than 12 and most seedlings stretch; more than 18 gains you nothing and can stress some species.
How close should the grow lights be?
For standard LED shop lights and fluorescents, 2–4 inches above the seedling tops, raised as they grow. High-intensity fixtures run hotter and hang higher — follow the manufacturer’s guidance for those.
Can I just use a sunny south-facing window?
Honestly, rarely — not in late winter. Even the sunniest window delivers weak, short, one-sided light in February, and seedlings lean and stretch. A basic shop light on a timer outperforms the best window for a modest cost.
When should I start seeds indoors?
Count backward from your transplant date using the packet’s “weeks before last frost” guidance. Use your local frost dates and regional planting guidance — not your USDA hardiness zone alone — to choose planting dates. If you’re planning your first real garden beds too, our beginner’s vegetable garden guide lays out the full sequence.
Do I need a heat mat for my station?
Only for the warm-season tray — peppers, eggplant, and tomatoes germinate far faster with bottom heat. Everything else does fine at room temperature. Our heat mat guide breaks down exactly which crops benefit.
What’s the cheapest light that actually works?
A plain 4-foot LED shop light in 5000–6500K “daylight” color temperature. Skip the purple grow bulbs for living spaces — they work, but you’ll hate living under the light. Two fixtures per shelf covers a standard wire rack.
Keep Reading
- How to Start a Vegetable Garden for Beginners
- Best Seed Starting Kits
- What to Plant in October: 15 Vegetables for a Fall Garden
What’s your seed-starting setup — windowsill, spare shelf, or full station? Tell us what’s working for you in the comments.