
This post may contain affiliate links. If you buy through links on this page, we may earn a commission at no extra cost to you.
As an Amazon Associate I earn from qualifying purchases.
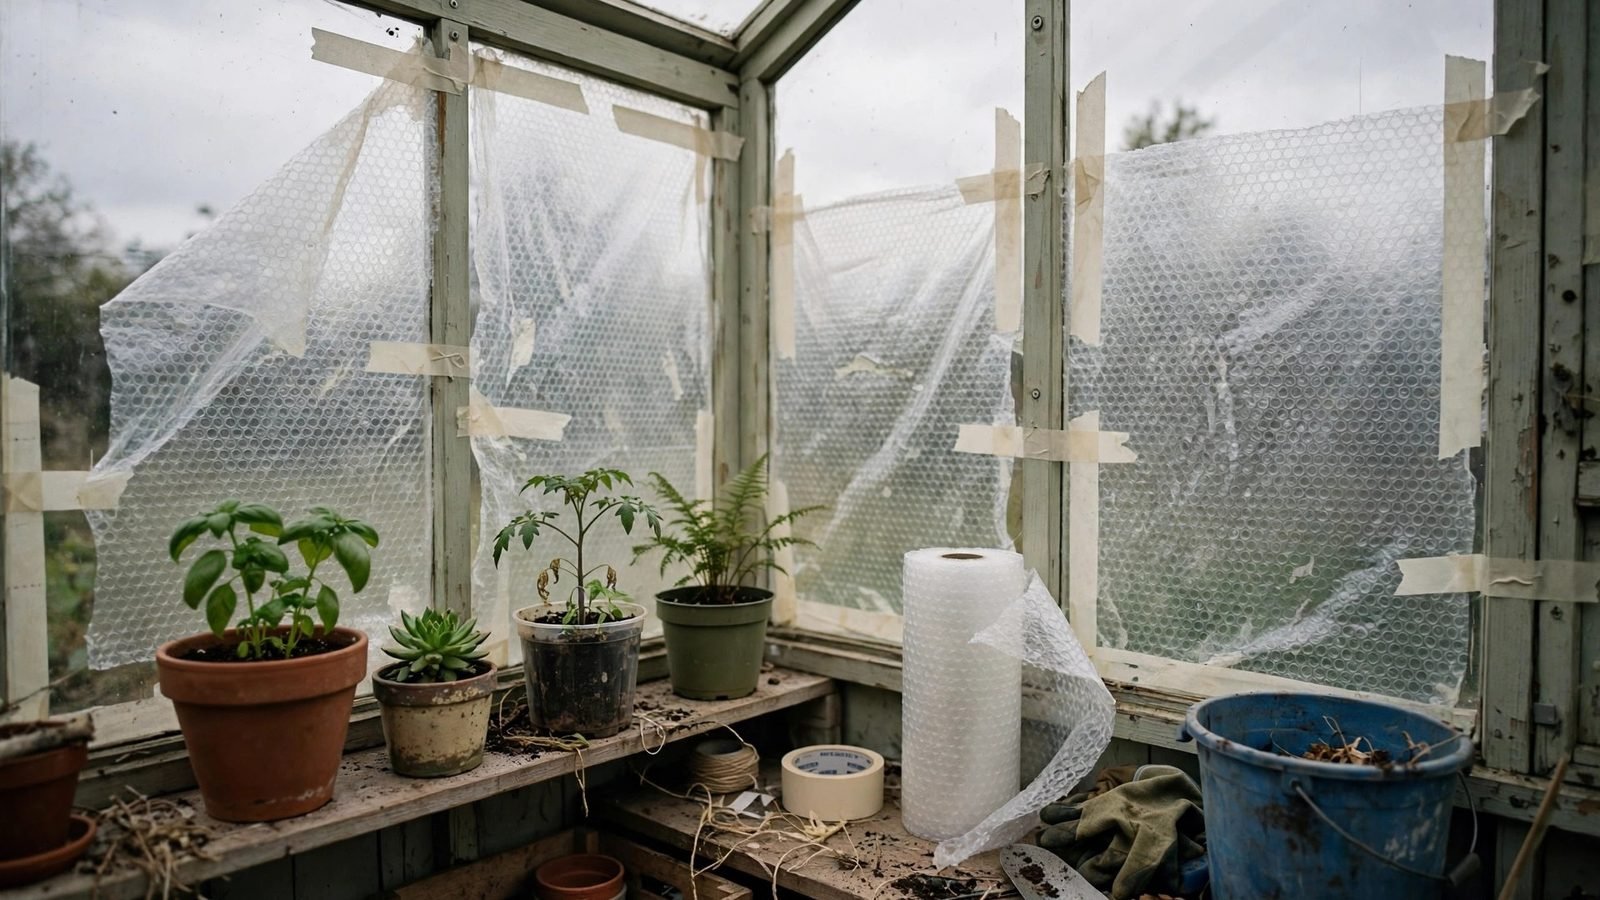
A greenhouse loses heat fast on a cold night. Glass and thin polycarbonate let warmth pass straight through, and a small heater can run for hours without holding the temperature steady. A layer of bubble wrap fitted to the inside of the panels adds a pocket of still air between the cold glazing and the plants, and the wrap comes down again in spring.
This guide covers the fitting job itself: how to pick the wrap, measure each panel, cut it to size, tape it in place, and keep vents and doors working. It does not repeat the comparison with fleece. For that question, see our post on bubble wrap vs. horticultural fleece for greenhouse insulation.
Plan on a dry, calm day for the fitting. Clear the benches first, move pots to one side, and give yourself room to lay a full roll flat on the floor. A helper makes the roof panels much easier, since one person can hold the sheet while the other tapes it.
Choose the right bubble wrap
Look for bubble wrap sold for greenhouse use, often called horticultural bubble wrap. It has larger bubbles than packing wrap, a thicker film, and a UV stabilizer that helps it last through a winter of sun. Packing wrap from parcels can work as a short stopgap, but it is thinner, it clouds and turns brittle faster in sun, and it tears at the tape line.
Check the roll width before you order. Common widths run from about 3 feet to 5 feet. A width close to your panel width means fewer seams and less tape, and each joint is a place where cold air can slip behind the sheet.
Bubble size matters for light. Larger bubbles let a little more light through than small, dense bubbles, and they hold a thicker layer of air. The Royal Horticultural Society notes that a layer of plastic cuts out about ten percent of the light, which is usually a fair trade for the heat saved, except for crops that need all the winter light they can get, such as winter lettuce. If you grow light-hungry leafy crops, leave the sunniest roof panels bare and insulate the walls instead.
Measure each panel before you cut
Greenhouse panels look alike from the floor, but they are not all the same size. Roof panels are often longer than wall panels, gable panels are cut to angles, and a door panel may be a different width again. Measure every panel on its own, and write each measurement on a sketch of the greenhouse. A simple drawing with a number on each panel saves a lot of wasted wrap.
Measure the inside of the frame, from glazing bar to glazing bar, and add about 1 inch on each side for the tape overlap. The wrap should sit flat against the glass with its edges taped to the frame, not stretched tight across the middle. A sheet cut too small pulls away from the tape as the temperature changes.
Work around the greenhouse in order: one long wall, then the other, then the gable ends, then the roof. Write the measurements in the same order on your sketch, and label each cut piece with a marker as you go.
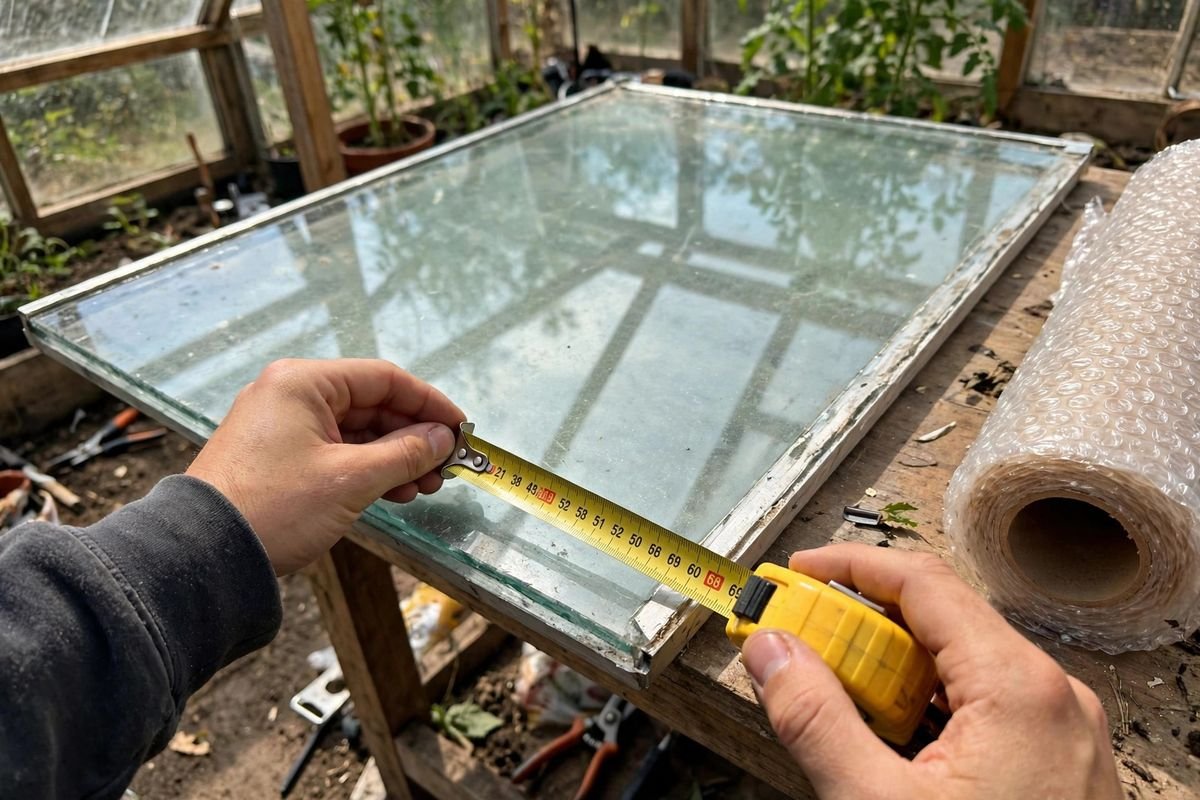
Use a steel tape measure for the long roof panels, since a cloth tape sags and gives a short reading. Look for a steel tape measure long enough to reach across the longest panel in one span.
Clean and dry the glazing
Wrap sticks best to clean, dry glass. Wash each panel inside with warm water and a drop of dish soap, then rinse and let it dry. Algae, dust, and old tape residue all weaken the bond, and a sheet taped to a dirty panel will peel off on the first damp night.
Check the frame as well. Tighten loose screws, replace missing glazing clips, and press any lifted rubber seals back into place. Penn State Extension lists sealing gaps and cracks as one of the first steps toward lower heating bills, since air leaks can account for a large share of winter heat loss.
Let the glass dry fully before you start taping. Tape will not hold on a wet surface, and condensation trapped under the wrap will drip onto plants below.
Cut the wrap to fit each panel
Unroll the wrap on a clean floor with the bubbles facing the glass. That puts the flat side toward the room, which tapes more neatly and wipes clean later. Lay your tape measure along the sheet, mark the cut line with a marker, and cut with sharp scissors or a craft knife and a straight edge. A blunt blade drags and tears the bubbles, which leaves a ragged edge that tape will not grip.
Cut one panel at a time and fit it before you cut the next. Fit the first sheet on a wall panel, check that it sits flat with a small overlap at each edge, and only then cut the rest to the same pattern.
For gable ends and angled roof panels, cut a paper template first. Old newspaper or a flattened cardboard box works well. Hold the template against the panel, trim it until it fits, then trace it onto the wrap.
Tape the wrap to the frame
Hold the sheet against the panel with the bubbles toward the glass, and tape the top edge first. A strip of tape across the full width of the top edge carries the weight of the sheet. Then tape the sides, pulling the sheet just taut enough to sit flat without stretching the bubbles.
Run a second strip of tape along any seam where two sheets meet. Overlap the sheets by about 2 inches and tape the joint from top to bottom.
On roof panels, tape the top and bottom edges first, then the sides. Gravity pulls a roof sheet down, so the bottom edge needs a firm hold. If a roof sheet sags in the middle, add a strip of tape across the center, fixed to a glazing bar.
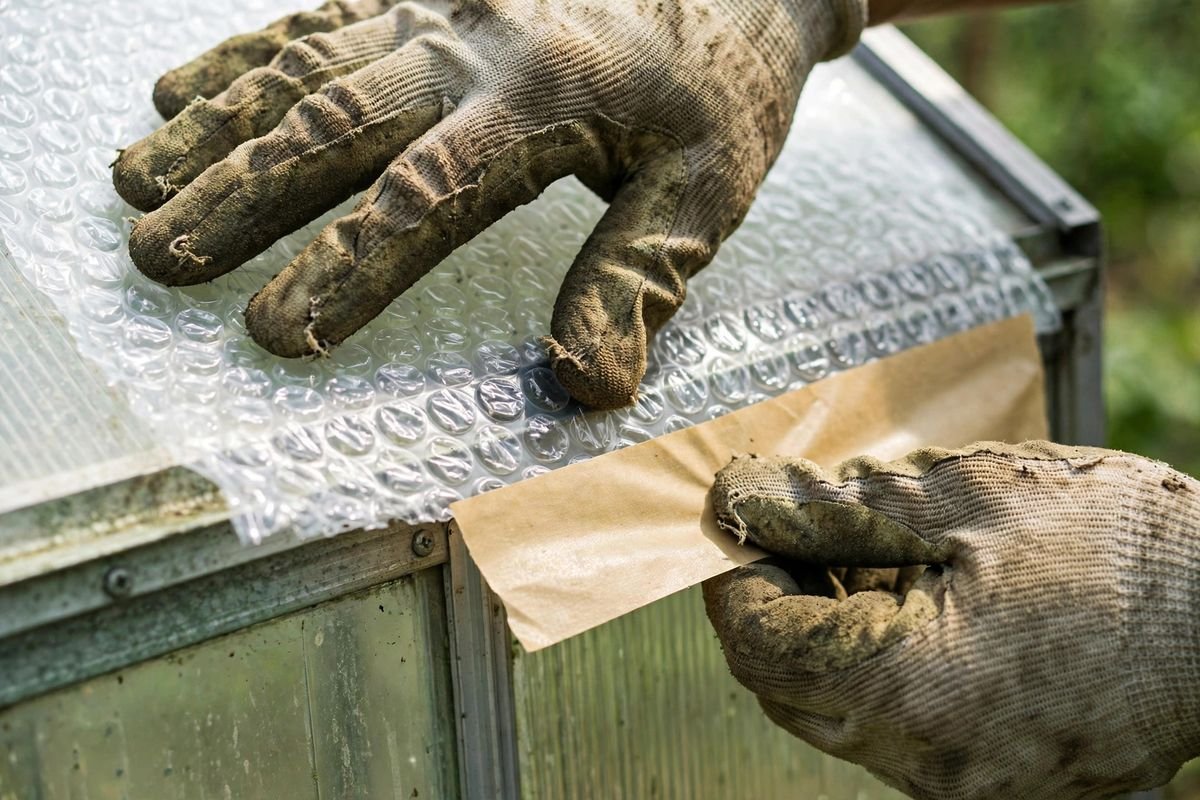
Choose tape that stays stuck in damp, cold air. Look for clear packing tape for greenhouse use and test a short strip on one panel before you tape the whole greenhouse. If the test strip lifts overnight, try a different tape rather than taping every panel with a product that will not hold.
Leave vents, doors, and heaters clear
Never tape bubble wrap over a vent, a louvre, or a fan opening. A greenhouse still needs air movement in winter. Without it, humidity builds up, condensation drips, and fungal disease spreads across crowded benches. The Royal Horticultural Society warns to make sure you can still ventilate the greenhouse when needed, even after the insulation goes up.
Cut the wrap around each vent so the vent can open fully. Mark the vent outline on the sheet, cut the opening about half an inch smaller than the vent frame, and tape the cut edges to the frame. On a roof vent, leave the whole vent panel bare rather than cutting a hole in a sheet that will flap each time the vent moves.
Keep the door clear as well. Tape wrap to the wall panels beside the door, not across the doorway. If you want a draught curtain at the door, hang a separate sheet from a batten above the door so it can be pushed aside.
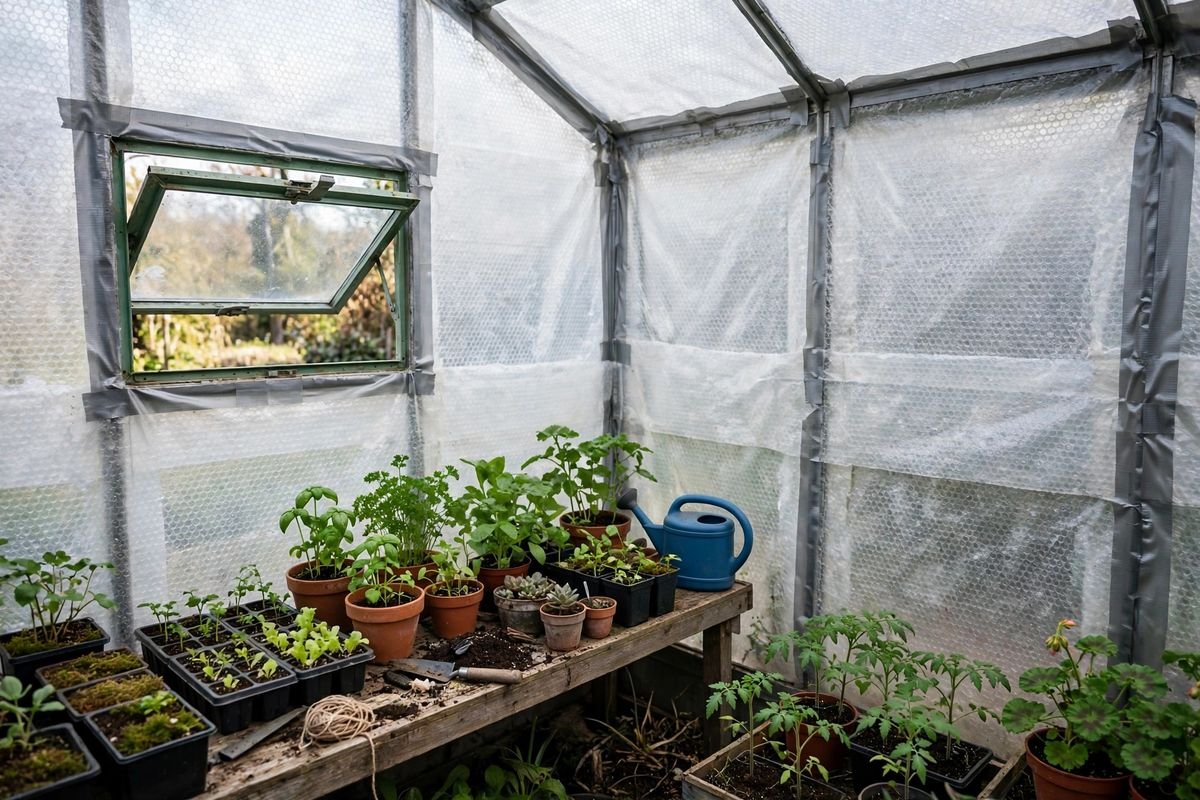
Keep wrap away from heaters, heat mats, and lamp fittings. Bubble wrap is plastic, and it should never sit against a hot surface. Leave a clear gap around any heater, and check the heater manual for the clearance it needs.
Deal with condensation and light loss
Condensation is the most common problem after fitting bubble wrap. Warm, damp air from the plants meets the cold glass behind the wrap, and water forms on the inside of the sheet.
Open a vent or the door for a short time on mild, dry days, even in winter. A brief airing clears damp air without losing much heat. Water in the morning, so the benches dry before night, and space pots apart so air can move between them.
Light loss is the other trade to accept. A layer of plastic cuts out about ten percent of the light, according to the Royal Horticultural Society, and dirty wrap cuts out more. Wipe the inside face of the wrap with a damp cloth once a month, and keep the outside of the glass clean as well. If a crop starts to stretch toward the light or looks pale, that panel may need to stay bare, or the crop may need to move to the sunniest bench.
Worked example: cost for a 6-by-8-foot greenhouse
This section works out the wrap needed for one common size, so you can repeat the same steps for your own greenhouse. The numbers below are arithmetic from the stated measurements, not prices from a shop. Check the current roll price on the listing you buy, then run the same division with that price.
Take a 6-by-8-foot greenhouse with 5-foot side walls and a ridge 7 feet high. The floor is 48 square feet, but the wrap covers the glazing, not the floor, so start with the surface area of the walls and roof.
Two long side walls: each wall is 8 feet long and 5 feet high, which gives 40 square feet per wall and 80 square feet for both. Two gable ends: each end is a rectangle 6 feet wide and 5 feet high, which gives 30 square feet, plus a triangle 6 feet wide and 2 feet high, which gives 6 square feet, for 36 square feet per end and 72 square feet for both. Two roof slopes: each slope runs about 3.6 feet from eave to ridge over the 8-foot length, which gives about 29 square feet per slope and 58 square feet for both. Add those parts: 80 plus 72 plus 58 gives about 210 square feet of glazing.
Now allow for cutting waste. Add ten percent to the glazing area: 210 times 1.1 gives 231 square feet. A roll 4 feet wide and 25 feet long covers 100 square feet, so 231 divided by 100 gives 2.31 rolls. You cannot buy part of a roll, so round up to 3 rolls. Two rolls would cover only 200 square feet, which is short of the 210 square feet of glazing before any waste at all.
Cost per square foot follows the same division. Suppose a 4-by-25-foot roll is listed at $45, purely as the input for this example. Divide the roll price by the roll area: 45 divided by 100 gives $0.45 per square foot of wrap. Three rolls cost $135, and 135 divided by the 210 square feet of glazing gives about $0.64 per square foot of greenhouse glazing covered.
When to put it up and take it down
Fit the wrap in late autumn, when night temperatures start to fall toward freezing but before the first hard frost. Fitting too early traps heat on sunny autumn days and can cook plants in a closed greenhouse.
Use your local frost dates and regional planting guidance — not your USDA hardiness zone alone — to choose planting dates. That same timing helps you pick the fitting weekend: aim for the week or two before your usual first frost, and watch the forecast for a dry day with light wind.
Take the wrap down in spring when nights stay above freezing and plants start to grow fast. Peel the tape slowly so it does not pull paint off the frame, and roll each sheet loosely with the bubbles facing inward. Label each roll with the panel it fits, so the same sheet goes back to the same place next autumn.
Care, reuse, and removal
Horticultural bubble wrap can last several seasons if it is stored dry and out of the sun. Wash each sheet with mild soapy water before you store it, rinse it, and let it dry fully. A sheet stored damp will grow mold over summer, and a sheet folded sharply will crack along the fold when you unroll it next year.
Check each sheet before you reuse it. Hold it up to the light and look for cloudy patches, brittle areas, and torn bubbles. A sheet with a few small tears can be patched with tape and used on a wall panel. A sheet that has gone cloudy all over will cut out far more light than a new sheet, and it is better to replace it.
Frequently asked questions
Should the bubbles face in or out?
Fit the wrap with the bubbles against the glass and the flat side toward the room. The bubbles form the air pocket against the cold glazing, and the flat side tapes more neatly and wipes clean.
Can I use ordinary packing bubble wrap?
You can use it as a short stopgap, but it is not the best choice for a full winter. Packing wrap is thinner, its bubbles are smaller, and it has no UV stabilizer, so it clouds and turns brittle in sun.
Will bubble wrap stop my greenhouse from freezing?
No. Bubble wrap slows heat loss, but it does not create heat. On a cold, clear night, the temperature inside an unheated greenhouse will still fall close to the outside temperature, just more slowly. Tender plants still need a heater, a thermal mass such as water barrels, or a move indoors on the coldest nights.
Do I need to insulate the roof as well as the walls?
Heat rises, so the roof loses a large share of warmth, and insulating it helps. The roof is also where the most light enters, so some growers leave the south-facing roof slope bare and insulate the north slope and the walls. If you heat the greenhouse at night, insulating the roof gives the largest saving.
How do I stop condensation dripping on plants?
Air the greenhouse briefly on mild, dry days, water in the morning, and space pots so air moves between them. Tape every seam so damp air cannot slip behind the wrap, and check that vents still open fully.
Sources and further reading
- Royal Horticultural Society: Greenhouses, heating efficiently
- Penn State Extension: Things a Greenhouse Grower Can Do to Improve Energy Efficiency
- Virginia Tech Extension: Dealing with the High Cost of Energy for Greenhouse Operations
Related reading: How to Winterize a Greenhouse, Bubble Wrap vs. Horticultural Fleece for Greenhouse Insulation, How to Use a Cold Frame for Winter Vegetables, How to Protect Raised Beds from Frost
By the Pot and Plot Team