
This post may contain affiliate links. If you buy through links on this page, we may earn a commission at no extra cost to you.
As an Amazon Associate I earn from qualifying purchases.
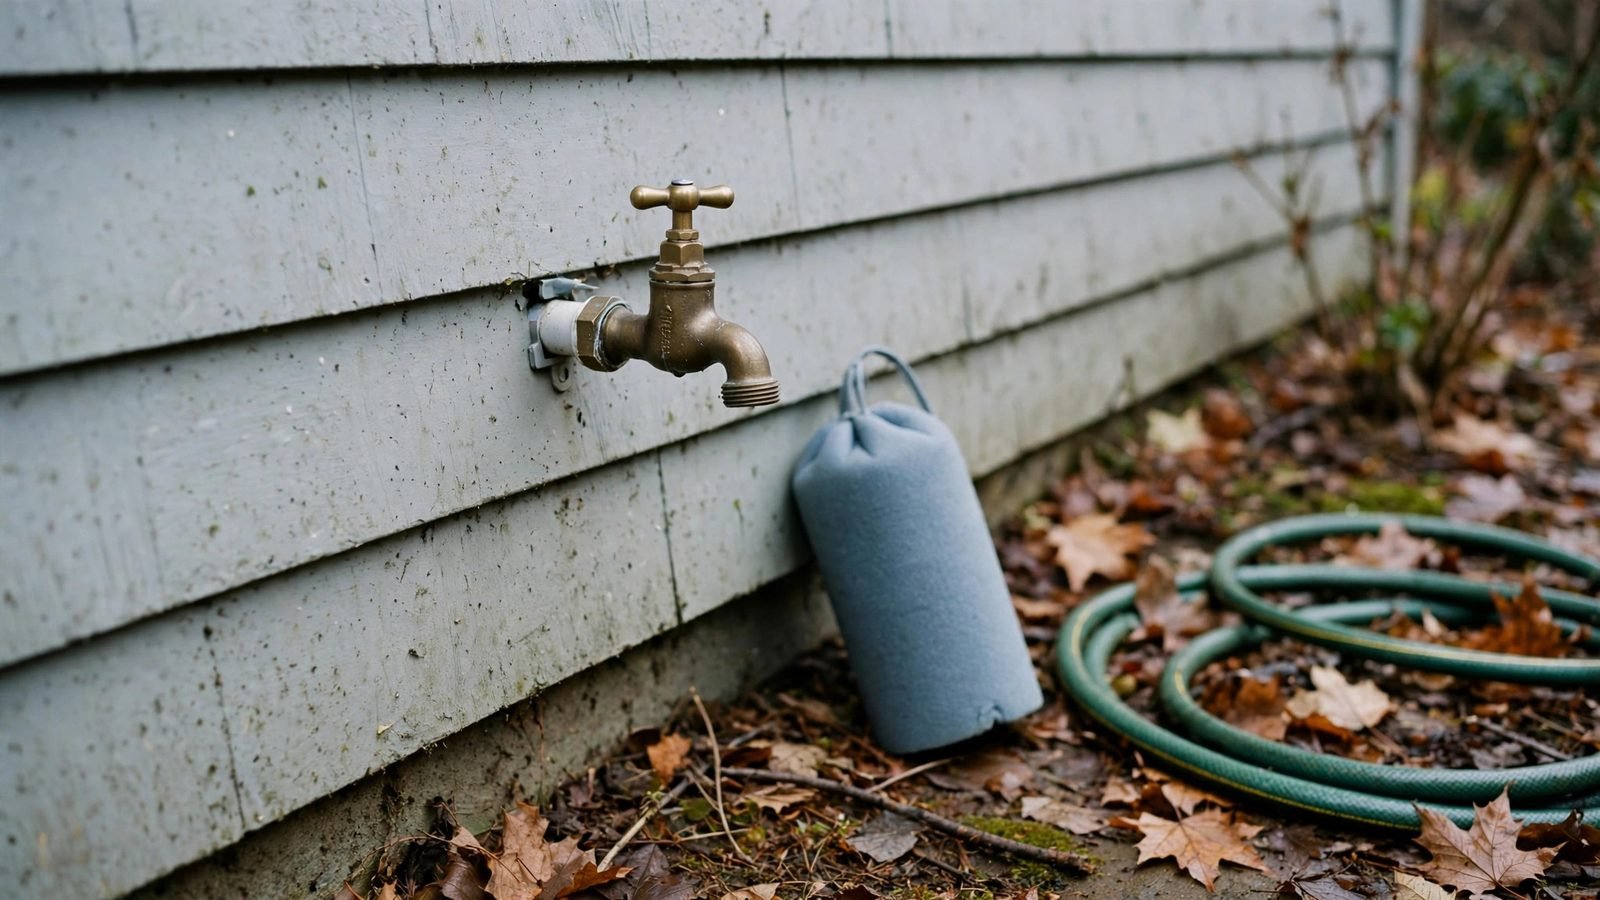
An outdoor faucet holds water in the coldest part of the house: a short run of pipe that passes through an outside wall. When the temperature drops below freezing, the water in that pipe turns to ice, grows by about 9 percent in volume, and can split the pipe or crack the faucet body. Illinois Extension puts it plainly: disconnect garden hoses and shut off and drain water from any pipes leading to outside faucets.
The repair for a burst pipe inside a wall costs far more than the prevention. Winterizing a faucet takes about 20 minutes, a bucket, and a foam cover that costs a few dollars. The work has five parts: take the hose off, close the indoor valve, drain the line, leave the outdoor faucet open, and fit a cover.
This guide walks through each part in order, with the numbers behind the draining step, so you can see how little water is actually in the line. The same routine works for every faucet around the house.
Do the work before the first hard freeze, not after the forecast turns cold. A single night at 28 degrees can freeze a faucet that survived weeks of light frost, and the damage often stays hidden until spring, when the split pipe starts leaking inside the wall.
Why a garden faucet freezes first
An outdoor faucet sits at the end of a short pipe run with cold air on one side and a warm house on the other. Pipes in outer walls, crawl spaces, and attics freeze first, and the faucet is the most exposed point of all. Water trapped between a closed indoor valve and a closed outdoor faucet has nowhere to go as it turns to ice, so pressure builds until the pipe or the faucet body gives way.
A hose left on the faucet makes the problem worse. It holds a column of water against the valve, and ice can travel back from the hose into the spigot and then into the house. That is why the hose comes off first, before any other step, on every type of faucet.
Illinois Extension notes that an eighth-of-an-inch crack in a pipe can release up to 250 gallons of water a day. A split behind the siding can soak insulation, drywall, and flooring before anyone sees a puddle.
What you need before you start
Gather the supplies before you go outside so the draining step does not stall halfway through. You will need a bucket, a foam faucet cover for each standard faucet, a flashlight for a dark basement or crawl space, old towels for drips, and a place to store the hoses for winter, such as a garage shelf or a shed hook.
For pipe runs that stay exposed in an unheated garage or crawl space, foam pipe insulation is worth adding while you are already working on the line. Look for foam pipe insulation sized to your pipe diameter, and cut it to fit around bends and valves rather than leaving gaps at the joints.
Step 1: Take off the hose and drain it
Unscrew every hose from every outdoor faucet, along with splitters, timers, spray nozzles, and quick-connect fittings. A timer left on the faucet holds water in the same way a hose does, so it comes off too. If a fitting will not turn by hand, a pair of pliers with a cloth around the fitting will free it without chewing up the threads.
Drain each hose before you coil it. Hold one end up, walk the length of the hose toward the other end, and let the water run out onto the lawn or a gravel bed. Then coil the hose in wide loops, hang it or lay it in the garage or shed, and store it out of standing water. A hose left full of water on a cold garage floor can split over winter just like a pipe can.
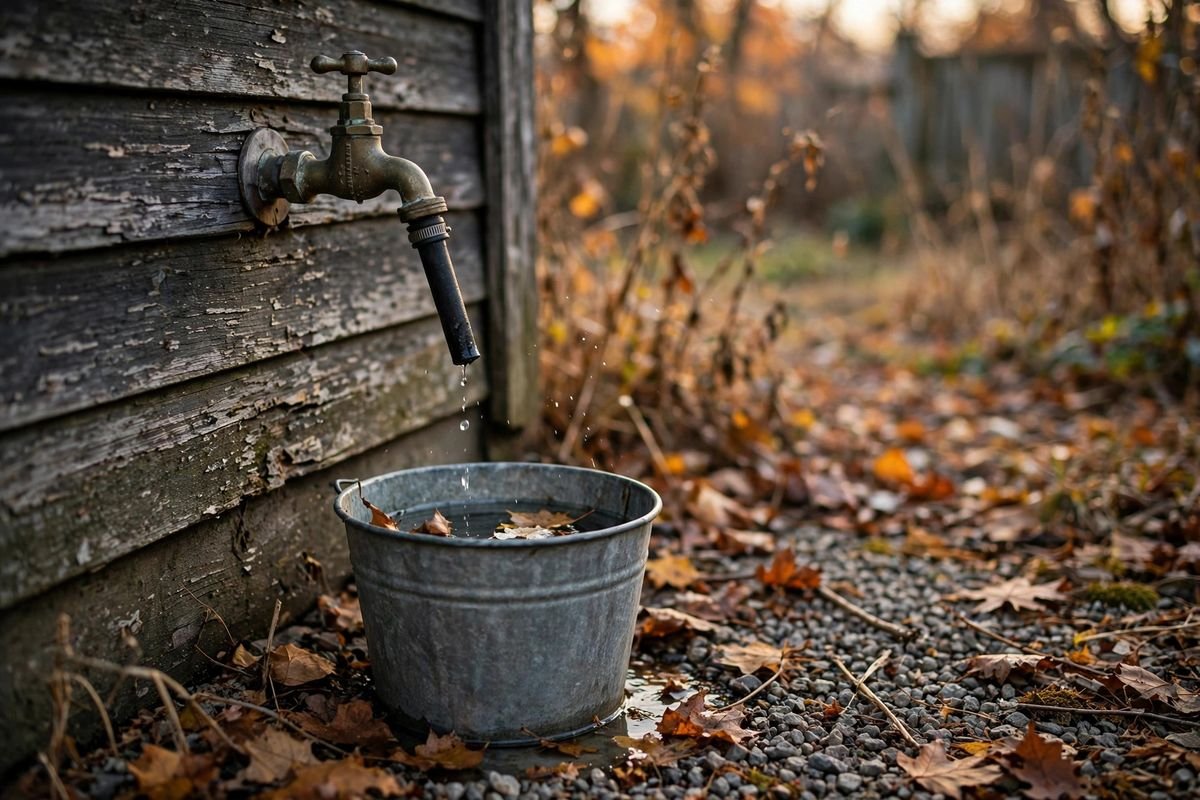
For storage, look for a garden hose storage reel or a sturdy wall hook that holds the coil off the floor and keeps the hose from kinking.
Step 2: Find the indoor shutoff valve
Go inside and trace the pipe that feeds the faucet. The shutoff valve sits on that pipe just inside the wall, often in the basement, crawl space, or utility room, close to where the faucet comes through. In many houses it is up near the ceiling, on the same wall as the faucet outside.
There are two common valve types. A gate valve has a round wheel handle that you turn clockwise several times until it stops. A ball valve has a lever handle that needs only a quarter turn, ending across the pipe when it is closed. Either type works the same way here: turn it until the water to that faucet is fully off, and check that the handle does not creep back.
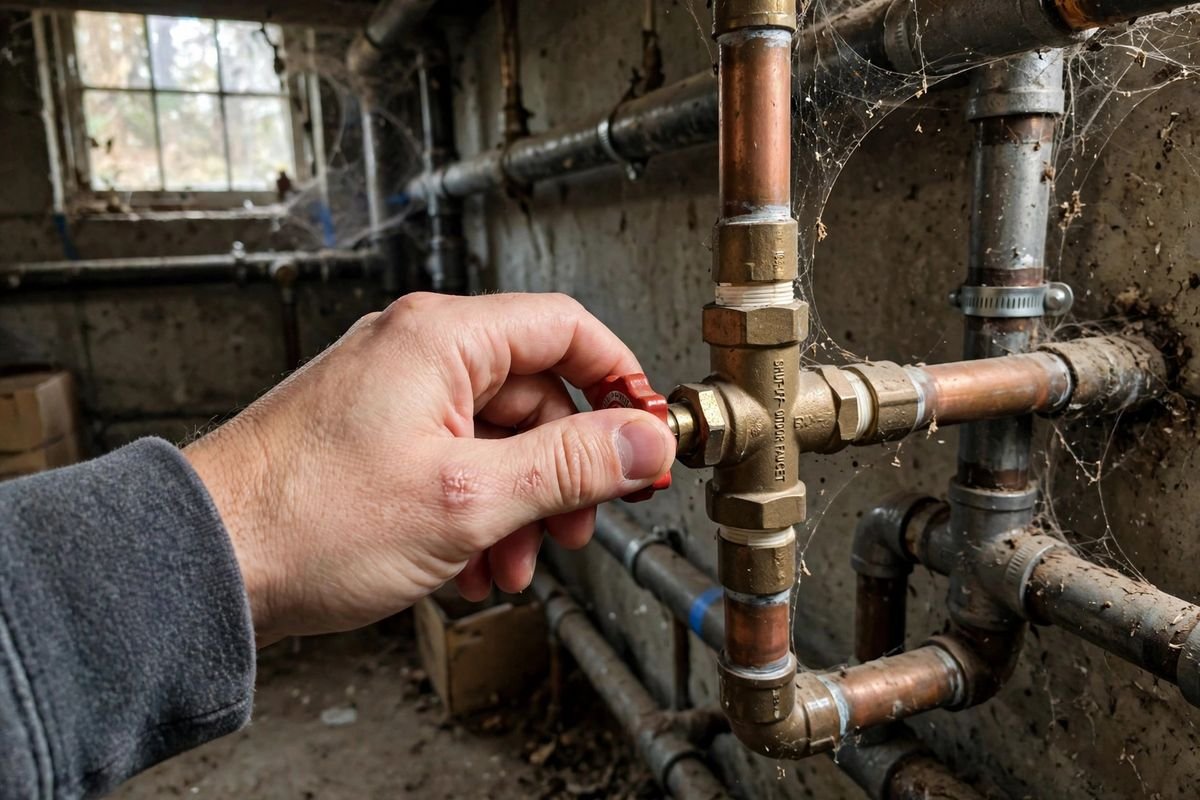
If you cannot find a valve for a faucet, do not guess. It may sit behind drywall from a past remodel. Fit a cover on that faucet for now, and have a plumber add a shutoff valve in a spot you can reach.
Step 3: Close the valve and open the bleeder cap
Close the indoor valve all the way, then go back outside and confirm that the faucet has stopped running. A valve that still lets a thin stream through will refill the line as fast as you drain it, so a slow drip means the valve needs a turn more, or the washer inside it has worn out and the valve needs replacing.
Many indoor shutoff valves are stop-and-waste valves, with a small drain cap on the side of the valve body. Put the bucket under the cap, loosen it, and let the trapped water run out. Then snug the cap back on. That small cap empties the section of pipe between the valve and the wall, the exact stretch that freezes first.
Step 4: Open the outdoor faucet and let the line drain
Open the outdoor faucet all the way and let the water run out. Keep it open. Illinois Extension advises disconnecting hoses and shutting off and draining the line, and the Red Cross guidance behind the same routine adds the reason to leave the outdoor valve open: any water left in the pipe can expand without breaking it.
Wait until the flow stops to a drip, then give it another minute. The line holds less water than most people expect, as the worked example below shows, so the wait is short. Once the line is empty, leave the outdoor faucet open for the whole winter. An open faucet is also a clear sign to anyone in the house that the line is shut down for the season.
Step 5: Fit a faucet cover
Push a foam cover over the faucet so the foam gasket sits flat against the siding, then pull the cord loop tight behind the spout and fasten it. The gasket must touch the wall all the way around. A gap at the top lets cold air in behind the cover and defeats the point of fitting it.
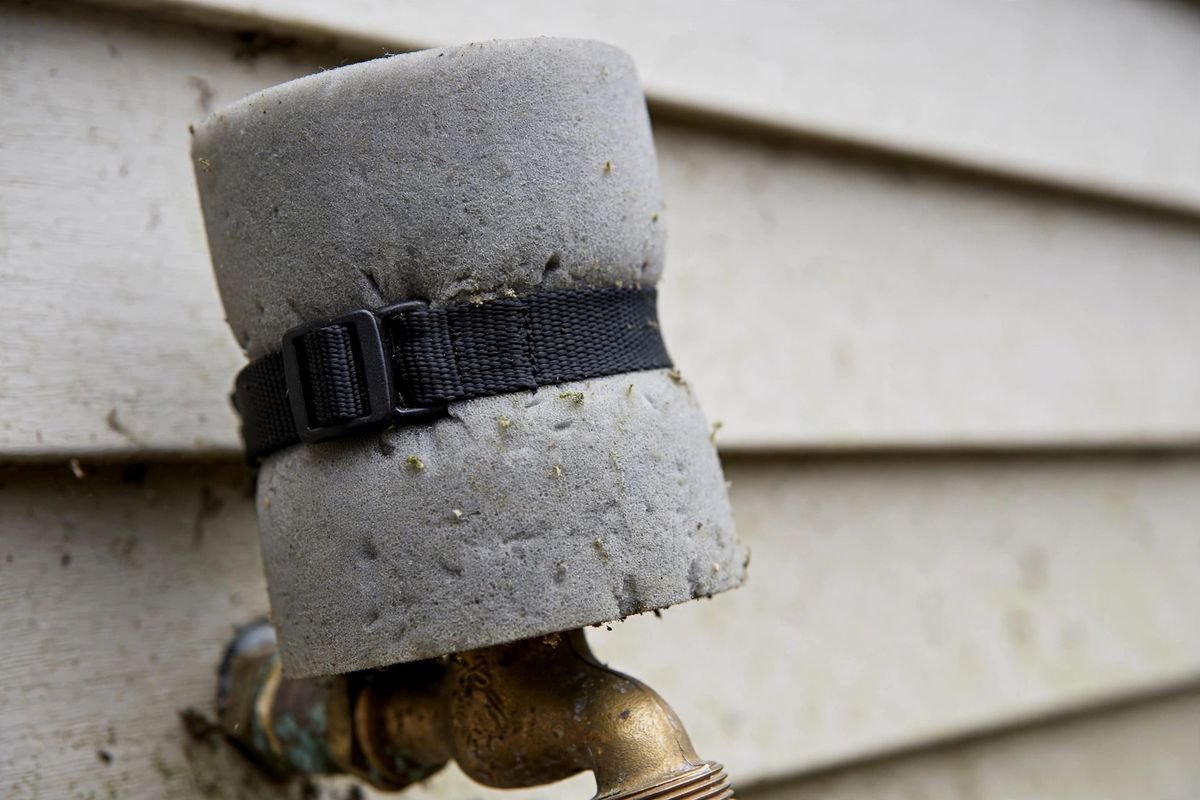
Look for a foam outdoor faucet cover that fits your faucet size, and check the fit by hand before the first freeze. Soft insulated socks also work and suit odd shapes better, but they must stay dry to insulate.
A cover slows heat loss from the wall around the faucet. It does not replace draining the line. On a standard faucet that still holds water, a cover only delays the freeze by a few hours. Drain first, then cover.
How much water is actually in the line
The draining step feels too quick to be real, so here is the arithmetic. The numbers below are a worked estimate from pipe and hose sizes, not a lab test, and the assumptions are stated so you can repeat the math for your own setup.
Start with the hose. A standard 5/8-inch garden hose, 25 feet long, has an inside diameter of 5/8 inch, so its radius is 5/16 inch, or 0.3125 inch. The cross-section area is pi times the radius squared, about 0.31 square inches. The hose is 300 inches long, so its volume is about 92 cubic inches. One US gallon holds 231 cubic inches, so a 25-foot hose holds about 0.40 gallons, or about 1.5 liters.
Next, the supply line. A 10-foot run of 1/2-inch pipe has an inside diameter of 1/2 inch and a radius of 1/4 inch. Its cross-section area is pi times 0.25 squared, about 0.20 square inches. Over 120 inches of length, that is about 23.6 cubic inches, or about 0.10 gallons. Add the two together and the whole setup holds about half a gallon, or about 1.9 liters.
Drain time follows from the same numbers. With the faucet open and the hose end at ground level, gravity moves water out at roughly 1 to 2 quarts per minute at first, slowing as the water level drops. Half a gallon clears in about 1 to 3 minutes, and the bleeder cap adds about a minute, so allow 5 minutes per faucet.
Half a gallon sounds harmless until it freezes. Water grows by about 9 percent in volume as it turns to ice, so half a gallon of trapped water needs about 6 cubic inches of extra room that a rigid copper or plastic pipe cannot give. That is the whole job in one sentence: get the half gallon out before the cold arrives.
What to do with a frost-free faucet
A frost-free faucet, also sold as a frost-proof sillcock, has a long body that runs back through the wall, so the valve seat sits inside the heated part of the house. When you close the handle, the water in the outdoor section runs out of the spout on its own. That self-draining design is the reason these faucets exist, and it is also the reason they fail when a hose is left on: a connected hose blocks the drain, water stays in the tube, and the tube can split inside the wall.
Take the hose off every fall, even on a frost-free faucet, and check that the spout slopes slightly downward so water can run out. A short trickle after closing the handle is the tube emptying, which is normal. If water stands in the spout instead of draining, the faucet may be level or tipped back into the house, and a plumber should reset the pitch.
When to winterize
Do the work before the first hard freeze, when the forecast first shows a night at or below 28 degrees. Light frosts in the high 30s rarely hurt a faucet, but the first hard freeze can arrive on a clear, calm night with little warning, so tie the job to the forecast rather than the calendar month. In most of the United States that means sometime between mid-October and late November, depending on where you live.
Use your local frost dates and regional planting guidance — not your USDA hardiness zone alone — to choose planting dates. Those same frost dates mark the end of the watering season, so pair the faucet job with the rest of the fall shutdown: drain the hoses, put the timers away, and empty the rain barrel before it freezes. Our fall garden cleanup guide runs through the rest of that list in order.
If a faucet freezes anyway
A frozen faucet usually announces itself in spring: you open the indoor valve and get no water, or a trickle, or water running down the inside of the wall. If you suspect a freeze, close the indoor valve for that faucet right away, or the main shutoff if you cannot find the faucet valve, and open the outdoor faucet to relieve pressure.
Call a plumber before you try to thaw anything yourself. Never use a torch or an open flame on a pipe. Illinois Extension gives the same warning for frozen pipes in general, and the safe thawing methods it lists are an electric heating pad, a hair dryer, or towels soaked in hot water. Keep the faucet open while the pipe thaws so water can flow through as the ice melts.
After the repair, add insulation to the exposed run so the same pipe does not freeze again next year: foam sleeves on the pipe, a sealed gap where it passes through the wall, and a working indoor shutoff valve.
Frequently asked questions
Should I leave the outdoor faucet open all winter?
Yes. Leave the outdoor faucet open after you drain the line, and leave it open all winter. An open faucet gives any water left in the pipe room to expand as it freezes, instead of pressing against a closed valve and splitting the pipe. Close it again in spring only after you have reopened the indoor valve and checked for leaks.
Can I just fit a cover and skip draining the line?
No. A cover slows heat loss, but it does not remove water, and a standard faucet full of water will still freeze through a long cold night. Draining is the step that protects the pipe. The cover is the last step, not a substitute for the first four.
Do I need to winterize a frost-free faucet?
Yes, but the job is shorter. Take the hose off, close the handle, and let the tube drain. There is usually no indoor valve to close on a frost-free faucet, because the valve seat already sits inside the heated wall. A cover adds protection, and checking the downward slope of the spout takes a few seconds.
What if I cannot find an indoor shutoff valve?
Fit a cover on the faucet, take the hose off, and have a plumber add a shutoff valve in a spot you can reach before deep cold arrives. In the meantime, know where your main water shutoff is, so you can stop water to the whole house fast if a pipe does split.
When should I put the faucet back in service in spring?
Wait until after your last expected frost, then close the outdoor faucet, open the indoor valve slowly, and watch the faucet and the wall inside for leaks. If water drips from the spout with the handle closed, close the indoor valve again and call a plumber.
Sources and further reading
- Illinois Extension, “How to winterize outdoor plumbing – irrigation, hoses, spigots” – https://extension.illinois.edu/blogs/good-growing/2020-11-26-how-winterize-outdoor-plumbing-irrigation-hoses-spigots
- Illinois Extension, “Water Pipes” – https://extension.illinois.edu/disasters/water-pipes
- Royal Horticultural Society, “December – garden structures” – https://www.rhs.org.uk/advice/in-month/december/structures
Related reading: How to Keep a Rain Barrel From Freezing, Best Garden Hose Timers, Best Drip Irrigation Kits for Raised Beds.
By the Pot and Plot Team