
This post may contain affiliate links. If you buy through links on this page, we may earn a commission at no extra cost to you.
As an Amazon Associate I earn from qualifying purchases.
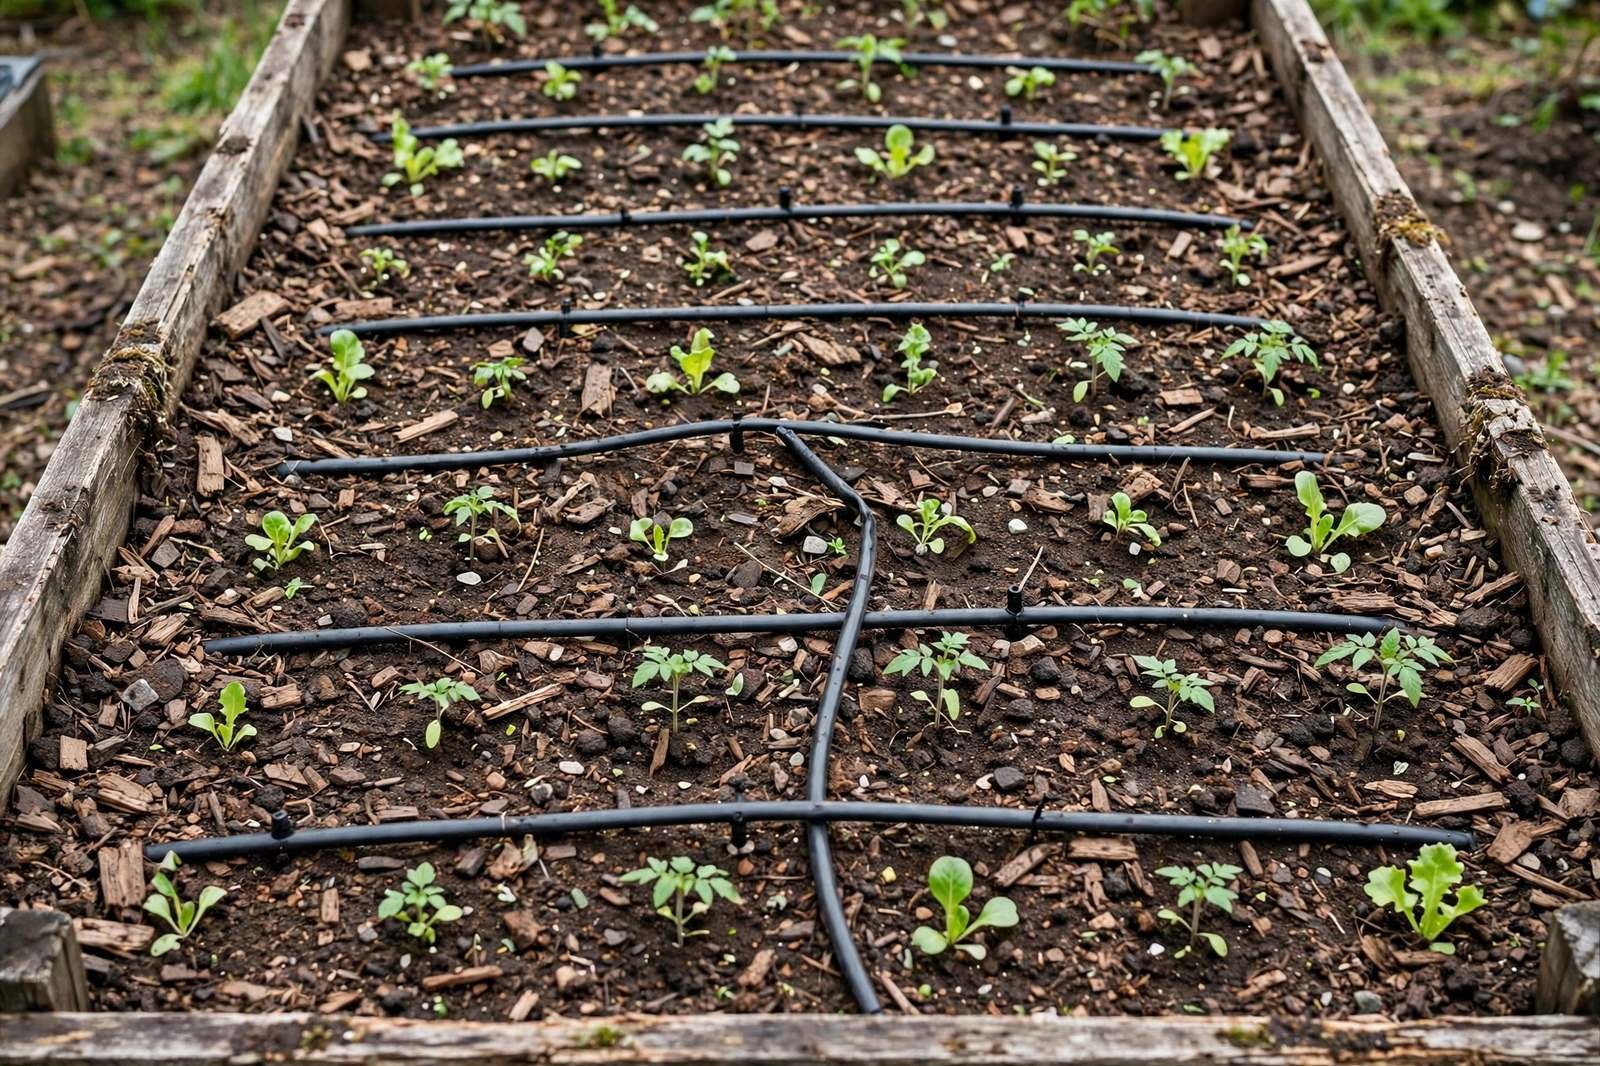
Raised beds dry out faster than in-ground soil, and they forgive sloppy watering less. The mix is looser, the edges catch sun and wind, and a bed that felt damp on Monday can be bone dry by Thursday. Drip irrigation fixes that mismatch better than any other method we know of: water lands slowly, right at the root zone, on a schedule you set once and adjust as the season changes. New to beds? Our guide to raised bed gardening for beginners covers layout and soil — this article picks up at the faucet.
One honest note on how we built this roundup: it is a spec-based comparison, not a bench test. We have not run every kit side by side, and we will not pretend otherwise. Instead we compared the specs that decide whether a kit works in a raised bed — tubing diameter, emitter spacing and flow rate, pressure regulation, and how much line the box really gives you — and ran the numbers for a standard 4×8 bed so you can check any kit against your own garden first.
The Short Version: Three Kit Styles Compared
Nearly every kit sold for raised beds falls into one of three styles. The table below sums up the trade-offs; the sections after it walk through each style in detail.
| Kit Style | Tubing | Emitters | Best For | Watch Out For |
|---|---|---|---|---|
| Basic starter kit | 1/4-inch line off a short 1/2-inch mainline | Individual push-in emitters, you place each one | One or two beds, widely spaced plants | Short mainline runs; emitter count runs out fast in dense beds |
| Expandable multi-bed kit | 1/2-inch mainline with 1/4-inch branches | Mix of push-in emitters and short emitter-line sections | Three or more beds you plan to grow over time | More fittings to keep track of; check total flow against your faucet |
| Pre-made grid kit | Emitter tubing pre-cut or coiled for a bed-sized grid | Built-in emitters at fixed spacing, usually 9 or 12 inches | Dense plantings like greens, carrots, and herbs in one bed size | Fixed spacing fits the bed it was sized for and little else |
Whichever style you lean toward, it helps to understand how drip stacks up against the simpler alternative — our comparison of drip irrigation vs. soaker hose covers cost, lifespan, and evenness in detail.
Start With the Math: Emitters, Gallons, and Runtime for a 4×8 Bed
Kit boxes advertise emitter counts and tubing lengths, but neither number tells you how long to run the system. For that, you need three figures: how many emitters your bed layout uses, what each one puts out, and how much water counts as a good soaking. Here is the worked example we use, with every assumption stated so you can swap in your own numbers.
Our assumptions. A standard 4×8-foot raised bed, so 32 square feet of soil. Drip lines run the long way, spaced 12 inches apart across the 4-foot width — that is 4 lines, each 8 feet long, for 32 linear feet of emitter line. Emitters built in every 12 inches give us 32 emitters in the bed. We pick a common emitter flow rate of 0.5 gallons per hour (gph). Our watering target is about 1 inch of water across the bed, a reasonable deep watering for established vegetables in warm weather.
Step one: total flow. 32 emitters × 0.5 gph = 16 gallons per hour for the whole bed. That is a gentle demand — well within what a typical outdoor faucet and a 1/2-inch mainline can supply, which is why a single bed rarely needs to be split into zones.
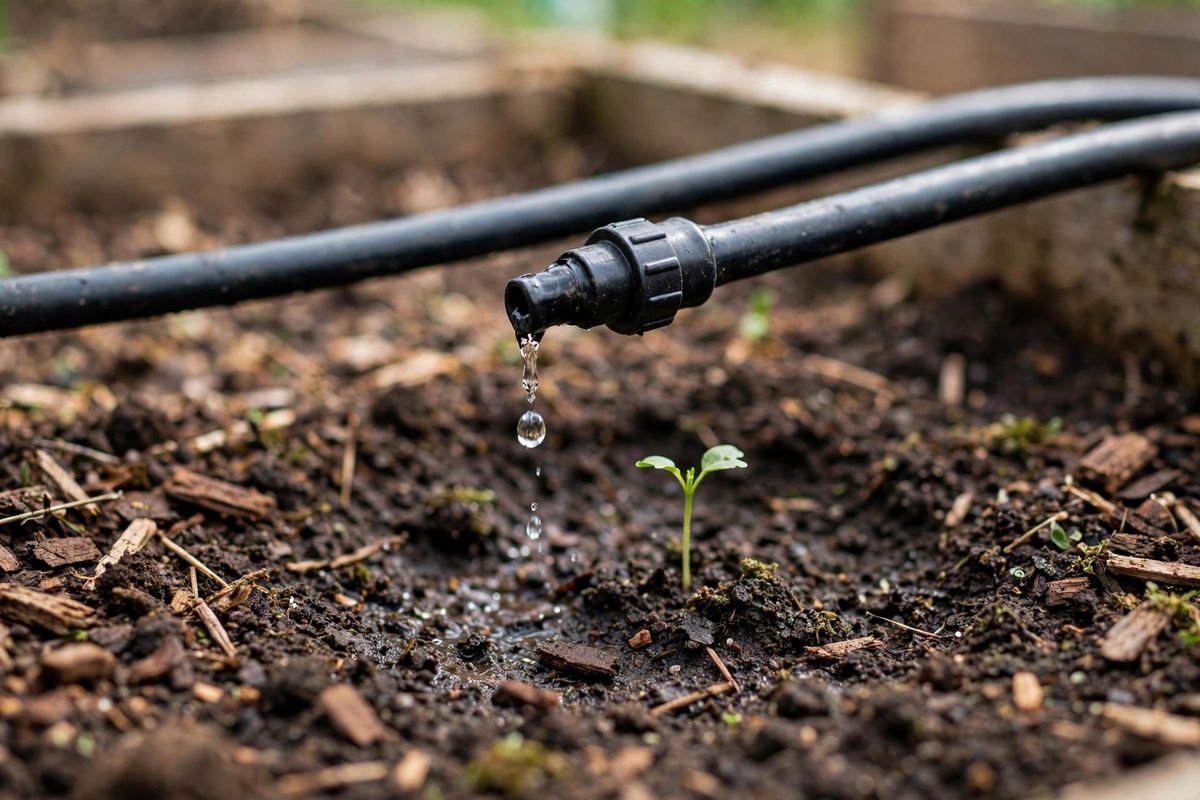
Step two: how much water is 1 inch? One inch over 32 square feet works out to about 20 gallons. The math: 32 square feet × 1/12 foot of depth = 2.67 cubic feet, and a cubic foot holds roughly 7.48 gallons, so 2.67 × 7.48 ≈ 19.9 gallons. Call it 20.
Step three: runtime. 20 gallons ÷ 16 gallons per hour = 1.25 hours, or about 75 minutes, to deliver that inch. Prefer a shorter cycle? Swap to 1.0 gph emitter tubing and the same bed flows 32 gph, cutting runtime to roughly 38 minutes — though faster is not always better, since soil needs time to absorb water sideways between lines. Run this math on any kit: 50 feet of emitter line at 12-inch spacing means about 50 emitters, and now you know what they will draw.
The Three Kit Styles, Up Close
Basic Starter Kits
A starter kit usually includes a short roll of 1/2-inch mainline tubing, a coil of 1/4-inch line, a bag of push-in emitters, stakes, end caps, and the faucet fittings. The appeal is control: you punch an emitter exactly where each plant sits, which suits beds planted with big, widely spaced crops — a few peppers here, squash there. The limits show up just as fast. A 4×8 bed planted densely with greens can want 30 or more emitters, and small kits ship with fewer than that. The short mainline also assumes your faucet sits near the beds. If you go this route, search starter drip kits here and count emitters against the math above before you buy, not after.
Expandable Multi-Bed Kits
Expandable kits start from a longer 1/2-inch mainline and treat the first bed as one branch of a system that can grow. Extra tees, elbows, and emitter line let you add a bed each season without replacing the core parts. This is the style we point gardeners toward when bed two and three are already in the plan. The homework is flow: add up the emitters across every bed with the math above, and keep the total comfortably below what your faucet delivers. Beyond the third bed, plan on a separate zone or timer cycle — our guide to garden hose timers covers both.
Pre-Made Grid Kits
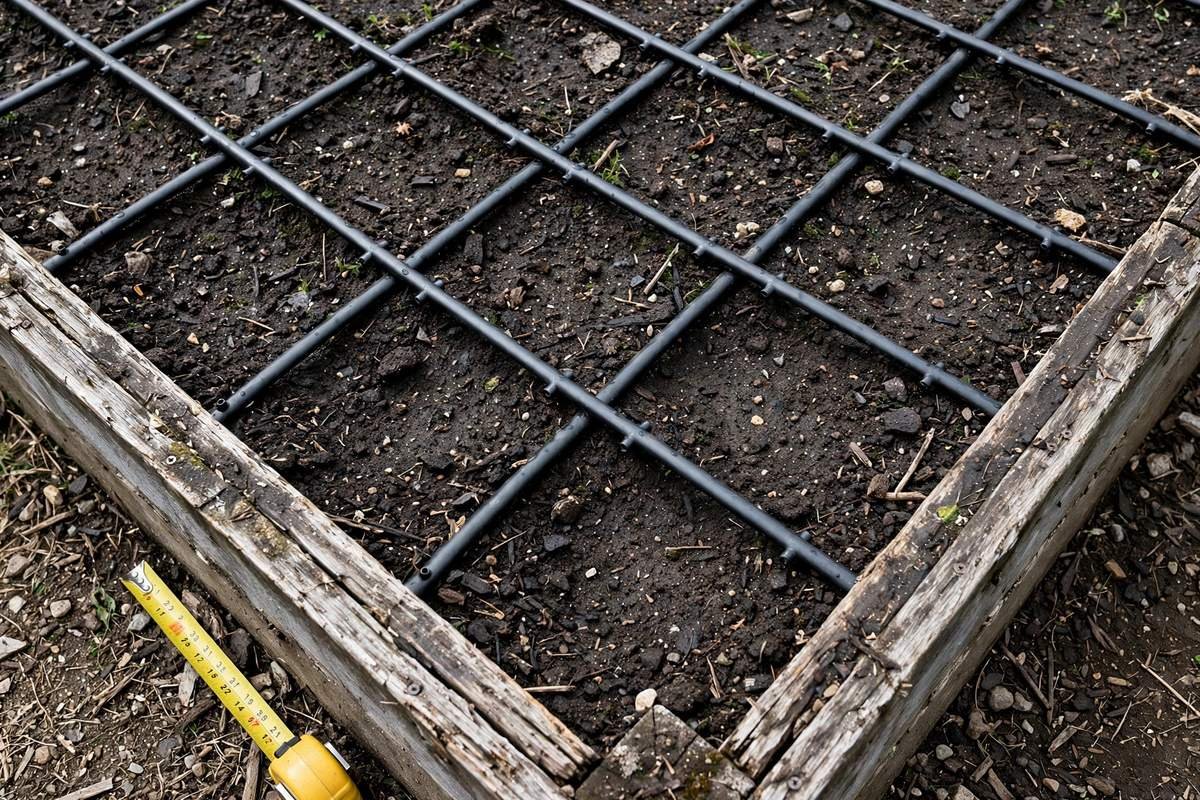
Grid kits arrive as emitter tubing cut or coiled to blanket one bed size in even rows — unroll it, connect the corners, stake it down, and the whole bed waters at once. For a 4×8 bed planted shoulder to shoulder with lettuce, carrots, beets, or herbs, nothing beats the evenness, because every square foot sits the same distance from an emitter. The trade-off is flexibility: the grid fits the bed it was sized for, emitter spacing is fixed at the factory, and awkward shapes need extra fittings and patience. If your beds are all one size and you replant the same footprint each season, grid-style kits are worth a look.
Pressure Regulation and Filtration: The Parts That Decide Everything
Here is the spec that quietly makes or breaks a kit. Household faucets commonly deliver 40 to 70 psi. Most drip emitters are built to run at about 25 psi. Connect a kit straight to the faucet without a pressure regulator and the emitters mist, lines pop off their fittings, and the plants nearest the faucet get far more water than the ones at the end of the run. A decent kit includes a regulator rated for drip pressures, plus a filter to catch the sediment that clogs emitter openings. If a kit you like skips either part, budget for both as add-ons from the start rather than as mid-season fixes.
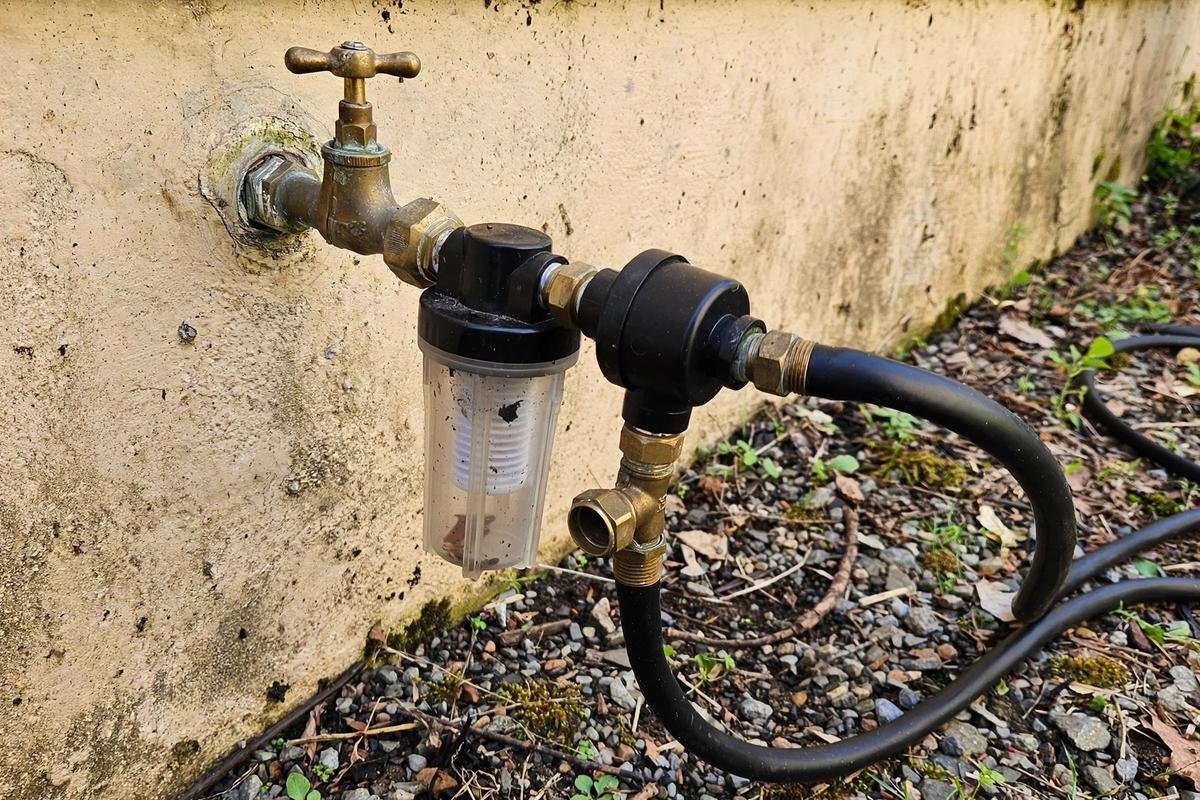
Our step-by-step walkthrough on how to set up drip irrigation for a raised bed shows the order these parts go on — backflow preventer, filter, regulator, then tubing — and why the order matters. One more pressure note: pressure-compensating emitters hold their rated flow steady across a wider pressure range, which helps on sloped yards or long runs. They cost a bit more per emitter, and for a flat garden with short beds, standard emitters regulated at the faucet do the job fine.
What to Check Before You Buy
Run down this list against any kit, whatever the box claims:
- Tubing sizes. A 1/2-inch mainline carries far more water than 1/4-inch line and feeds multiple beds. Kits built only around 1/4-inch line suit a bed or two at most.
- Emitter spacing. Built-in spacing of 12 inches covers most raised bed crops; 6- or 9-inch spacing suits sandy soil and dense greens; wider spacing belongs in clay soil, where water spreads sideways on its own.
- Total emitter flow. Add it up with the worked example above. If the planned total across all your beds passes roughly 200 gph, plan on zones rather than one long run.
- The boring fittings. End caps, stakes, hole plugs (often called goof plugs), and spare emitters keep a small mistake from becoming a reorder.
- Timer compatibility. Standard hose threads accept nearly any battery timer, turning a kit into a system that waters at dawn on its own — our hose timer roundup covers single- and multi-zone options.
Season-Long Care, and Where Drip Fits the Rest of the Beds
A drip system asks for about fifteen minutes a month: walk the lines while it runs, look for emitters that have stopped dripping, and flush the end caps once or twice a season. Deep-rooted crops reward the steady moisture most — the even watering we recommend in how to grow tomatoes gets far easier when a timer handles the schedule. Containers follow the same rules with smaller tubing, as covered in container gardening for beginners. When cold weather comes, drain the lines and bring the timer and regulator indoors; our guide on how to winterize a raised garden bed has the full sequence.
Our Verdict
There is no single best kit, only the best match for the beds you have and the ones you are planning. Use these lines to decide:
- Choose a basic starter kit if you run one or two beds with widely spaced plants and want to place every emitter by hand.
- Choose an expandable multi-bed kit if more beds are in your future and you want one mainline to grow with the garden.
- Choose a pre-made grid kit if your beds share one size and you plant densely — greens, roots, and herbs wall to wall.
When you are ready to compare current options, browse drip kits for raised beds here — and hold each one up against the emitter math for your beds. Once you know your numbers, the right kit picks itself.
Sources & Further Reading
- Colorado State University Extension, CMG GardenNotes #264, Irrigation Equipment — cmg.extension.colostate.edu/Gardennotes/264.pdf (references CSU Fact Sheet #4.702, Drip Irrigation for Home Gardens)
- Utah State University Extension, The Do-It-Yourself Guide to Backyard Drip Irrigation — extension.usu.edu
- University of Georgia Extension, Drip Irrigation in the Home Vegetable Garden (Circular 1095) — fieldreport.caes.uga.edu