
This post may contain affiliate links. If you buy through links on this page, we may earn a commission at no extra cost to you.
As an Amazon Associate I earn from qualifying purchases.
A greenhouse that goes into winter unprepared loses heat through gaps you cannot see, holds damp air that invites mold, and leaves plants at the mercy of the first hard freeze. Winterizing takes one focused afternoon: check the glazing and seals, clean out the season’s clutter, test the heat, and set up venting that still works on cold, still days. Do those four jobs before the first frost, and the structure holds heat better all winter while the plants inside stay drier and safer.
Start with the first frost date
Winterizing has a deadline, and the deadline is the first frost in your area, not a date on the calendar. Glazing checks, seal repairs, and heater tests all need dry, workable weather, so aim to finish at least two weeks before frost is likely. Use your local frost dates and regional planting guidance — not your USDA hardiness zone alone — to choose planting dates. Your local extension office publishes average first-frost dates for your county, and those dates move by weeks between a sheltered valley and an exposed hilltop a few miles away.
Work backward from that date. Order replacement glazing clips, weatherstripping, and heater parts early, since garden suppliers sell out of cold-weather gear once the first frost warning appears. Put the winterizing afternoon on the calendar the same week you pull the last summer crops, while the greenhouse is empty enough to reach every wall.
Check the glazing and seals
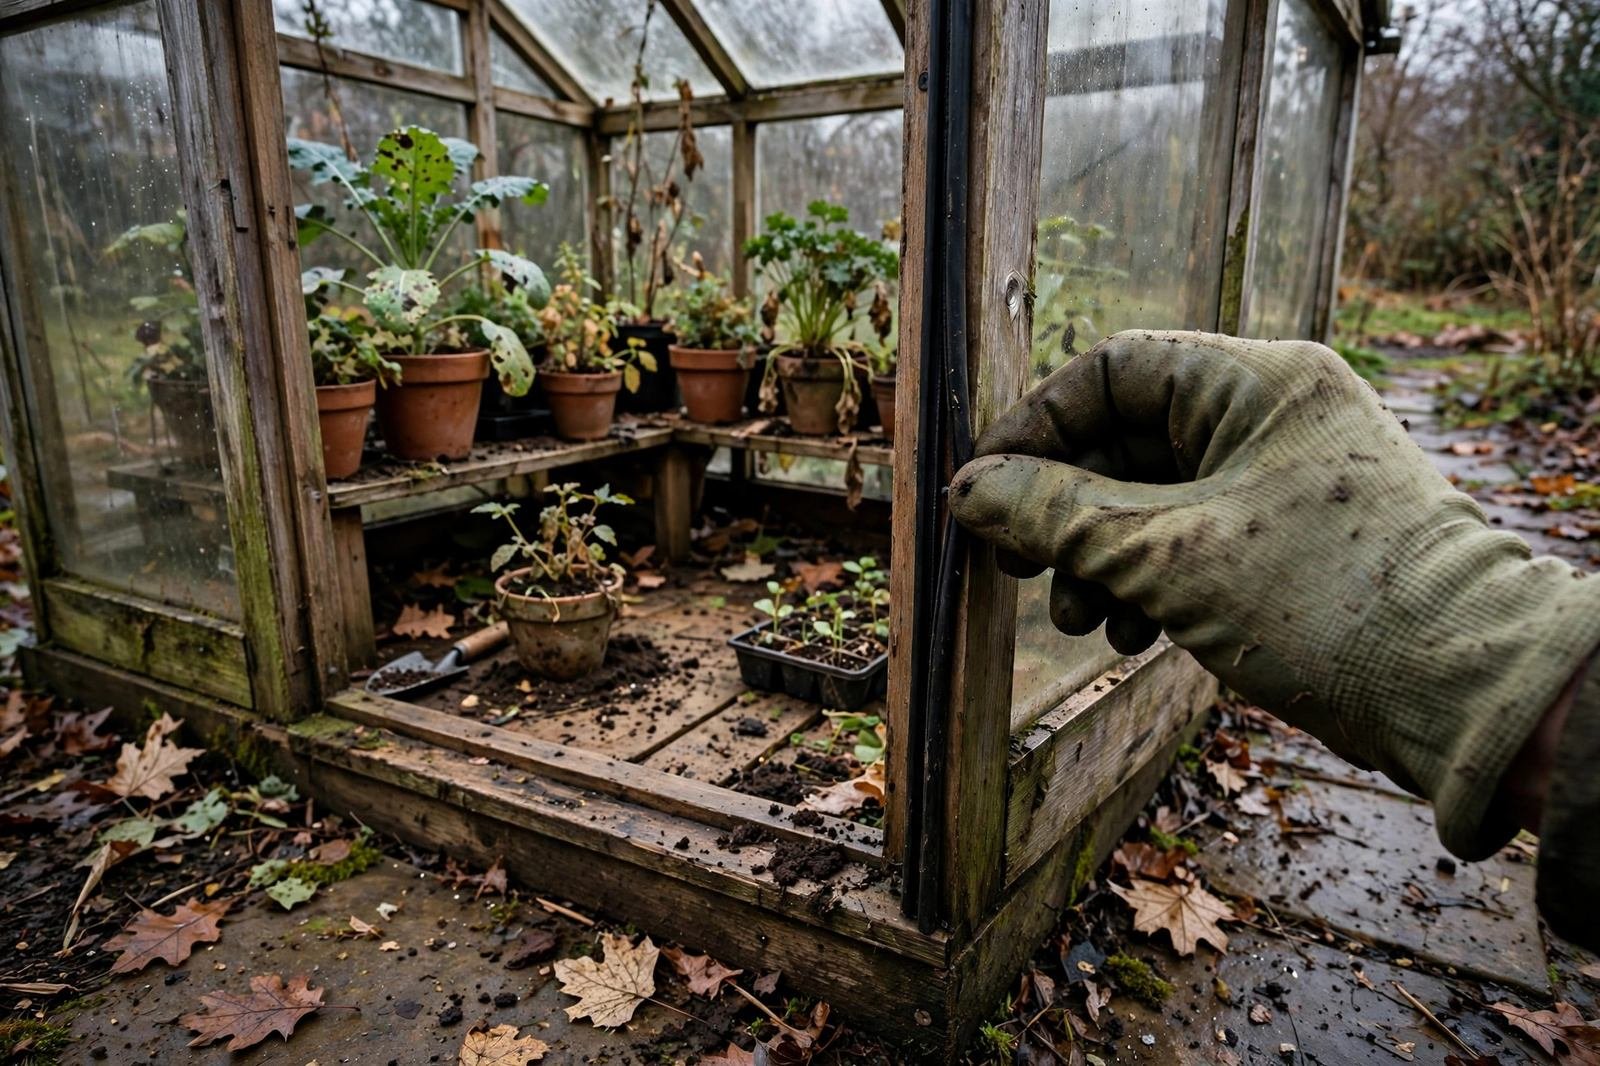
Glazing is where most winter heat escapes. Walk the outside of the greenhouse on a breezy day and run a hand along every panel edge, feeling for drafts. On glass houses, look for cracked panes, slipped putty, and clips that have worked loose. On polycarbonate houses, look for panels that have bowed out of their channels, yellowed or cracked sheets, and gaps where the sheets meet the frame. A panel that rattles in the wind is a panel that leaks heat all winter.

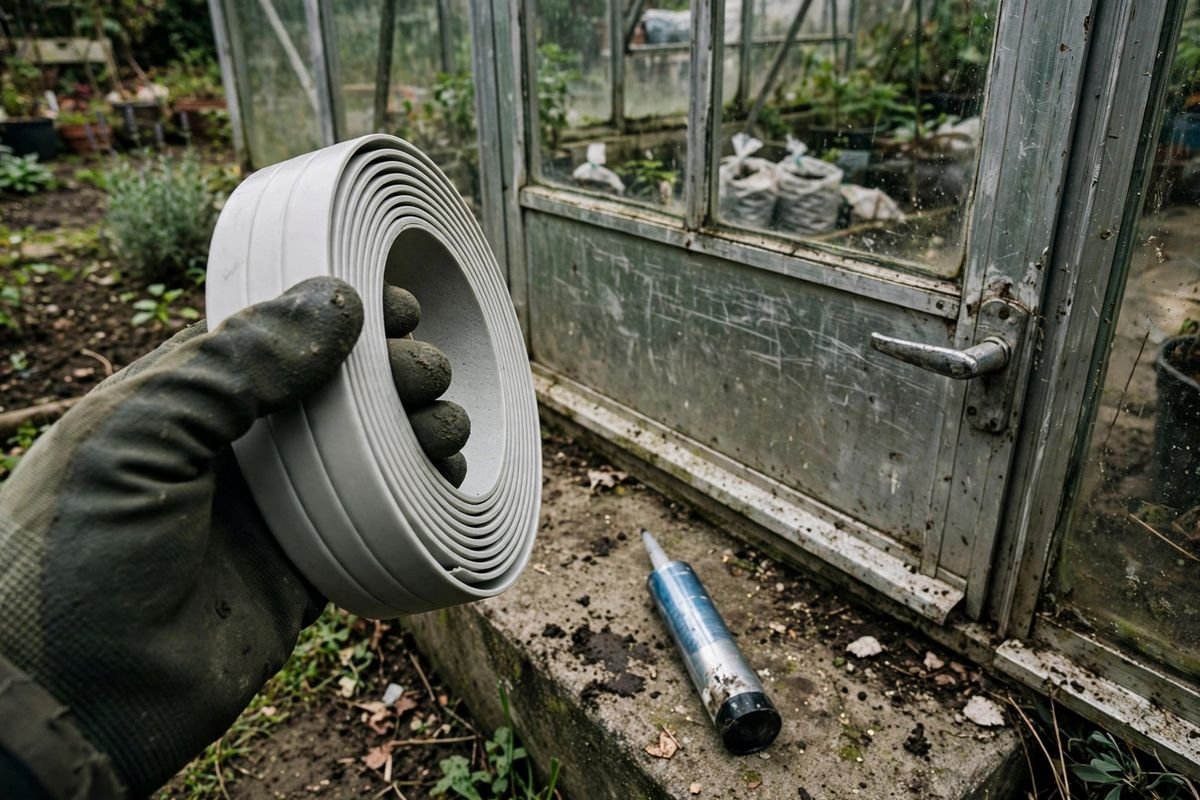
Replace cracked panes before the cold arrives, and re-seat any polycarbonate sheet that has slipped. Press new foam weatherstripping into the gaps around doors and vents, and run a bead of greenhouse-safe silicone along joints that open and close with temperature swings. Check the door itself: it should close with a firm push and stay shut in a gust. A door that drifts open on a windy night can drop the inside temperature by ten degrees or more before morning.
While you are up there, clear the gutters and the roof. Fallen leaves hold water against the frame and block the drainage that keeps the base dry. A quick rinse of the glazing from the outside also lets more winter light in, which matters when the sun sits low and the days run short.
Clean out the greenhouse
An empty greenhouse is easier to heat than a crowded one. Pull out spent plants, dead leaves, and any pots that will not be used again this year. Spent tomato and pepper plants can carry disease into the next season if they sit in a damp corner all winter, so bag them and compost only the healthy material. Scrub the benches and the floor with warm soapy water, and let everything dry before you put pots back.
Sort what stays. Tender plants that will overwinter inside the greenhouse go on the benches, with space between pots so air can move. Tools, empty pots, and bags of potting mix can go to a shed or a dry corner, since clutter on the floor blocks airflow and gives slugs a place to hide. If you grow in the ground inside the greenhouse, rake the beds smooth and top them with a layer of compost that will sit over winter.
Our guide to using a cold frame for winter vegetables covers the same clean-out habit on a smaller scale, and the same logic applies here: a tidy structure dries faster, heats faster, and shows problems sooner.
Heat: what to check and how much to plan for
Heating is the part of winterizing that most people guess at, so run the numbers before you buy anything. The heat a greenhouse loses on a cold night depends on the glazing area, the material, and the gap between the inside temperature you want and the outside low. A rough heat-loss check takes five minutes and tells you whether one small heater will do or whether you need a larger unit.
Take an 8-by-10-foot greenhouse with 8-foot walls and a simple pitched roof. The wall area comes to about 288 square feet, and the roof adds about 100 square feet, for roughly 388 square feet of glazing in total. Assume single-layer polycarbonate with a U-value near 1.1 BTU per hour per square foot per degree Fahrenheit, an inside target of 40 degrees, and an outside low of 20 degrees, a 20-degree gap. Multiply 388 by 1.1 by 20 and the loss comes to about 8,500 BTU per hour. Add 20 percent for air leaking through gaps and the total rises to about 10,200 BTU per hour.
That number sets the heater size. A 1,500-watt electric heater puts out about 5,100 BTU per hour, so one heater covers only about half the loss for this greenhouse on a 20-degree night. Two 1,500-watt heaters, or one larger heater rated near 10,000 BTU per hour, would cover it. If your greenhouse is smaller, double-glazed, or in a milder spot, run the same check with your own measurements and your own coldest expected low, and size the heater to the result rather than to a guess. A greenhouse electric heater with a built-in thermostat holds the inside temperature steady without running all night, which keeps the power bill in check.
Test the heater before you need it. Plug it in on a cool evening, set the thermostat to your target, and check the inside temperature an hour later with a separate thermometer placed at plant height. Heaters with a fan move warm air down from the roof, where it collects, to the plants below. Keep the heater clear of pots, soil, and dry leaves, and run the cord through a weatherproof outlet rather than across a wet floor.
If you heat with propane, check the burner, the gas line, and the vent before the first cold night, and never run an unvented heater in a sealed greenhouse. Propane burners give off moisture and fumes, so they need fresh air even in the middle of winter. A carbon monoxide alarm near the heater is cheap insurance.
Venting and humidity in winter
A sealed greenhouse in winter turns damp fast. Plants give off moisture, wet soil gives off more, and cold glazing turns that moisture into drips that fall on leaves and invite gray mold. Venting stays on the job all winter, just in smaller doses than in summer.
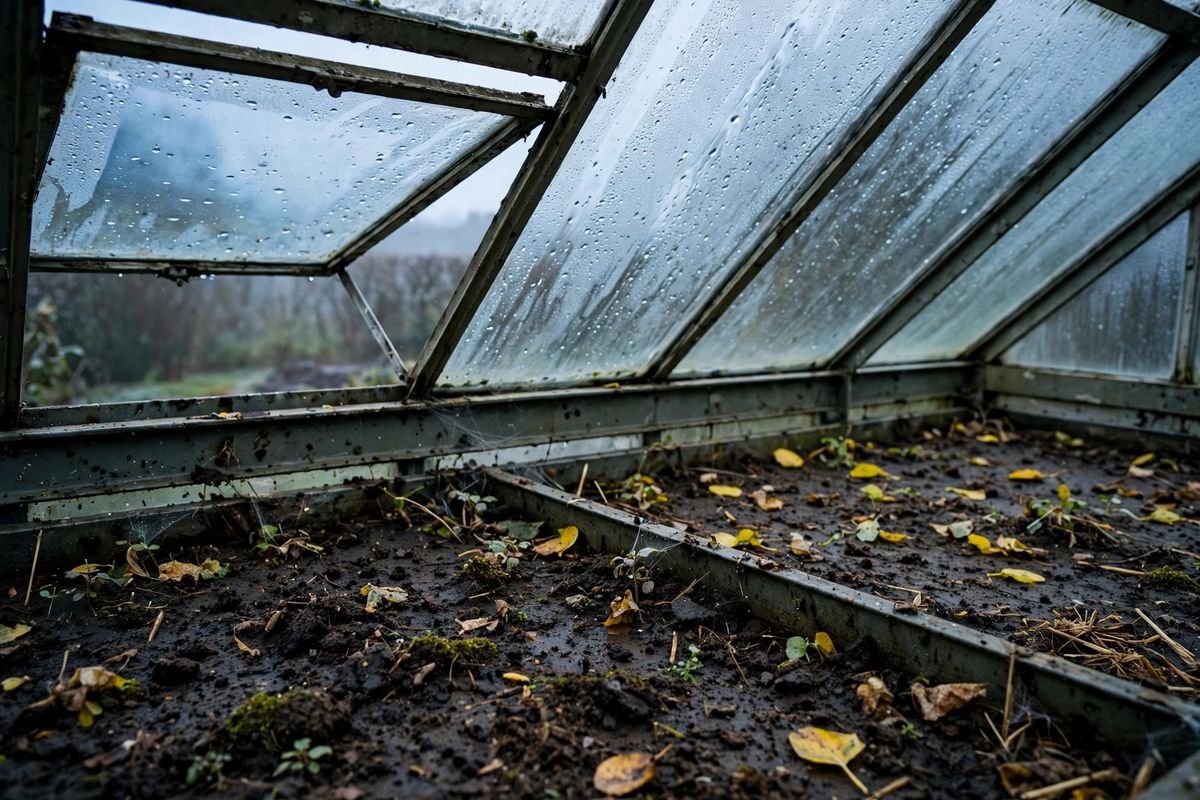
Open the roof vent a few inches on dry, calm days, even when it feels cold outside. A short venting window in the late morning, when the sun has warmed the inside air, swaps damp air for dry air without dropping the temperature far. Automatic vent openers that work on wax cylinders still function in winter and open the vent as the inside warms, so they are worth keeping in place rather than removing for the season.
Watch for condensation on the glazing each morning. A light mist that clears by midday is normal. Water that runs down the panels and drips on the plants means the air is too damp, so vent longer, space the pots wider, and water in the morning so the soil surface dries before night. A small fan on low, pointed along the benches, keeps air moving on still days and dries leaf surfaces faster than still air ever will.
Water, power, and paths before the freeze
Water lines freeze first, so drain any hose or pipe that runs into the greenhouse before the first hard frost. If you keep a water barrel inside, move it to the sunniest wall, where it absorbs heat by day and gives a little back at night. Keep a watering can inside the greenhouse so the water you use sits near air temperature instead of shocking roots with icy water from an outdoor tap.
Check the power supply the same afternoon. Extension cords that have sat in damp soil all summer can crack, and a cracked cord near a wet floor is a hazard. Replace damaged cords, mount outlets above floor level, and keep the heater and fan on separate circuits where possible so a tripped breaker does not take out both at once.
Clear the path to the door and lay down a non-slip surface. Wet leaves on a greenhouse step turn slick with the first frost, and you will be carrying plants, water, and tools in and out on dark winter mornings. A scrap of outdoor matting or a few paving slabs costs little and saves a fall.
A short pre-frost checklist
Run through this list the weekend before frost is expected. Replace cracked glazing and re-seat slipped panels. Press new weatherstripping into door and vent gaps. Clean out spent plants and scrub the benches. Test the heater with a separate thermometer at plant height. Open the roof vent for a short spell on dry days and watch morning condensation. Drain outdoor water lines and move a watering can inside. If you are weighing a smaller structure for the coldest crops, our comparison of a mini greenhouse versus a cold frame lays out which one fits a small garden, and our notes on the best cold frames for small gardens cover the compact end of the range.
Write down the date you finished and the heater setting you used. Next autumn, that note tells you what worked and what to change, and the whole job takes less time because the checks are already written down. A greenhouse that goes into winter sealed, clean, heated, and vented gives you a dry, workable space through the cold months instead of a cold, damp box you avoid until spring.
Sources & Further Reading
University of Minnesota Extension, greenhouse and season extension guidance; Penn State Extension, greenhouse heating and ventilation guidance; USDA Plant Hardiness Zone Map and frost date resources.