
This post may contain affiliate links. If you buy through links on this page, we may earn a commission at no extra cost to you.
As an Amazon Associate I earn from qualifying purchases.
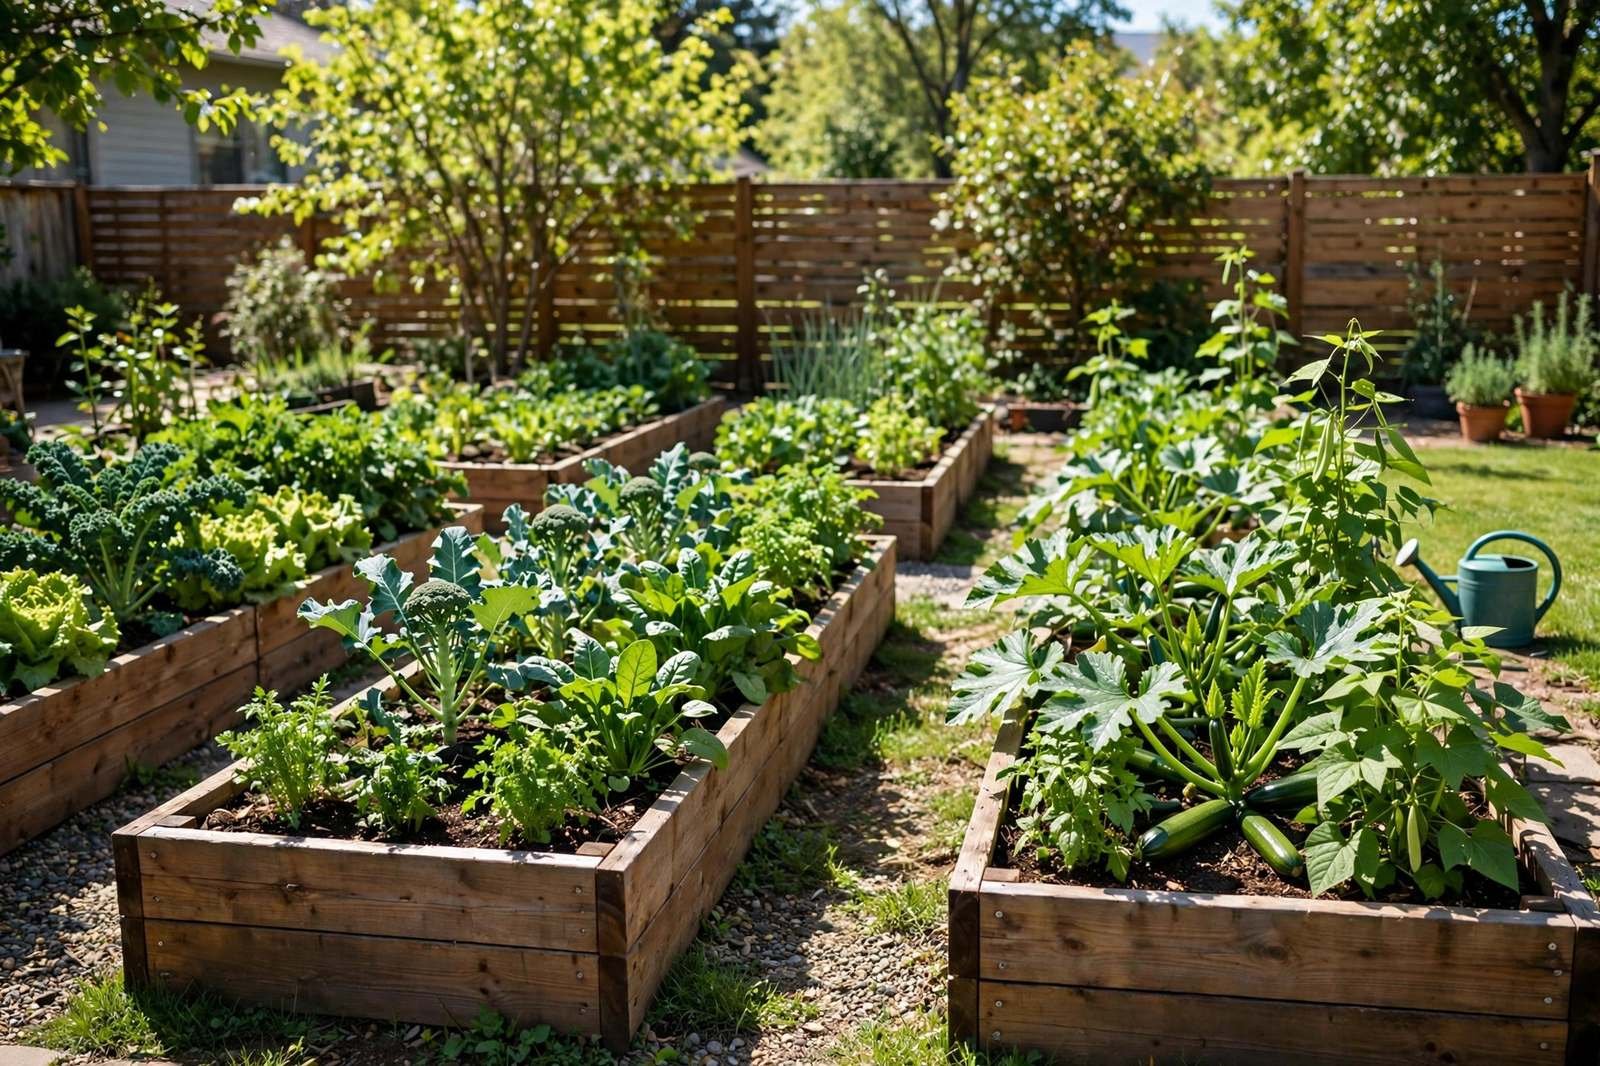
If your soil is hard clay, soggy after every rain, or a spiderweb of tree roots, here’s the good news: you don’t have to fix it. Build on top of it instead — a frame filled with good soil, sitting exactly where your sun is.
The most common recommendation for new gardeners, for good reason: drainage problems disappear, the soil warms earlier in spring, and you stop fighting weeds — with far less bending, too.
Here’s the whole guide: size, materials, placement, soil, how much to buy — then your first bed, step by step.
Why Raised Beds Work So Well
Before the how, the why. Every one of these is a beginner headache that a raised bed simply skips:
- Instant good drainage — excess water drains out instead of pooling around roots, a lifesaver in clay or low spots.
- Earlier spring planting. Raised soil warms faster than ground soil, so cool-season crops like peas and spinach can go in a week or two earlier.
- Far fewer weeds. You start with clean fill instead of a buried seed bank, and the frame keeps lawn grass from creeping in.
- No compaction. You never walk in the bed, so it stays loose — roots go deeper, water soaks in evenly.
- Easier on your body. A 12-inch bed already beats ground level; an 18-inch one lets you garden sitting on the edge.
Still deciding how to grow? Our beginner’s garden guide compares in-ground, raised, and containers.
The Best Size for a Raised Bed
The single most important sizing rule: you should be able to reach the middle of the bed from either side without stepping in.
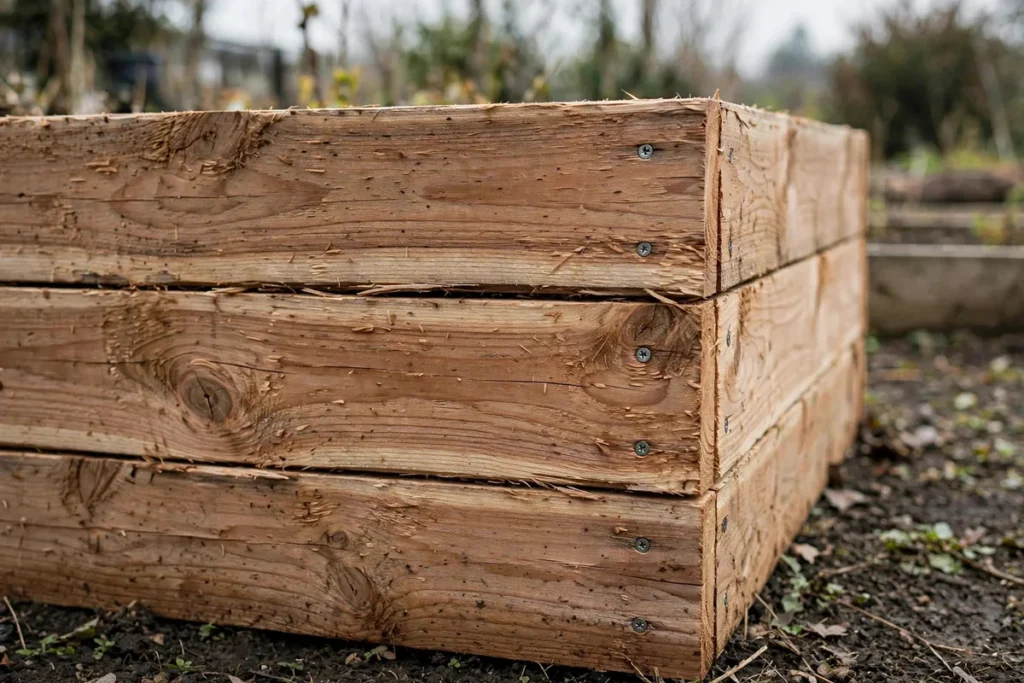
Width: 4 feet max
Four feet lets an average adult reach the center from both sides — 2 feet each way. Go 3 feet if your reach is short, and 2 to 3 feet for beds against a fence or wall, where you reach from one side.
Length: 8 feet is the sweet spot
Eight feet grows a real harvest and matches standard lumber lengths — clean cuts, no waste. Beds longer than 12 feet get awkward to walk around, and long boards can bow outward under soil pressure unless braced.
Depth: 10 to 12 inches minimum
Most vegetables need 6 to 8 inches of rooting depth; 10 to 12 inches gives comfortable margin. Go 16 to 18 inches for tomatoes and carrots — and 18-inch beds are genuinely comfortable to work sitting on the edge.
No room for a 4×8? A 3×3 still grows a pile of salad — and for patios, containers are the raised bed’s small-space cousin.
Materials: What to Build the Frame From
The frame just holds soil in place. What it’s made of affects how long it lasts and how much it costs.
Untreated cedar or redwood. The classic: naturally rot-resistant, lasts 8 to 12 years, looks beautiful. If cutting lumber isn’t your weekend, a cedar raised bed kit assembles in under an hour — pre-cut pieces, slotted corners.
Composite lumber. Made from recycled plastic and wood fiber — it never rots and comes in uniform boards, at roughly double cedar’s cost and a less natural look.
Galvanized metal beds. Corrugated steel stock-tank-style beds last for decades, assemble fast, and look modern. They can heat up along the edges during hot weather, so mulch well where summers are consistently hot.
Pressure-treated lumber. Modern pressure-treated wood uses ACQ, which replaced the old arsenic-based CCA treatment in the early 2000s; most university extension services consider it acceptable for vegetable gardens. Many food gardeners still choose cedar — a personal call. Either way, skip salvaged lumber of unknown origin and railroad ties entirely.
Line the inside walls with landscape fabric only to slow soil loss — never plastic on the bottom. It must stay open so water drains and earthworms can move up.
Prefer ready-made? Pre-cut kits in cedar, metal, elevated, and budget styles are widely available.
Where to Put Your Raised Beds
Placement decides your harvest more than almost anything else. Get these right before you fill a single bed.
Sun: 6 to 8 hours of direct sun daily. Most vegetables need at least 6 hours; 8 is better for fruiting crops. Watch your yard for a full day. In climates with intense summer heat, some afternoon shade can help reduce heat stress.
Level ground. On a slope, dig the uphill side in so each frame sits level — unlevel beds shift and spill soil over time.
Near water. Put beds within easy hose reach of an outdoor spigot — hauling watering cans gets old fast. If you plan drip irrigation, leave room for a timer at the spigot.
Good air flow, but not a wind tunnel. Gentle air movement keeps leaves dry and disease down. Avoid the dead-air pocket against a south-facing wall — and the windiest corner of the yard.
Orientation: north to south. Run the long axis north-south, so tall plants at the north end don’t shade the rest. In the southernmost zones, east-west works fine too.
Leave 2-foot-wide paths between beds — wide enough for a wheelbarrow. Three feet is even better if you can spare it.
How Much Soil to Buy
Here’s the math, and it’s worth doing before you order:

Length (ft) × Width (ft) × Depth (ft) = cubic feet of soil
- 4 × 8 × 1 ft bed = 32 cubic feet (~1.2 cubic yards)
- 4 × 8 × 1.5 ft bed = 48 cubic feet (~1.8 cubic yards)
- 3 × 6 × 1 ft bed = 18 cubic feet (~0.7 cubic yards)
Bagged mix usually comes in 1.5 or 2 cubic-foot bags — a 4 × 8 × 1 ft bed needs about sixteen 2-cubic-foot bags. Check the math before you leave the store; it’s always more than it looks.
Bulk delivery from a landscape supplier is much cheaper past a couple of beds. Order by the cubic yard (27 cubic feet) — and add roughly 10% extra, since soil settles after watering.
What Soil to Put In
Don’t fill your bed with bagged topsoil alone — it compacts into a brick. Vegetables need soil that holds moisture but drains freely and is packed with organic matter.
The classic recipe: Mel’s Mix
From Mel Bartholomew’s Square Foot Gardening, this mix has fed millions of raised beds:
- 1/3 blended compost (use at least 3–4 different kinds: composted cow manure, mushroom compost, worm castings, leaf compost)
- 1/3 peat moss or coco coir (holds moisture; coco coir is the more sustainable pick)
- 1/3 coarse vermiculite (lightens the mix and holds water in the root zone)
It’s nearly foolproof, and you only buy it once — then you maintain it with compost. Making your own cuts the cost further: here’s how to make it.
The budget blend: 60/30/10
If Mel’s Mix breaks the budget, this works well:
- 60% screened topsoil
- 30% compost (again, mix several types)
- 10% aeration (perlite, coarse vermiculite, or rice hulls)
Short on time? A bagged raised-bed garden soil mix from the garden center works straight out of the bag — just check the cubic-foot math above before you load the cart.
Finish with an inch or two of compost on top, then water the bed thoroughly and let it settle for a few days — the level will drop noticeably, and you can top it off.
The deep-bed trick: fill the bottom cheap
For beds deeper than 12 inches, you don’t need premium soil all the way down: fill the bottom third with logs, branches, fallen leaves, and straw (a hügelkultur layer), then soil mix on top. It slowly breaks down and feeds the soil for years, and you’ll save a fortune on fill. Avoid black walnut and any pressure-treated scraps.
Watering Raised Beds
Raised beds drain well — which means they dry out faster than in-ground gardens. In summer, expect to water daily in hot climates.
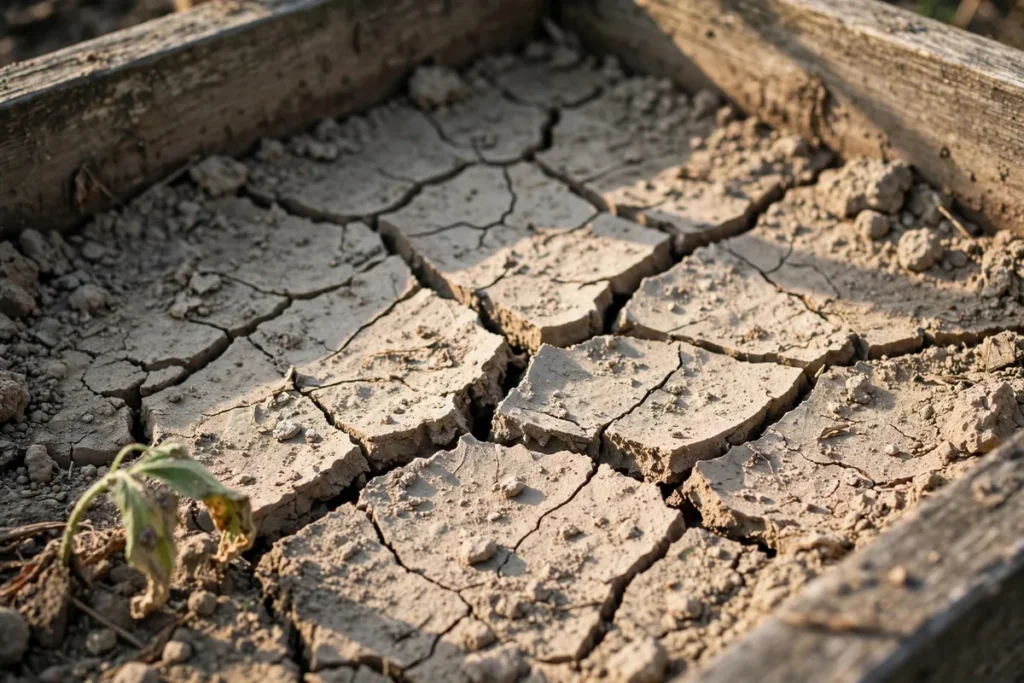
Water until moisture reaches 6 to 8 inches down, then let the top inch dry before watering again — the same deep-and-rare watering rhythm that works in any garden.
Mulch everything. A 2- to 3-inch layer of straw, shredded leaves, or wood chips cuts evaporation dramatically and stops soil from splashing onto leaves — which is how disease spreads.
Water the soil, not the leaves. Soaker hoses or drip lines under the mulch are ideal — water goes to the roots, foliage stays dry. A drip irrigation kit on a simple hose timer turns summer watering into a non-event. If you overhead water, do it in the morning so leaves dry by evening.
Check moisture with your finger. Stick it 2 inches into the soil — dry at that depth, water; moist, wait.
Your First Bed, Step by Step
The whole build, in order — one focused weekend is all it takes.
Step 1: Pick the spot. Sunny, level, and near a spigot. For a long bed, run the long axis north to south so tall plants at the north end don’t shade the rest.
Step 2: Assemble the frame. A 4 × 8 ft rectangle, 10 to 12 inches deep. If you’re cutting cedar boards, pre-drill the screw holes so the wood doesn’t split.
Step 3: Level it and set it. On a slope, dig the uphill side in so the frame sits level. Keep the bottom open — landscape fabric on the inside walls only, never plastic underneath.
Step 4: Fill it. Woody hugelkultur layer first if the bed is deep, then your soil mix on top — about 32 cubic feet for a 4 × 8 × 1 ft bed, plus 10% extra for settling.
Step 5: Top, water, and settle. Spread 1 to 2 inches of compost on top, soak the whole bed thoroughly, and let it sit for a few days. The soil level will drop — top it off before planting.
Step 6: Mulch and plant. Add 2 to 3 inches of mulch, plant at the spacing your seed packets say (not closer), and water everything in well.
Make it yours: three easy upgrades
A 2×4 cap rail on the top edge seats you for weeding. Push wire hoops into the corners for instant row-cover frost protection in spring and fall. Or lay a grid of string in 12-inch squares across the top — planting day becomes a tidy game of garden Tetris, and spacing mistakes nearly vanish.
Common Raised-Bed Mistakes
Most raised-bed problems come from rushing the planning stage:
Building too wide
If you can’t reach the middle without stepping in, the bed is too wide — the center becomes a compacted dead zone. Four feet max; three if your reach is short.
Skimping on depth
Six inches of soil over hard clay isn’t a raised bed, it’s a planter. Give roots 10 to 12 inches minimum.
Filling it with native dirt
Shoveling your yard’s soil into the frame imports every weed seed and compaction problem you were trying to escape. Use a real mix — that’s the entire point of the bed.
Forgetting that beds dry out fast
The number-one raised-bed complaint by midsummer: “it dries out in a day.” Mulch plus deep watering — or drip on a timer — fixes it.
Placing the bed first, checking sun later
A filled 4×8 bed weighs several hundred pounds. It is not moving. Watch the light for a full day before you fill — afternoon shade is the detail most people miss.
Raised Bed FAQs
How long does a cedar raised bed last?
Typically 8 to 12 years for untreated cedar; metal beds last decades. When a cedar frame finally goes, the soil inside is still perfect — just swap the frame.
Do I need to line the bottom of the bed?
No — keep the bottom open so water drains and earthworms can move up. Landscape fabric belongs on the inside walls, never as a bottom sheet.
Can I put a raised bed on concrete?
Yes — but it becomes a giant container. Ensure water can drain out, plan to water more often, and use at least 12 inches of mix since roots can’t go deeper.
What grows best in raised beds?
Nearly everything — but start with forgiving crops from our easiest vegetables list; the tomato guide is a good next read once you’re hooked.
More Raised Bed and Beginner Posts
- How to Start a Vegetable Garden for Beginners — the full seven-step beginner guide.
- How to Make Compost at Home — free soil food for topping up your beds every spring.
- Container Gardening for Beginners — the small-space cousin of the raised bed.
- 10 Easiest Vegetables to Grow for Beginners — what to plant in that first bed.
One weekend of work, and you have a garden that produces for years. Start with one bed, learn it through a season, then expand — your future self will be glad you started.
Are you building your first raised bed this season — wood or metal? Tell us in the comments.
Sources & Further Reading
- Raised Bed Gardening — Utah State University Extension. Supports sun, width, height, and compost.
- Raised Bed Gardening — Penn State Extension. Supports placement, 4×8×1-ft size, and cedar.
- Raised Bed Vegetable Gardening — Ohio State University Extension. Supports drainage, warming, irrigation, and soil depth.
Worked Example: From Hand Watering to Drip on One 4×8 Bed (Our Math)
When a raised bed is new, hand watering feels easy. By midsummer, the math tells a different story, and it is worth running the numbers before you decide how to water. Using the same planning model we use across the site — 32 square feet for a 4×8 bed, about 0.623 gallons per inch per square foot — one inch of water over the bed is roughly 20 gallons. In a warm week, many beds want that inch twice, which is about 40 gallons delivered slowly enough to soak in rather than run off the surface.
A drip layout sized for the bed makes the comparison concrete: four lines spaced 12 inches apart, emitters every 12 inches, about 32 emitters at half a gallon per hour, totals roughly 16 gallons an hour, so a 75-minute run covers one full inch. Our step-by-step for setting up drip irrigation in a raised bed lists the parts and the pressure assumptions behind that layout, and our comparison of drip irrigation vs a soaker hose shows where a soaker hose still makes sense for dense rows. If you are choosing hardware first, our roundup of drip kits for raised beds compares tubing sizes and emitter patterns by bed size.
None of this requires giving up the watering can. Many gardeners keep hand watering the first bed near the kitchen door and put the far beds on drip. The point of the math is choice: once you know your bed drinks about 20 gallons an inch, you can pick the delivery method that fits your schedule instead of guessing every morning.