
This post may contain affiliate links. If you buy through links on this page, we may earn a commission at no extra cost to you.
As an Amazon Associate I earn from qualifying purchases.
A small backyard changes the compost question. Space is tight, neighbors are close, and the bin sits in plain view of the patio chair. The right setup has to earn its footprint, keep pests out, and turn kitchen scraps into finished compost without turning the corner of the yard into an eyesore. Small yards rule out very little, though. They just ask us to match bin type to scrap volume and patience.
One honesty note before the comparisons: this is a spec-based research roundup built from manufacturer dimensions, extension guidance, and common capacity ratings. We have not run hands-on product trials on the bins linked here, and we do not claim test results. Sizes below come from stated product dimensions and standard volume math, shown in full. Anyone starting from zero may want our step-by-step primer on how to make compost at home alongside this guide.
Quick Comparison: Three Bin Types for Tight Spaces
| Bin type | Footprint | Capacity | Speed | Best for | Watch out for |
|---|---|---|---|---|---|
| Enclosed stationary bin | About 2 to 3 feet square | Roughly 50 to 80 gallons in common models | Slow to moderate; months per batch | Steady scraps plus yard leaves; set-and-leave gardeners | Harvesting finished compost from the bottom can be awkward |
| Tumbler | About 2.5 to 3 feet wide on a stand | Roughly 35 to 45 gallons per chamber | Faster with regular turning; weeks per batch in warm weather | Small households that want tidier, quicker batches | Small chambers fill fast; liquid can leak from vents |
| Worm bin (vermicompost) | About 1.5 to 2 feet, stackable trays | Processes scraps steadily rather than by big batches | Continuous; castings build over months | Kitchen scraps with little yard waste; patios and garages | Worms need shelter from heat and freezing; no meat, dairy, or oils |
How Much Capacity Does a Household Need?
Sizing starts with what goes in, not with the bin catalog. Kitchen scraps arrive daily, yard waste in weekend bursts, and a good bin handles the daily stream first. Here is the volume math, assumptions included.
Assumptions. One cubic foot equals about 7.48 gallons. A classic open pile measures 3 feet by 3 feet by 3 feet. A two-person household that cooks most meals generates roughly 1 gallon of kitchen scraps per day, counting coffee grounds, eggshells, peels, and trimmings. Actual scraps vary by household, and browns such as shredded leaves or paper get added alongside.
The classic pile, for scale. 3 × 3 × 3 = 27 cubic feet. Multiply by 7.48 and that pile holds about 202 gallons, roughly 200. That is far more bin than most small yards want, which is why enclosed bins rated at 50 to 80 gallons feel compact by comparison.
The tumbler chamber. Take a common 37-gallon chamber. At roughly 1 gallon of scraps per day, daily additions reach about 37 gallons in five weeks, before shrinkage: five weeks at 7 gallons a week lands near 35 gallons, right at the chamber door. In practice, material settles and shrinks as it heats, so the chamber accepts additions longer than the raw math suggests. The math still tells us something useful: a single small chamber fills quickly for a household that cooks daily, and a second chamber or a second bin stops the traffic jam.
Our sizing rule follows from those numbers. One or two people with modest cooking habits do fine with a single 35 to 45 gallon chamber or bin. Households that cook daily or add garden waste in season should look at 60 gallons or more, or plan on two smaller units in rotation. One caution on ratings: gallons describe the empty chamber, not the finished compost, and fresh scraps shrink to a fraction of their starting volume. Browse current models of compost bins for small backyards on Amazon and compare gallon capacity and footprint together, since a tall bin and a wide bin of equal gallons fit a yard very differently.
Choosing by Bin Type
Enclosed Stationary Bins: The Set-and-Leave Option
The classic enclosed bin is a lidded box, often square, with vents low on the sides and a door at the base. Scraps and browns go in the top, finished compost comes out the bottom months later, and the lid keeps rain from waterlogging the pile while holding heat in.
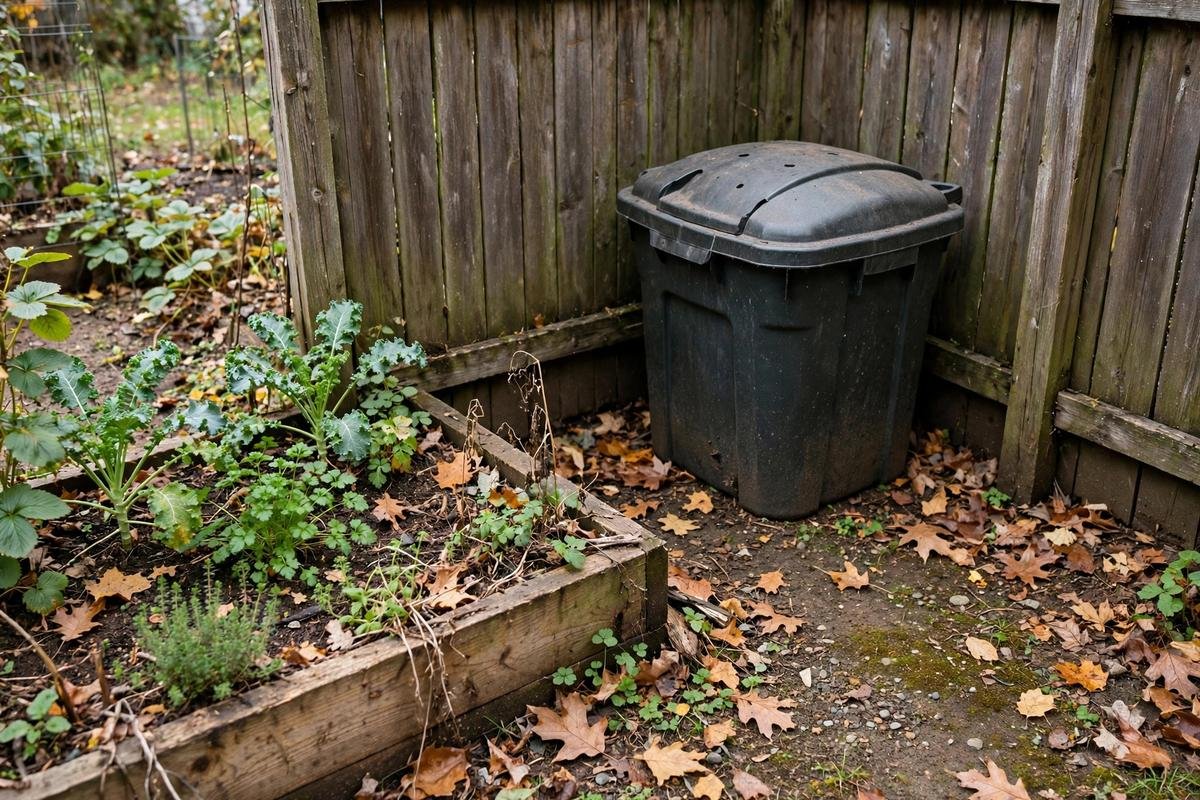
Tucked into a corner like this, an enclosed bin asks little of us. We add material, stir when we remember, and let time do the work. The tradeoffs are patience and harvest day: bottom doors can be small, and turning a full bin in a tight corner takes elbow room. For a yard that produces as many fallen leaves as kitchen scraps, though, the generous capacity is hard to beat.
Tumblers: Faster Batches in a Small Footprint
A tumbler mounts a sealed drum on a stand so the whole batch rotates. Turning mixes greens and browns, adds air, and keeps the pile working evenly, which speeds things up compared with a static bin that rarely gets stirred. The sealed body also shrugs off curious wildlife better than an open pile.
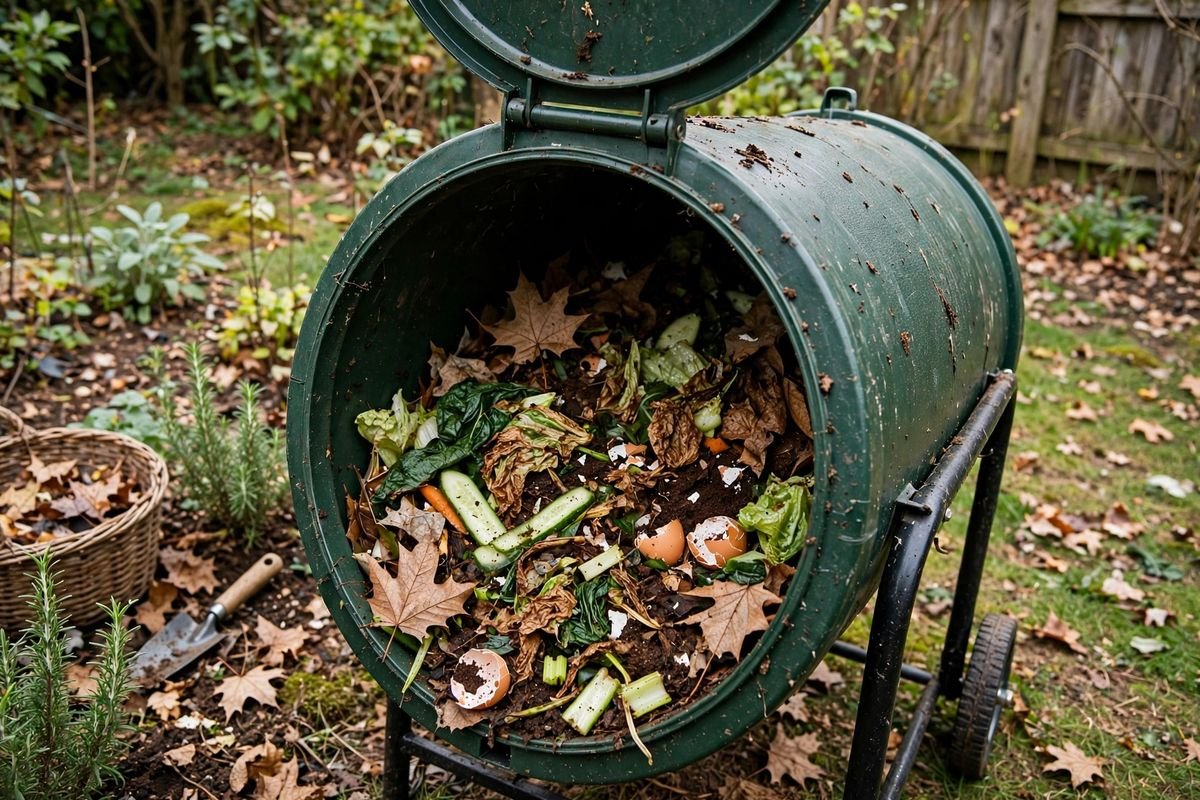
Dual-chamber tumblers solve the biggest tumbler frustration. One side cooks while the other side accepts fresh scraps, so the daily stream never lands on nearly finished compost. With a single chamber, every fresh banana peel restarts the clock on that batch. For households that cook daily, two chambers beat one larger chamber. Keep a bucket of dry browns beside the tumbler, too: a drum full of wet scraps alone turns slimy and slow, while shredded leaves or torn cardboard with each deposit keeps the mix balanced.
Worm Bins: Quiet, Continuous, and Compact
A worm bin trades batch size for continuity. Red wiggler worms eat kitchen scraps as we add them, and castings accumulate in the bottom tray over months. Stacking tray systems fit in a garage corner or a shaded patio with very little odor when managed well.
Worm bins suit households whose waste is mostly kitchen scraps rather than yard debris. Grass clippings and big leaf loads overwhelm a colony, while coffee grounds, fruit peels, and vegetable trimmings keep worms thriving. The limits are real: no meat, dairy, oils, or salty foods, and the colony needs shelter from heat and hard freezes. Our overview of how to start composting in a small backyard covers placement and startup for all three bin families.
Lids, Pests, and Keeping the Neighbors Happy
Lids should latch or lock. Raccoons learn fast. A lid that simply rests on top invites midnight raids, while a latching or weighted lid, or a tumbler hatch that clicks shut, keeps the menu closed. Small vent holes are fine; gaps at the rim are not.
Bury fresh scraps under browns. A layer of dry leaves, shredded paper, or finished compost over each fresh deposit blocks fruit flies and cuts odor at the source. This habit matters more than any filter pad.
Know what stays out. Meat, bones, dairy, oils, and pet waste from meat-eating animals do not belong in a backyard bin of any type. They draw pests, smell as they break down, and can carry pathogens a cool home pile never heats enough to destroy. Our breakdown of what can and cannot go in a compost bin settles the gray areas.
Balance greens and browns. A bin that smells sharp or sour is almost always heavy on wet scraps and light on dry carbon material. Adding browns fixes odor faster than any deodorizer, and a quick turn or fork stir restores air.
What Happens in Winter?
Cold weather slows every outdoor bin, and honest expectations beat disappointment. Microbial activity drops as temperatures fall, and a small bin loses heat faster than a big pile, with less mass at its core.
An enclosed bin often keeps a warm core through mild cold snaps, then goes quiet in a hard freeze. The material is not ruined; frozen scraps simply wait, and decomposition resumes in spring. A tumbler, with thin walls and small batches, freezes sooner and thaws sooner, so winter batches in cold climates mostly store material rather than finish it.
Practical winter habits are simple. Keep adding scraps if the bin has room; spring warmth will get to work on the backlog. Chop additions smaller before they freeze, since small pieces break down fastest once thawing starts. Straw bales or leaf bags around the outside can stretch the active season in borderline climates. A worm bin is the exception: colonies need shelter once nights drop near freezing.
What Finished Compost Should Look Like
However the bin is shaped, the finish line looks the same: dark, crumbly, earthy smelling, with few recognizable scraps left. A turned tumbler batch in warm weather can finish in a matter of weeks; a passive enclosed bin may take a season or longer.
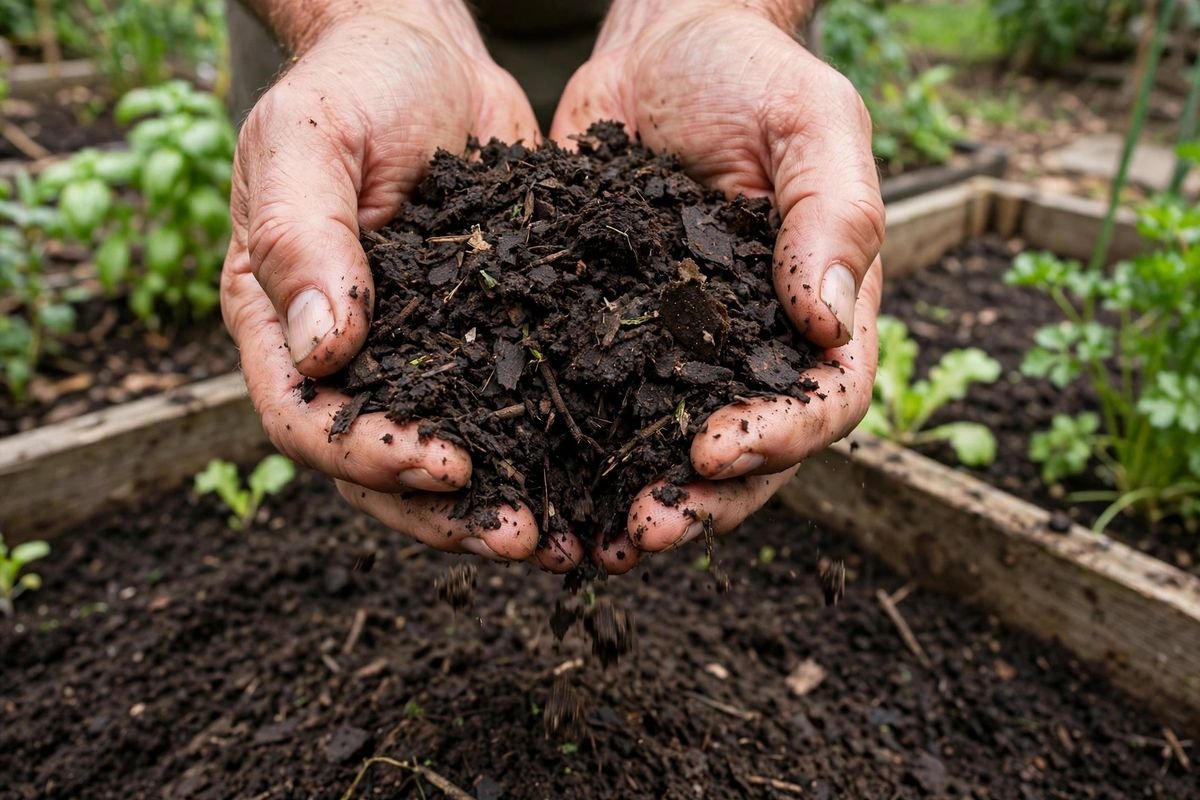
Finished compost like this goes straight onto beds, into planting holes, or back into a potting mix refresh. A batch that still shows whole leaves or food pieces just needs more time; screening out the unfinished bits and returning them to the active bin is standard practice, not failure.
Our Verdict: Which Bin Fits a Small Yard?
The best bin is the one that matches the scrap stream and the gardener. A few clear picks cover most small yards.
Choose an enclosed stationary bin if the yard produces leaves and garden waste along with kitchen scraps, and a slower, low-effort routine sounds right.
Choose a dual-chamber tumbler if tidy looks matter, turning sounds easier than forking, and a steady flow of finished batches beats one big harvest.
Choose a worm bin if kitchen scraps dominate, space is extremely tight, and a garage or shaded patio corner can shelter the colony year-round.
Whatever we pick, the habits carry the result: browns beside the bin, scraps buried, lid latched, and patience through the cold months. Compare current small backyard compost bins on Amazon by footprint, chamber count, and lid design, and measure the corner of the yard before ordering.
Frequently Asked Questions
How long until the first finished compost?
A turned tumbler in warm weather can finish a batch in several weeks. A passive enclosed bin usually takes a season or more. Worm castings build steadily and are ready to harvest by the tray over months.
Sources & Further Reading
- United States Environmental Protection Agency — home composting guidance on bin types, greens and browns balance, and materials to keep out of backyard compost.
- University of Illinois Extension — composting resources covering pile size, tumbler use, moisture, and troubleshooting odor and pests.
- Cornell Cooperative Extension — vermicomposting guidance on worm bin setup, feeding, and seasonal care for red wiggler colonies.