
This post may contain affiliate links. If you buy through links on this page, we may earn a commission at no extra cost to you.
As an Amazon Associate I earn from qualifying purchases.
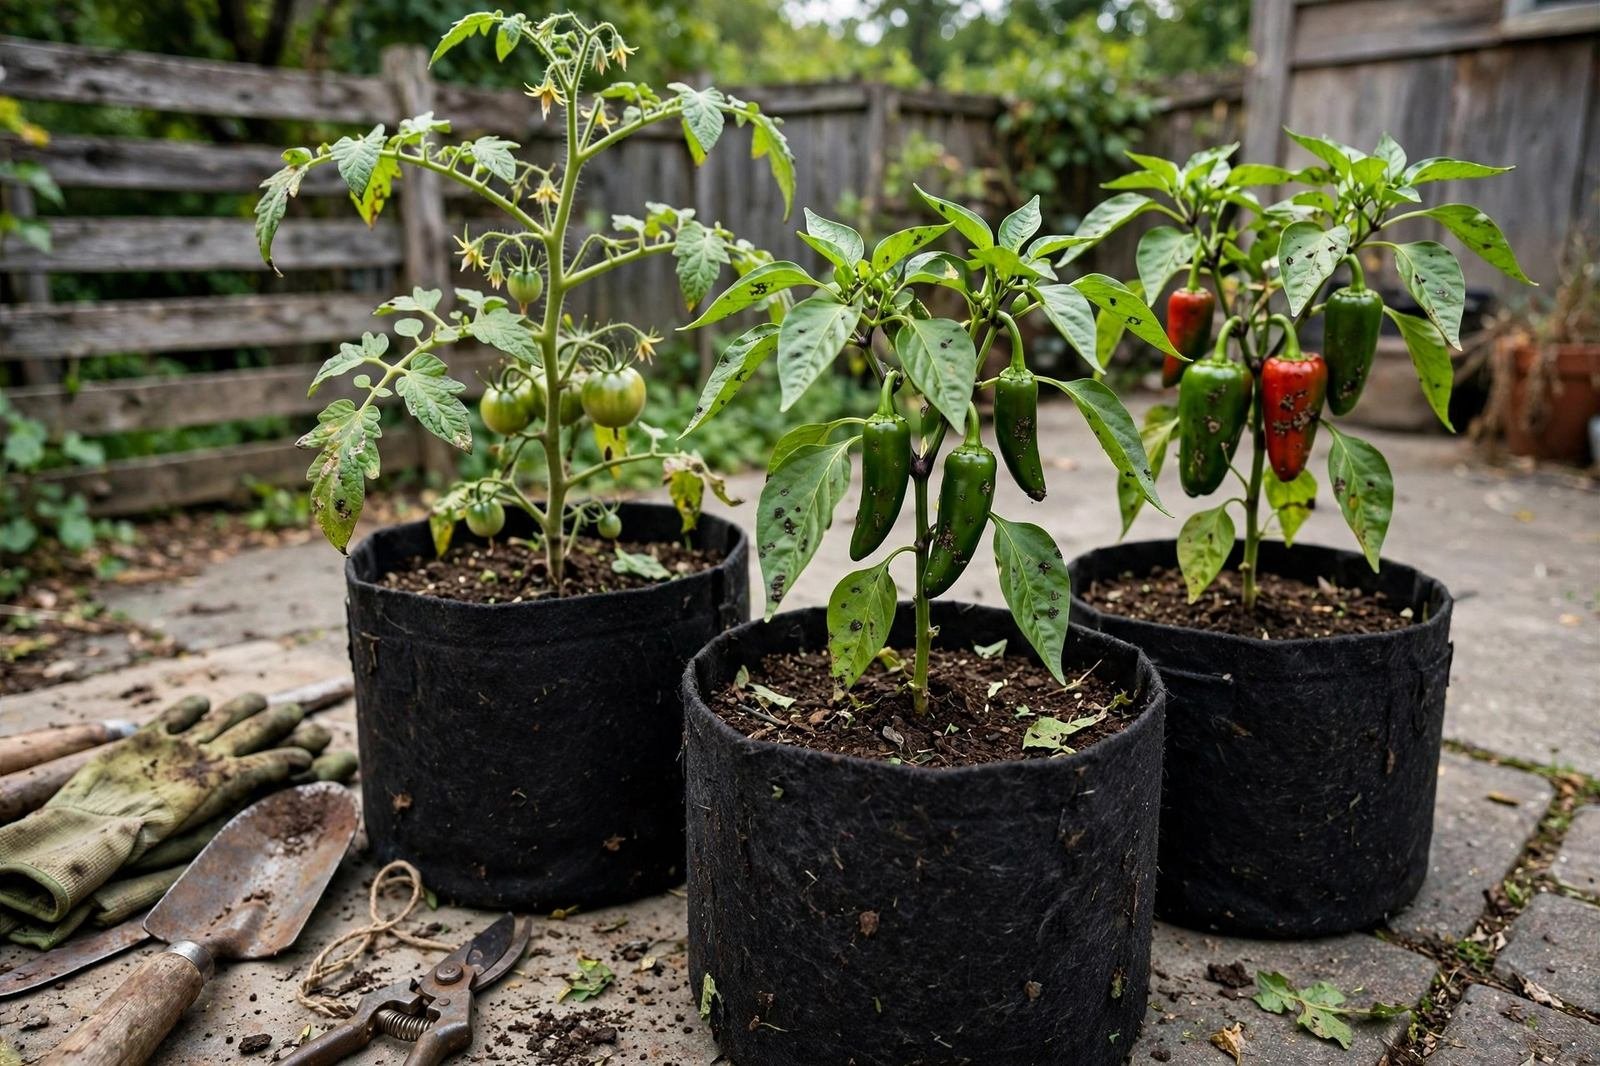
Fabric grow bags have quietly become the workhorse of small-space vegetable gardening. They cost less than most rigid pots, store flat over winter, and grow a surprisingly wide range of crops — from a single tomato on a sunny patio to a whole row of potatoes you harvest by dumping the bag. They are not magic, and they are not right for every plant or every patio. This research-based guide walks through how grow bags actually work, which sizes match which vegetables, what to look for in fabric and construction, and the honest trade-offs against plastic and terracotta.
We have written this as a buying guide based on manufacturer specifications, extension guidance on container growing, and patterns in long-term gardener feedback — not as a hands-on lab test. Where a claim comes from general container research rather than a specific brand, we say so.
| 3–5 gallon | Herbs, lettuce, radishes, a single pepper in a warm spot, strawberries |
|---|---|
| 7 gallon | One determinate tomato, one pepper with support, cucumbers (2 plants), bush beans |
| 10 gallon | One indeterminate tomato, potatoes (3–4 seed pieces), eggplant, squash (1 plant) |
| 15–20 gallon | Two peppers, a small potato patch, sweet potatoes, dwarf fruit shrubs |
| 25 gallon+ | Small trees, large perennials, multi-plant salad beds |
How Fabric Grow Bags Work
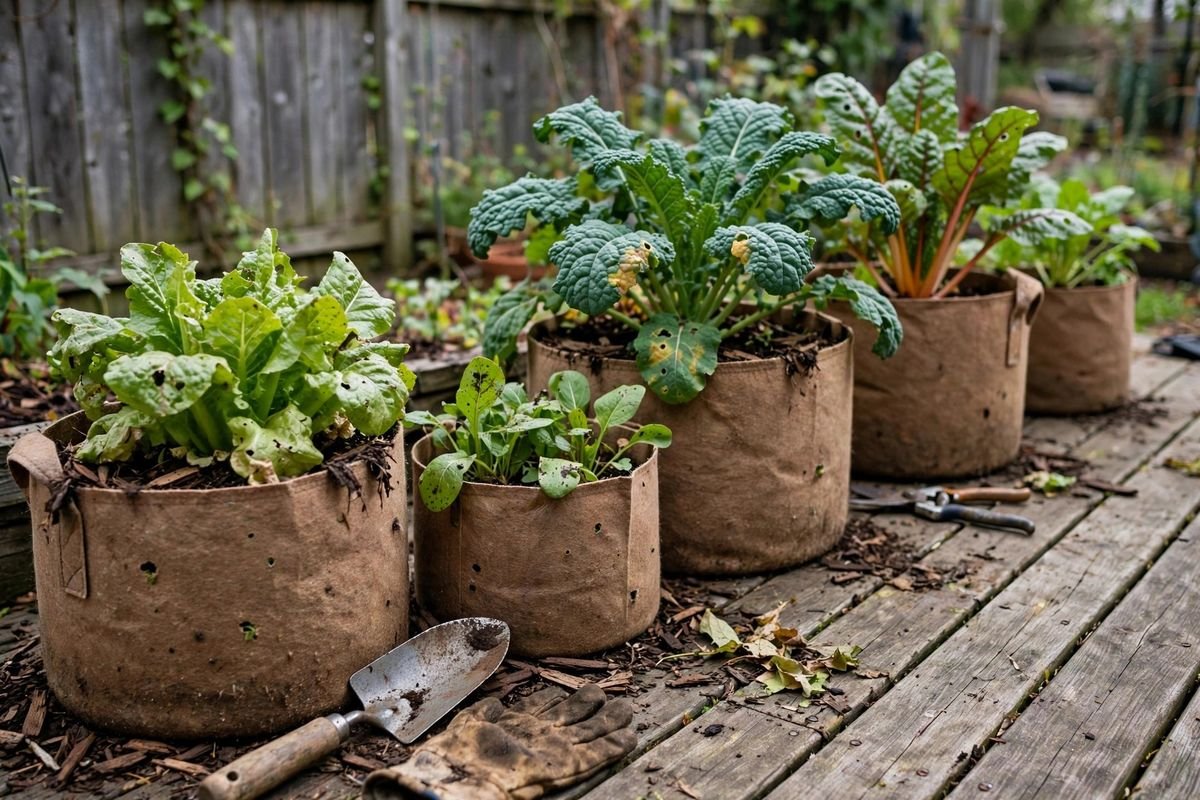
A grow bag is simply a pot made from porous fabric — most often nonwoven polypropylene, sometimes recycled plastic felt. Water drains through the sides as well as the bottom, and when a root tip reaches the fabric wall it meets air and stops extending. That “air pruning” encourages the plant to grow more fibrous feeder roots inside the bag instead of circling the wall the way roots do in a smooth plastic pot.
Extension services note two practical effects. First, drainage is hard to get wrong: excess water escapes freely, so overwatering damage is less likely than in a pot with one small hole. Second, the same porosity means soil dries faster, especially on hot or windy patios. Most of the day-to-day difference between grow bags and rigid pots comes down to that water trade-off, not root magic.
If you are new to containers in general, our container gardening for beginners guide covers the basics of light, soil, and watering rhythm that apply to bags exactly the same way.
Grow Bag Sizes by Vegetable
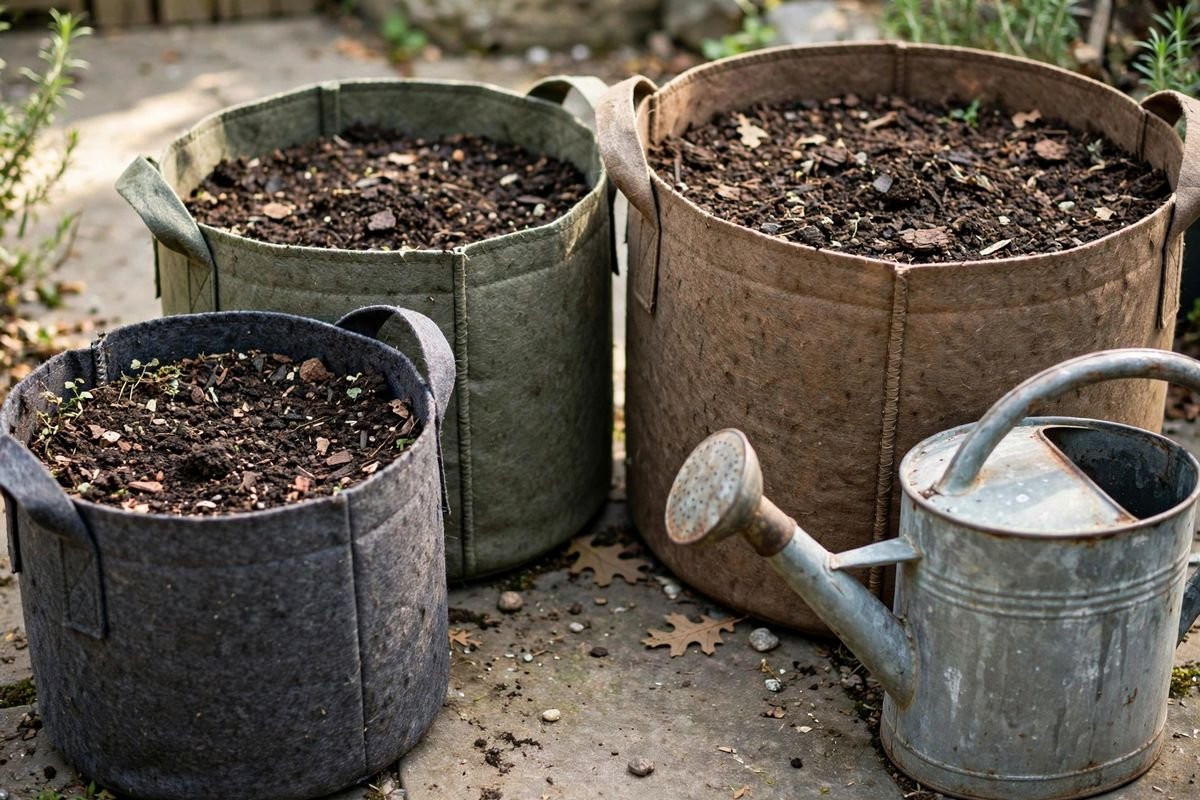
Size is the single most important decision. Too small and plants stall, dry out daily, and produce a handful of fruit. Too large is mostly harmless — just heavier and thirstier to fill. Use this as a starting point and adjust for your climate: hot, windy sites reward going one size up.
Small bags: 3–5 gallons
Best for herbs, leaf lettuce, spinach, radishes, green onions, and strawberries. A 5-gallon bag also handles one pepper plant in a long, warm season. These bags dry out fastest, so plan on daily watering in summer.
Medium bags: 7 gallons
The sweet spot for a single determinate tomato, one well-supported pepper, two cucumber plants on a small trellis, or a cluster of bush beans. If you only buy one size, make it this one. For tomatoes specifically, see our guide on what size pot a tomato plant needs — the same volume logic applies to bags.
Large bags: 10 gallons
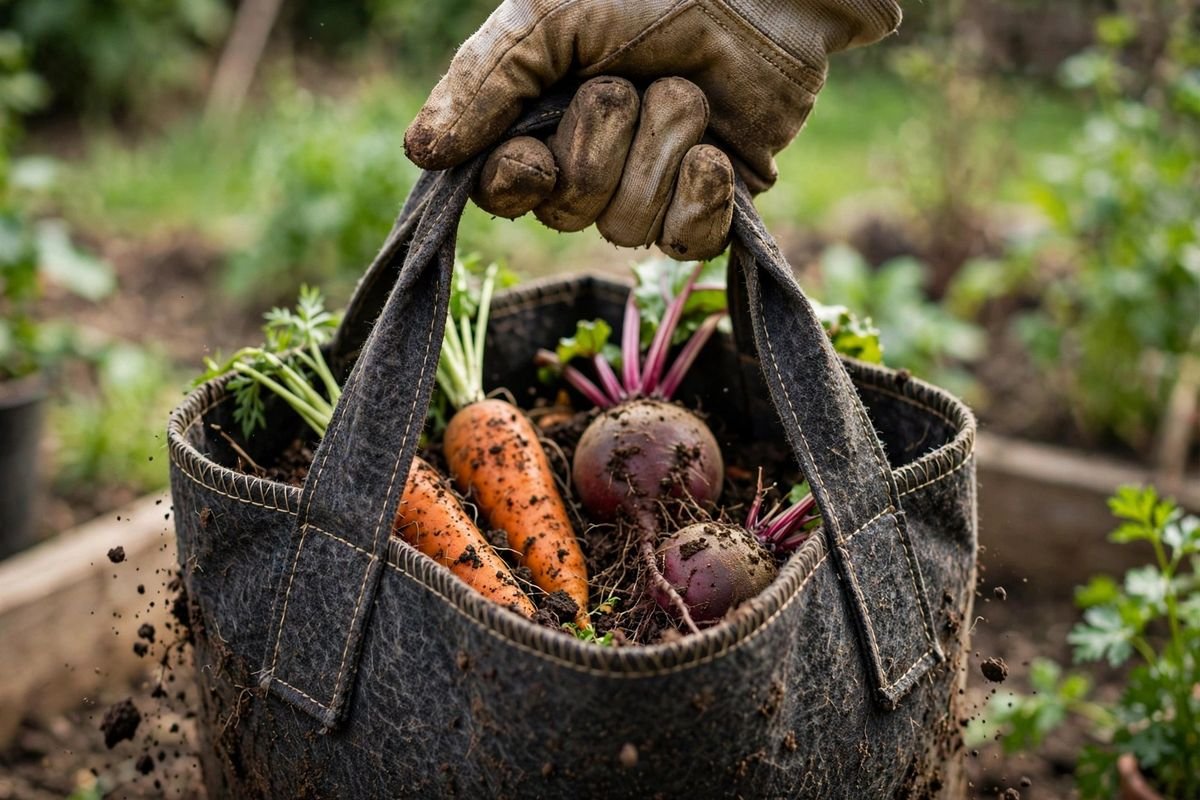
Room for one indeterminate tomato with a sturdy cage, 3–4 potato seed pieces, one eggplant, or one squash plant. Potatoes are the classic grow-bag crop: at harvest you tip the bag onto a tarp and pick out the tubers, no digging fork required.
Extra large: 15–20 gallons and up
Useful for sweet potatoes, two peppers with space to breathe, dwarf blueberries, or a mixed salad bed. Above 20 gallons, weight becomes the limiting factor — a saturated 20-gallon bag can weigh 80 pounds or more. Put it where it will stay.
Browse current options here: 7-gallon fabric grow bags, 10-gallon fabric grow bags, and potato grow bags with harvest windows. Prices and stock change constantly, so compare fabric weight and handle construction rather than headline price alone.
What to Look For When Buying
Fabric weight and material
Thicker fabric (often listed around 260–300 GSM, or described as heavy-duty) holds its shape better when full, insulates roots a little more, and typically lasts more seasons. Thin promotional bags work for a single season of lettuce but sag and tear faster. Nonwoven polypropylene is the most common material; recycled-felt bags are softer and fold smaller but can wick water away from the soil surface faster. None of these differences matter more than size and watering.
Handles that actually hold
Handles are the most common failure point. Look for handles stitched with an X pattern or sewn into the side seam rather than glued or single-stitched loops. Even with good handles, lift a wet bag from the bottom when you can — fabric handles are for nudging and short carries, not for hauling a saturated 15-gallon bag across the yard.
Reinforced rims and shape
Some bags include a stiffer rim or internal support that keeps the mouth open while you fill it. That small detail makes planting and top-dressing much easier. Plain soft bags work fine once soil is in, but they are floppy to fill alone — a second pair of hands or a bucket inside the bag helps.
Color
Black bags absorb heat, which can help warm-season crops in cool spring weather and stress roots in a hot southern summer. Tan or gray bags run a few degrees cooler at the root zone. In most temperate gardens the difference is minor compared with watering, but desert and hot-humid growers often prefer lighter colors.
Filling Grow Bags: Soil Mix That Works
Never fill bags with straight garden soil — it compacts, drains poorly in a container, and can bring weed seeds and disease along. A typical container mix is roughly 60% peat- or coir-based potting mix, 30% compost, and 10% perlite or coarse material for drainage. Our guide to making compost at home covers producing the compost portion yourself if you want to cut costs on larger bags.
Fill to within 2 inches of the rim, water thoroughly to settle the mix, then top up. Soil level drops over the season as organic matter breaks down; a mid-season top-dressing of compost keeps roots covered. A 2-inch mulch layer on top — straw, shredded leaves, or bark — cuts evaporation noticeably on windy patios.
Dry bagged potting mix can be hydrophobic straight out of the bag. Moisten it in a wheelbarrow before filling if it beads water, or water the filled bag slowly in two passes ten minutes apart.
Watering: The One Real Trade-Off
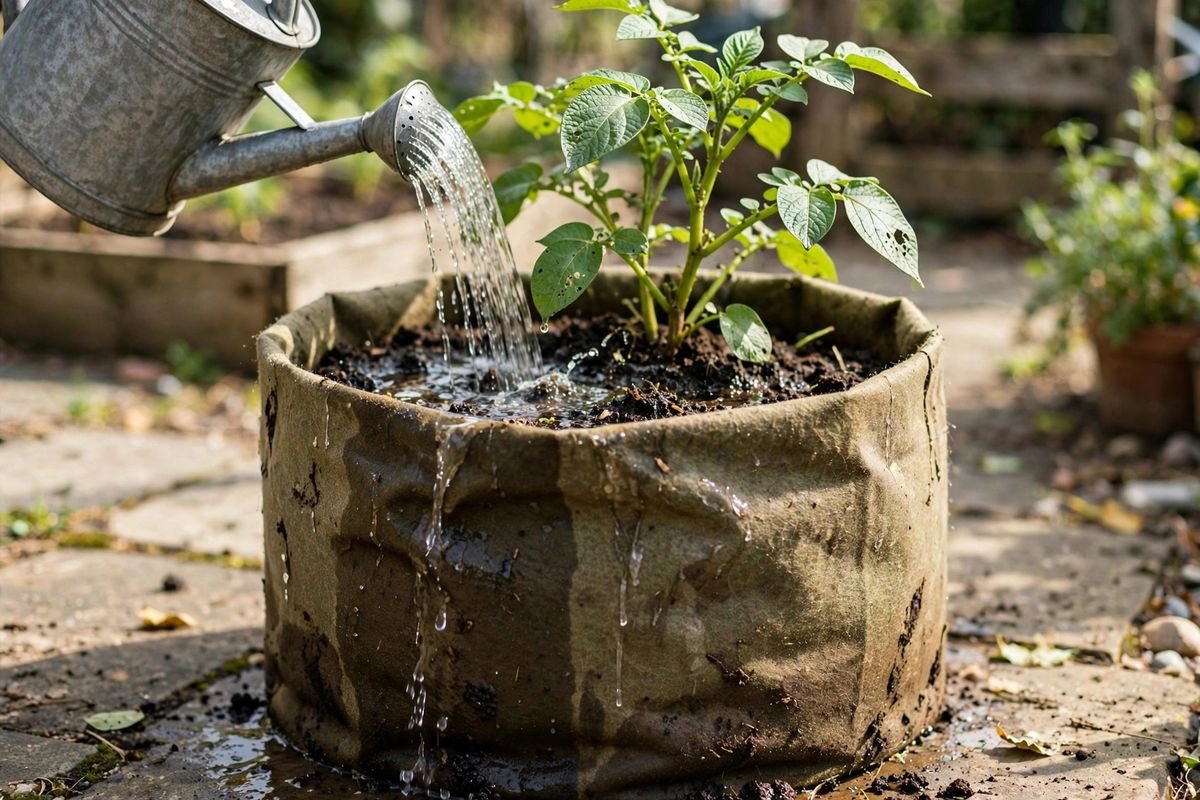
Grow bags lose moisture through their walls, so they need water more often than same-size plastic pots — in peak summer, often daily for 5- and 7-gallon bags. That is the honest downside, and no fabric technology removes it. A few habits make it manageable:
- Water deeply in the morning. Soak until water runs from the bottom, then let the top inch dry before watering again.
- Group bags together. Clustered bags shade each other’s walls and lose less moisture to wind.
- Mulch the surface. Two inches of straw or shredded leaves is the cheapest watering aid there is.
- Use saucers selectively. A shallow saucer under a bag on a scorching patio buys a few extra hours; empty standing water within a day to avoid odor.
- Consider drip. A simple drip irrigation kit for containers on a timer turns daily watering into a weekly reservoir check.
Self-watering spikes and ollas help for weekends away, but in a fast-draining bag they supplement hand watering rather than replace it in July heat.
Grow Bags vs. Plastic and Terracotta Pots
Plastic pots hold moisture longer and are easier to move when wet, but roots circle and drainage depends on a few holes. Terracotta breathes like fabric and looks classic, yet it dries almost as fast as a grow bag, weighs more, and can crack in freeze-thaw cycles. Grow bags win on price per gallon, storage, and drainage forgiveness; they lose on watering frequency, tidiness (walls can grow algae in humid shade), and lifespan.
Not sure fabric is the right call? Our fabric grow bags vs plastic pots comparison walks through roots, watering, and durability before you buy.
For a full tomato setup comparison, our tomato growing guide discusses cage and support options that pair with 10-gallon bags.
How Long Do Grow Bags Last?
Realistic expectations: thin budget bags often last one to two seasons outdoors; heavier bags commonly last three to five seasons, sometimes longer when stored dry and out of UV over winter. Sunlight, not water, is what kills fabric. At season’s end, dump spent soil into beds or the compost, shake bags out, let them dry, and store them folded in a shed or bin. Wash only if disease was present — a stiff brush and sun-drying handles routine cleanup.
Retire a bag when handles tear, seams split, or the fabric rips when you tug it firmly. A torn bag still works as a soil-cover mulch square, so it need not go straight to the trash.
Troubleshooting Common Grow Bag Problems
Plants dry out every single day
Usually the bag is one size too small, unmulched, or sitting on heat-radiating concrete in wind. Move up a size next planting, add mulch now, cluster bags, and lift them onto a wood pallet or pot feet to break the heat transfer.
Green algae or white crust on the fabric
Algae means the wall stays wet — harmless to plants, mostly cosmetic. White crust is mineral and fertilizer salt buildup; it flushes out with a deep plain-water soak. Both are more visible on bags than symptoms warrant, so judge the plant, not the pot.
Bag slumps or leans
Underfilling is the usual cause. Top up soil to near the rim and tamp the edges. On slopes, set the bag on a level ring of bricks.
Ants or fungus gnats moved in
Dry the top inch between waterings for gnats, and move the bag a few feet if ants colonize it — they favor warm, dry undersides. Both pests bother gardeners more than they harm established vegetables.
FAQ
Do grow bags really stop root circling?
Mostly, yes. When a root tip reaches dry fabric it stops extending and the plant branches more feeder roots behind it. Extension container guidance describes this air-pruning effect as real but modest — the bigger practical win is drainage, not dramatic yield claims.
Can I reuse the soil next year?
Yes, with a refresh. Remove old roots, mix in 25–30% fresh compost, and add a balanced container fertilizer at planting. Replace the mix entirely if the previous crop had soil-borne disease.
Do grow bags work on a balcony?
Very well — they are light when dry and conform slightly to railings and corners. Check balcony weight limits for large saturated bags, protect the floor with saucers, and confirm your building allows container gardens.
What is the best size for a first bag?
A 7-gallon bag. It handles a tomato, a pepper, cucumbers, or beans without the daily-watering urgency of a 5-gallon or the weight of a 15-gallon.
Sources & Further Reading
- University of Maryland Extension — container vegetable gardening and soil mix guidance (extension.umd.edu)
- University of Minnesota Extension — growing vegetables in containers (extension.umn.edu)
- Clemson Cooperative Extension — container gardening fact sheets (hgic.clemson.edu)
- Utah State University Extension — fabric container and air-pruning research summaries (extension.usu.edu)
More container posts to explore:
Start with one 7- or 10-gallon bag, a decent soil mix, and a watering habit you can keep. Grow bags reward consistency more than any premium feature — pick the size your crop needs, keep the moisture steady, and they will earn their corner of the patio.