
This post may contain affiliate links. If you buy through links on this page, we may earn a commission at no extra cost to you.
As an Amazon Associate I earn from qualifying purchases.
The last tomato is in, the evenings are closing in early, and part of you wants to just walk away from the garden until April. I’ve done that — and spent the following spring hacking through matted debris, dealing with compacted beds, and trying to remember what I meant to plant where. Here’s the frame that changed how I handle fall: put the garden to bed right, and spring thanks you. A few weekends of work now buys you weeks of head start next year, plus healthier soil and tools that actually work when you reach for them.
Timing matters more than perfection. Work through this list after your first light frost — it kills the tender warm-season plants and signals the season is truly over — but before the ground freezes solid, when digging and planting become miserable or impossible. In zones 7–9 that window can stretch from late October into December. In zones 3–5 you may have only a few weeks between a September frost and frozen November soil. Short on time? Prioritize items 1, 5, and 7 — they carry the most weight.
One note before we start: cleanup is not sterilization. There’s a whole school of gardening that says leave the mess for wildlife, and it has a point — you can do both. Leave a few seed heads standing for the birds, keep a brush pile in a back corner, and hold off cutting back some perennials until spring to shelter overwintering pollinators. Work through the twelve tasks below in rough order, a task or two per weekend from October into November, and you’ll close the season out right.
1. Pull Spent Warm-Season Plants
Once frost has blackened your tomatoes, peppers, beans, and squash, they’re done — they’re not coming back. Leaving them standing just gives pests and diseases a winter hideout. Pull the whole plant, roots and all, shake the loose soil back into the bed, and pull any fallen fruit hiding under the canopy. That half-rotted pepper on the ground is exactly where next year’s slugs want to spend the winter.
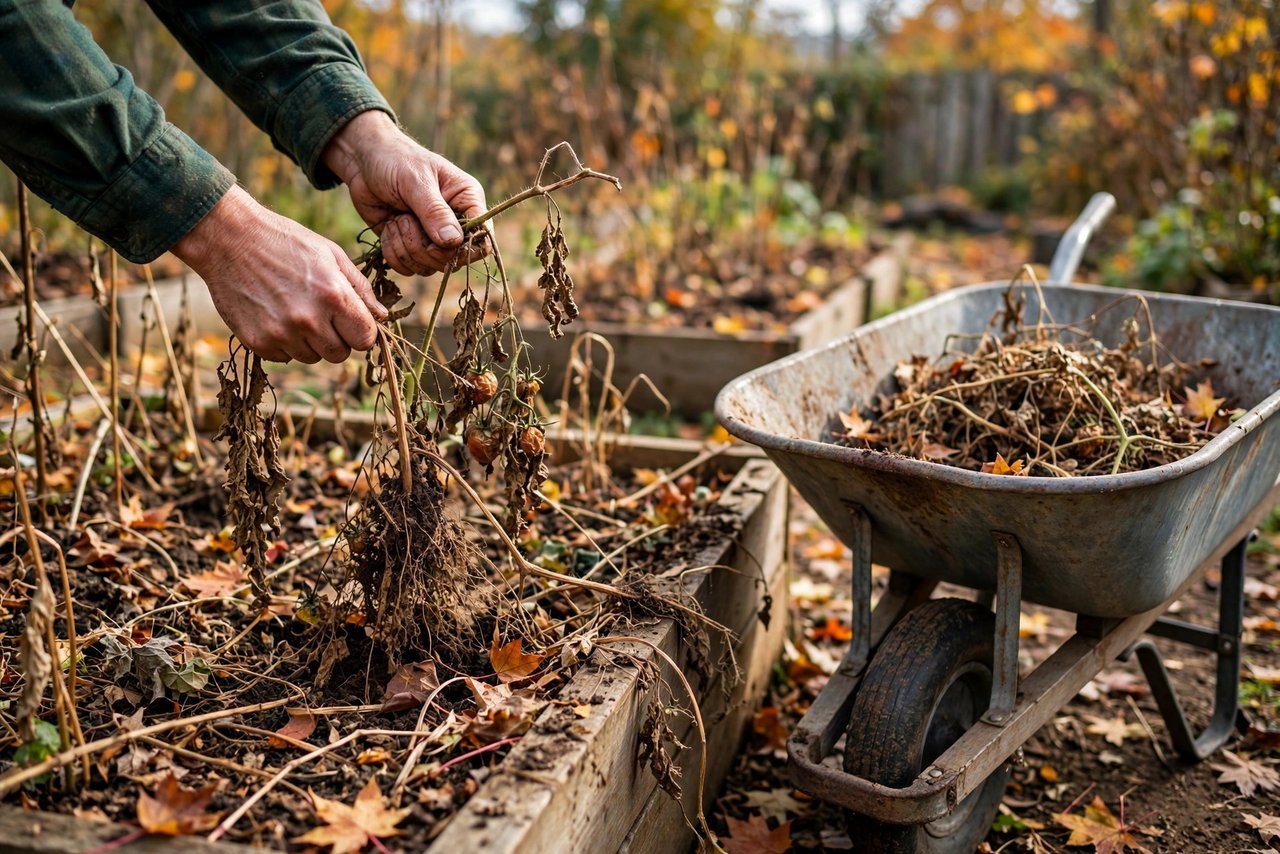
One exception for the wildlife-minded: leave a few seed heads standing in the perennial border. Coneflowers, sunflowers, and black-eyed Susans become bird feeders if you let them. But keep the vegetable beds clean — crop residue in beds is a disease bridge to next year’s planting. If you’re not sure how to time the end of the season, our tomato growing guide covers end-of-season handling too.
2. Compost the Healthy Stuff, Trash the Diseased Stuff
Not all garden debris belongs in the compost pile. Healthy spent plants, fallen leaves, and frost-killed annuals are excellent material — chop or shred them first so they break down faster. But diseased plants go in the trash, not the compost. Blighted tomato foliage, mildewed squash vines, anything with suspicious spots or wilts: bag it and throw it away. Most home compost piles never get hot enough to kill plant pathogens, so composting diseased material just recycles the problem into next year’s beds.
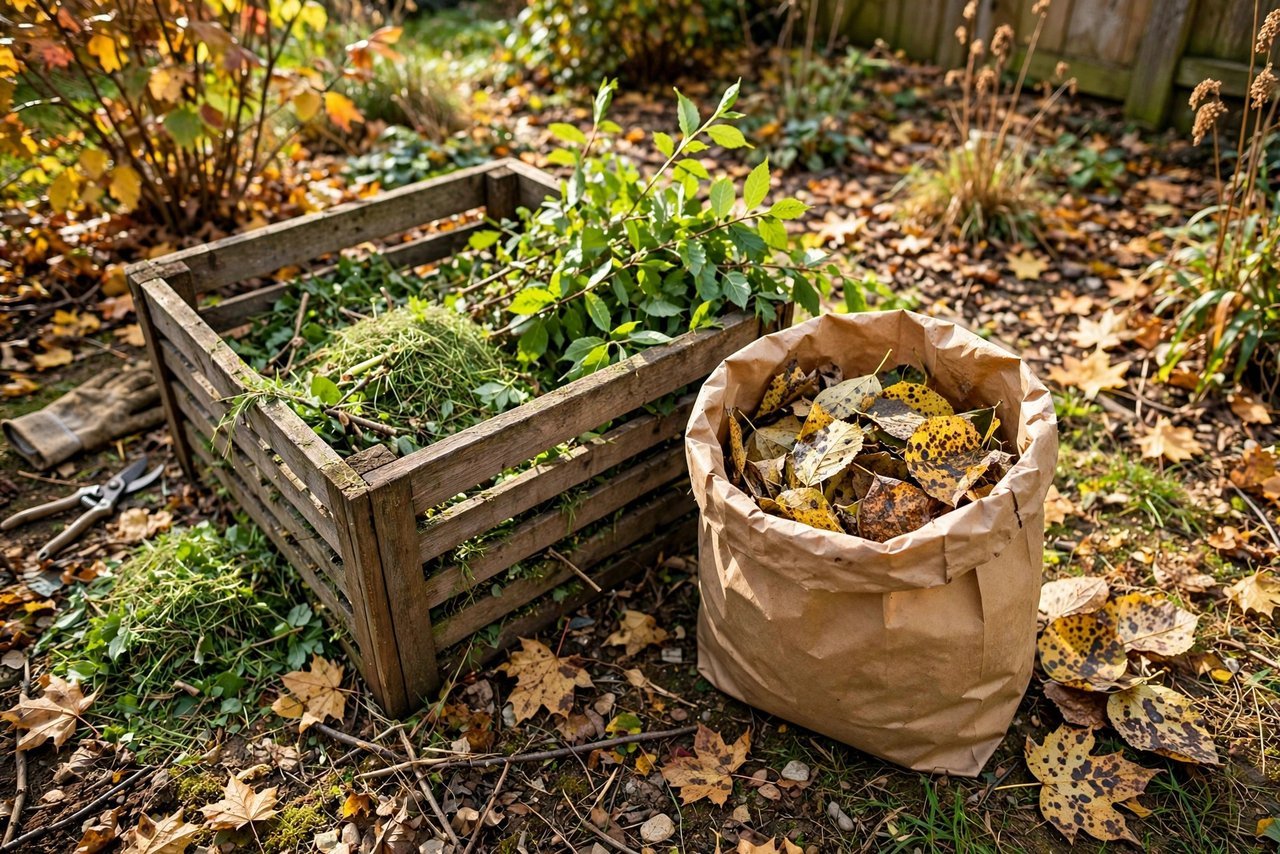
When in doubt, trash it. A tomato plant you’re “not sure about” isn’t worth gambling a whole bed over. The healthy material — spent bean vines, fallen leaves, frost-killed annuals — can go straight onto the pile. For the full rundown on what belongs in the bin and what doesn’t, see our guide to making compost at home.
3. Test Your Soil and Amend
Fall is the best time to test your soil, and not just because labs are less backlogged than in spring. The real reason is time: the amendments a test recommends need months to work. Agricultural lime takes several months to meaningfully raise pH — spread it in October or November and it works all winter. Same story with sulfur for lowering pH. Send a sample to your local cooperative extension soil lab (usually $15–25), then spread what they recommend while the beds are empty and easy to work.
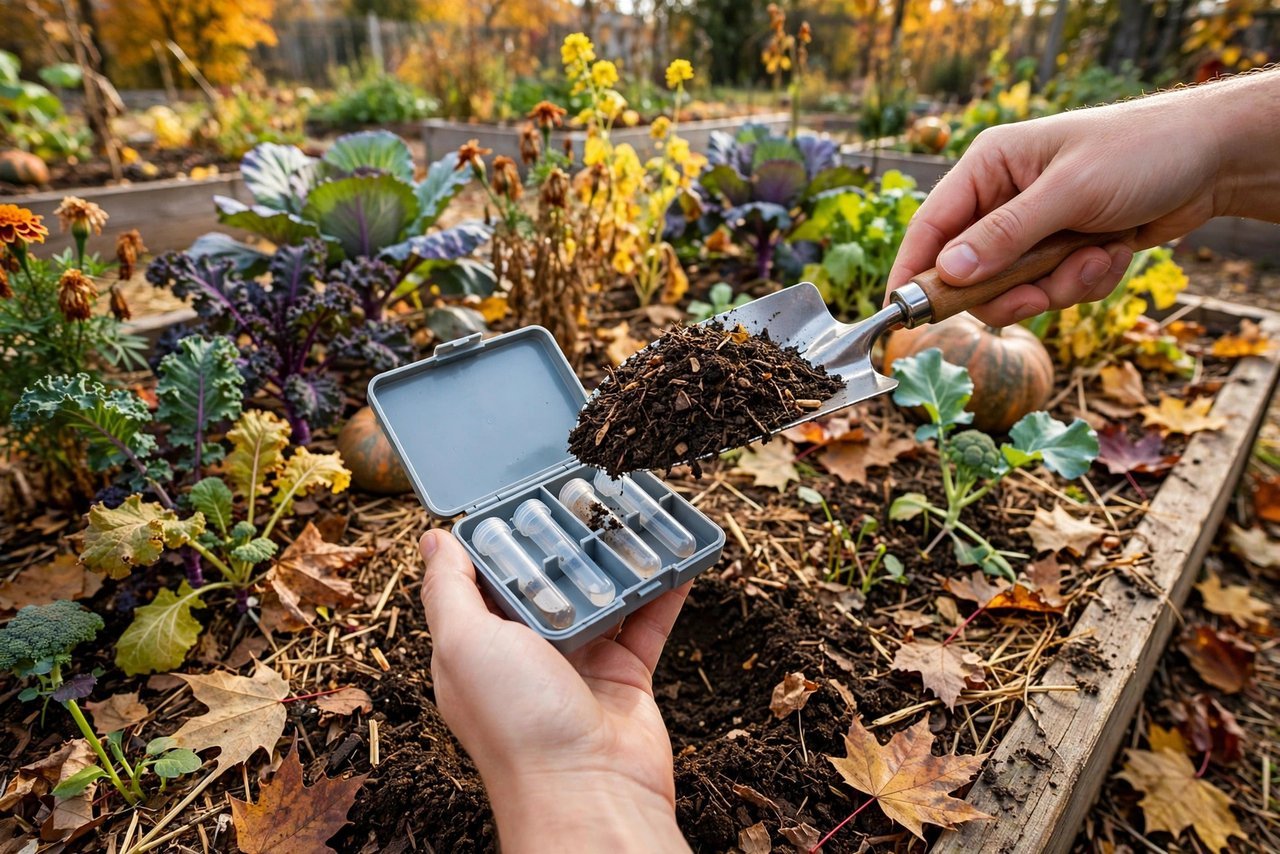
If you’d like a quick at-home reading before sending a lab sample, a soil test kit gives you a decent ballpark on pH and the big three nutrients. Sample from 6–8 inches down in several spots and mix them together for a representative picture. And once you know what your soil needs, our raised bed gardening guide has more on amending bed soil.
4. Sow Cover Crops or Mulch Empty Beds
Bare soil over winter is soil that’s eroding, compacting, and leaching nutrients with every rain. You have two good options. Cover crops like crimson clover or winter rye, sown 4–6 weeks before your first hard freeze, hold the soil, fix nitrogen, and add organic matter when you turn them under in spring. Or go simpler: spread 3–4 inches of shredded leaves or straw as a protective blanket. Shredded leaves are free, abundant in fall, and break down into beautiful humus by spring. Either way, don’t leave beds naked.
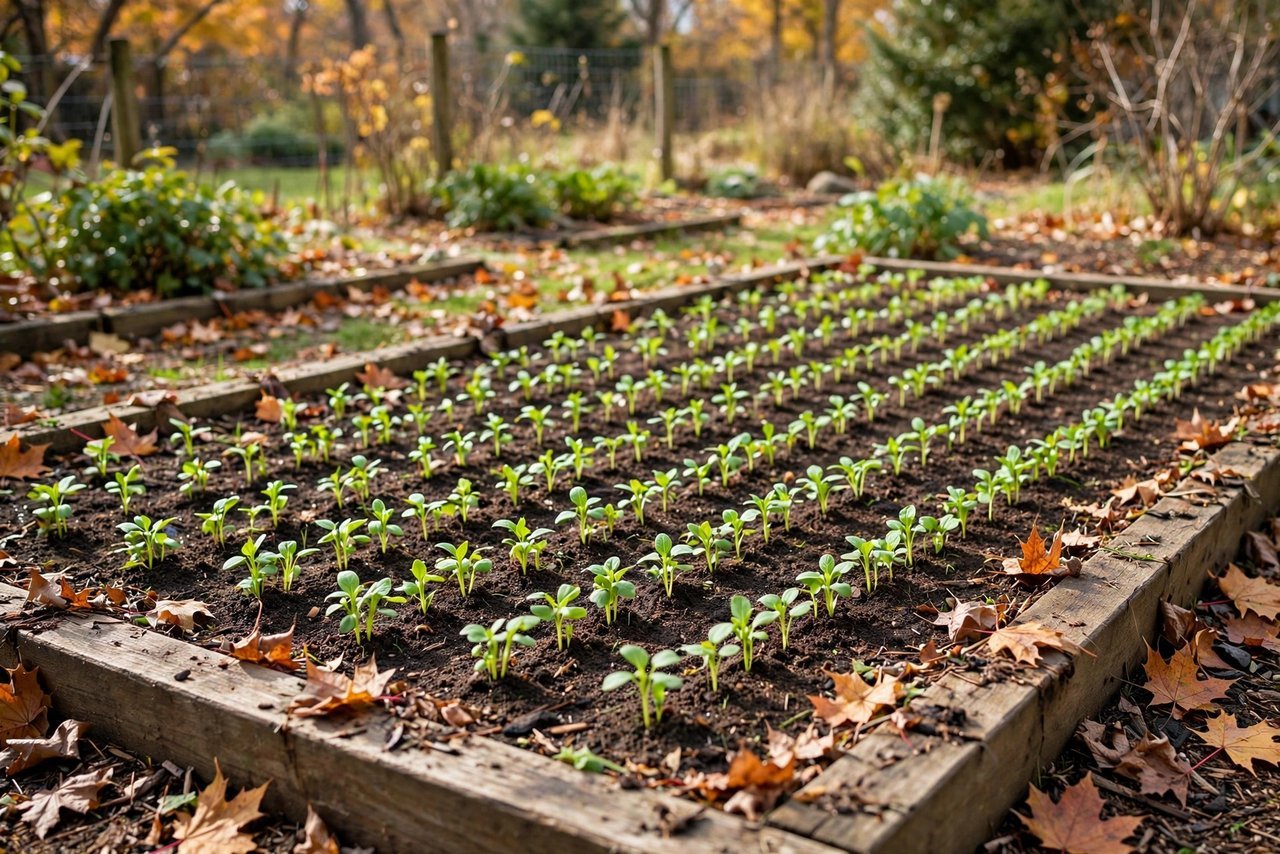
If you’re sowing cover crops, timing is everything — check our October planting guide for how to count back from your first frost date. Missed the window? Mulch. A thick layer of shredded leaves does most of the job with none of the timing stress.
5. Plant Garlic — It’s the Moment
If you do exactly one fall planting task, make it garlic. October into early November — before the ground freezes — is planting time in most zones: zones 3–4 plant in early October, zones 5–7 aim for mid-October, and zones 8–9 can wait until November. Break heads into cloves and plant each one pointy-end up, 2 inches deep, 6 inches apart, then mulch with 4–6 inches of straw.
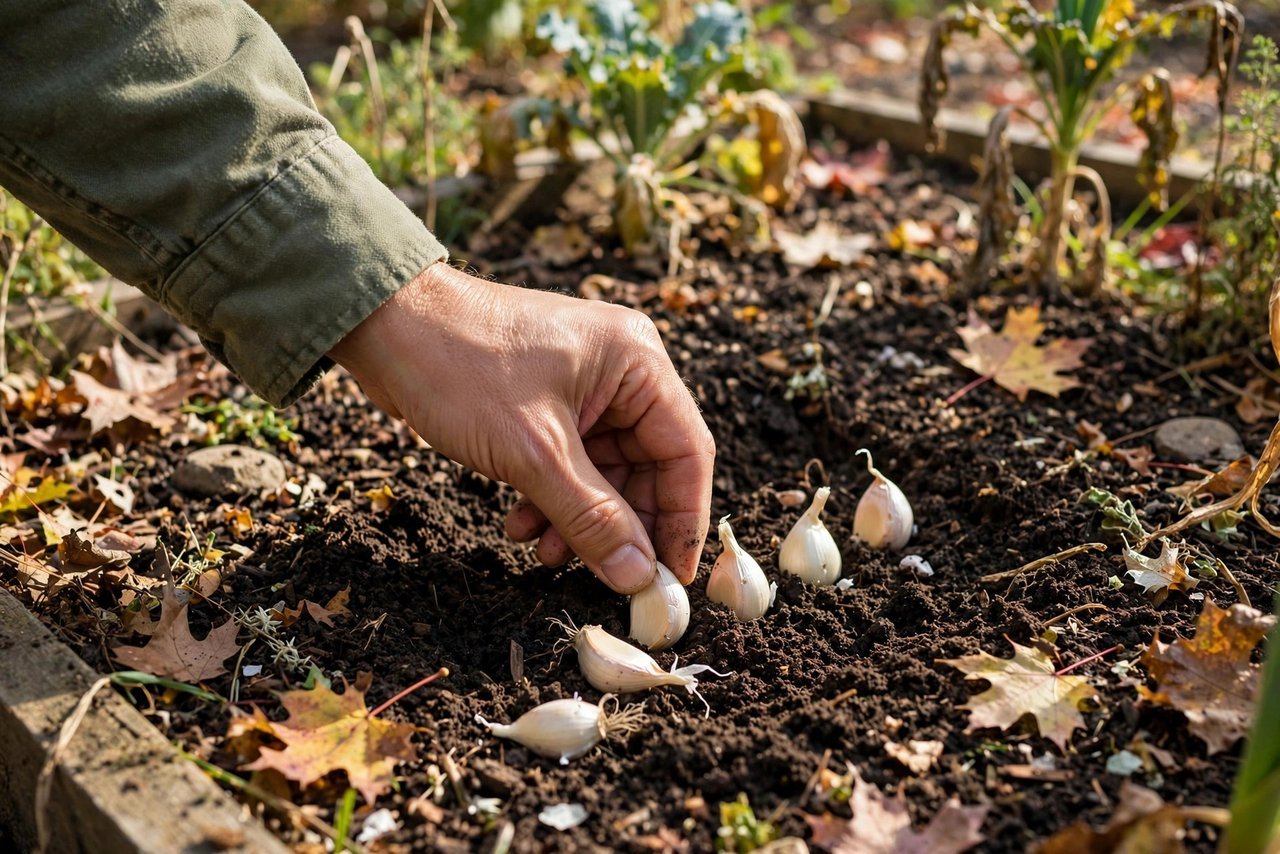
Garlic needs the cold to form bulbs, and fall-planted cloves establish roots before winter, then take off in spring. Easy cold-zone picks include ‘Music’ and ‘German Extra Hardy’; milder climates do well with ‘Inchelium Red’ and ‘California Early’. We have a full step-by-step garlic planting guide if you want the details on hardneck vs. softneck, mulching, and harvest cues.
6. Clean, Sharpen, and Oil Your Tools
Mud-caked tools rust in storage, and dull tools make every spring job harder. Scrub off all the soil with a stiff brush and water, dry everything thoroughly, then sharpen the blades — pruners, loppers, hoes, and shovels all cut better with a fresh edge. A simple mill file handles most of it.
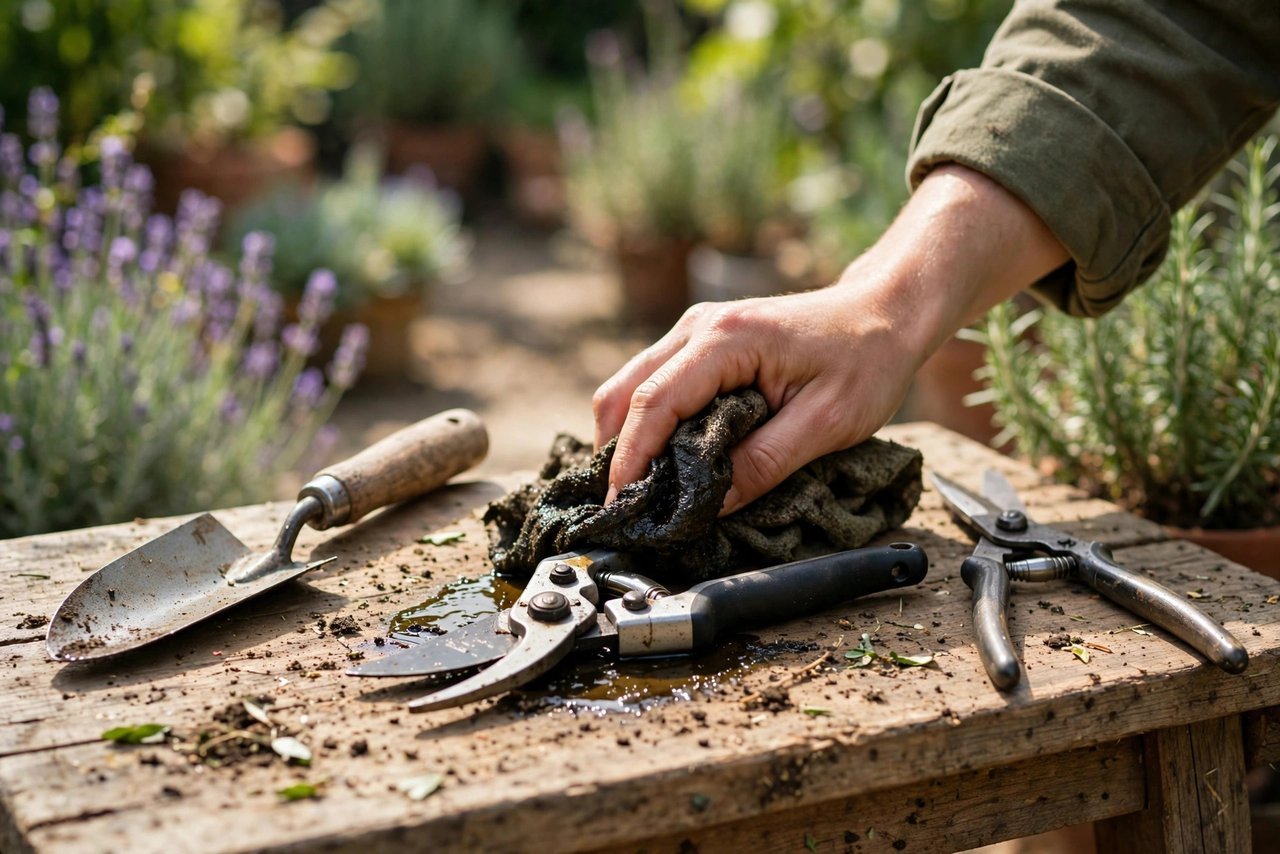
After sharpening, wipe metal parts with an oily rag to prevent rust, and rub boiled linseed oil into wooden handles so they don’t dry out and splinter. Then hang everything up — never leave tools sitting on a damp garage floor all winter. Future you, reaching for pruners in March, will be grateful.
7. Drain Hoses and Rain Barrels Before Hard Freezes
Water expands when it freezes, and it will split hoses, crack rain barrels, and burst outdoor faucets. Disconnect every hose, drain it completely — stretch it out on a slope and let gravity do the work — then coil it for storage indoors or in a shed. Drain rain barrels fully and either store them upside down or leave the spigots open so no water collects and freezes.
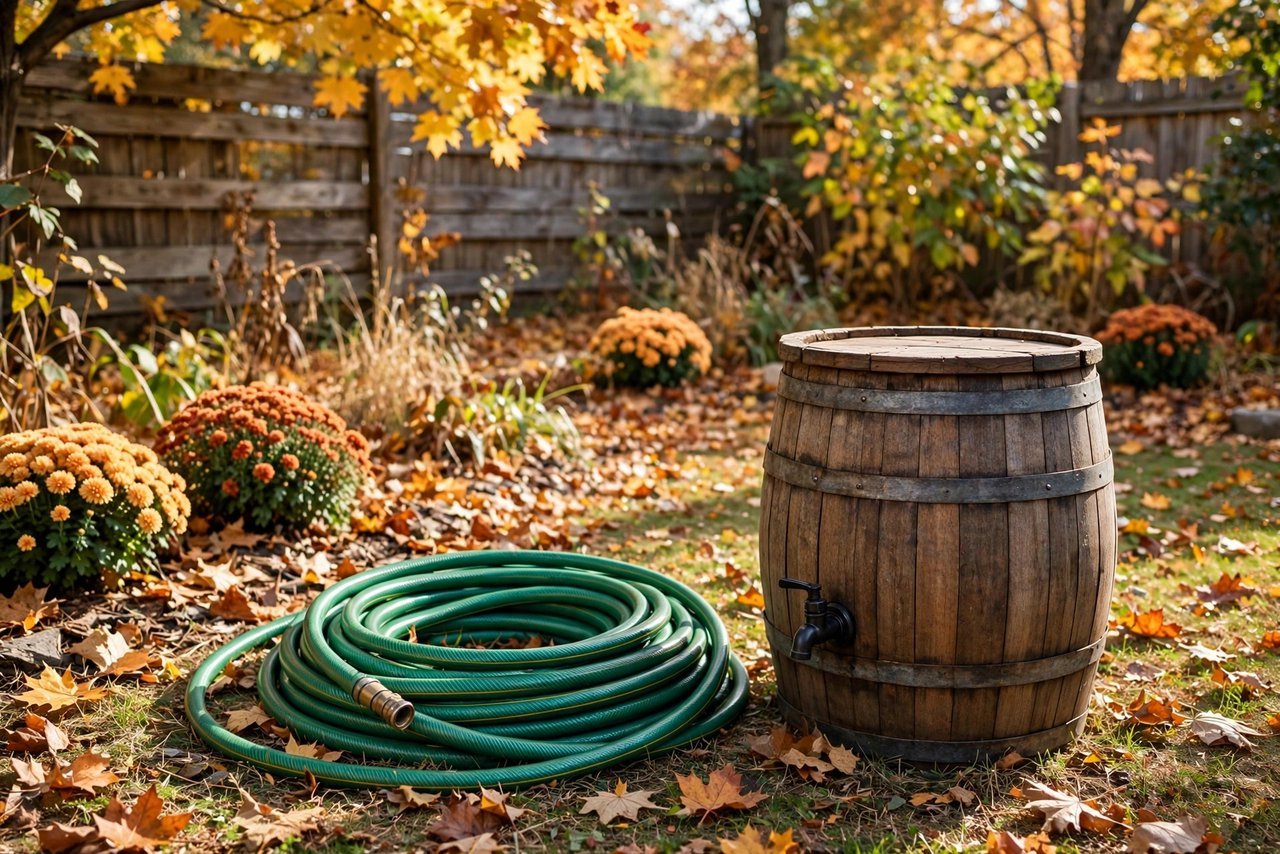
If you have outdoor shutoff valves inside the house, close them and drain the line. In zones 6 and colder, get this done before the first hard freeze — usually late October to early November. Of all the tasks on this list, this is the one with the most expensive consequences for skipping it.
8. Save Seeds From Open-Pollinated Favorites
Fall is seed-saving season for the crops that matured over summer. Stick to open-pollinated or heirloom varieties — seeds from hybrids won’t grow true to type. The easiest beginner crops: beans (let pods dry fully on the plant, then shell), lettuce (let a plant bolt and form fluffy seed heads), tomatoes (ferment seeds in water for 2–3 days to remove the gel coating, then rinse and dry), and peppers (scrape seeds from a fully ripe fruit and dry them on a plate).
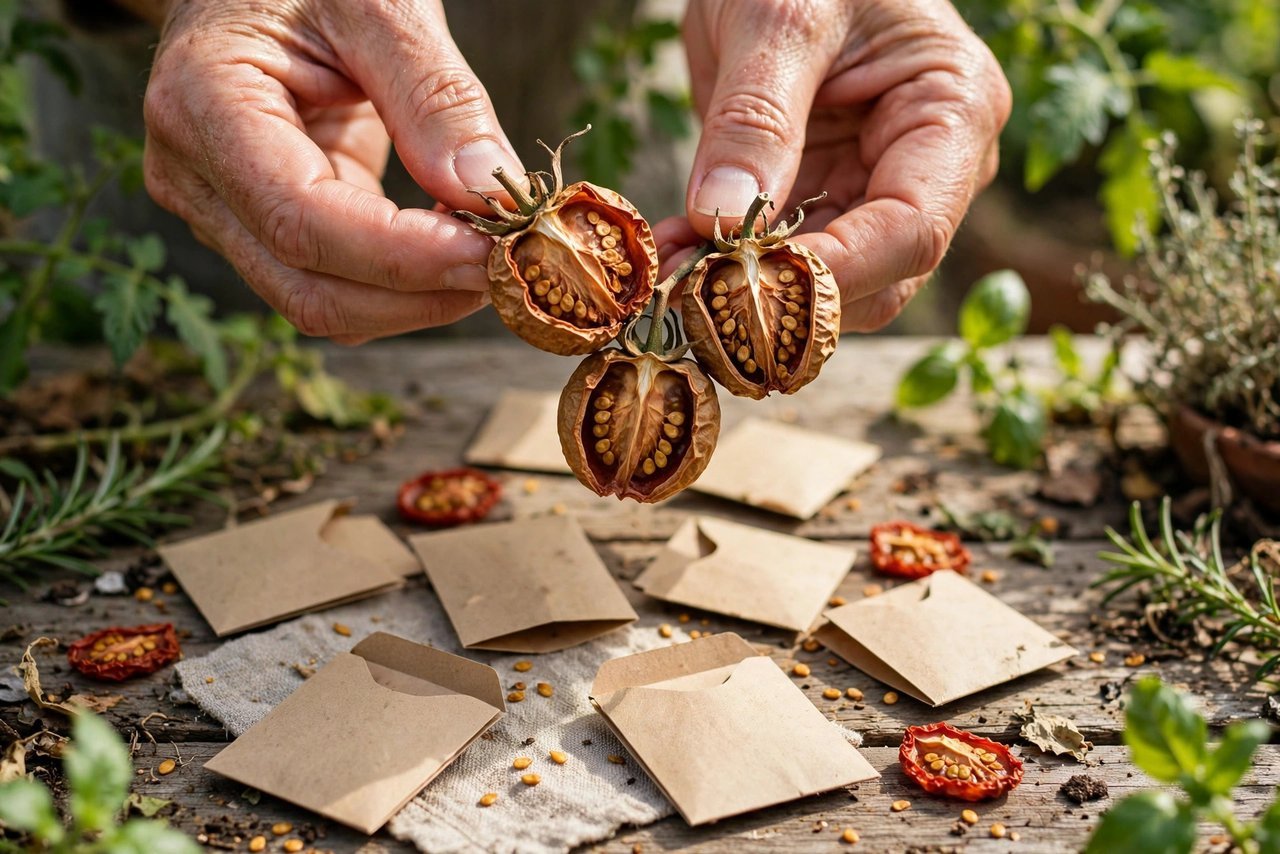
Dry everything thoroughly for a week or two, then store seeds in labeled paper envelopes somewhere cool and dry. Properly stored, most vegetable seeds stay viable for 3–5 years. If you’re still deciding what to grow next year, our easiest vegetables for beginners list is a good place to start.
9. Mulch Perennials and Strawberries After the Ground Freezes
Here’s the counterintuitive one: you mulch perennials after the ground freezes, not before. The goal isn’t to keep plants warm — it’s to keep the soil temperature stable, preventing the freeze-thaw cycles that heave roots out of the ground. Wait until the soil surface has frozen (late November to December in zones 4–6, later farther south), then spread 3–4 inches of straw, shredded leaves, or pine needles around perennials and over strawberry beds.
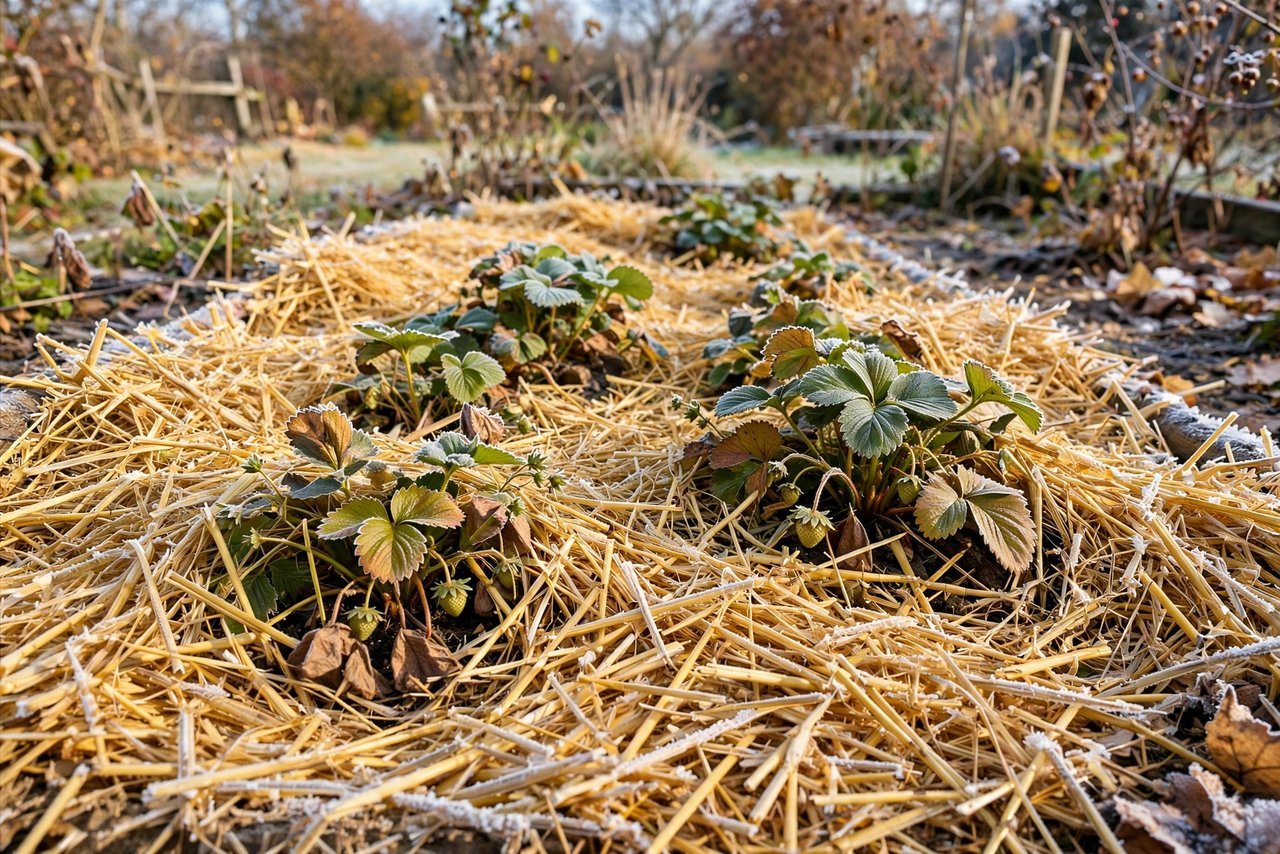
Remove the mulch gradually in spring once new growth starts. And resist the urge to mulch early for “extra protection” — a cozy layer of straw in November is a rodent condo, and voles will thank you by chewing your strawberry crowns all winter.
10. Empty and Scrub Containers; Store Terracotta Freeze-Safe
Don’t leave pots full of old potting mix sitting out all winter. Dump the spent mix into the compost pile or a holding bin — it’s fine to reuse next year with fresh compost mixed in. Scrub the pots with a stiff brush and a 1:10 bleach-water solution to kill lingering pathogens, then let them dry. Terracotta gets priority for indoor storage: absorbed water freezes, expands, and cracks the pot.
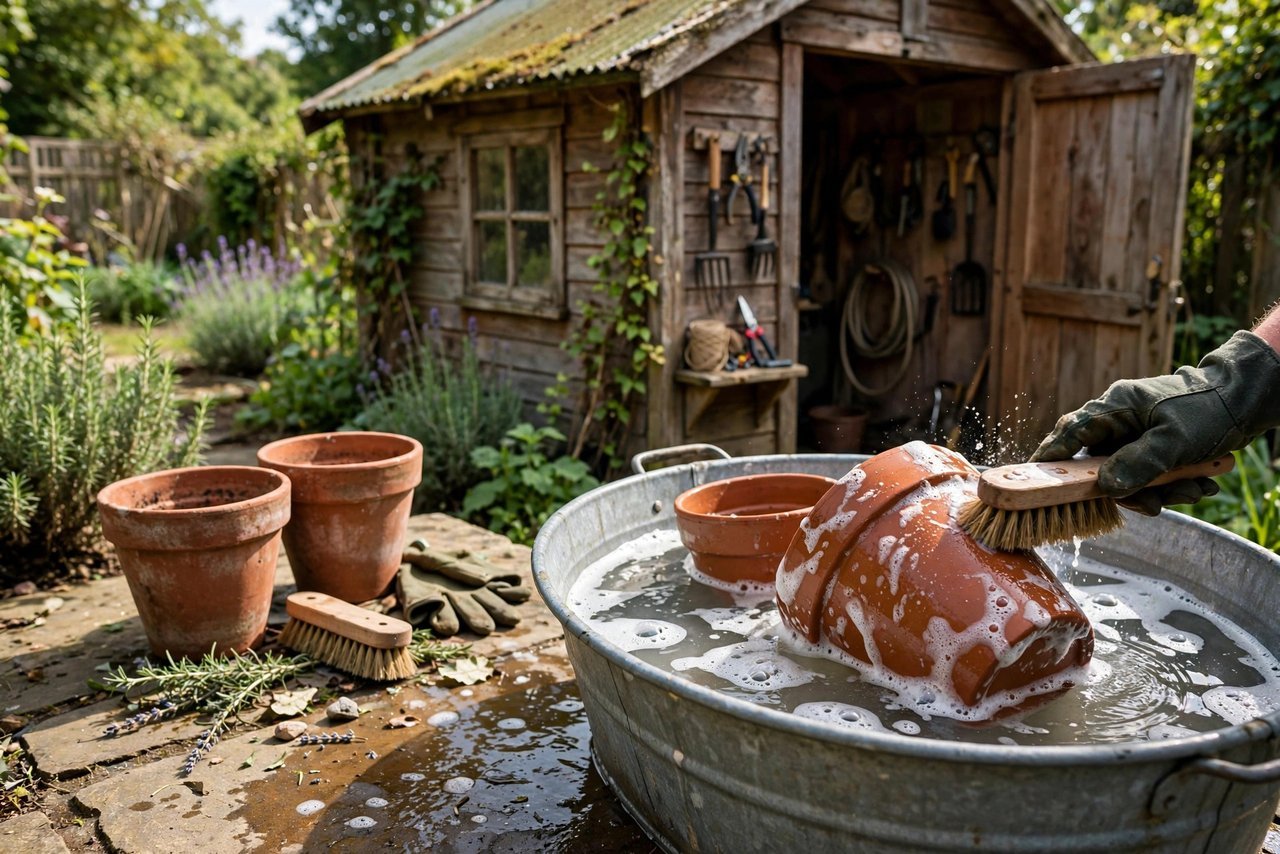
Move terracotta into a garage, shed, or basement before hard freezes hit. Plastic and glazed pots can usually stay out in zones 7 and warmer, but in zones 6 and colder, bring them under cover too if you want them to last. For the full container rundown — which pots suit which crops — see our container gardening guide.
11. Take Notes and Sketch Next Year’s Layout While It’s Fresh
Your memory of this season is sharpest right now — use it. Write down what thrived, what flopped, and what you’d do differently. Which tomato variety actually produced? Where did the squash bugs hit hardest? Was the lettuce too close to the fence? Then sketch next year’s layout on paper while the current one is still visible in the beds.
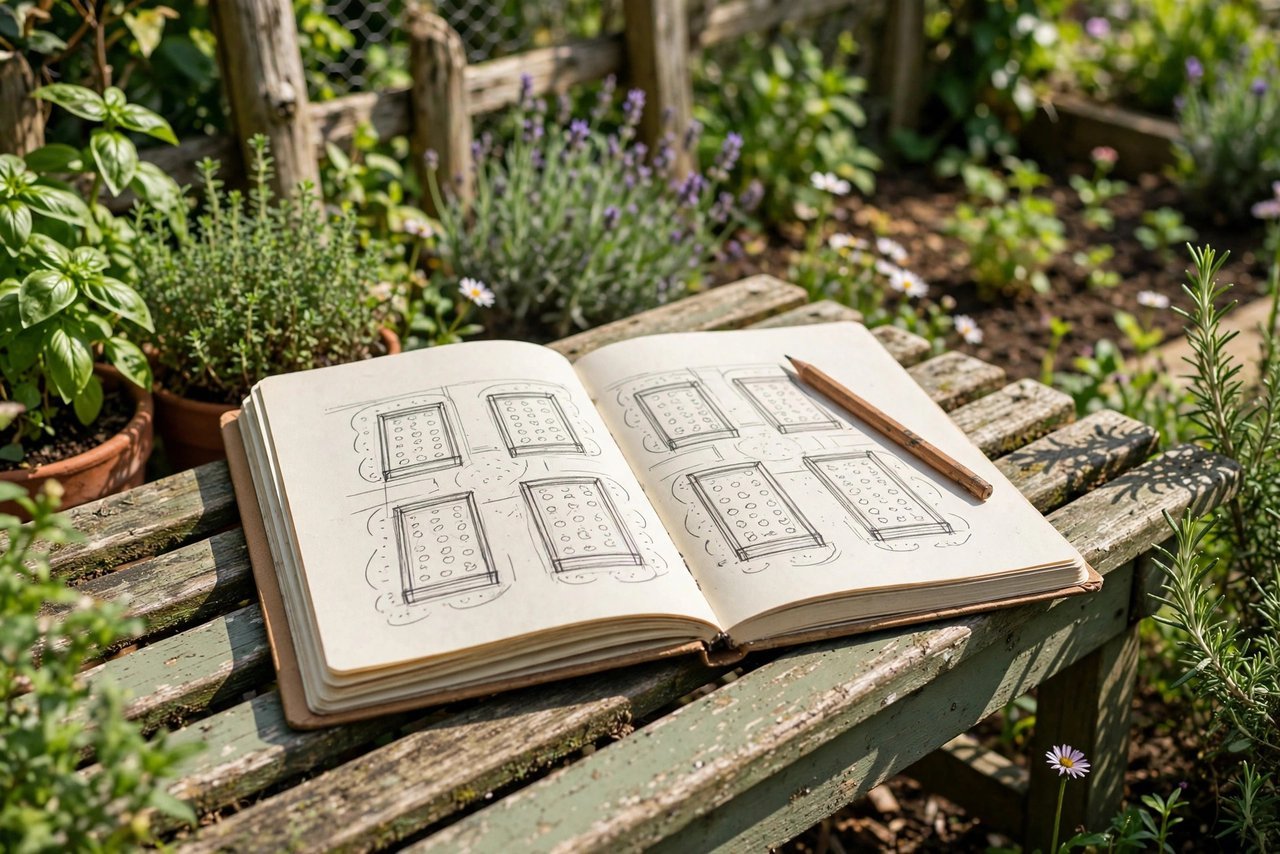
Note your crop rotation while you’re at it: don’t plant tomatoes, peppers, or potatoes where they — or each other — grew this year, since they share soil diseases. A notebook page and a rough drawing in November saves you from repeating this year’s mistakes next April. If you’re still building your overall plan, our beginner’s vegetable garden guide walks through layout from scratch.
12. Feed the Compost Pile One Last Big Batch of Fall Leaves
Fall leaves are the gardener’s free gold, and your compost pile is hungry. Rake or mow-shred a big batch of dry leaves — running a mower over them chops them into pieces that break down far faster — and layer them generously into the pile along with the last of the garden debris. Aim for close to 3×3×3 feet so the pile has enough mass to stay active into early winter.
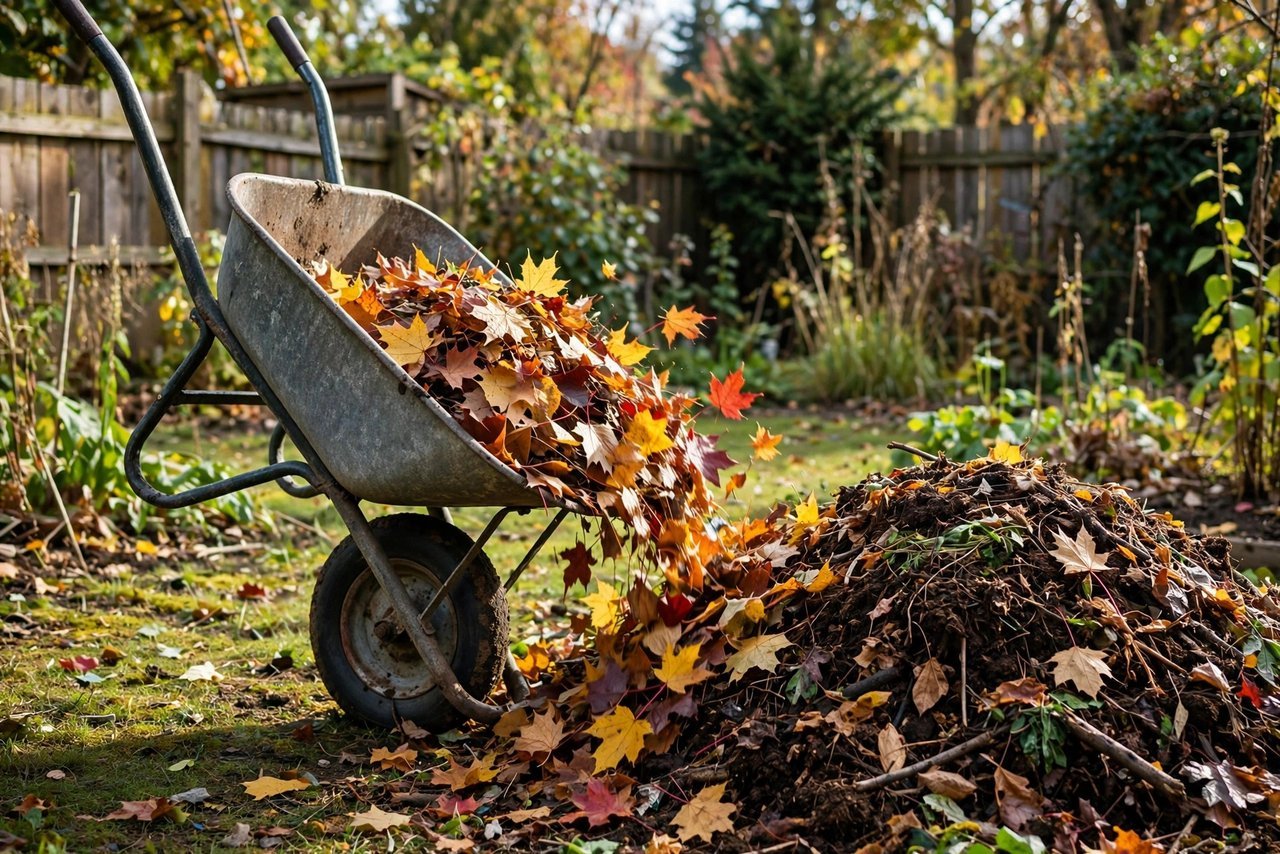
Water the pile if the leaves are bone dry, give it a good turn, and let it cook. Come spring you’ll have a head start on finished compost — and a much smaller leaf pile to deal with. Our compost guide covers the greens-to-browns balance if you want to fine-tune it.
Put the Garden to Bed, Then Rest
None of these tasks is complicated on its own, and you don’t have to finish them all in one weekend. A task or two per weekend from October into November, and you’ll close out the season feeling organized instead of guilty. The garden rewards a good shutdown: clean beds, healthier soil, tools that work, and a plan already sketched for spring.
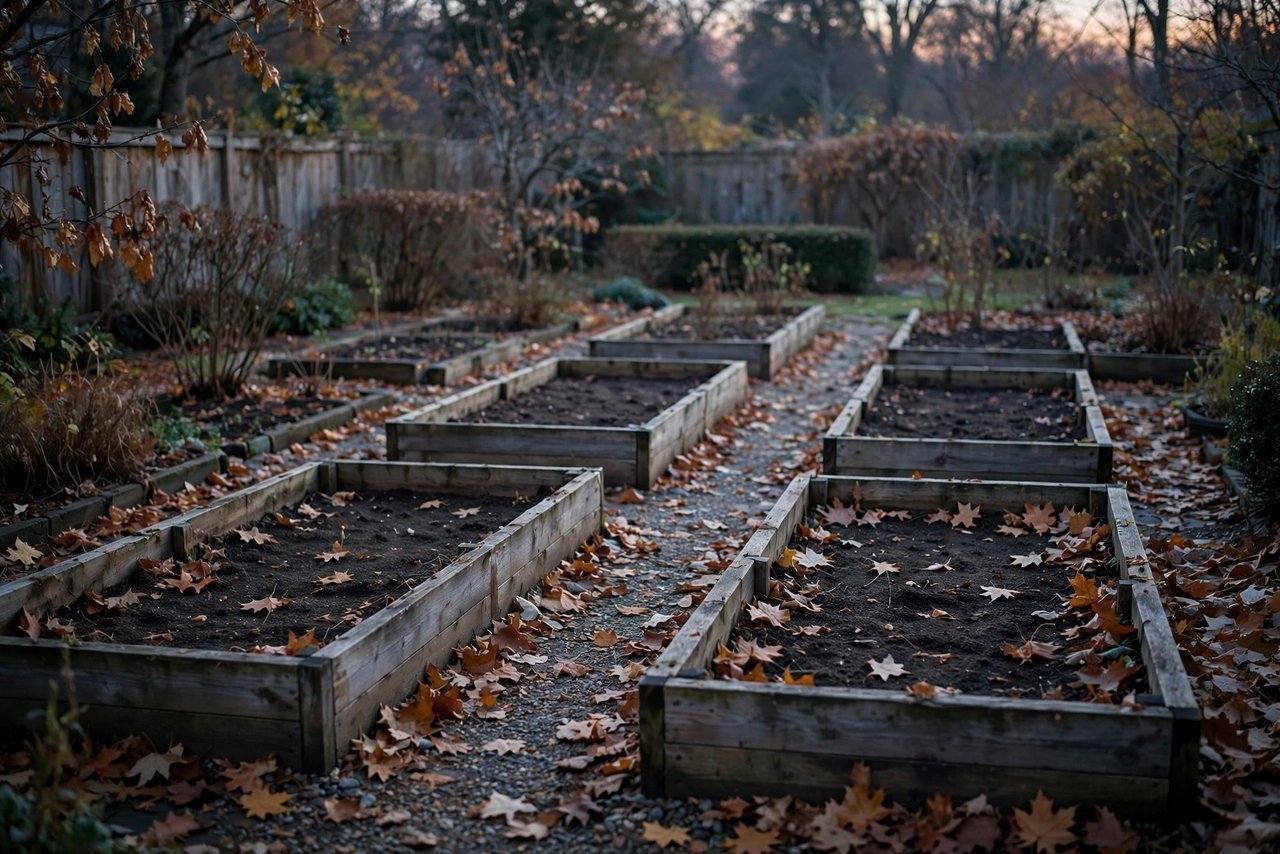
Then put your feet up. Seed catalogs start arriving in January, and you’ll want to be rested. You’ve earned the winter off.
More posts to explore
- How to Plant Garlic in the Fall: A Step-by-Step Guide
- What to Plant in October: 15 Vegetables for a Fall Garden
- How to Make Compost at Home: A Beginner’s Guide
- Raised Bed Gardening for Beginners: Size, Soil, and Layout
What’s the one fall garden task you always swear you’ll do — and never quite get to? Tell us in the comments.