
This post may contain affiliate links. If you buy through links on this page, we may earn a commission at no extra cost to you.
As an Amazon Associate I earn from qualifying purchases.
Pulling up a garlic bed in July and finding sad little single-clove rounds instead of fat, papery bulbs is one of the most common disappointments in vegetable gardening. The cause is almost always the same: the garlic went in during spring, not fall.
Here’s the payoff for getting the timing right: garlic is genuinely one of the easiest crops you’ll ever grow. You plant it in October, ignore it all winter, do a little spring maintenance, and harvest your own garlic by midsummer — bigger, fresher, and more flavorful than anything in the produce aisle.
This isn’t folk wisdom. Fall planting is the standard recommendation from extension services across the country, and the reasons are straightforward plant biology — I’ll walk you through all of it.
In this guide, you’ll learn why fall planting is non-negotiable, exactly when to plant in your zone, how to choose between hardneck and softneck varieties, the five planting steps, winter mulching, spring care, harvest cues, curing and storage — plus troubleshooting and answers to the questions every first-timer asks.
Quick Care Overview
| Care factor | Garlic wants |
|---|---|
| Scientific name | Allium sativum |
| Light | Full sun — 6 or more hours of direct sun daily |
| Water | About 1 inch per week while actively growing; stop watering 2 weeks before harvest |
| Soil | Loose, well-drained, pH 6.0–7.0, enriched with compost |
| Temperature | Plant when soil drops below 60°F; needs a winter chill to form bulbs; hardneck types hardy to zone 3 |
| Fertilizer | Compost worked in at planting; a nitrogen side-dress in early spring |
| Common pests | Onion maggots, thrips; diseases to watch: white rot, botrytis, rust |
Why Fall Planting Is Non-Negotiable
Garlic needs winter to become garlic. Specifically, it needs several weeks of cold soil — a process called vernalization — to trigger the clove you plant to divide into a multi-clove bulb. Skip that cold period and you get a “round”: one solid, onion-like clove with no divisions. Edible, but not what you were after.
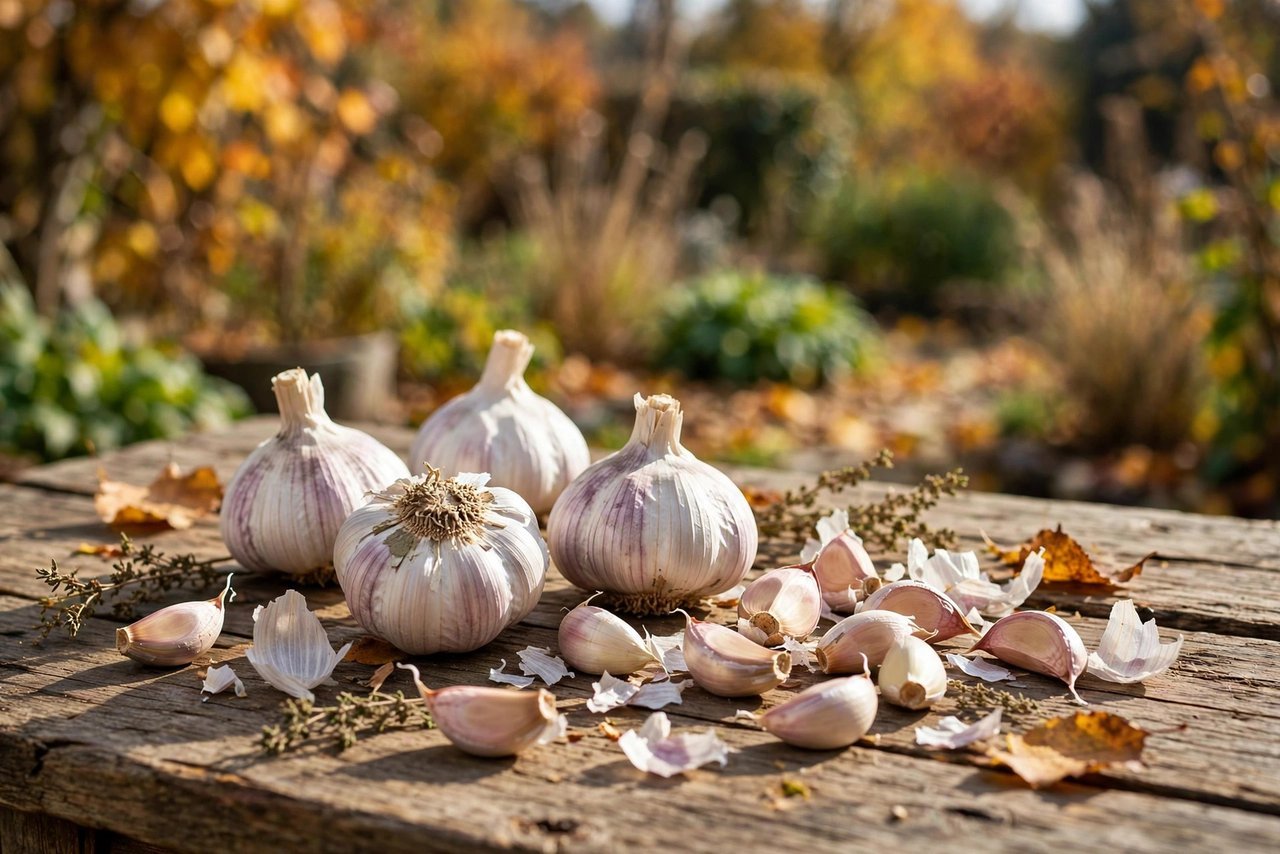
Fall planting gives each clove time to grow roots before the ground freezes, then the long cold winter does the rest. Come spring, the plant is already established and ready to pour all its energy into bulb formation. That’s the whole secret, and it’s why spring-planted garlic so often disappoints by comparison.
The 9-month arc, in brief
It helps to see the full cycle before you start. Plant cloves in mid-fall; they root down over the next few weeks and then sit quiet through winter. In early spring, green shoots push up and leaves multiply — every leaf you see corresponds to a wrapper layer on the future bulb, so lush spring growth is the goal. Hardneck types send up curly scapes in late spring, which you snap off and eat. By July, the leaves brown from the bottom up, and that’s your harvest signal. Cure for a few weeks, and you’re eating your own garlic by August — nine months after a single afternoon of planting.
When to Plant: Timing by Zone
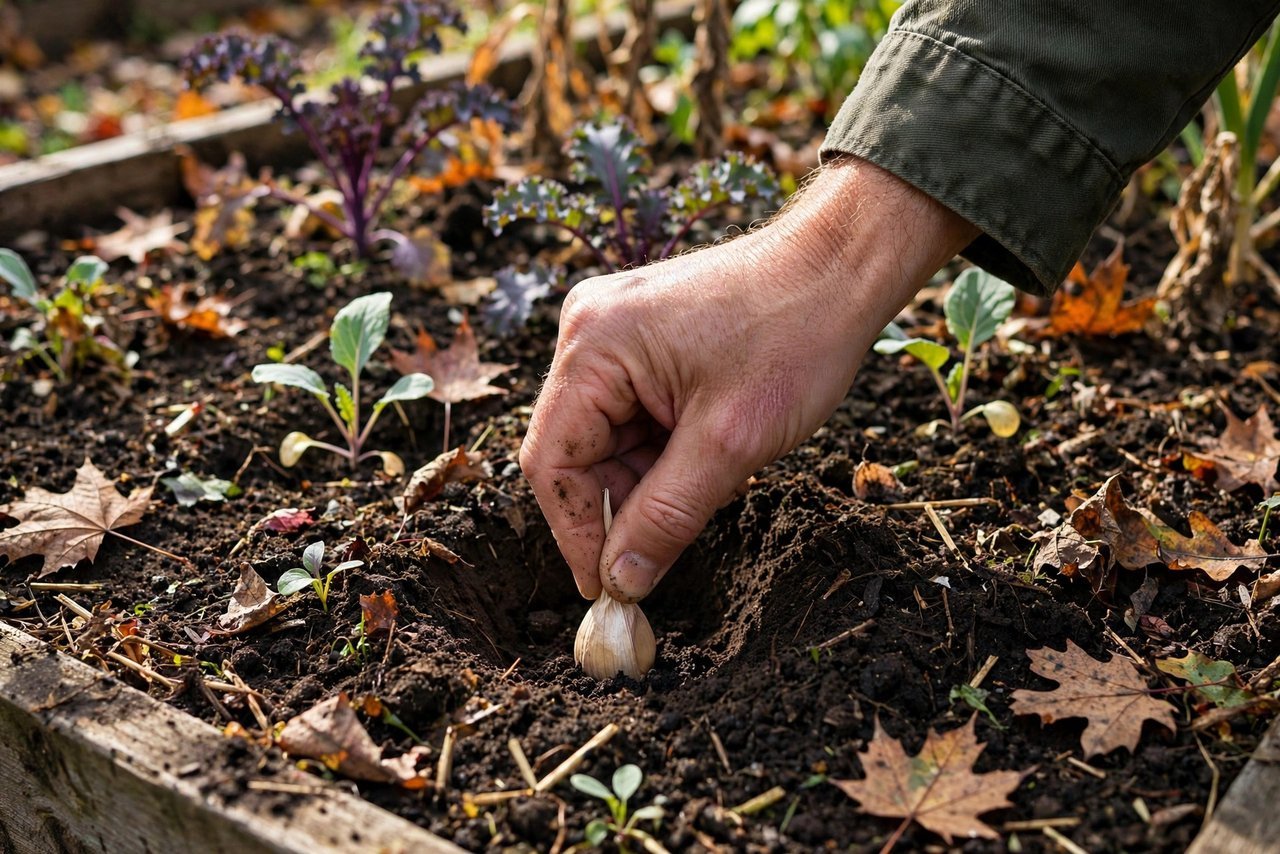
The target window is 2 to 4 weeks before the ground freezes solid in your area. That gives roots time to establish without producing a lot of tender top growth going into winter. A more precise trigger that many extension services recommend: plant when soil temperature at 4 inches deep drops below 60°F.
Roughly, that means:
- Zones 3–4: late September to early October
- Zones 5–6: October
- Zones 7–8: November
- Zones 9–10: late November to December (and stick to softneck varieties)
A soil thermometer takes the guesswork out of it — push the probe four inches down in the morning, and you’ll know exactly where you stand. If you’re unsure whether you’re too late, plant anyway. Garlic is forgiving, and slightly late beats skipping the year entirely.
Related Post: Fall Garden Cleanup: 12 Things to Do Before Winter — planting garlic is one of the twelve jobs on the list, and knocking out the others at the same time sets up your whole spring.
Hardneck vs. Softneck: Pick Your Type
This is the one decision that matters, and it’s mostly about your climate — not your cooking. Hardnecks need real winter cold and reward it with big, easy-peel cloves. Softnecks tolerate mild winters and store longer. Pick the type that matches your zone first, then choose a variety you like the sound of.
Hardneck varieties (best for zones 3–7)
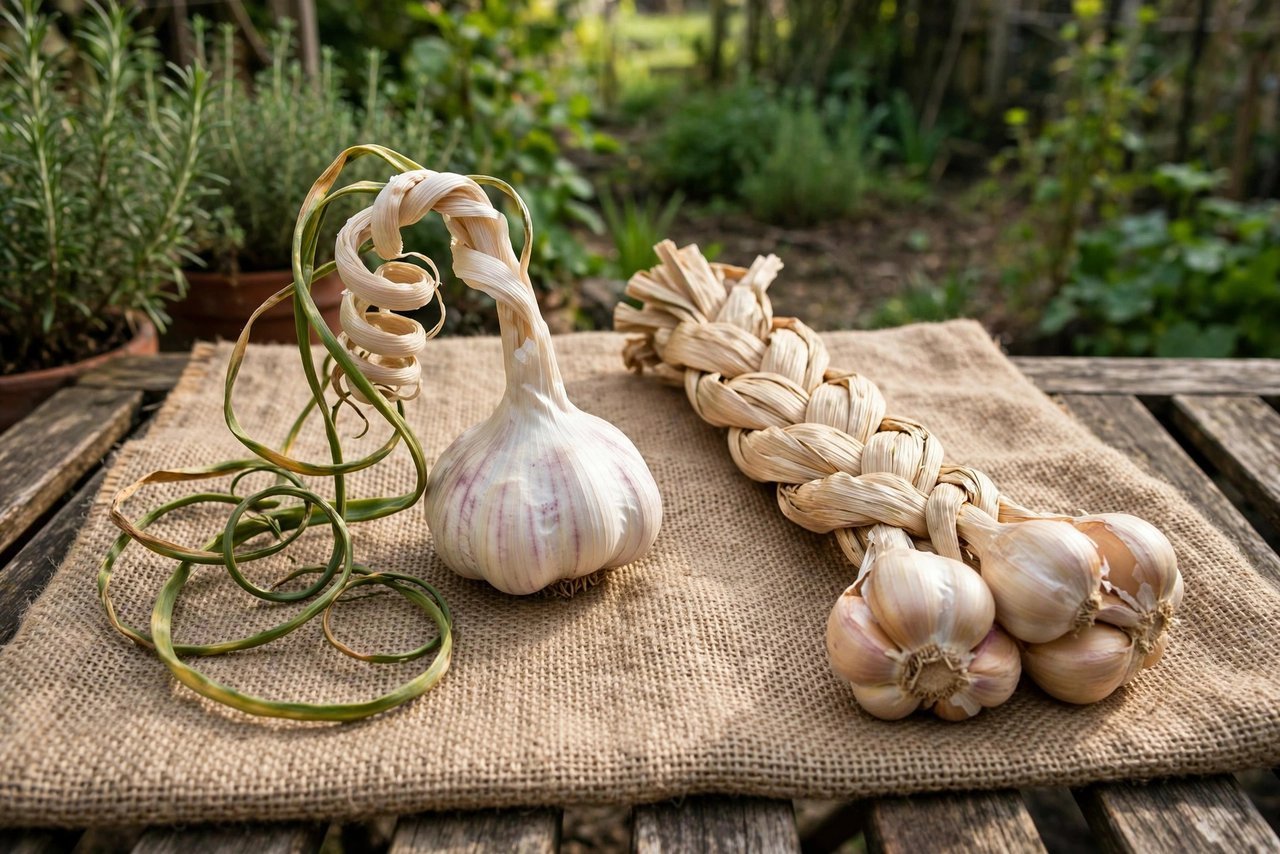
Hardneck garlic produces fewer, larger cloves per bulb — usually 4 to 7 — arranged in a single ring around a stiff central stalk. In early summer it sends up a curly flower stalk called a scape, which you snap off and eat (a bonus harvest). The trade-off: hardnecks store 4 to 6 months, less than softnecks.
‘Music’ — The variety seed suppliers recommend most for beginners. Huge cloves, strong classic garlic flavor, very cold-hardy, and reliable in a wide range of climates. If you’re overwhelmed by choice, start here.
‘German Extra Hardy’ — As the name promises, it shrugs off brutal winters; rich, spicy flavor that mellows in cooking. A longtime favorite in the northern tier of states.
‘Chesnok Red’ — A Purple Stripe type prized for baking: sweet, mellow, and creamy when roasted whole. Slightly smaller bulbs than ‘Music’, but the flavor keeps people coming back.
‘Persian Star’ — Another Purple Stripe with striking purple-blushed wrappers and a mild, almost sweet raw flavor. Does well in cold climates and cures into a beautiful bulb.
Softneck varieties (best for zones 5–10, ideal in 7–10)
Softneck garlic is what you usually see braided at farmers markets. It prefers milder winters, produces 10 to 20 smaller cloves per bulb in multiple layers, doesn’t make scapes, and stores 8 to 10 months — the longest of any garlic.
‘Inchelium Red’ — Productive, mild enough to eat raw, and stores beautifully. A great all-around softneck and a safe first pick for mild-winter gardens.
‘California Early’ — Fast-maturing and reliable in warm climates; the workhorse of mild-winter gardens, especially across the South and West.
‘Nootka Rose’ — A Silverskin type with rose-tinted wrappers, known for excellent storage — often the last garlic left in the pantry come spring. Well suited to the Pacific Northwest and similar climates.
‘Silver Rose’ — Another long-storing Silverskin with a mellow flavor that shines raw in dressings and aioli. A good pick if you want garlic that lasts deep into the following year.
Buy seed garlic from a garden supplier — a search for seed garlic bulbs for planting turns up plenty of options — not bulbs from the grocery store. Grocery garlic is often treated to prevent sprouting, may carry disease, and is usually a variety poorly suited to your climate. Order in late summer; popular varieties sell out by September.
Prep the Bed
Garlic wants full sun and loose, well-drained soil. Heavy, waterlogged ground rots cloves over winter, so if your soil is clay, plant in a raised bed or mound the row a few inches high — drainage is the one thing garlic won’t compromise on.
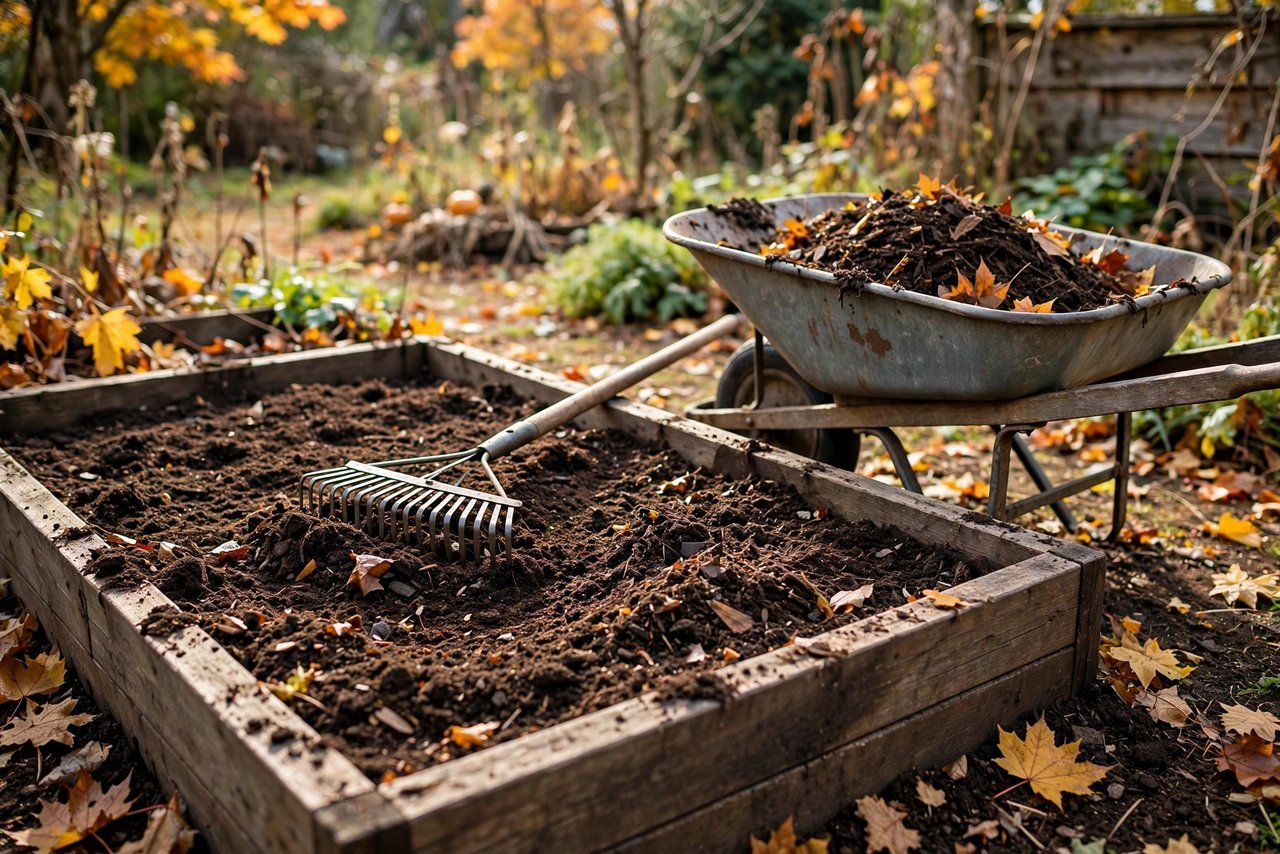
Work 2 to 3 inches of finished compost into the top 8 inches of soil before planting. Garlic is a moderate feeder that appreciates the slow-release nutrition and the improved drainage compost provides. It prefers a pH between 6.0 and 7.0. Skip fresh manure — it can burn the cloves and introduce disease. Well-aged compost is all you need at planting time.
One more thing: don’t plant garlic where onions, leeks, or garlic grew last year. Alliums share the same soil diseases, and rotating to fresh ground — a bed that held tomatoes this summer works nicely — is the simplest prevention there is.
How to Plant Garlic: 5 Steps
Set aside an afternoon. The whole job takes less time than a grocery run, and most of it is pleasantly mindless work.
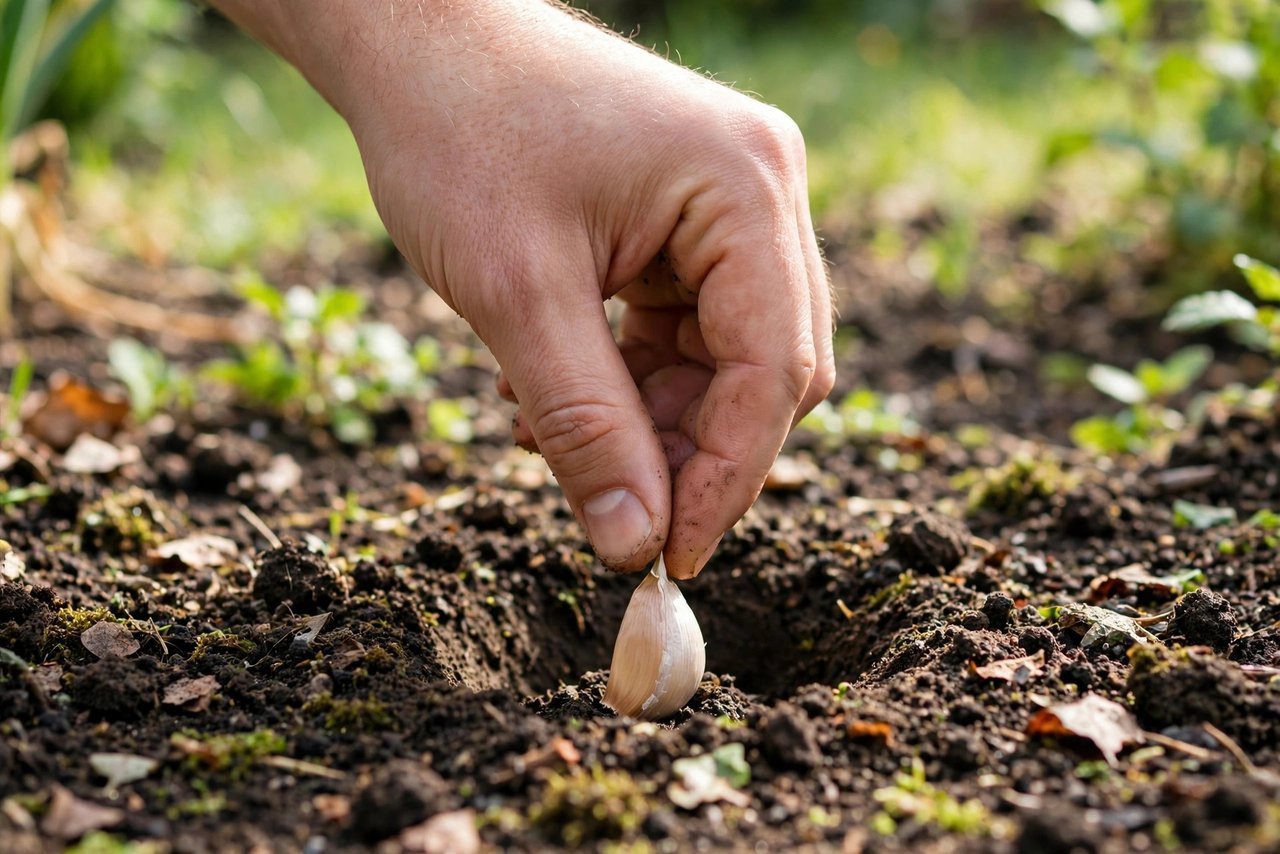
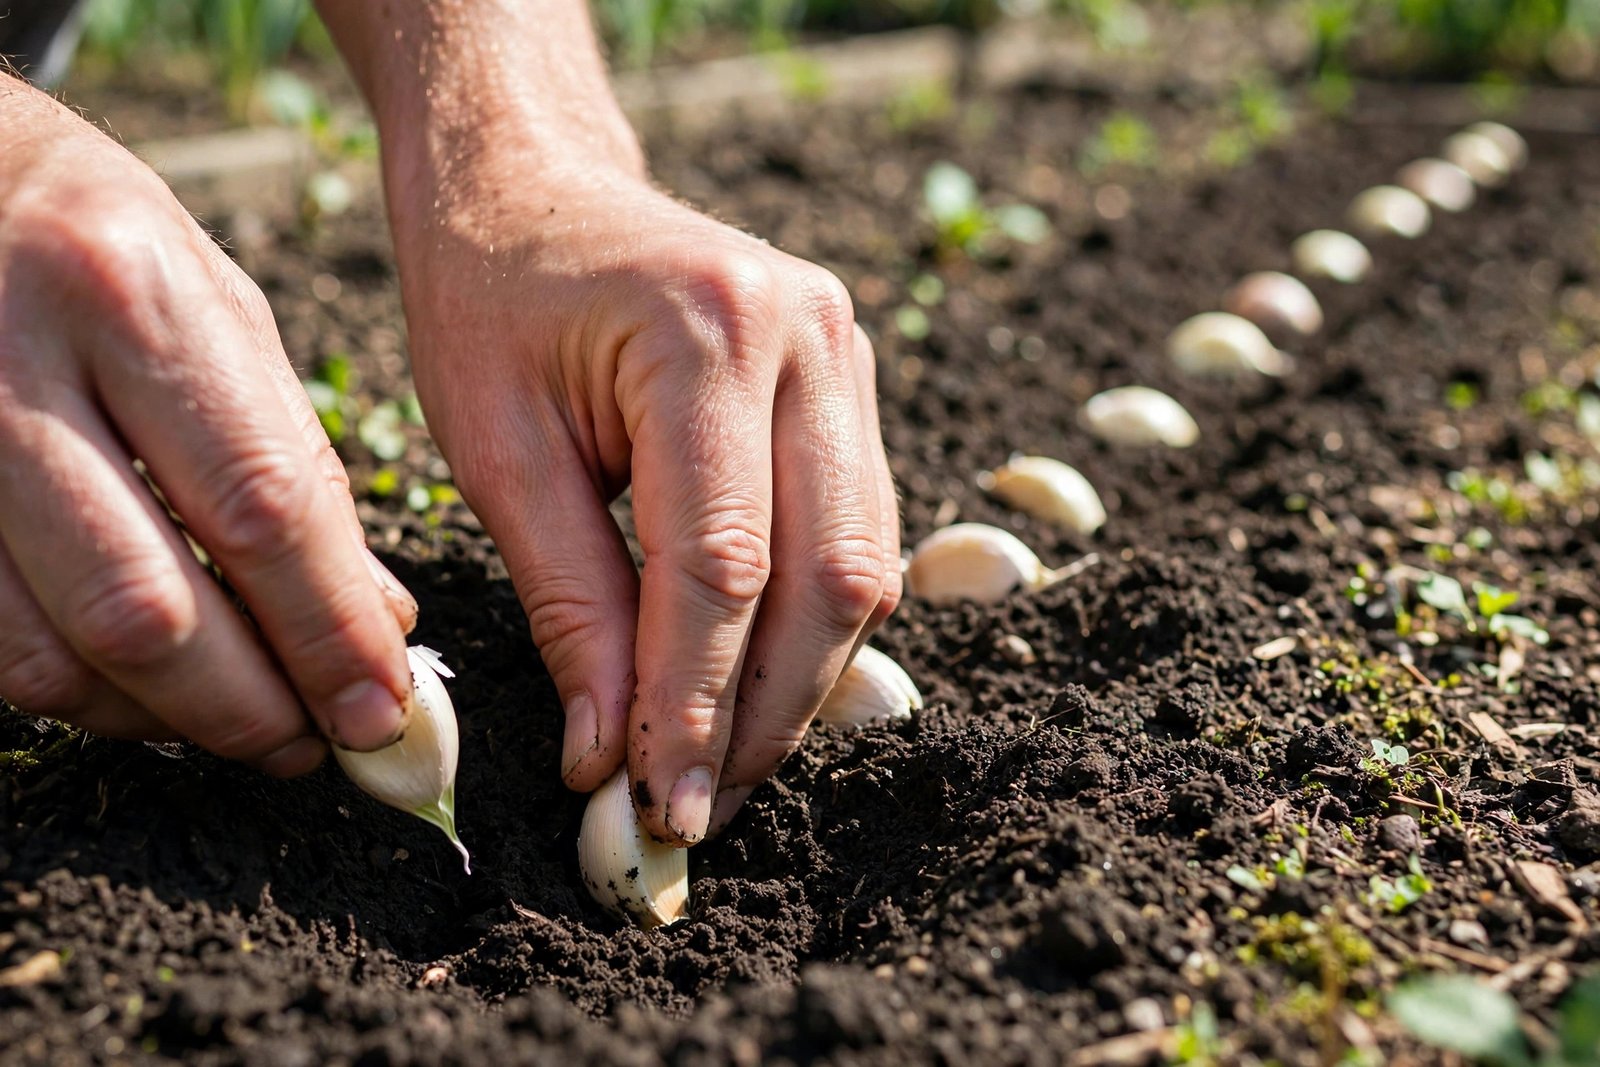
1. Break the bulbs into cloves. Do this on planting day, not earlier — exposed cloves dry out. Keep the papery skins intact; they protect the clove. Discard any cloves that are soft, moldy, or nicked.
2. Plant only the biggest cloves. This is the most reliable rule in garlic growing: big cloves grow into big bulbs. Eat the small inner cloves and plant the fat outer ones. It feels wasteful the first time. Do it anyway.
3. Plant pointed-end up, 2 to 3 inches deep. Measure from the tip of the clove to the soil surface. Too shallow and frost heaving can push cloves out of the ground; too deep and emergence is delayed in spring.
Good to know: if you genuinely can’t tell which end is up on a clove, plant it on its side. The shoot figures out which way is up on its own — the bulb just comes out slightly less symmetrical.
4. Space cloves 6 inches apart in rows 8 to 12 inches apart. Crowded garlic makes small bulbs — this is the #1 mistake beginners make, and it’s the easiest one to avoid. Give each plant room to size up.
5. Water thoroughly. Soak the bed well after planting to settle the soil around the cloves and kick-start root growth.
Mulch Heavily — 4 to 6 Inches of Straw
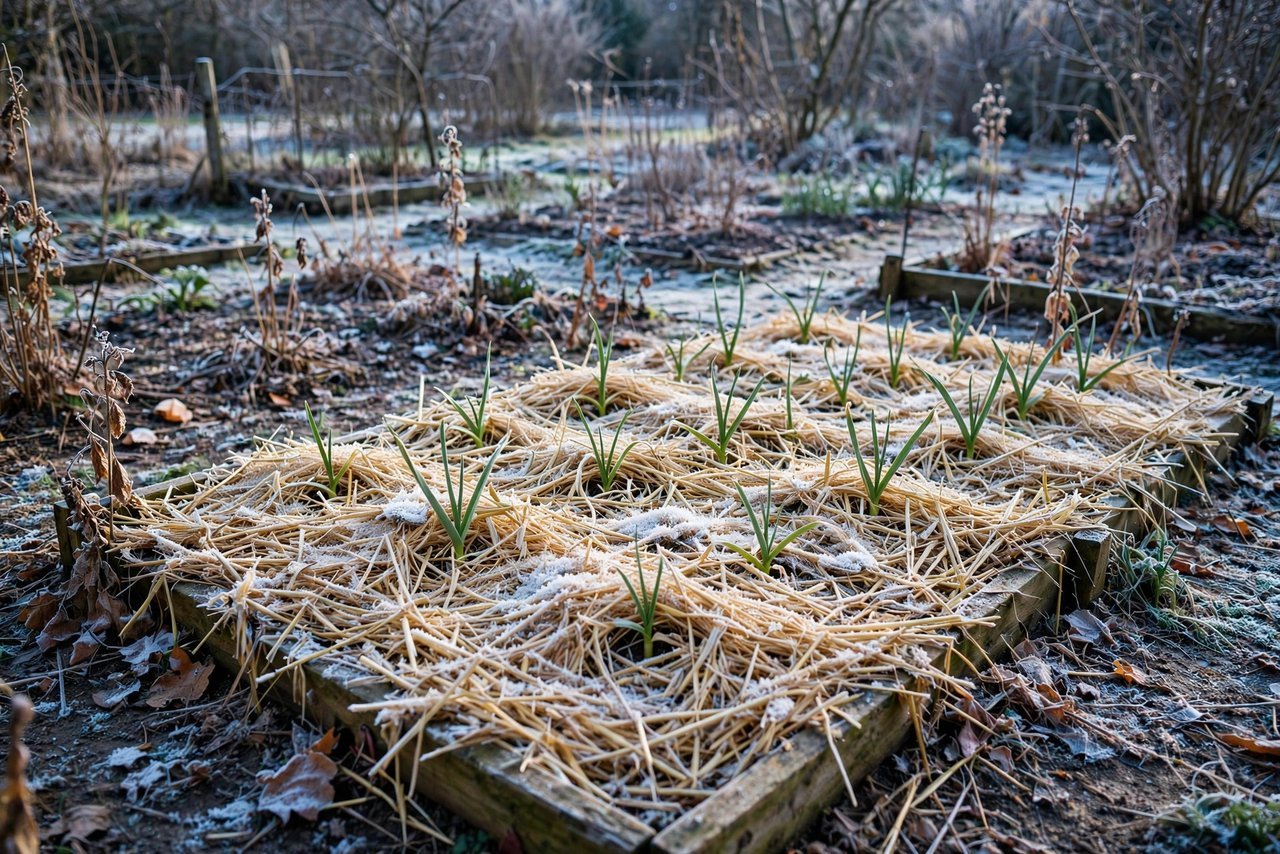
This step is not optional in cold climates. After planting, cover the bed with 4 to 6 inches of straw (not hay — hay is full of weed seeds). The mulch insulates the soil, prevents the freeze-thaw cycles that heave cloves out of the ground, suppresses spring weeds, and conserves moisture.
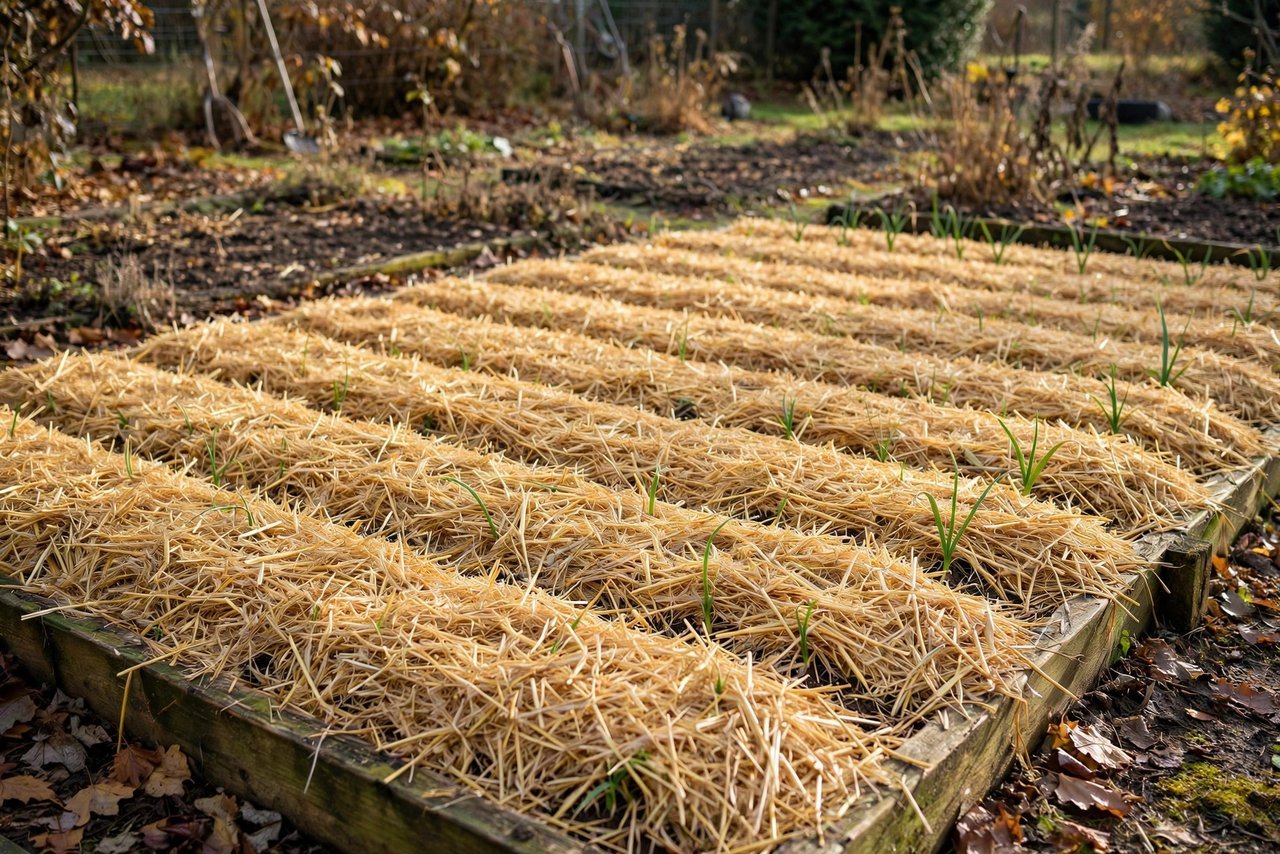
Don’t worry about the garlic finding its way up. The shoots will push straight through the straw in spring without any help from you. Leave the mulch in place all season — it keeps doing useful work as weed suppression and moisture retention right through harvest. No local straw source? Garden straw mulch is easy to order by the bale, and shredded fall leaves work as a backup (see our fall cleanup guide for the leaf-mulch method).
Watering: Easy Mode
Water well at planting time, then let fall rains take over. Garlic needs consistently moist (not soggy) soil while it’s actively growing in fall and spring — roughly 1 inch of water per week if rain doesn’t provide it. In most climates, that’s a non-issue from October through April.
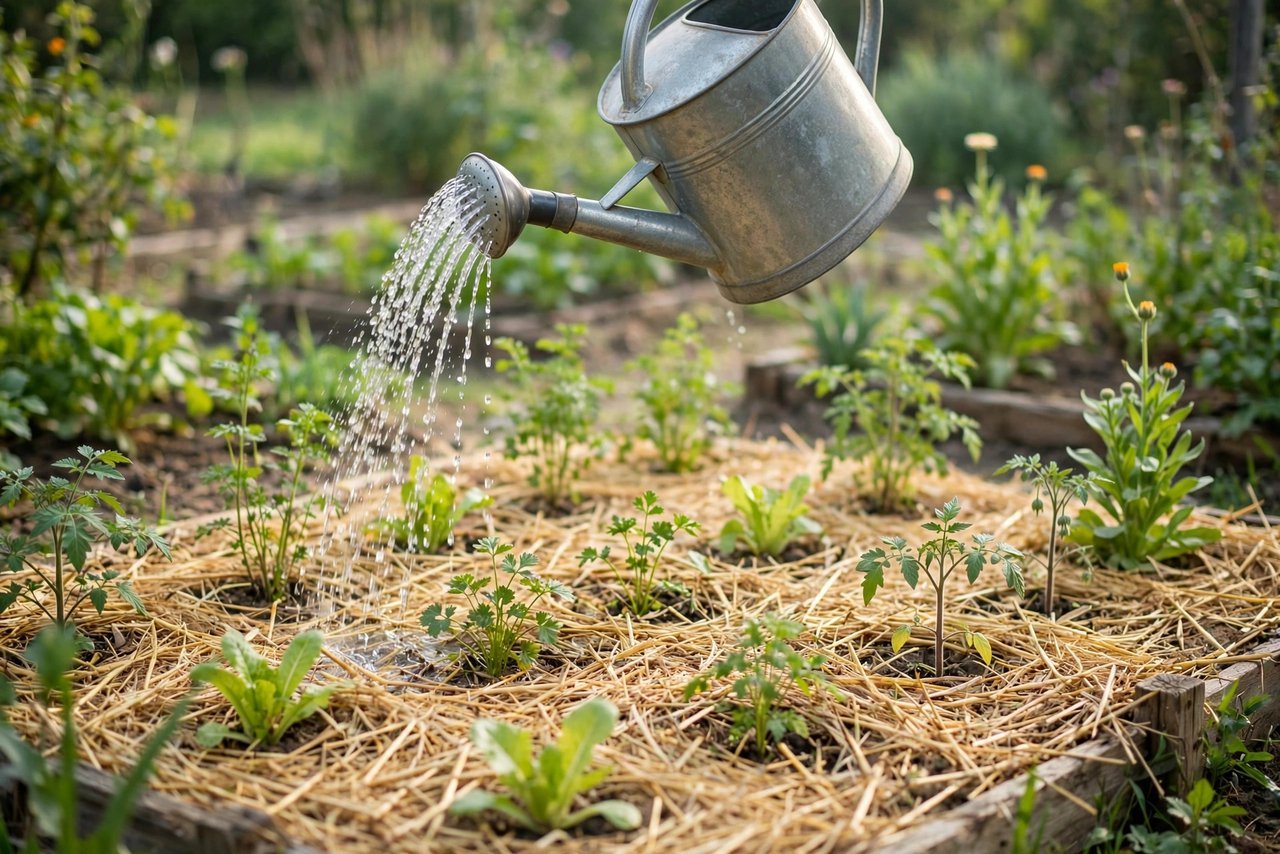
The one watering rule that matters: stop watering about 2 weeks before harvest. Dry conditions at the end help the bulbs cure in the ground and develop tight, papery wrappers, which directly extends storage life. Overwatering late in the season is one of the few ways to genuinely ruin a garlic crop.
Spring Care: Three Small Jobs
Garlic mostly takes care of itself, but three tasks in spring make the difference between decent bulbs and great ones. Total time investment: maybe an hour across the whole season.
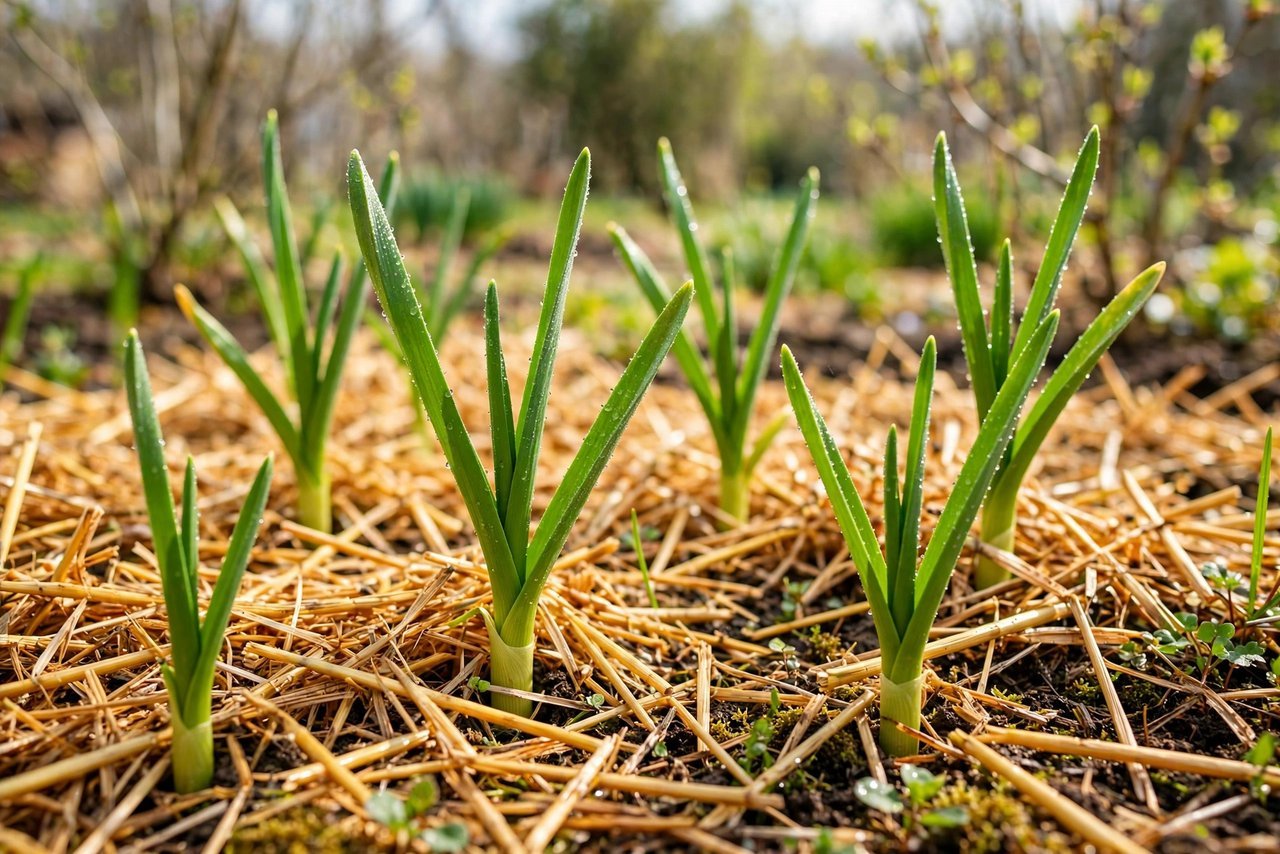
Side-dress when plants are 6 inches tall. Scratch a nitrogen-rich fertilizer — blood meal, or a thick band of compost — into the soil alongside the rows in early spring. This fuels the leaf growth that determines final bulb size: more big green leaves now means a bigger bulb later, since every leaf becomes a wrapper layer.
Snap the scapes. On hardneck varieties, curly flower stalks (scapes) appear in late spring or early summer. Snap or cut them off once they’ve made one full curl. Left alone, the plant pours energy into flowers instead of the bulb; removed, the plant redirects that energy underground, and most growers report a clear difference in bulb size. And scapes are delicious — chop them into stir-fries, blend them into pesto, or grill them whole with olive oil.
Weed. Garlic has shallow roots and hates competition. The straw mulch handles most of it, but pull any weeds that poke through while they’re small. Never cut or trim the garlic leaves themselves — those leaves are future bulb wrappers.
Harvest Cues: When Is It Ready?
Garlic is usually ready in July — mid-July in zones 5 and 6, earlier in warm zones. The signal is the leaves: harvest when the bottom 3 to 4 leaves have turned brown but 5 to 6 green leaves remain up top. Those green leaves correspond to the papery wrappers around the bulb, and each wrapper extends storage life — so don’t wait until the whole plant is brown.
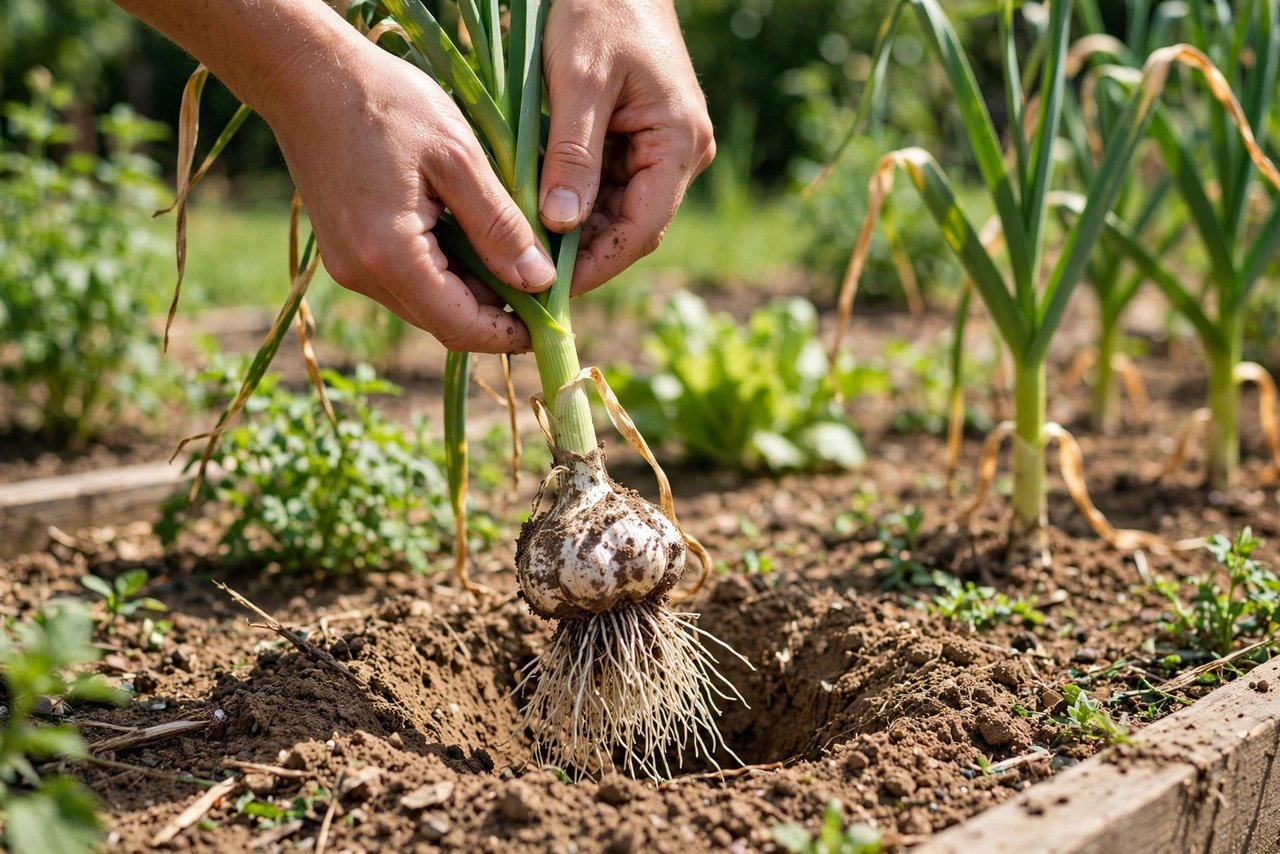
When in doubt, dig up one test bulb and look. The bulb should be well-formed with distinct cloves visible through the wrapper, and the wrapper should feel papery, not moist. If the cloves are still small and undifferentiated, give the bed another week and check again.
To harvest, loosen the soil with a garden fork and lift the bulbs — don’t pull by the stalk, which can separate from the bulb. Handle them gently; bruised garlic doesn’t store well.
Curing and Storing
Freshly harvested garlic needs to cure for 2 to 3 weeks before it goes into storage. Lay the plants — stalks, roots, and all — in a single layer somewhere shady, dry, and airy: a covered porch, a garage with the door cracked, or under a tree. Ideal curing conditions are 70 to 80°F with good airflow. Never cure in direct sun, which cooks the bulbs, and never in a damp basement.
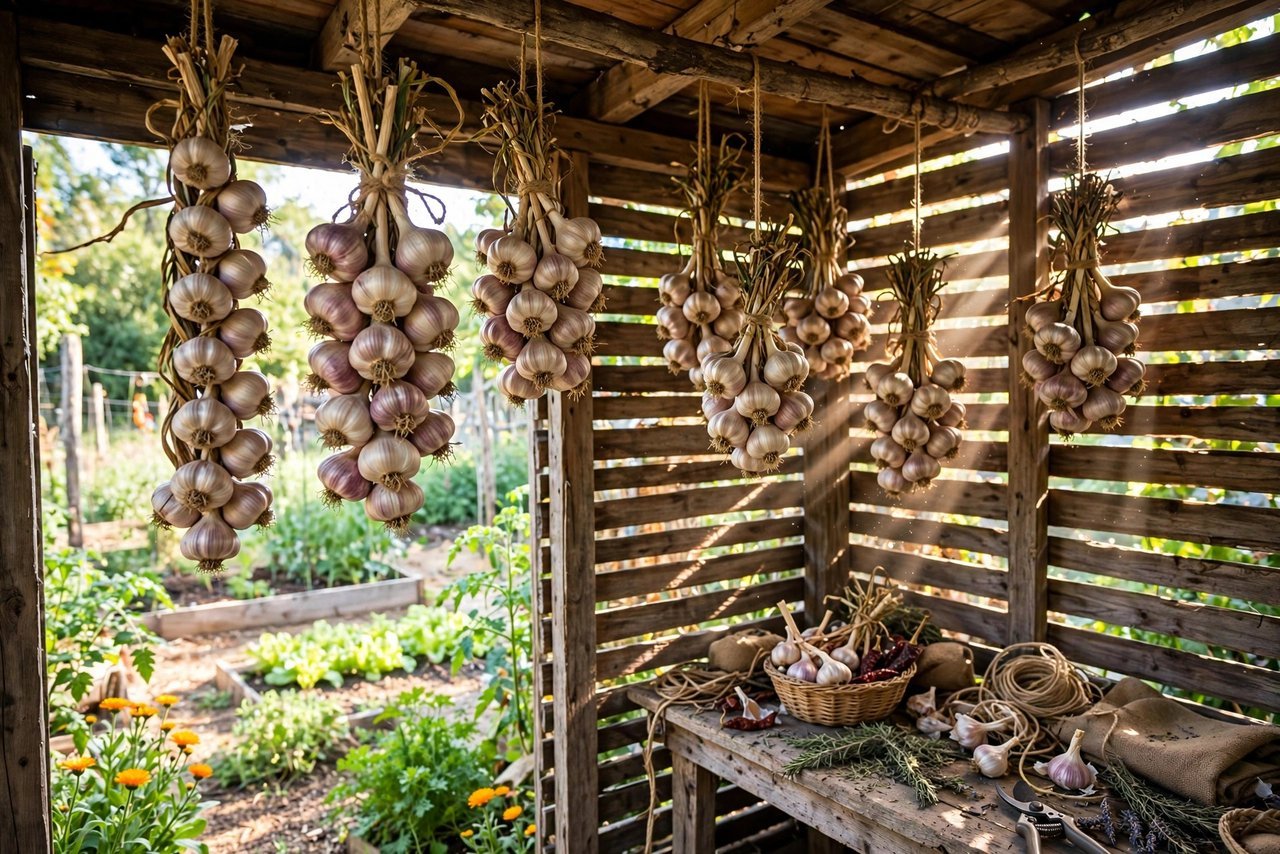
Once the stalks are brown and crispy and the roots are dry, trim the roots to 1/4 inch and cut hardneck stalks to about an inch above the bulb — or braid softnecks by their pliable stalks for the classic look. Store in a cool, dry spot at 50 to 60°F; a pantry or closet works perfectly. Stored properly, hardnecks last 4 to 6 months and softnecks 8 to 10. Don’t refrigerate; the cold and humidity trigger sprouting.
Save your biggest, best-looking bulbs for replanting next October. Many gardeners find they stop buying seed garlic altogether after the first year — your own saved cloves are already proven in your soil.
Ways to Use a Big Harvest
A 4-by-8-foot bed planted at 6-inch spacing holds around 60 cloves, which means 60 bulbs next July. That’s a lot of garlic — happily, it’s one of the easiest harvests to use up. Scapes become pesto and stir-fries in June. Fresh bulbs elevate everything from roast chicken to salad dressing. And peeled cloves freeze beautifully: spread them on a tray, freeze solid, then bag them — they’ll keep for months and go straight into the pan from frozen. If you grew more than you can eat, braided softnecks make genuinely welcome gifts.
Troubleshooting: Common Garlic Problems
Garlic is low-drama, but here’s how to read the few things that go wrong.
Cloves pushed out of the soil over winter
That’s frost heaving — freeze-thaw cycles grip the clove and ratchet it upward. It happens when mulch went on too thin or too late. If you catch it early, gently press the clove back down and add more mulch. Prevention is the 4- to 6-inch straw layer from the start; skimping here is the most common cause.
Leaves turning yellow in spring
A little yellowing on the lowest leaves is normal — the plant is shedding its oldest growth. Widespread yellowing across the whole plant usually means too much water: soggy spring soil suffocates roots. Check drainage, ease off watering, and let the top inch of soil dry between waterings. If yellowing comes with stunted, twisted growth, suspect onion maggots or a virus — pull and discard affected plants rather than composting them.
Small bulbs at harvest
Work backward through the likely causes: cloves planted too small (plant only the fattest), spacing too tight (crowding is the classic), spring side-dress skipped (leaf growth sets bulb size), scapes left on hardnecks, or harvest timed too early. Fix the one that matches your season and next year’s bulbs will tell the story.
Cloves rotted over winter
Mushy, foul-smelling cloves in spring mean the bed stayed too wet. Garlic needs drainage more than almost anything else — this is the problem that sends the most first-timers to raised beds or mounded rows. If your soil is heavy clay, don’t fight it next year; plant higher.
Rust or purple spots on the leaves
Orange pustules (rust) or purplish blotches (purple blotch / botrytis) show up in wet springs. Improve airflow by weeding and spacing, water at the base rather than overhead, and remove badly affected leaves. Most home plantings ride it out — the bulbs underneath are usually fine as long as enough green leaf remains to feed them.
FAQs About Growing Garlic
Can I plant garlic from the grocery store?
You can, but it’s a gamble most experienced growers advise against. Grocery garlic is often treated with sprout inhibitors, may carry diseases like white rot into your soil, and is usually a variety chosen for shelf life rather than your climate. Seed garlic costs little and removes all three risks at once.
What if I missed the fall window — is spring planting worth it?
It’s worth trying, with honest expectations. Without the winter chill, most varieties form small bulbs or single rounds. You’ll still get green garlic (delicious) and modest bulbs, but plan to plant properly in fall for the real harvest. Some suppliers sell pre-chilled “spring planting” garlic that performs better — look for that label.
Do I need to remove the mulch in spring?
No — leave it. The shoots push through straw on their own, and the mulch keeps suppressing weeds and holding moisture all season. Only pull it back if it’s matted into a soggy, airless layer, which is rare with straw.
How many bulbs should I plant?
Count backward from how much you eat. Each clove becomes one bulb, and a bulb holds 4 to 7 cloves (hardneck) or 10 to 20 (softneck). A household that cooks with garlic a few times a week is usually happy with 40 to 60 cloves planted — roughly one modest bed.
Can garlic grow in containers?
Yes, with two caveats: the pot needs to be at least 8 to 10 inches deep, and containers freeze harder than ground soil, so mulch heavily or move pots against a sheltered wall in cold zones. Our container gardening guide covers soil mix and winter protection in detail.
When exactly do I stop watering?
About two weeks before your expected harvest — when the bottom leaves start browning but several green leaves remain. Dry soil at the finish tightens the wrappers and extends storage life. If rain does the watering for you, there’s nothing to do but wait for a dry stretch to dig.
Have a garlic question I didn’t cover? Ask it in the comments — happy to help you troubleshoot your specific situation.
More Garlic Growing Posts to Explore
- What to Plant in October: 15 Vegetables for a Fall Garden
- Fall Garden Cleanup: 12 Things to Do Before Winter
- How to Make Compost at Home: A Beginner’s Guide
- Raised Bed Gardening for Beginners: Size, Soil, and Layout
- How to Start a Vegetable Garden for Beginners: The Complete Guide
- 10 Easiest Vegetables to Grow for Beginners
Plant It and Forget It (Mostly)
Garlic asks for one afternoon of work in the fall and repays you with months of harvest. Get your seed garlic ordered early, plant when the soil cools below 60°F, mulch it deep with straw, and mark July on your calendar. Next summer, when you’re pulling up fragrant bulbs you grew yourself, you’ll wonder why you ever bought garlic at the store.
Are you planting garlic this fall — and which variety did you pick? Let me know in the comments.