
This post may contain affiliate links. If you buy through links on this page, we may earn a commission at no extra cost to you.
As an Amazon Associate I earn from qualifying purchases.
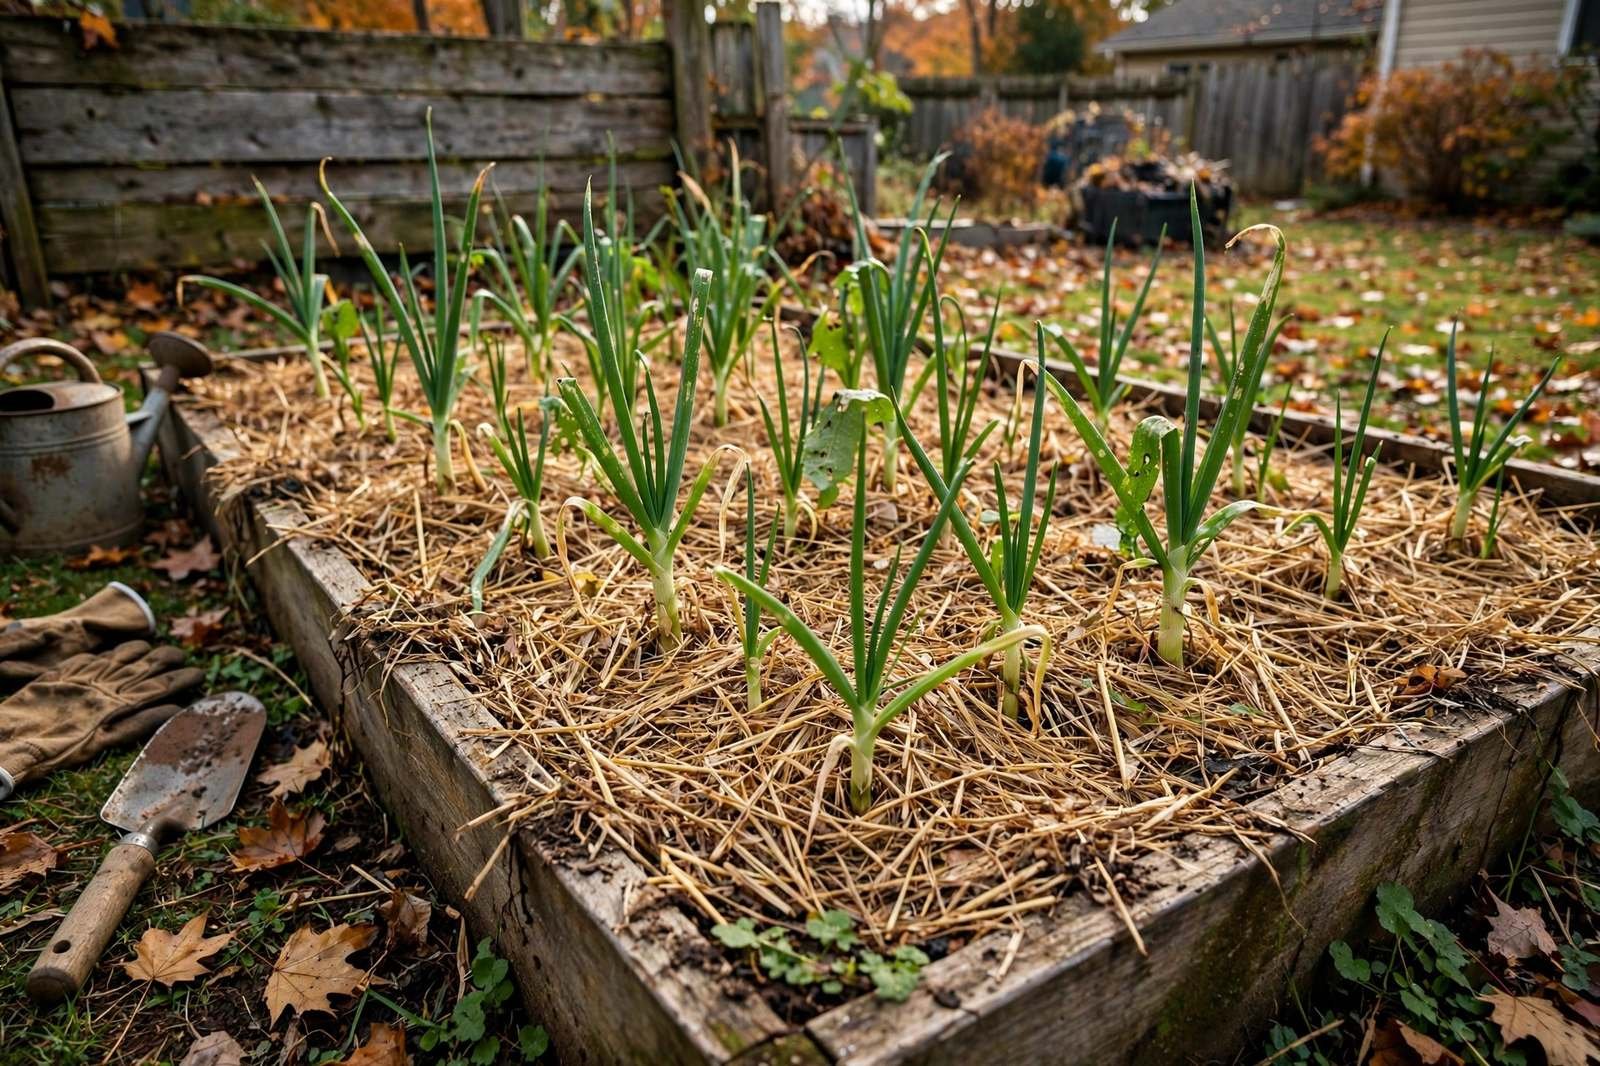
Shallots are the quiet overachievers of the fall allium bed. We plant individual sets in autumn, let roots establish before the ground cools, and then mostly leave them alone until spring growth takes off. Each set divides into a cluster of mild, sweet bulbs that cure well, store for months, and give us a steady supply for dressings, pan sauces, and roasted vegetables.
This guide covers fall timing for shallot sets, variety and set selection, soil preparation, planting depth and spacing, winter mulch, watering and feeding, pest and disease watch, and harvest, curing, and storage. The steps suit raised beds and in-ground rows, and we note where containers and mild-winter gardens need a small adjustment.
| Sun | Full sun, 6 or more hours |
|---|---|
| Soil | Well-drained, loose loam, pH 6.0 to 7.0, compost enriched |
| Planting depth | Sets 1 to 2 inches deep, pointed tip just below or at soil line |
| Spacing | 4 to 6 inches apart in rows 12 to 18 inches apart |
| Water | Even moisture during rooting and spring growth; drier near harvest |
| Days to harvest | Green tops in about 60 days; dry bulbs late spring to early summer |
| Frost tolerance | Hardy with mulch; established roots tolerate cold, soggy soil is the main risk |
When to Plant Shallots in Fall
Fall-planted shallots follow the same rhythm as garlic. We set bulbs after the first light frosts cool the soil but while the ground is still workable enough for roots to grow before a hard freeze. That root growth in fall is the whole point of autumn planting: plants wake up in spring already anchored, leaf out early, and form larger clusters than spring-set bulbs in many gardens.
Use your local frost dates and regional planting guidance — not your USDA hardiness zone alone — to choose planting dates. In colder areas, we aim to plant 4 to 6 weeks before the ground freezes so roots establish without pushing much top growth. In mild-winter areas, planting extends later into fall for a late spring harvest. Our timing alongside how to plant garlic in fall works well because both crops want similar soil prep, depth, and mulch care.
Shallots respond to day length as bulbs form in late spring. Fall planting does not change that response, but it gives plants a longer leaf-growth period before bulbing starts, and more leaf growth before long days means more energy stored in the cluster. Gardens with very cold winters and no reliable snow cover should mulch heavily after planting and accept that some loss is possible in an unusually harsh year. Spring planting remains the backup plan where fall sets heave or rot in wet winter soil.
Choosing Shallot Sets and Varieties for Fall
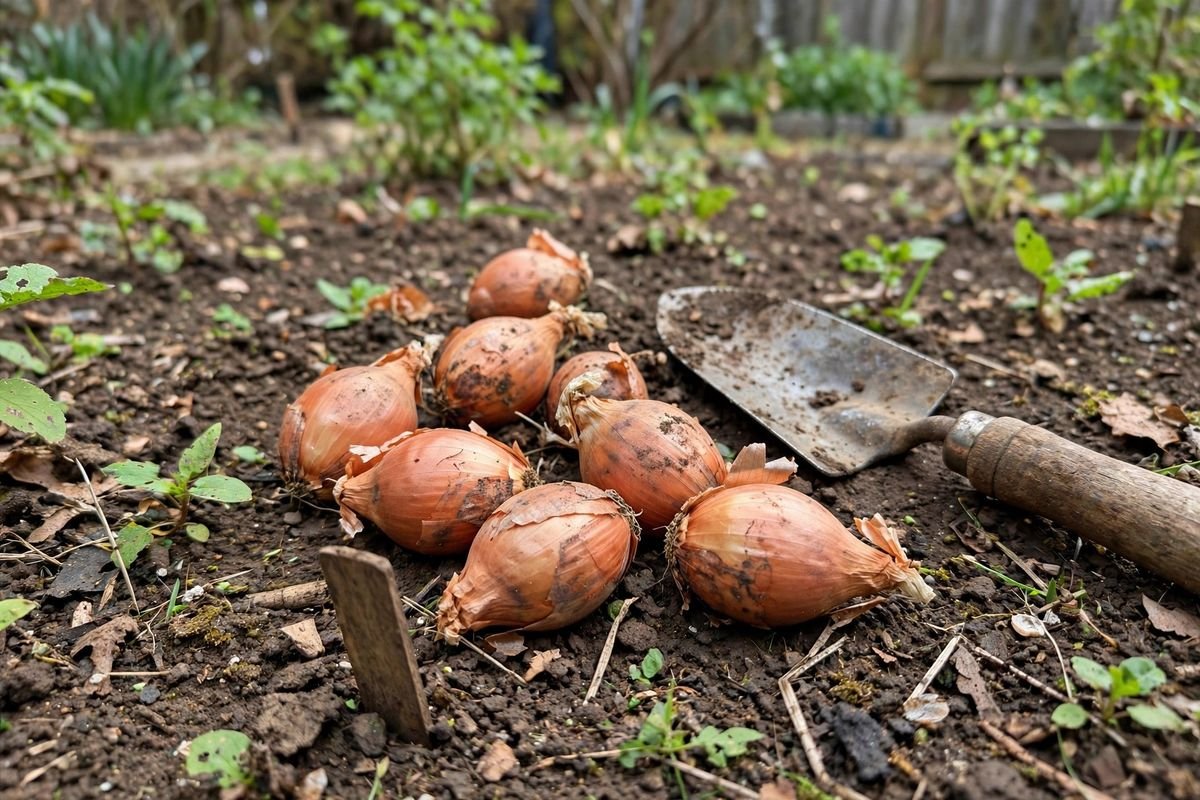
Shallots are usually grown from sets, which are small individual bulbs separated from a cluster. We choose firm sets with no soft spots, mold, or sprouting damage, and we source them from seed suppliers rather than grocery produce because planting stock is selected for garden performance and lower disease risk. French red types are the most widely available and reliable for fall planting, with elongated bulbs and copper-red skins. Yellow and gray types are also sold for specific culinary uses and regional traditions.
True seed for shallots exists and produces a single bulb in the first season rather than a cluster. For fall planting in the home garden, sets are the practical choice because they establish quickly in cooling soil and divide as expected the following year. We save some of our own harvested bulbs for replanting only from healthy, well-cured clusters, and we rotate the planting bed each year rather than returning shallots to the same soil.
Set size matters a little. Medium sets about 1 inch across establish well and divide into a good cluster. Very small sets can be planted closer for green shallot tops, while larger sets spaced wider tend to produce fewer but bigger bulbs. A pound of sets plants a useful home garden row, and a bag of shallot sets for fall planting from a reputable supplier lists variety type and planting guidance matched to the stock.
Preparing the Bed
Shallots want loose, well-drained soil that warms reasonably in spring and does not stay soggy in winter. We loosen the bed 8 to 10 inches deep, remove stones and clods, and work in 1 to 2 inches of finished compost. Shallots are moderate feeders, and compost alone often carries the fall rooting phase well. Our approach to how to make compost at home keeps beds supplied without heavy fertilizer use at planting, which is the right balance for fall alliums.
Soil pH between 6.0 and 7.0 suits shallots. Where soil is strongly acidic, we apply lime based on a soil test and work it in before planting. Fresh manure is not used close to fall planting because it can encourage excess leaf growth before cold and raise disease pressure in wet soil. If a balanced fertilizer is needed based on a soil test, we blend it into the bed before setting bulbs rather than placing concentrated fertilizer in direct contact with sets.
Drainage is the main bed decision for fall shallots. In heavy soil or low spots, we plant in raised beds or slightly mounded rows so winter rain moves away from the bulbs. Shallot roots are shallow, so the bed does not need to be deeply tilled, but the surface should be level enough that mulch sits evenly and water does not pool over the row during freeze-thaw cycles.
Planting Fall Shallot Sets Step by Step
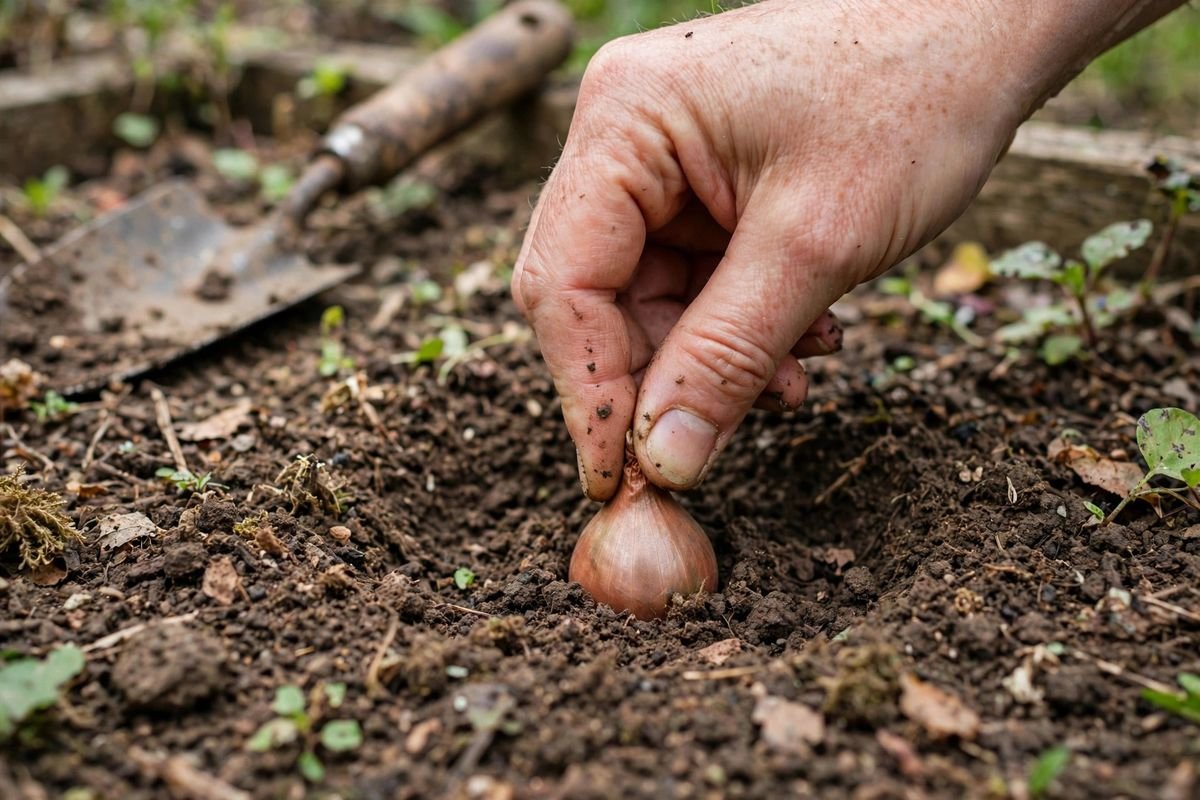
Planting shallot sets is simple, and the few details that matter are easy to get right. We separate any clusters into individual bulbs first, then set each bulb pointed end up with the basal plate down. Bulbs planted upside down will still grow but waste energy reorienting and often produce a smaller cluster, so a moment of care at setting pays off at harvest.
Depth, Spacing, and First Watering
We set bulbs 1 to 2 inches deep so the tip sits just below the soil surface or barely shows, depending on mulch plans. In colder gardens where mulch will be applied after the ground cools, setting the tip slightly below the surface helps anchor bulbs against heaving. We space sets 4 to 6 inches apart in rows 12 to 18 inches apart, which gives each future cluster room to expand to 4 to 5 inches across without crowding neighbors.
After setting a row, we firm the soil lightly and water the bed to settle soil around the bulbs and start root growth. That first watering matters most where fall is dry. Where fall rain is reliable, soil moisture at planting may already be sufficient, and we avoid watering a bed that is already saturated. A bale of clean straw garden mulch staged nearby makes the later mulching step quick once temperatures drop, and clean straw is easier to manage than loose leaves that mat down over small sets.
Labeling and Bed Records
Fall allium beds look empty for weeks, which makes labeling more than a courtesy. We mark each row end with the variety and planting date on a weatherproof label. Those notes help at harvest when we compare cluster size and storage quality, and they prevent accidental digging during winter bed work. A simple bed map in a garden notebook serves the same purpose and takes a minute to draw while the soil is still on our hands.
Shallots also fit at the edge of beds planted with other fall crops. We often tuck a short row alongside fall beet plantings or near overwintered greens, since all share similar mulch timing and spring feeding rhythms without competing heavily below ground.
Watering, Feeding, and Winter Mulch
From planting until the ground cools, shallots need enough moisture to root but not a wet bed. We water during dry fall spells to keep soil lightly moist in the top few inches. Once winter sets in, natural precipitation usually takes over, and our attention shifts to drainage rather than irrigation. In spring, as leaves grow actively, plants want even moisture again, about an inch of water per week, with watering tapered off as tops begin to yellow near harvest.
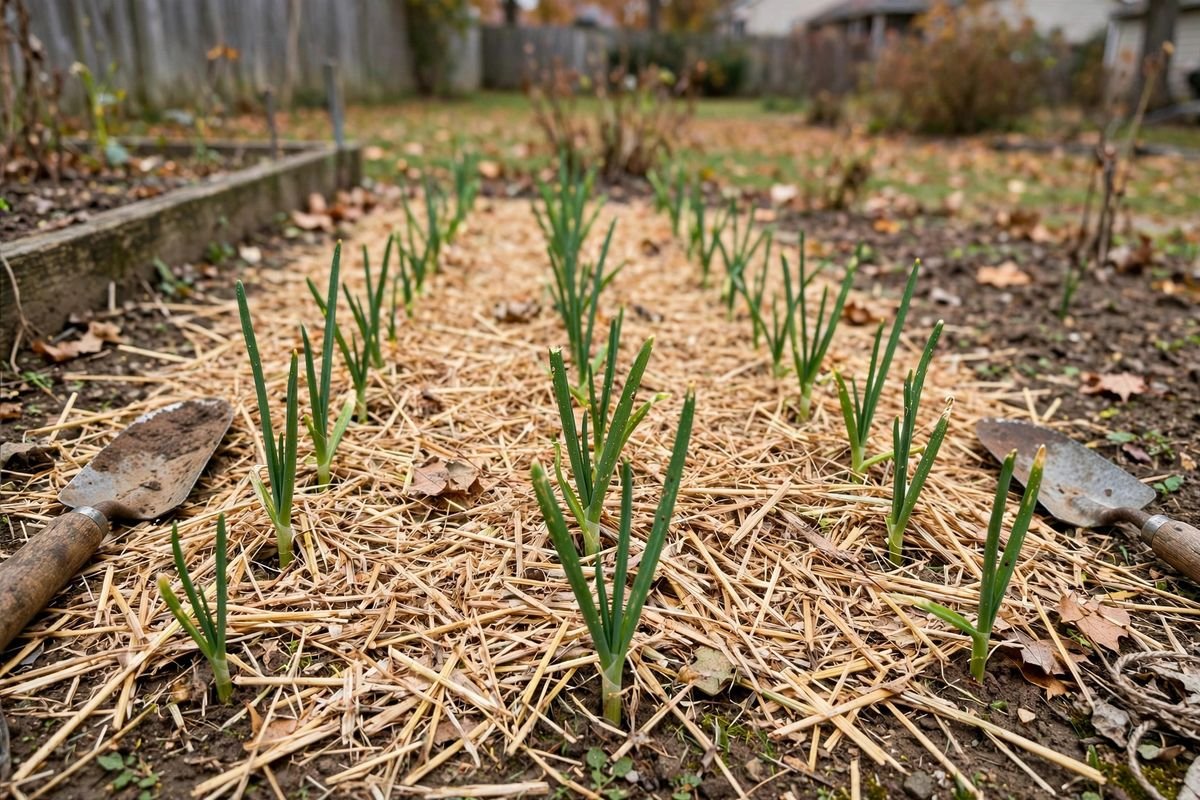
We apply winter mulch after the soil has cooled and the first hard frosts have arrived, not immediately at planting in warm fall soil. A 3 to 4 inch layer of clean straw or shredded leaves insulates bulbs against freeze-thaw heaving, which is the main cause of fall set loss in cold gardens. In mild-winter gardens, a lighter 2 inch layer is often enough, and some gardeners skip heavy mulch entirely where drainage is sharp and winters stay gentle.
Feeding is light in fall and more active in spring. We do not push nitrogen at fall planting because soft top growth before hard cold handles winter poorly and invites damage. In early spring, as green growth resumes, we side-dress with a balanced organic fertilizer at label rates or apply compost tea, then repeat once during active leaf growth if soil is lean. We stop feeding once bulbs begin to swell and tops soften, because late nitrogen delays curing and shortens storage life.
Pests and Diseases to Watch
Shallots share most pests and diseases with onions and garlic, and fall planting with good rotation keeps pressure low. Onion thrips can feed on leaves in warm, dry spring weather, leaving silvery streaks and reducing bulb energy. Keeping plants watered during dry spells and removing heavily infested outer leaves limits damage in home gardens without spraying. Allium leafminer occurs in some regions and leaves pale trails in leaves; where it is established, row cover during spring flight periods is the main organic defense.
Bulb rot is the main disease concern, and it is mostly a soil and storage problem rather than a leaf problem. Poorly drained winter soil, planting damaged sets, and bruising at harvest all raise rot risk. We plant only firm sets, rotate alliums away from the same bed for at least 3 years, and handle clusters gently at digging. White rot, where present in soil, is persistent and serious; gardens with a known history should not grow alliums in that bed and should source clean sets rather than saving their own bulbs from affected soil.
Weeds compete strongly with shallots because roots are shallow and leaf canopy stays open. We weed by hand near the bulbs and cultivate shallowly between rows, taking care not to nick bulbs forming near the surface. As clusters expand in late spring, bulbs often push partly above the soil line. That exposure is normal for shallots, and we do not hill soil over developing bulbs, since covering them raises rot risk and makes harvest assessment harder.
Harvesting, Curing, and Storing Shallots
Green shallots can be pulled about 60 days after spring growth resumes, when stems reach about a quarter inch thick, for use like green onions. For dry bulbs, we wait until tops yellow, soften at the neck, and begin to fall over, usually in late spring to early summer for fall-planted sets. We loosen clusters with a fork and lift them whole, shaking off soil and keeping bulbs together until curing, when individual bulbs separate more cleanly.
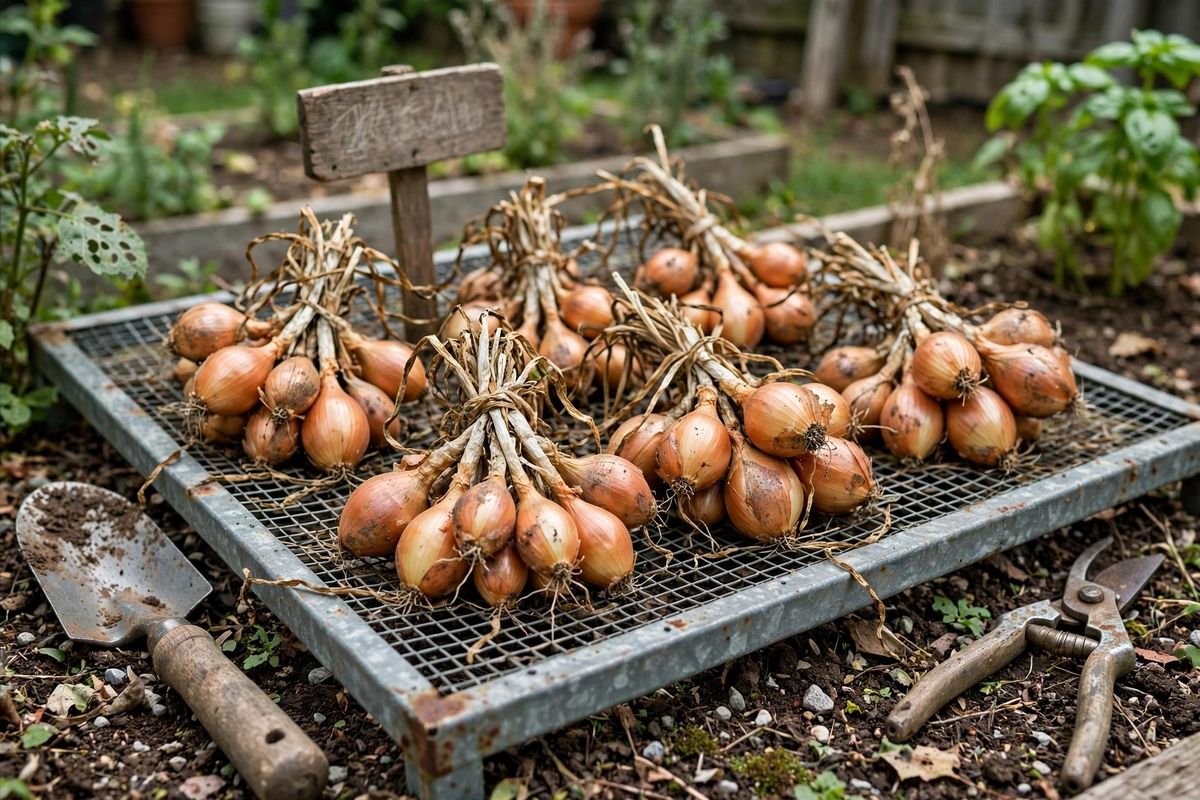
Curing decides storage quality. We lay clusters in a single layer in a warm, dry, shaded spot with good airflow for 1 to 2 weeks, until skins are papery and necks are fully dry. In humid climates, a covered porch, garage with a fan, or mesh rack under an eave works well, as long as bulbs stay out of direct rain and harsh sun that can scald skins. After curing, we separate clusters into individual bulbs, trim roots, and cut tops to about an inch above the bulb.
Well-cured shallots store 6 months or longer in mesh bags or slatted crates in a cool, dry, ventilated place, ideally 35 to 50 degrees F with moderate humidity. We check stored bulbs monthly and remove any that soften. Smaller bulbs from a cluster store less well than larger ones, so we use small bulbs first in the kitchen and save the firmest medium bulbs for replanting the following fall where disease history is clean. Rotating in fall kale after harvest helps fill the bed after shallot harvest in early summer, keeping ground covered and productive.
Troubleshooting Shallots
Why did my fall shallots rot over winter?
Rot over winter almost always traces to soggy soil or damaged sets. We plant in raised or mounded beds where drainage is slow, choose only firm sets, and mulch after the soil cools rather than sealing warm, wet soil under heavy cover at planting.
Why are my shallot clusters small?
Small clusters usually mean crowding, low fertility during spring leaf growth, or late fall planting that limited root establishment. Wider spacing, a spring side-dressing, and setting bulbs 4 to 6 weeks before ground freeze help the next planting size up.
Why are the bulbs single instead of clustered?
Single bulbs are expected from seed-grown shallots in the first year and can also occur with very closely spaced sets that had no room to divide. Sets planted at proper spacing in fall normally divide into clusters by harvest.
Why are tops still green but bulbs not swelling?
Bulbing is triggered by lengthening days in late spring. If tops are green and upright early in the season, plants are still in the leaf-growth phase and patience is the right response. Excess nitrogen late in spring can also delay bulbing, so we stop feeding once days lengthen noticeably.
Why did bulbs push out of the soil and tip over?
Shallow roots and freeze-thaw cycles can heave fall sets toward the surface. We reset heaved bulbs promptly in late winter, firm soil around them, and keep mulch even. At harvest time, bulbs naturally sit partly above the soil line, which is normal and not a problem.
FAQ
Can shallots be left in the ground like leeks?
Not reliably for storage harvest. Shallots are lifted when tops die down, cured, and stored dry. Leaving mature bulbs in warm, wet summer soil raises rot risk, so we harvest and cure rather than storing them in the ground.
How deep should fall shallot sets be planted?
We plant sets 1 to 2 inches deep with the pointed tip up, just below the soil surface. That depth anchors bulbs against heaving while keeping the tip close enough to the surface for spring emergence.
Do shallots need fertilizer at fall planting?
Usually not beyond compost worked into the bed. Heavy nitrogen at fall planting pushes soft leaf growth before cold weather. A soil-test-based balanced amendment blended into the bed is fine, with the main side-dressing saved for spring growth.
How long do cured shallots keep?
Well-cured bulbs stored cool, dry, and ventilated commonly keep 6 months or more. We use smaller bulbs first, check stored stock monthly, and remove any softening bulbs so they do not affect neighbors.
Sources & Further Reading
- Utah State University Extension — How to Grow Shallots in Your Garden, set depth and spacing, fall planting and mulch guidance (extension.usu.edu)
- Virginia Cooperative Extension — Onions, Garlic, and Shallots culture, soil pH, spacing, harvest and curing recommendations (pubs.ext.vt.edu)
- Washington State University Extension — Leeks and shallots culture notes, bulb set planting depth, spacing, and storage guidance (wsu.edu)
- Clemson University Cooperative Extension — Shallots fact sheet, fall planting for winter and spring harvest, spacing and curing (hgic.clemson.edu)
More fall alliums and roots to explore:
Fall shallots ask for one careful planting day and a layer of mulch, then reward us months later with clusters that store through winter meals. Are you planting French red sets this fall, or trying a yellow type for a different kitchen use?