
This post may contain affiliate links. If you buy through links on this page, we may earn a commission at no extra cost to you.
As an Amazon Associate I earn from qualifying purchases.
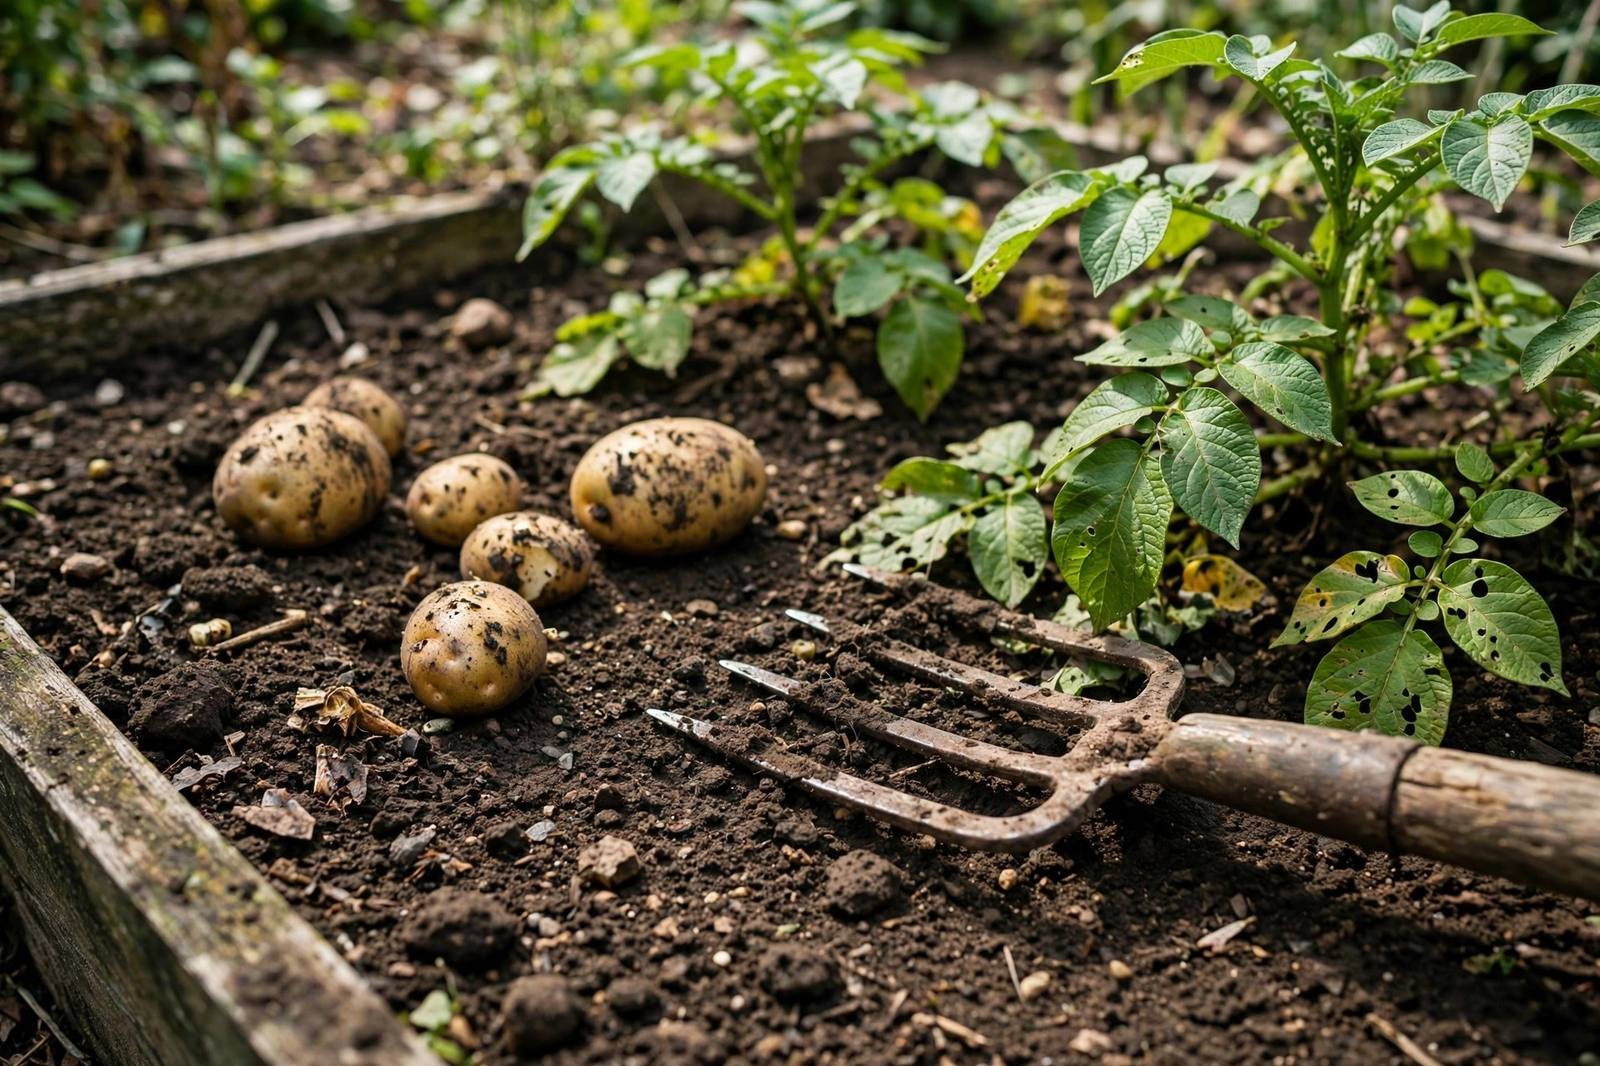
Few harvests feel as satisfying as tipping a fork into loose soil and lifting a cluster of potatoes that were hidden underground all season. Potatoes reward steady, simple care: a sound start from healthy seed potatoes, soil that stays loose around the growing tubers, water at the right stretch of the season, and soil mounded up as stems climb. The crop suits beds, rows, and large containers alike, and gardeners can pick from early varieties for summer meals or storage types that hold for months.
Our approach skips fuss and focuses on the habits that decide yield. We cover how to prepare seed potatoes, when to plant around local frost, how deep to set each piece, and the rhythm for hilling and watering that keeps tubers covered and evenly sized. Along the way this guide covers variety choice, common problems with plain fixes, and harvest and storage steps that protect the crop after digging. A bed of potatoes asks for patience underground, yet the daily work above ground stays light and forgiving.
| Planting time | Two to four weeks before last frost for early crops; soil workable and near 45 to 50 degrees |
|---|---|
| Seed piece | Seed potato chunk about 2 ounces with two or three eyes, cured a day after cutting |
| Depth and spacing | Plant 3 to 4 inches deep, 12 inches apart in rows 24 to 36 inches apart |
| Sun and soil | Full sun; loose, well drained soil with compost worked in before planting |
| Water | Steady moisture from flowering through tuber bulking; ease off near harvest |
| Harvest | New potatoes after flowering fades; storage crops two weeks after tops die back |
How Potatoes Grow and What They Need
A potato plant grows tubers on underground stems that spread out from the buried portion of the main stem. That detail drives every major chore in this guide. Tubers form above the seed piece, in the zone of soil we add through hilling, so the depth of loose earth around the stem sets the ceiling for the harvest. Shallow, compact ground gives few, small potatoes. Deep, friable soil gives the stolons room to run and swell.
Sun matters too. Six or more hours of direct light builds the leaf area that feeds tuber growth. Cool soil at planting and steady moisture during bulking keep skins smooth and sizes even. Potatoes belong to the nightshade family with tomatoes, peppers, and eggplant, so rotating the crop away from beds that held those relatives in the last two or three years lowers disease pressure. Gardeners mapping a first full bed often pair this crop with the layout and soil advice in raised bed gardening for beginners, since a raised bed gives potatoes the drainage and depth they favor.
When to Plant Potatoes
Potatoes tolerate cool soil and light frost on young leaves, which makes them one of the earlier crops we can set out in spring. A steady rule is to plant two to four weeks before the average last frost, once soil can be worked without clumping and temperatures at planting depth sit near 45 to 50 degrees. Leaves that emerge into a late frost may blacken at the edges, yet the buried stem usually pushes fresh growth and the crop recovers.
Use your local frost dates and regional planting guidance — not your USDA hardiness zone alone — to choose planting dates. Extension planting calendars tuned to county frost patterns beat a broad climate map every time, because soil warming on a sunny slope and in a cold hollow can differ by weeks inside the same zone. In mild winter regions, a late summer or early fall planting can produce a cool season crop where summers run too hot for good tuber set. Wherever the garden sits, stagger planting by two weeks when space allows. A staggered bed spreads harvest dates and hedges against a single cold snap or dry spell.
How to Grow Potatoes Step by Step
Step 1: Start with sound seed potatoes
Begin with certified seed potatoes from a garden supplier rather than grocery store tubers. Certified stock is inspected for disease and gives a cleaner start. Choose firm tubers with no soft spots, mold, or strong chemical smell. Small whole seed potatoes about the size of a golf ball can go in the ground whole. Larger ones get cut into pieces weighing roughly two ounces each, about egg sized, with two or three eyes per piece.
Step 2: Cut, cure, and chit for a head start
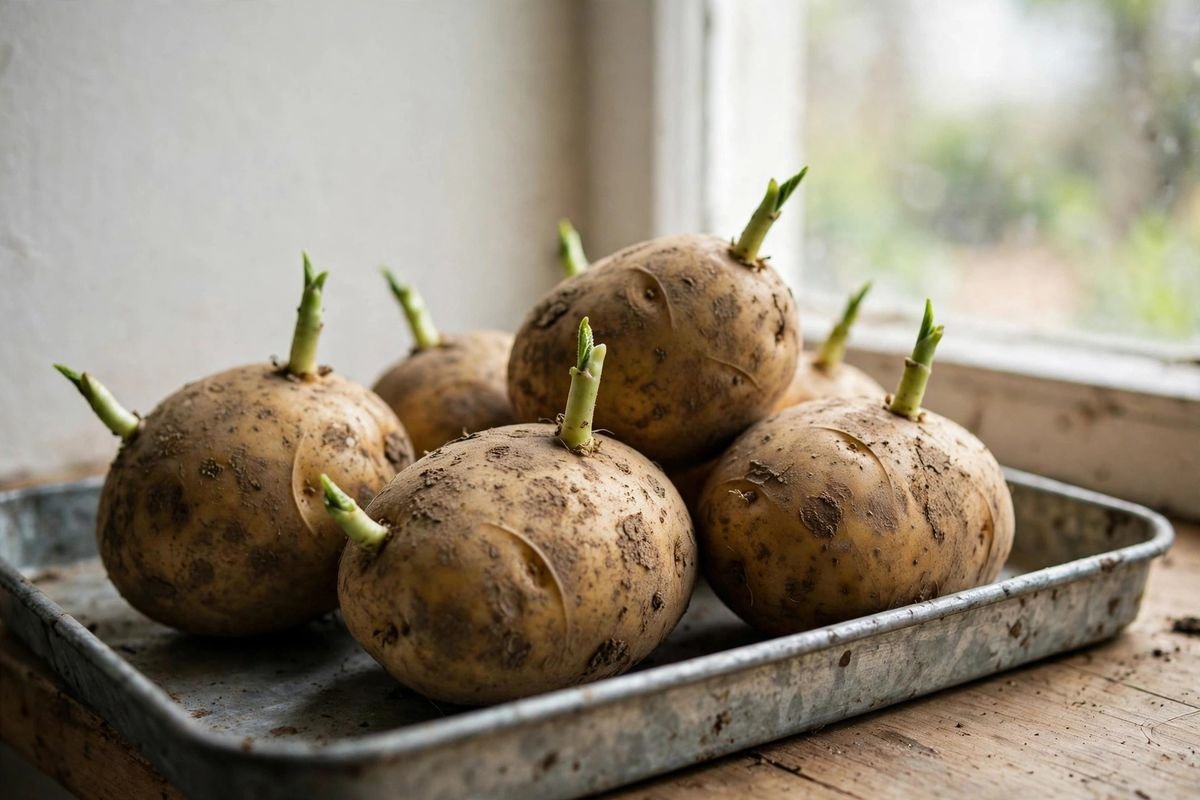
Cut larger tubers with a clean knife one or two days before planting and let the cut faces dry in open air until they form a pale, corky skin. That curing step seals the surface and lowers rot in cold soil. For an earlier start, chit the seed: set whole tubers or cut pieces eye side up in a shallow tray in bright, cool indoor light for two to three weeks before planting. Short, stocky sprouts emerge, and plants establish faster once buried. A bag of certified seed potatoes ordered in late winter usually arrives right on time for chitting on a windowsill or shelf.
Step 3: Prepare loose, fed soil
Loosen the bed twelve inches deep and work in two to three inches of finished compost across the planting area. Hold off on fresh manure close to planting, since it can raise disease risk and push lush tops at the expense of tubers. Soil on the slightly acidic side suits potatoes well. The compost blending habits in how to make compost at home fit this bed perfectly, because mature compost feeds slowly while keeping soil structure open for stolons.
Step 4: Plant at the right depth and spacing
Dig a trench or individual holes four inches deep. Set seed pieces cut side down and eyes up, twelve inches apart, in rows spaced two to three feet apart. In raised beds, a grid near twelve inches each way works when soil stays loose and hilling material is close at hand. Cover with three to four inches of soil and water the row well. Shoots usually emerge in two to three weeks depending on soil warmth.
Step 5: Hill as stems climb
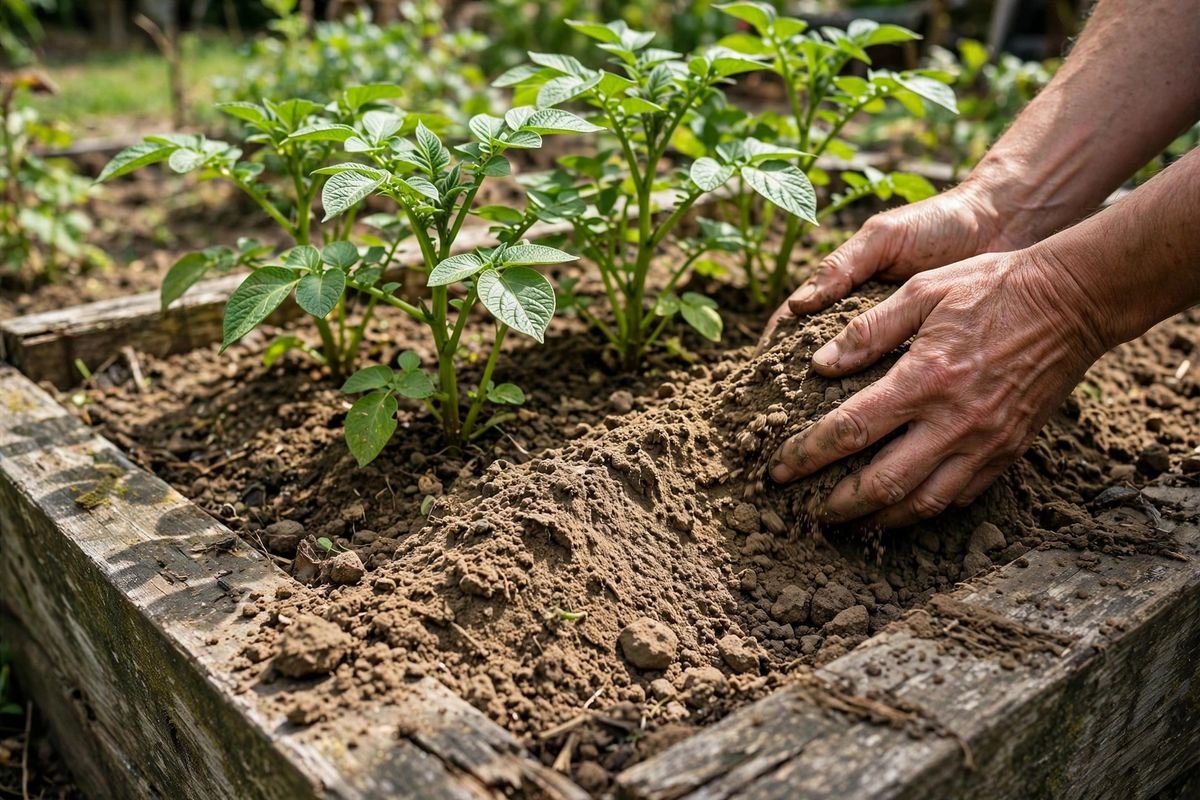
When stems reach about eight inches tall, pull loose soil, compost, or a soil and straw blend up around the base, covering the lower half of the growth and leaving the top leaves open. Repeat every two to three weeks until the mound stands eight to twelve inches tall or the rows meet. Hilling buries young tubers forming along the stem, shields them from light that turns skins green, and gives new stolons fresh soil to fill. Keep a small trench between mounds for water to collect and soak in.
Varieties and Picks for Home Gardens
Variety choice shapes harvest timing more than any single chore. Early varieties mature in roughly sixty to eighty days and suit gardeners who want new potatoes for summer cooking or who garden where fall arrives fast. Midseason and late varieties take ninety to one hundred twenty days and build the thick skins and dense flesh that store well into winter.
Fingerlings give rich flavor and steady yields in loose soil, and their smaller size fits beds where spacing runs tight. Round white and yellow types offer all purpose cooking and smooth skins when water stays steady. Russet types need the longest, most even bulking season and repay the wait with classic baking texture. Colored skin and flesh varieties bring fun to the harvest basket and often carry firm, waxy flesh that holds shape in salads. Growers short on ground can run the same steps in deep fabric pots or large containers, using the drainage and watering rhythm described in container gardening for beginners and topping up mix in place of soil as stems rise.
Watering, Feeding, and General Care
Water shapes tuber size and skin quality. Keep soil evenly moist from the time plants flower, because flowers signal that tuber bulking has begun below ground. An inch of water per week from rain and irrigation combined is a workable target, delivered in deep soakings that reach the root zone. Dry spells during bulking give knobby, uneven tubers and raise the chance of hollow centers in large varieties. Mulch spread between rows after the final hilling holds moisture and cools the soil surface on hot afternoons.
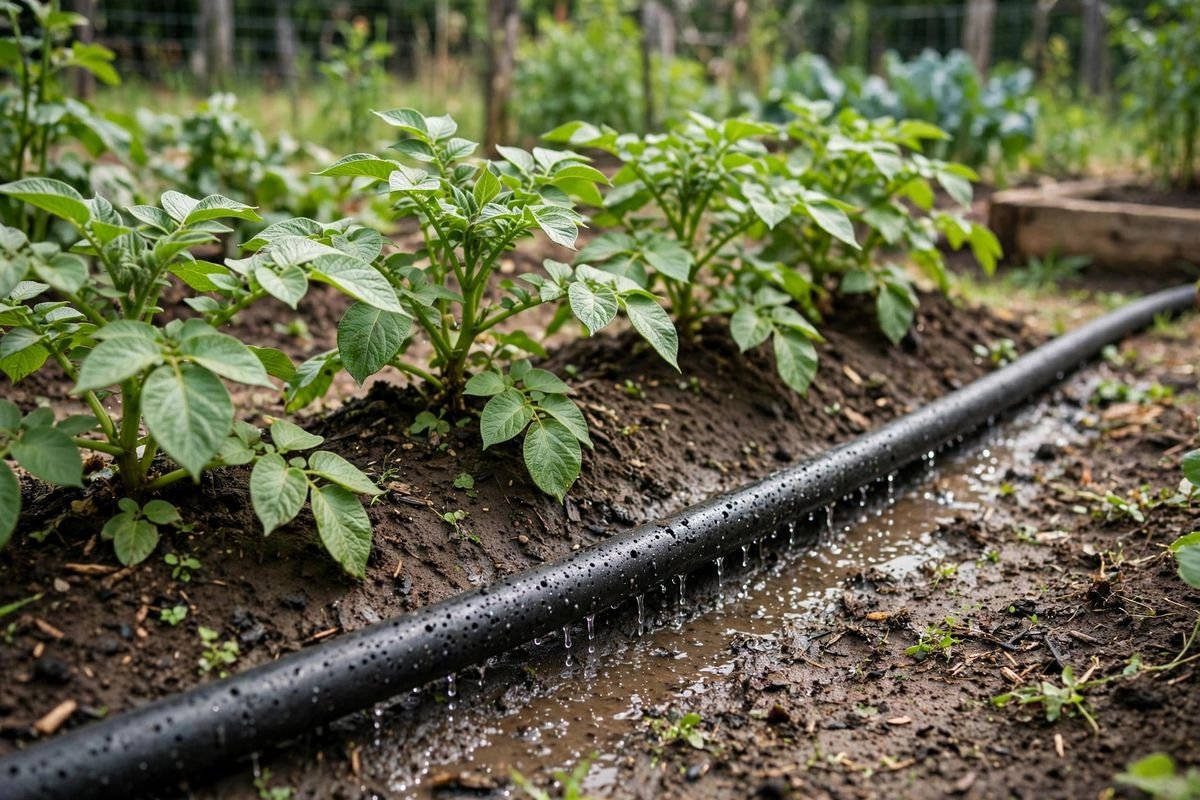
Feeding stays moderate. Compost at planting carries much of the season. Where soil runs lean, a balanced organic fertilizer worked in at planting or a side dressing at first hilling supports steady growth. Heavy nitrogen late in the season pushes leaves instead of tubers and delays skin set, so front load feeding and let the crop coast toward harvest. A soaker hose laid along the row keeps water at soil level, which keeps foliage drier and helps foliage diseases stay low.
Weeding needs a gentle hand once hilling starts. Shallow roots and growing stolons sit close to the surface, so pull weeds by hand near the stems and cultivate only between rows. Check the undersides of leaves during weekly walks. Early removal of spotted or yellowing leaves, plus good airflow from honest spacing, prevents small problems from sweeping the bed.
Harvest and Storage
Harvest comes in two styles. New potatoes are dug young, two to three weeks after plants flower, while skins still rub off under a thumb. Dig gently at the edge of the plant with a fork, take the larger tubers, and let the plant keep growing when a longer season remains, or lift the whole plant for a clean basket. Cook new potatoes soon after digging for the best texture.
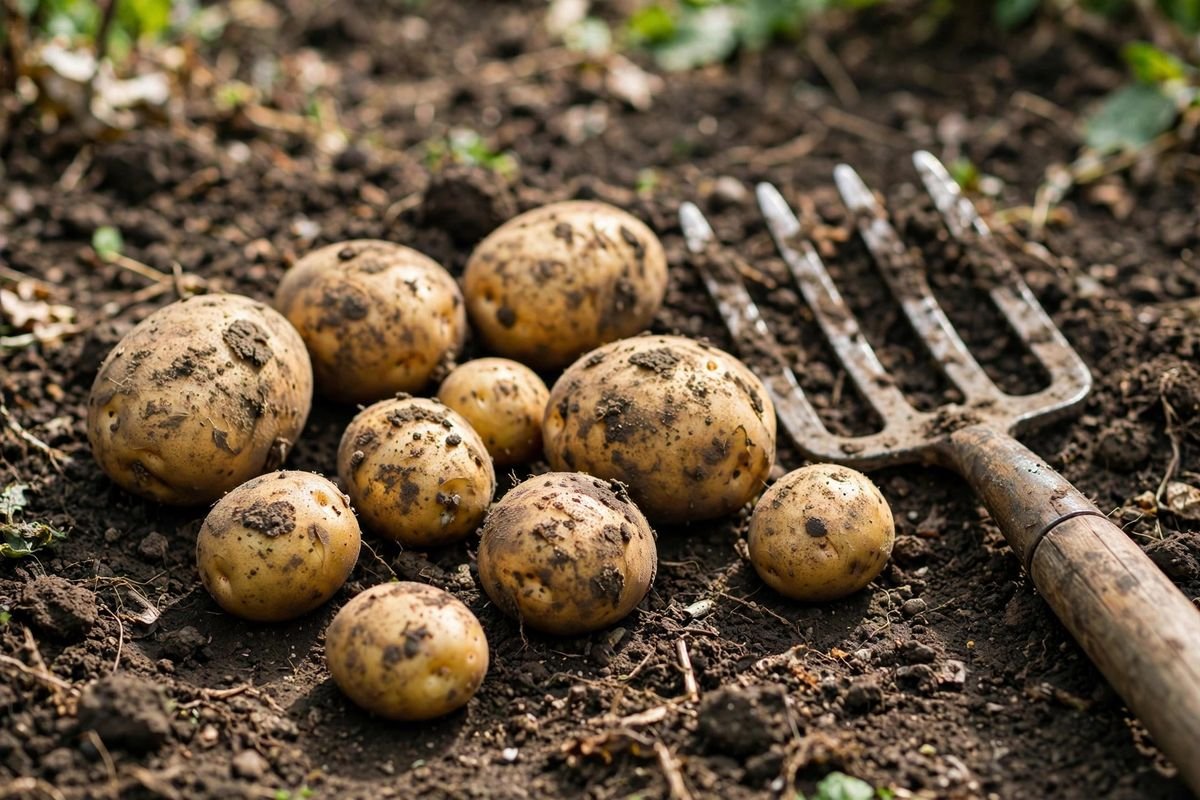
Storage potatoes stay in the ground until tops yellow and die back, then rest two more weeks so skins thicken and set. Choose a dry day, loosen the soil with a fork set well back from the stems, and lift the mound in sections. Handle tubers like eggs: brush off loose soil, never wash storage crops, and set aside any cut or bruised pieces for first use. Cure the harvest in a dark, humid spot near fifty to sixty degrees for about ten days, then move tubers to cold, dark storage near thirty eight to forty degrees with air moving around the bins. A breathable crate or paper bag works well. A sturdy garden fork with flat tines lowers the number of speared tubers at digging time. Sorted well and kept dark, storage varieties hold for many months. Check bins monthly and remove any tuber that softens, since one failing potato can spoil its neighbors.
Troubleshooting Common Potato Problems
Why are the potatoes green?
Light reached the tubers. Green skin signals exposure and a bitter compound in the skin, so hill earlier, keep mounds intact after heavy rain, and mulch over any tuber shoulders that surface. Cut away green portions generously before cooking.
Why are yields small and tubers tiny?
Tight spacing, compact soil, and dry weeks during bulking are the usual causes. Give plants a full foot of room, loosen soil deeply before planting, hill generously, and hold steady moisture from flowering onward.
Why do leaves show dark spots and die early?
Early and late blight both start this way in wet weather. Water at soil level, space for airflow, remove badly spotted leaves, and rotate potatoes away from tomato family beds for at least two years. Harvest promptly when tops die from disease and destroy infected foliage away from the compost pile.
Why are tubers rough with corky patches?
Common scab thrives in dry, alkaline soil during tuber formation. Keep soil evenly moist while young tubers size up, lean on compost over fresh manure, and choose scab resistant varieties where the problem returns each year.
Why did seed pieces rot before sprouting?
Cold, waterlogged soil and fresh cut faces planted right away cause most rot. Cure cut pieces a day or two, plant into workable rather than muddy soil, and hold off planting when a week of cold rain sits in the forecast.
FAQ
Can potatoes grow in containers?
Yes. Use a pot or fabric bag at least fourteen inches deep and wide per plant group, start with six inches of mix, and add mix as stems climb in place of hilling. Water container crops more often than bed crops.
How many potatoes does one plant give?
A healthy plant commonly yields four to eight tubers, with early types giving smaller, tender crops and late storage types giving larger, heavier yields in deep, loose soil.
Can grocery store potatoes be planted?
They can sprout, yet they may carry disease and are sometimes treated to delay sprouting. Certified seed potatoes give a cleaner, more reliable start and named varieties with known timing.
When are potatoes ready if the tops never flower?
Some varieties flower lightly. Use the calendar and top growth instead: dig a test plant near the expected harvest window and check tuber size and skin set before lifting the whole row.
Sources & Further Reading
- University of Minnesota Extension — growing potatoes in home gardens, planting depth, hilling, and harvest guidance (extension.umn.edu)
- Colorado State University Extension — potato production in the home garden, variety timing and storage (extension.colostate.edu)
- University of Maine Cooperative Extension — planting, hilling, and disease management for potatoes (extension.umaine.edu)
- Iowa State University Extension and Outreach — potato planting dates, spacing, and harvest cues (extension.iastate.edu)
More root and bed guides to explore:
Start with one short row or a pair of deep containers, hill with patience, and let the underground work run its course. The first forkful of soil turned at harvest makes the waiting feel short. Which variety will take the first row this season — an early type for summer suppers or a storage crop for winter?