
This post may contain affiliate links. If you buy through links on this page, we may earn a commission at no extra cost to you.
As an Amazon Associate I earn from qualifying purchases.
A seed tray is a humble piece of plastic, and it is easy to keep using one long past its useful life. A tray that looks fine on the shelf can still leak, wobble, or hold disease from last season, and the first sign of trouble is often a flat of seedlings that never quite takes off. The question is not whether a tray wears out, but how to tell when it has.
Most trays fail slowly. A thin tray bends a little more each spring. A crack starts as a hairline at a corner and grows each time the tray is lifted full of wet mix. A tray that once sat flat starts to rock on the bench, and water pools on one side while the other side dries out. None of these faults shows up in a quick glance, which is why a short inspection each spring saves more seedlings than any new gadget.
This article covers the signs that mean replace, the signs that mean clean and keep using, how long each tray type usually lasts, and a cost-per-season worked example for a real tray stash. Cleaning and replacement are two different jobs: cleaning removes soil and disease, while replacement fixes a tray that is broken or worn past the point where cleaning helps. Our guide to how to clean seed starting trays covers the cleaning side in full.
Signs a tray should be replaced
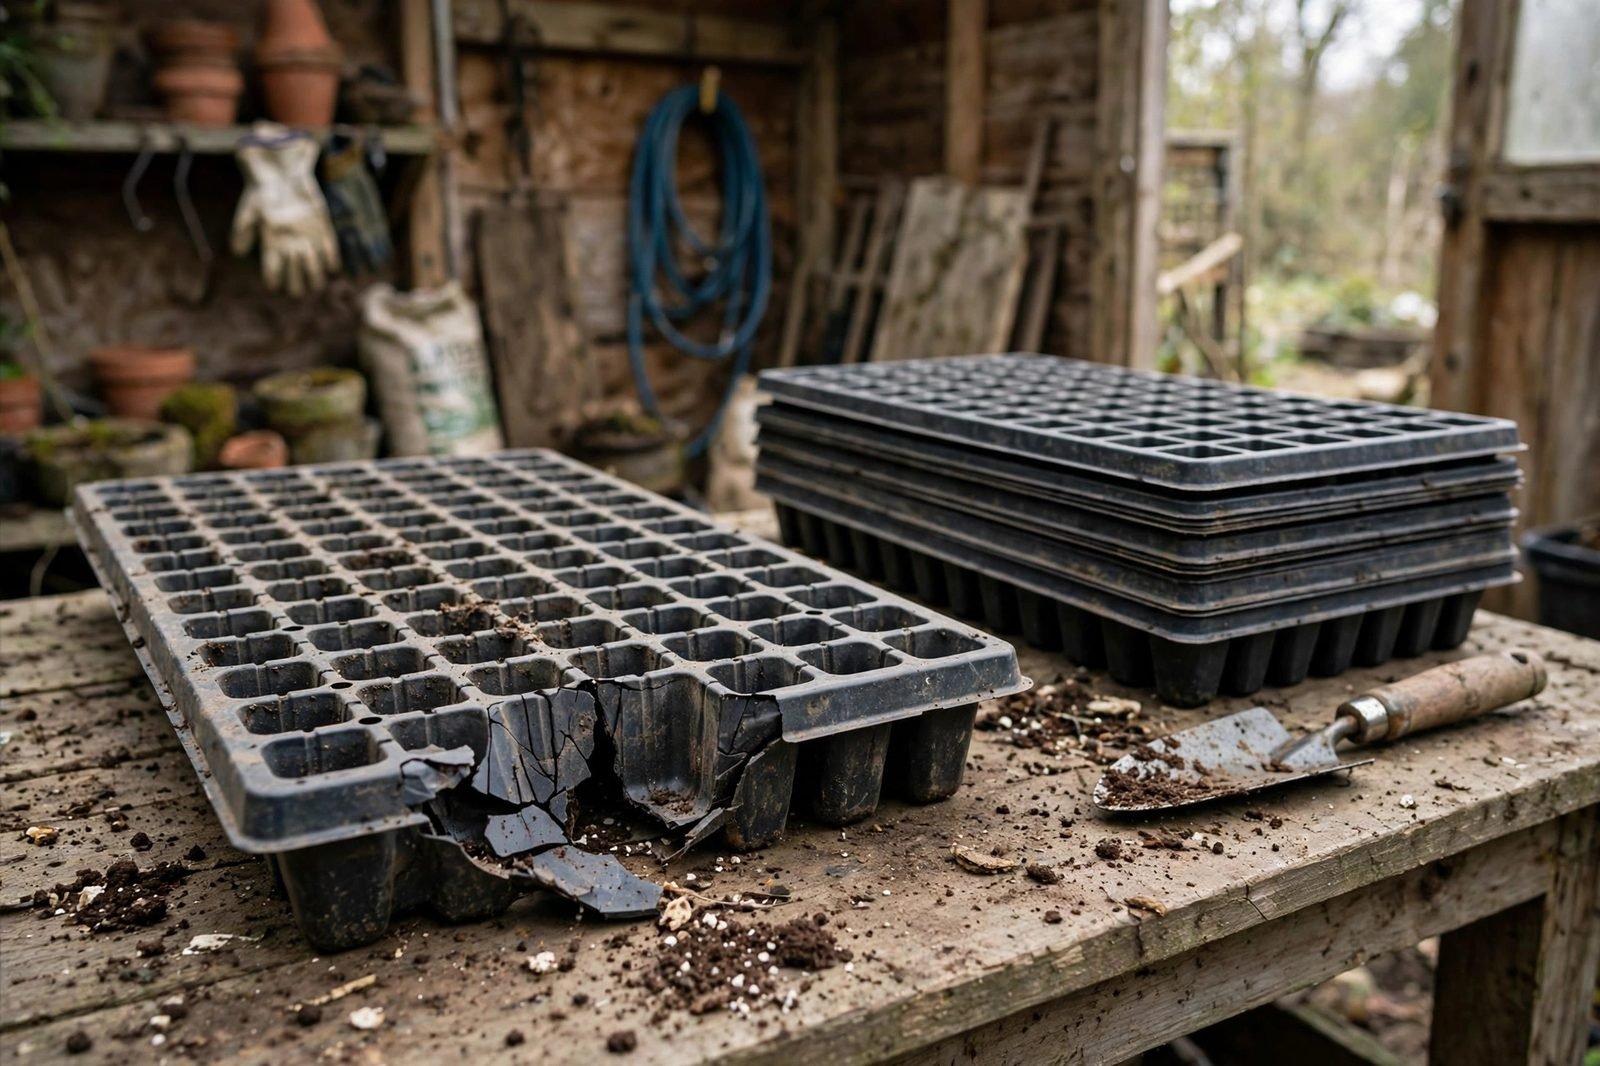
Replace a tray when it leaks from a crack rather than from its drain holes. A crack in the bottom or a split corner lets water out in a stream, and wet mix can fall through the gap, which leaves seedlings sitting in a puddle on the bench. A small crack can sometimes be patched with tape for one more season, but tape on a wet tray peels off, and a patched tray is a tray to watch, not a tray to trust.
Replace a tray when it no longer sits flat. Set the empty tray on a level bench and press each corner. A tray that rocks has warped, and a warped tray waters unevenly: one end stays wet while the other dries. Seedlings in the dry end stall, and seedlings in the wet end damp off. A warped tray can sometimes be flipped and used as a humidity dome, but it should not hold cells again.
Replace a tray when the plastic has gone brittle. Press a corner gently with a thumb. A sound tray flexes a little and springs back. A brittle tray feels stiff, and the surface may show a chalky white cast or fine crazing, which is a web of tiny cracks in the surface. Brittle plastic breaks under the weight of a full flat of wet mix, often at the worst moment, when the tray is being carried across the room.

Replace a tray when the cells no longer release seedlings cleanly. Old cell inserts can warp so the walls lean inward, and roots grow into the distorted shape. Seedlings pulled from warped cells lose root mass, and the check is simple: push a seedling out of a cell with a finger from below. If the root ball crumbles or tears, the cells are past their best.
Replace a tray after a serious disease outbreak in the flat it held, if the tray is the thin disposable kind. A thick tray can be scrubbed and disinfected and used again. A thin tray with rough, scratched plastic holds soil and spores in scratches that scrubbing cannot reach, and the cost of new seedlings lost to the same disease is higher than the cost of a new tray.
Signs a tray is fine to keep
A stained tray is not a broken tray. White mineral marks, brown stains from mix, and faded color are cosmetic, and they do not affect how seedlings grow. A tray with light surface scratches is also fine, as long as the scratches are shallow and the tray still holds water evenly.
A tray that is dirty is not a tray that is done. Soil stuck in corners, algae on the sides, and dried mix in the drain holes all come off with a wash and a brush. The test after cleaning is the same as the test before: the tray should sit flat, hold water without leaking from a crack, and flex without snapping. If it passes all three checks, the tray has more seasons in it.
A tray with a broken handle or a chipped rim can keep working if the base is sound. Handles are a convenience, not a structural part, and a tray carried with two hands under the base works as well as one carried by its handles. A chipped rim only matters if the chip leaves a sharp edge that cuts a hand or snags a cell insert.
How long each tray type usually lasts
Thin disposable trays, the kind sold in packs of ten for a few dollars, usually last one to two seasons. They are made to be cheap and light, and the plastic thins at the corners where the tray flexes during lifting. After two seasons of being filled, carried, washed, and stacked, most of them crack or warp.
Standard rigid trays, the kind with thicker walls and a solid base, usually last three to five seasons with normal care. They survive being lifted full of wet mix, they stack without warping, and they take a scrub without scratching deeply. A rigid tray stored out of the sun lasts longer than one left on a sunny shelf, since sunlight is what makes plastic brittle fastest.
Heavy-duty trays, the kind sold as commercial or nursery grade, can last five to ten seasons. They are thick, they resist warping, and they are the trays to buy when the plan is to start seeds every year for a long time. They cost several times more than a thin tray, but the cost per season is often lower, as the worked example below shows.

Cell inserts wear out faster than the trays under them. A thin cell insert usually lasts one to two seasons before the walls distort. A rigid cell insert lasts three to four seasons. The tray under the cells often outlives its inserts, so replacing inserts alone is a normal part of keeping a stash in good shape.
A worked example: cost per season for a real tray stash
Here is the math for a stash that starts 12 flats of seedlings each spring, using example prices stated as assumptions. The stash holds 12 solid bottom trays, 12 cell inserts with 72 cells each, and 12 clear humidity domes. Three ways to buy that stash show how the cost per season changes with tray quality.
Option one is thin disposable trays. Using a $2 tray, a $1.50 cell insert, and a $2 dome as the example prices, one full set costs $5.50, and 12 sets cost $66. Thin trays last about two seasons, so the cost per season is $66 divided by 2, or $33 per season. The domes often crack first, so the real cost can be higher if domes are replaced every year.
Option two is standard rigid trays. Using a $5 tray, a $3 cell insert, and a $4 dome as the example prices, one full set costs $12, and 12 sets cost $144. Standard trays last about four seasons, so the cost per season is $144 divided by 4, or $36 per season. That is only $3 more per season than the thin trays, and the rigid trays are easier to carry and less likely to dump a flat on the floor.
Option three is heavy-duty trays. Using a $10 tray, a $5 cell insert, and a $6 dome as the example prices, one full set costs $21, and 12 sets cost $252. Heavy-duty trays last about eight seasons, so the cost per season is $252 divided by 8, or $31.50 per season. That is the lowest cost per season of the three, and it also produces the least plastic waste over eight years.
The lesson is that the cheapest tray to buy is not always the cheapest tray to own. Thin trays win on the first receipt and lose a little every year after, since they are replaced twice as often. Heavy-duty trays cost the most on day one and the least per season over a long run. For a gardener who starts seeds every year, heavy-duty trays are the better buy. For a gardener who starts seeds once to try it out, thin trays are the sensible first step, and the stash can be upgraded later when the habit sticks.
The math changes if only part of the stash wears out. Domes crack before trays do, and cell inserts warp before the bottom tray does. Replacing only the worn part keeps the cost per season down, so inspect each piece on its own rather than throwing out a whole set because one part failed.
The spring inspection routine
Inspect trays at the start of the seed-starting season, not in the middle of it. A tray that fails in March can be replaced before seeds are sown. A tray that fails in April takes a flat of seedlings down with it. Set aside half an hour before sowing starts, and work through the stash piece by piece.
Wash each tray first, since dirt hides cracks. Then hold the tray up to a light and look for hairline cracks at the corners and along the base. Press each corner with a thumb to test for brittleness. Set the tray on a flat bench and press the corners to check for rocking. Push a finger into a few cells to check that the inserts still release cleanly.
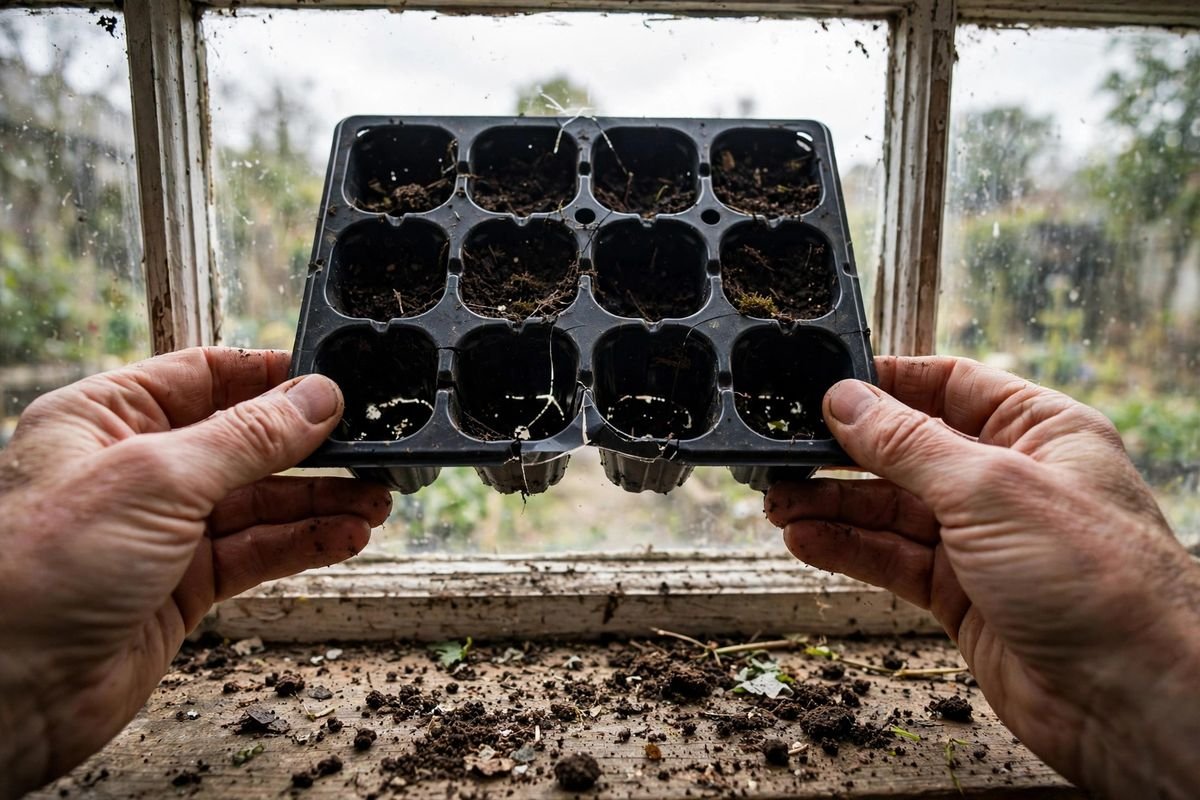
Sort the stash into three piles as you go: keep, replace now, and use once more with care. The keep pile goes back on the shelf. The replace pile goes on the shopping list, and the number of pieces in it is the number to buy. The use-once-more pile holds trays with a small fault, such as a chipped rim or a slightly warped corner, that can carry one more flat if watched. Mark those trays with a piece of tape so they are easy to spot later in the season.
While inspecting, check the rest of the setup too. A heat mat that no longer warms evenly or a dome with a cracked vent can cause as much trouble as a cracked tray. Our guide to whether seedlings need a heat mat covers when a mat helps and when it does not, and our guide to how to set up a seed starting station covers the full setup around the trays.
Storing trays so they last longer
How trays are stored decides how long they last. Sunlight is the main cause of brittle plastic, so trays should be stored indoors, out of direct sun, in a shed or garage. A stack of trays on a sunny windowsill will be brittle by next spring, while the same trays in a dark cupboard will still flex.
Stack trays loosely rather than wedging them tight. Trays jammed together can warp under pressure, and a warped stack is hard to separate without cracking a corner. A loose stack with a piece of cardboard between every few trays keeps them flat. Store domes separately rather than nested tight inside trays, since a dome wedged into a tray can crack at the rim.
Wash trays before storing them, not after. Soil left on a tray over winter holds moisture against the plastic and gives disease a place to sit until spring. A tray washed, dried, and stored clean is ready to use the day seeds are sown. For the full wash routine, see our guide to how to clean seed starting trays.
When to replace, in short
Replace a tray when it cracks, leaks, rocks, turns brittle, or holds seedlings that will not come out cleanly. Keep a tray that is stained or dirty but still flat, flexible, and watertight, and clean it before the next use. Replace cell inserts when their walls distort, and replace domes when they crack or their vents break. Buy heavy-duty trays when the plan is to start seeds every year, since the cost per season is lower and the trays are easier to carry. Buy thin trays when starting out, and upgrade the stash piece by piece as the worn parts fail. A short inspection each spring, done before sowing, keeps the whole stash honest and keeps seedlings in trays that deserve them.
Sources & Further Reading
University of California Agriculture and Natural Resources
Cornell Cooperative Extension
University of Minnesota Extension