
This post may contain affiliate links. If you buy through links on this page, we may earn a commission at no extra cost to you.
As an Amazon Associate I earn from qualifying purchases.
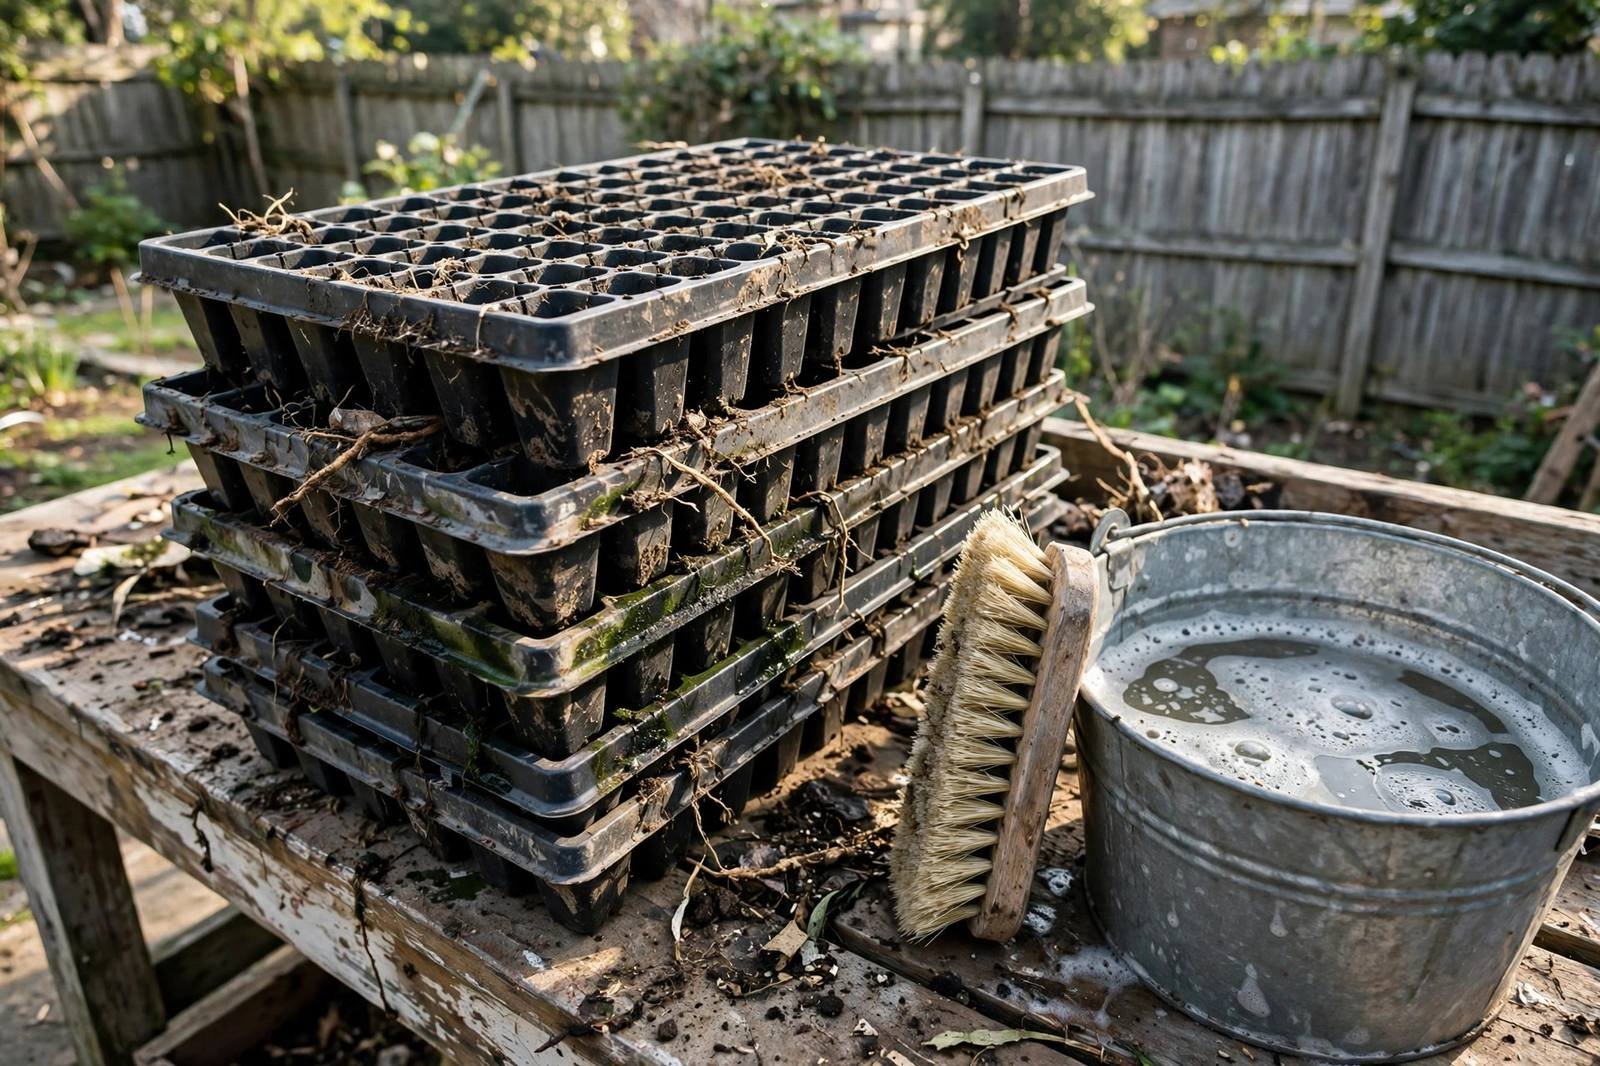
Nothing stings quite like a tray of seedlings that germinates beautifully and then keels over overnight. Damping-off — the fungal disease that pinches young stems at the soil line and topples seedlings in a day — is the usual culprit. And one of its favorite hiding places is the tray itself: Ohio State University Extension notes that damping-off fungi can be found anywhere old soil or dirt is left, including reused seed trays, tools, and planting tables.
The good news: a half hour of cleaning between seasons breaks the cycle. Scrub the trays, sanitize them with a 10% bleach solution (the standard extension recommendation), rinse well, and dry them in the sun. Every batch of seedlings after that starts on a clean slate.
In this guide, we’ll walk through the whole process step by step — what to scrub with, how to mix and use the sanitizing soak safely, and how to tell when a tray is ready for another season. Plan to do this a few weeks before you sow: use your local frost dates and regional planting guidance — not your USDA hardiness zone alone — to choose planting dates, then clean the trays ahead of sowing day.
What You’ll Need
- A stiff-bristle scrub brush (an old dish brush works, but a dedicated garden brush lasts longer)
- Dish soap and hot water, plus a bucket or large tub
- Plain unscented household bleach (regular unscented household bleach — skip scented or splashless formulas, which leave residue)
- Rubber gloves and good ventilation
- A drying rack, sawhorse, or clean patch of pavement in full sun
How to Clean Seed Starting Trays, Step by Step
Step 1: Empty and Knock Loose the Old Mix
Start by dumping every tray. Bang each cell insert upside down over a compost pile or trash bin to knock out dried potting mix, dead roots, and crusty mineral deposits. Old roots are worth removing carefully — pull, don’t yank, so brittle plastic doesn’t crack.
Don’t reuse last season’s potting mix for new seedlings. Extension guidance is blunt on this: spent mix can harbor the same damping-off organisms (Pythium, Rhizoctonia, Fusarium) you’re trying to eliminate. Spent mix can go into the compost pile or onto garden beds; seedlings deserve fresh, sterile seed-starting mix.
Step 2: Hot Soapy Soak and Scrub
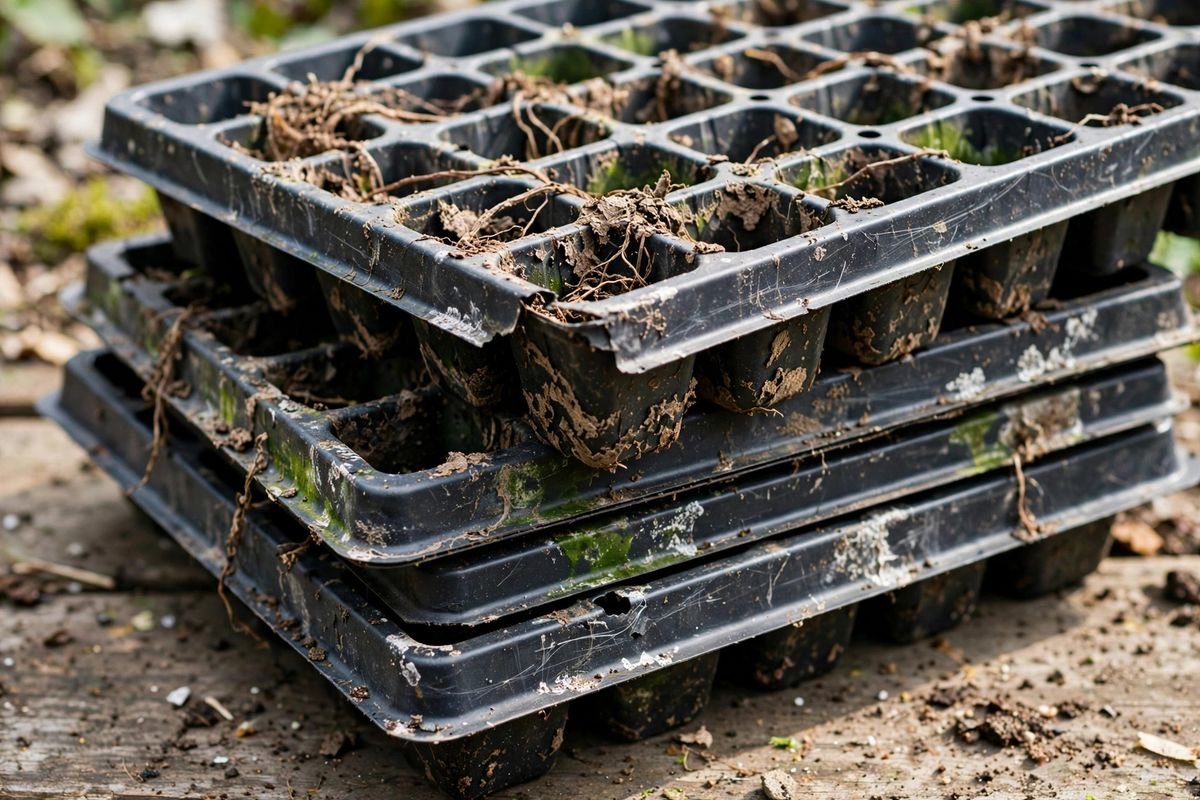
Fill your tub with hot water and a squirt of dish soap, then submerge the trays for 10 to 15 minutes to loosen everything stuck to the plastic. Then scrub every surface — cells, rims, and especially the drainage holes — with the stiff brush. Sanitizer can’t reach fungi hiding under a crust of old mix, so this step does most of the real work.
Pay attention to textured areas: the corners of cells and the lip where inserts meet the tray are where old debris collects. A bottle brush or old toothbrush reaches the spots a big brush misses. When the water looks murky, dump it and refill; scrubbing in dirty water just moves soil around.
Step 3: Sanitize With a 10% Bleach Solution
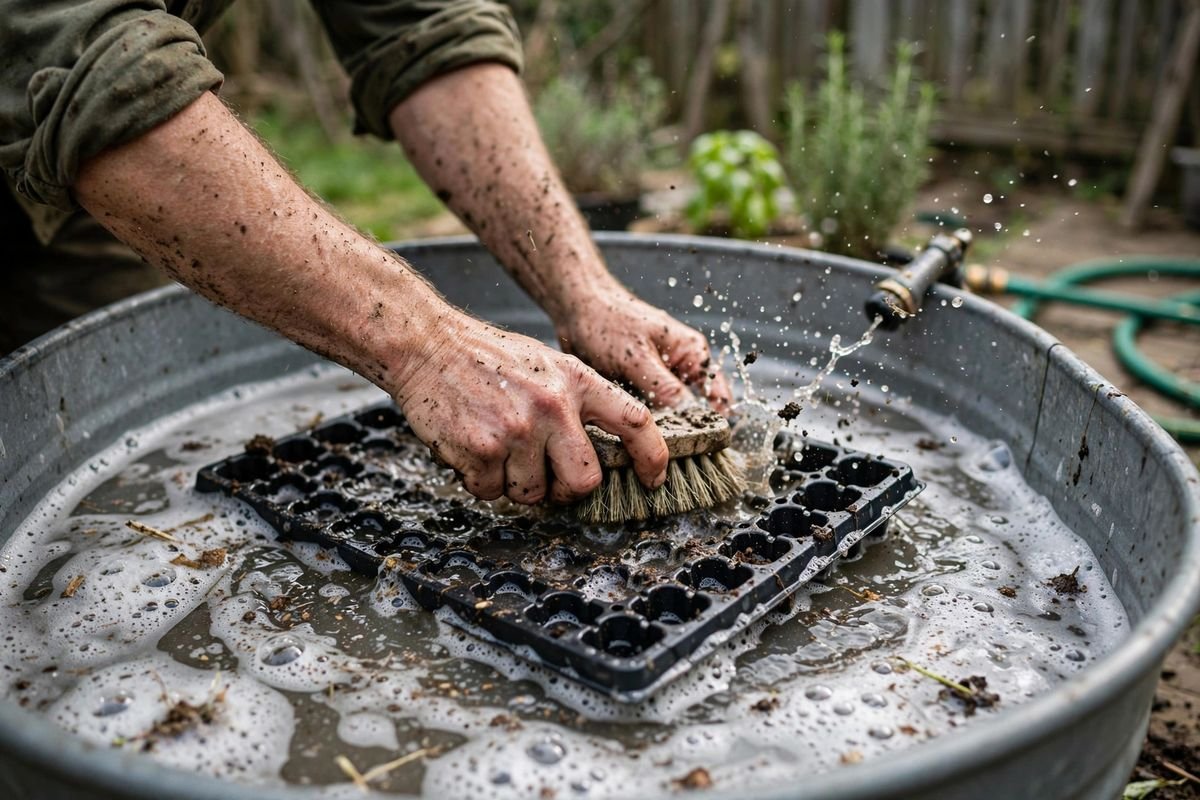
Once the trays are visibly clean, it’s time to kill what you can’t see. University extension services recommend a 10% household bleach solution — that’s 1 part plain unscented bleach to 9 parts water. (Ohio State University Extension specifies a 30-minute soak; UMass Extension’s vegetable program gives the same 10% bleach, 30-minute recommendation for reused transplant trays.)
Submerge the trays fully and let them soak for at least 30 minutes. Use rubber gloves, work outdoors or in a well-ventilated space, and never mix bleach with other cleaners. The solution loses strength quickly, so mix it fresh each time you clean — don’t save a batch from last season.
Step 4: Rinse Thoroughly
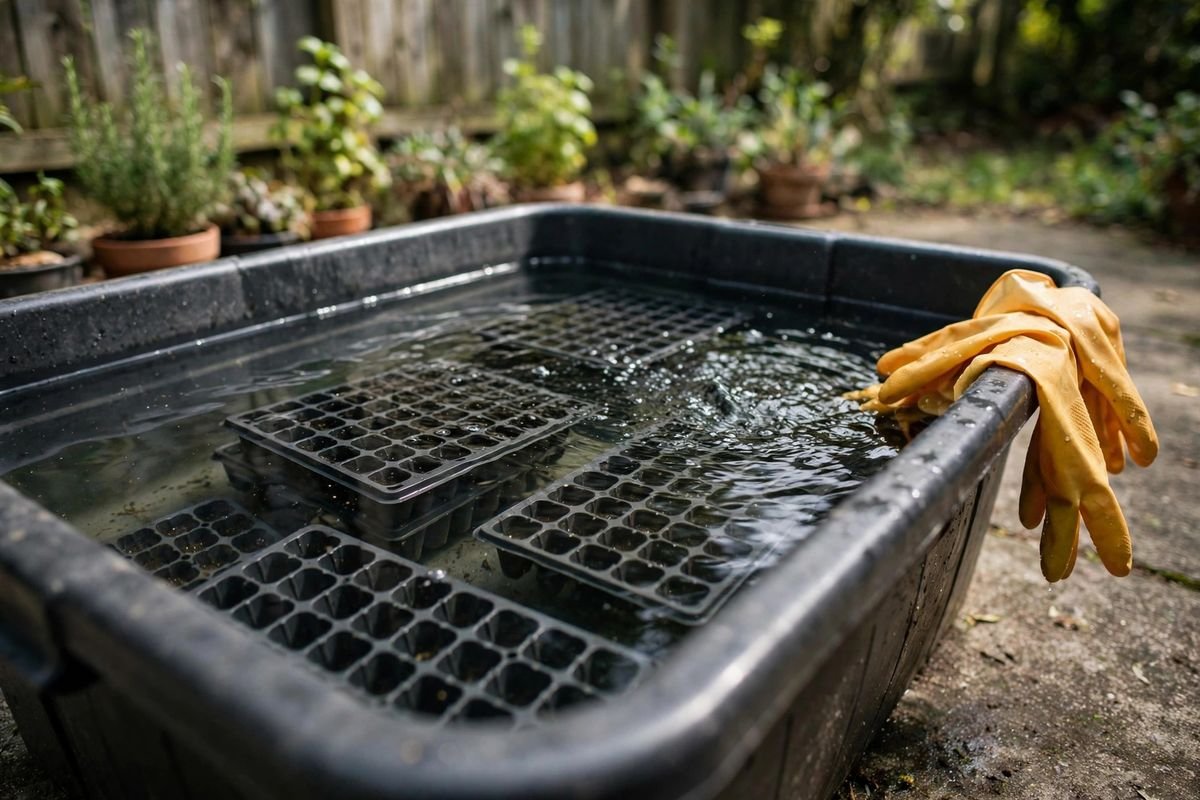
Pull the trays out and rinse every surface with clean water — a hose with a spray nozzle works well. Rinsing matters because bleach residue can injure tender seedlings. Rinse until the water runs clear and you can’t smell bleach anymore. For cell inserts with tight corners, a second quick rinse pass is cheap insurance.
Step 5: Air-Dry in the Sun
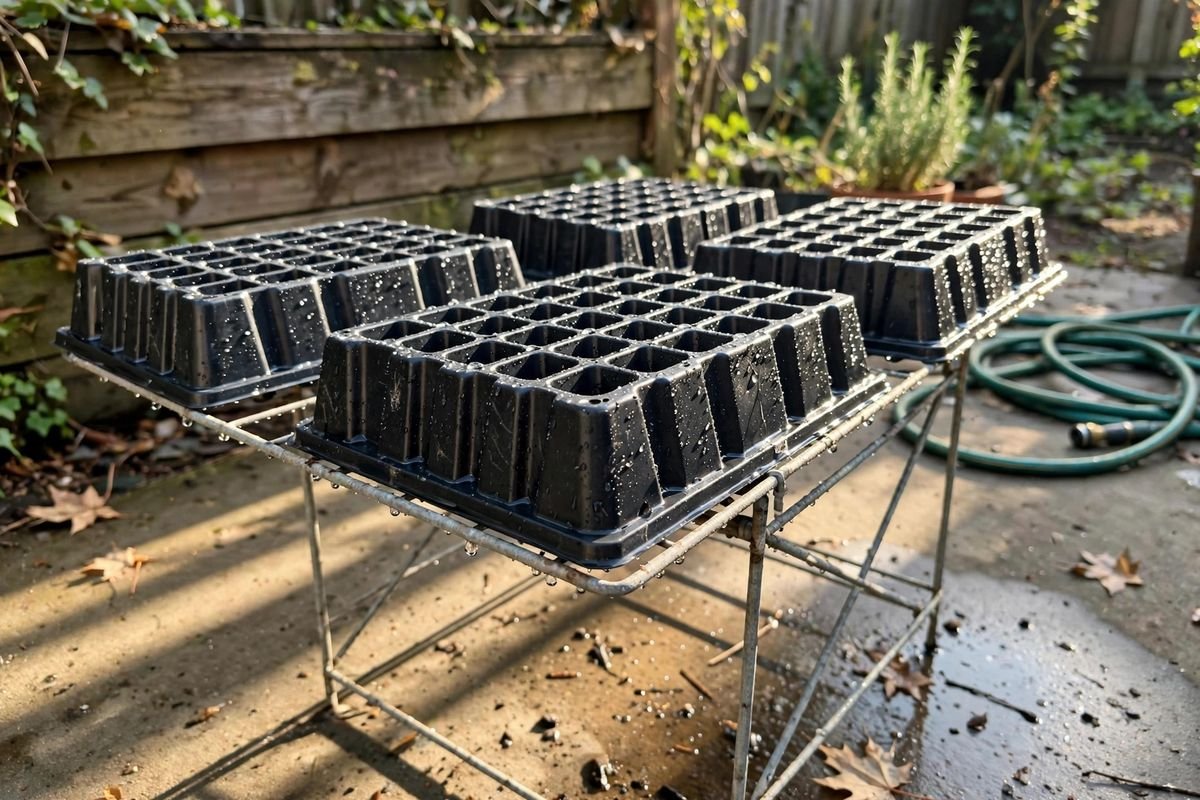
Stand the trays upside down on a rack or lean them against a fence in full sun until they’re completely dry. Sunlight adds a little extra sanitizing, and — more importantly — trays stored even slightly damp can grow mold in the garage by spring. Don’t stack them until every surface is bone dry.
Step 6: Inspect and Store
Before the trays go back into storage, look them over. Cracked cells, warped inserts that no longer sit flat, and drainage holes torn into gaps are all reasons to retire a tray — damaged trays dry unevenly and stress seedlings. Good trays stack neatly; store them indoors or under cover, out of direct sun, so UV doesn’t make the plastic brittle over winter.
Related Post: If a few trays didn’t survive inspection, our best seed starting trays roundup covers heavy-duty reusable options built to last many seasons.
Troubleshooting
White crusty deposits won’t scrub off
That’s mineral scale from hard water and fertilizer salts, not disease. Soak the trays in plain white vinegar for 20 to 30 minutes, then scrub — the acid dissolves the crust that soap can’t. Rinse well afterward, then continue with the bleach step.
Trays still smell like bleach after rinsing
You didn’t rinse enough. Give them another full rinse and a longer sun-dry; the smell should fade completely. If it doesn’t, the plastic may have absorbed solution through fine cracks — consider retiring those trays.
Thin trays warped in the sun
Cheap thin inserts can warp if left in blazing midday sun, especially on hot pavement. Dry them in bright but not scorching conditions — morning sun or a shaded breezy spot works fine. Warping is also a sign to upgrade to heavier-duty trays next time.
Algae keeps coming back on the same trays
Green algae on tray surfaces is mostly cosmetic, but it signals trays that stay wet too long. After cleaning, store them bone dry, and at sowing time, water from below so surfaces dry between waterings — our guide to bottom watering seedlings shows the technique.
When should a tray be retired instead of cleaned?
Retire trays with cracks that leak mix, cells that have torn open, inserts so warped they don’t sit flat, or plastic gone brittle and chalky from UV exposure. A tray that’s structurally done will cost you more in lost seedlings than a replacement costs.
FAQs About Cleaning Seed Starting Trays
Can I skip the bleach and just wash with soap?
Soap removes dirt and debris, but it doesn’t reliably kill fungal spores. If last season’s seedlings were healthy and you’re short on time, a thorough hot-soapy scrub is better than nothing. But after any damping-off losses — or any season at all, honestly — the bleach soak is the step that actually breaks the disease cycle.
Is there an alternative to bleach?
Hydrogen peroxide (3%, used straight from the bottle) is a gentler option some gardeners prefer; it breaks down into water and oxygen. It’s less consistently effective than bleach against the full range of damping-off organisms, but it’s a reasonable choice if you’d rather avoid chlorine. Whatever you use, the scrub-then-sanitize-then-rinse sequence stays the same.
Can I run trays through the dishwasher?
It’s tempting, but heat can warp thin plastic inserts, and bleach doesn’t belong in a dishwasher with dishes. Hand-washing also lets you inspect each tray as you go — the dishwasher hides the damage you’d want to catch.
How often should I clean my trays?
Once a year at minimum, before your main sowing season. If you sow in succession — spring vegetables, then fall crops — a quick clean between rounds is smart, especially if any seedlings showed disease. Trays that sat unused in the garage all winter deserve a fresh wash too; dust and cobwebs carry spores.
Can I reuse potting mix from last season?
Not for seedlings. Spent mix can harbor damping-off organisms and is depleted of nutrients, and the savings are tiny compared to a lost tray of seedlings. Compost it or spread it on garden beds, and start each sowing season with fresh seed-starting mix.
More Seed-Starting Posts to Explore
- Best Seed Starting Trays — heavy-duty reusable trays worth cleaning for years.
- How to Bottom Water Seedlings — keep tray surfaces dry and damping-off at bay.
- How to Start a Vegetable Garden — the bigger picture, from first seed to first harvest.
- Container Gardening for Beginners — clean-tray habits transfer to pots and planters too.
Sources & Further Reading
- Ohio State University Extension (Erie County) — How to Prevent Damping Off Disease (10% bleach solution, 30-minute soak, rinse)
- UMass Extension (Center for Agriculture, Food and the Environment) — Damping Off (10% bleach soak for 30 minutes for reused transplant trays)
- Horticulture Magazine — Damping-Off Fungi (10% chlorine bleach solution, 1 part bleach to 9 parts water)
Do you clean your trays every season, or is this the nudge you needed? Tell us your tray-cleaning routine in the comments.