
This post may contain affiliate links. If you buy through links on this page, we may earn a commission at no extra cost to you.
As an Amazon Associate I earn from qualifying purchases.
A heat mat warms soil from below so seeds germinate faster and more evenly than they would on a cool shelf. That warmth matters most for peppers, tomatoes, and eggplant, which prefer soil around 75 to 85 degrees. Cool-season crops like lettuce often do fine without added heat, and some germinate better cool. Our guide to whether seedlings need a heat mat covers which crops benefit and which ones we skip. Every mat looks alike in photos, so this guide compares types by the specs that matter — size, wattage, and thermostat control — with a worked energy-cost example. We do not claim hands-on testing; specs change by seller, so check the listing before ordering.
Quick Reference: Heat Mat Types at a Glance
Most listings sort into three patterns. Use the table as a first filter, then verify dimensions and wattage on the listing itself.
| Type | Typical Size | Thermostat | Best For | Watch Out For |
|---|---|---|---|---|
| Basic mat, no thermostat | About 10 x 20 in. (one tray) | No — fixed rise above room temp | One tray in a steady 65–70°F room | Can overheat in warm rooms; no way to dial down |
| Mat with thermostat controller | 10 x 20 in. up to 20 x 48 in. | Yes — soil probe, set point | Mixed crops, cool rooms, multiple trays | Probe must sit in soil; check range and whether the controller is included |
| Large / multi-mat system | 20 x 48 in. and larger | Usually yes, shared | Three or more trays sown at once | Higher total wattage; one temperature for every crop on it |
For one tray, the basic mat is often enough. For a full shelf inside a seed starting station setup, the thermostat version earns its cost by holding steady through cold nights and warm afternoons.
How Bottom Heat Changes Germination
Seeds respond to soil temperature, not air temperature. A room at 68 degrees can leave tray soil at 65 or lower, and warm-season seeds then sprout slowly and unevenly — a few cells on day six, neighbors on day twelve. That patchy start is the problem a mat solves. Raising soil into the crop’s preferred range compresses germination into a tighter window, so more seeds come up together. Extension sources put the sweet spot for warm-season crops near 75 to 85 degrees, and for most cool-season crops closer to 55 to 70. Our rule: warm-season seeds go on the mat, cool-season seeds stay on a plain shelf, and every tray leaves the heat once cotyledons open. Seedlings grow stockier in cooler air under strong light.
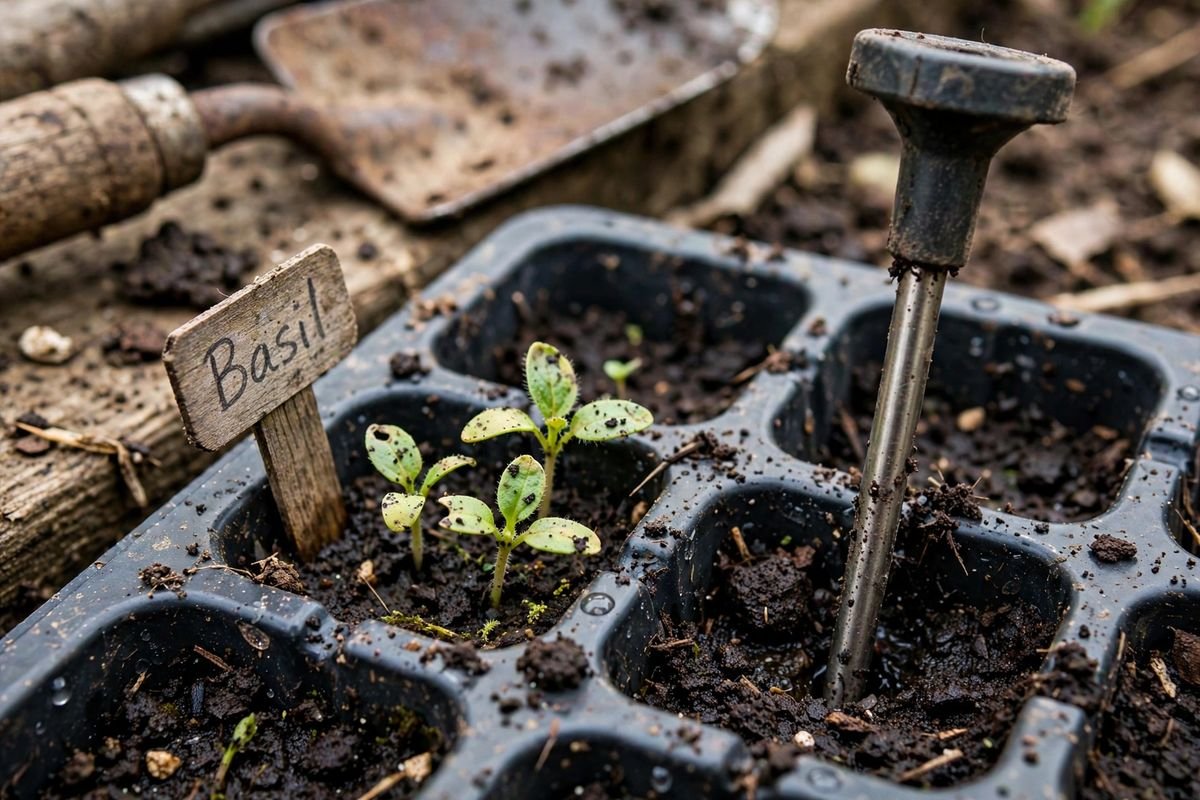
A soil probe beats guesswork. Push it into a center cell, wait a few minutes, and read the soil itself rather than the wall thermostat. If soil already sits near 75 degrees from lights and room heat, a mat adds little. At 62 degrees, the mat will likely cut days off the wait. Listings describe mats as raising soil by a set offset above ambient, often 10 to 20 degrees, so the same mat behaves differently in a 55-degree basement and a 72-degree spare room.
Size, Wattage, and Fit
Standard 1020 trays (roughly 10 by 20 inches) drive mat sizing. A mat near that footprint warms one tray evenly; double length covers two. Trouble starts when a tray overhangs the mat edge: the outer cells stay cool and lag behind. We look for a mat at least as large as the tray footprint and confirm the heated dimensions on the listing, since the outer size sometimes runs larger than the heated area. A waterproof, wipe-clean surface also handles spills far better than fabric.
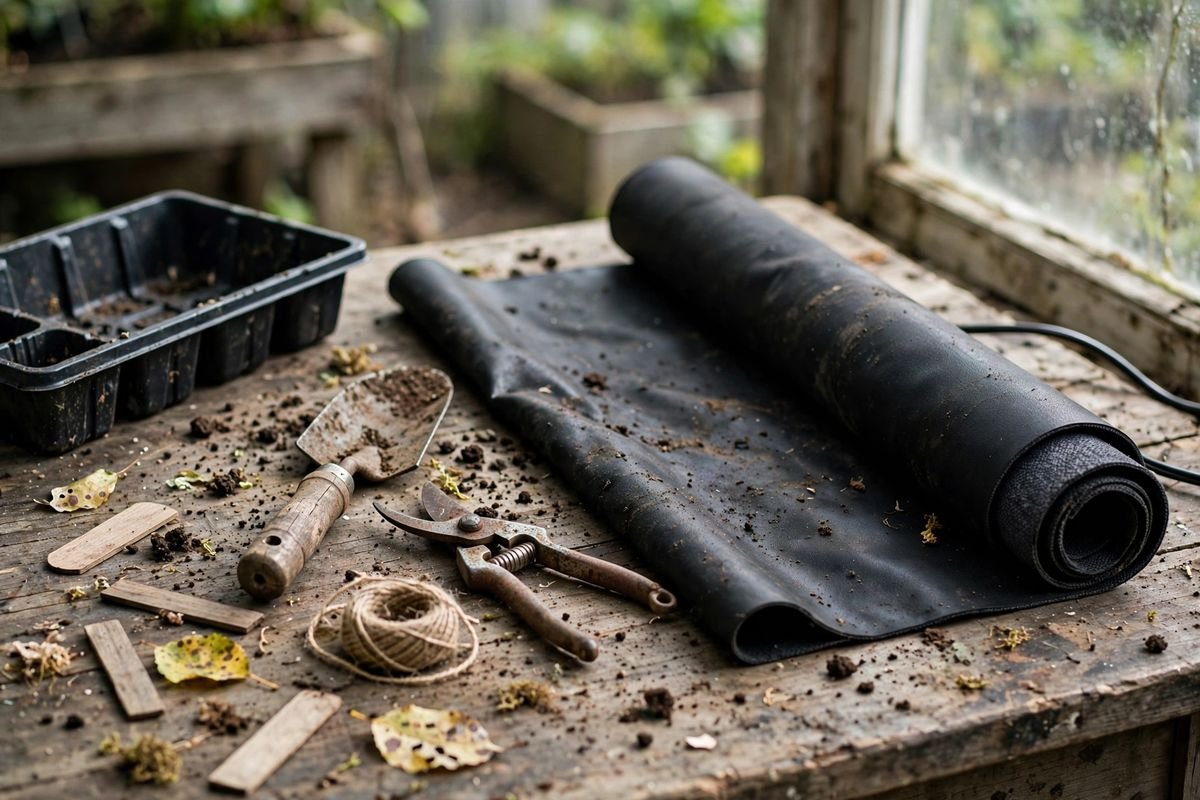
Mats roll up for storage, as shown here, which keeps them out of the way after spring. Daily care matters more than storage style: trays on mats dry faster than trays on a plain shelf, so check soil moisture every day. Our guide to seed starting trays covers cell and tray choices that hold moisture evenly while the warmth does its work.
Wattage simply shows how much electricity a mat draws, and it scales with size. That number helps twice. It hints at heating capacity in a cold room — a very low draw may struggle on a concrete floor — and it drives the running-cost math below. There is no prize for the highest wattage. An oversized mat under one small tray wastes energy and can push soil too hot. Match wattage to footprint and room, then let a thermostat fine-tune.
Thermostat Control: The Biggest Dividing Line
A bare mat warms by a fixed amount and never knows the actual soil temperature. On a mild afternoon the soil can climb past what seeds want; on a cold night it can fall short. A thermostat controller fixes that with a probe in the soil that cycles the mat to hold a set point. Set 78 degrees, and the controller aims for 78 in the soil, where it counts. That consistency is why we steer most growers with more than one tray — or a room with wide day-to-night swings — toward thermostat setups.
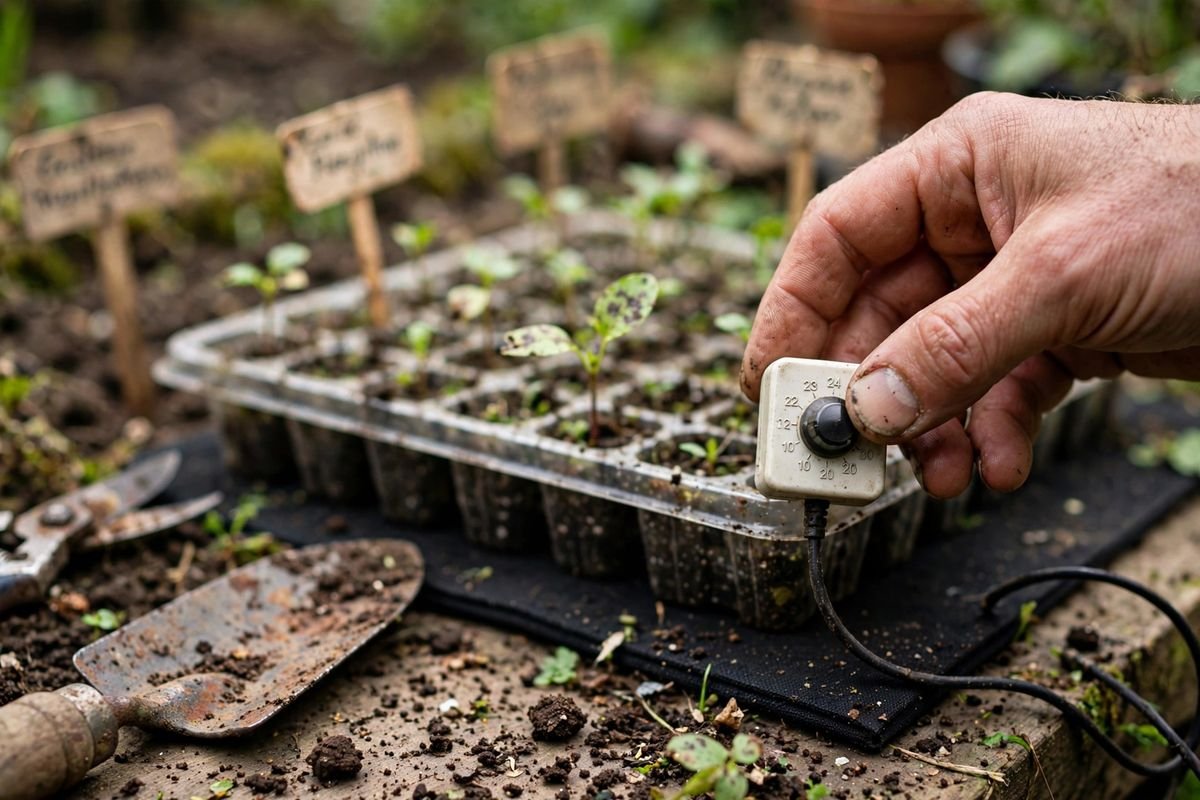
The dial above is the whole system: probe cord into the soil, power cord to the mat, one set point. Digital versions display current soil temperature, doubling as the probe check described earlier. Analog dials cost less and work the same way. Check the listing for the covered temperature range, a waterproof probe, and whether mat and controller come as a kit. Buying the pieces separately can cost more than a kit, and plugs do not always match across brands.
Start browsing with seed starting heat mats, narrow thermostats with seedling heat mats with a thermostat, or find a controller alone via heat mat thermostat controllers.
Worked Example: What Does a Mat Cost to Run?
Running cost worries growers more than it should, so here is the full arithmetic with assumptions stated. Redo it with the wattage on any listing under consideration.
Assumptions. One 45-watt mat covering about two trays (check the listing for the exact draw). Thermostat control, powered about 16 hours per day after warm-up and cycling. A 21-day germination run for peppers and tomatoes. Electricity at $0.17 per kilowatt-hour, near recent U.S. residential averages; swap in the rate from a home bill for a personal figure.
Math. 45 watts x 16 hours = 720 watt-hours per day. Times 21 days = 15,120 watt-hours, or 15.12 kilowatt-hours. At $0.17, the run costs 15.12 x $0.17 = $2.57. A smaller 20-watt one-tray mat on the same schedule uses 20 x 16 x 21 / 1,000 = 6.72 kWh, about $1.14. A bare 45-watt mat left on around the clock uses 45 x 24 x 21 / 1,000 = 22.68 kWh, about $3.86. The thermostat saves roughly a third of the energy and holds a steadier temperature doing it. Electricity is never the reason to skip a mat — the real price of skipping one is a week of slow, uneven germination, or a second sowing.
Pros and Cons by Type
Basic mat. Pros: lowest cost, nothing to set, thin storage. Cons: soil temperature floats with the room, no probe reading, and it is easy to leave running after sprouting, which encourages leggy growth.
Thermostat mat. Pros: holds a chosen soil temperature day and night, probe reads soil directly, cycling cuts energy use. Cons: costs more, probe placement affects accuracy, and cheap controllers can swing widely — check the listing for the stated range.
Large or multi-mat system. Pros: warms a full shelf evenly on fewer outlets. Cons: highest total wattage, one temperature shared by crops that may want different ranges, and bulky off-season storage.
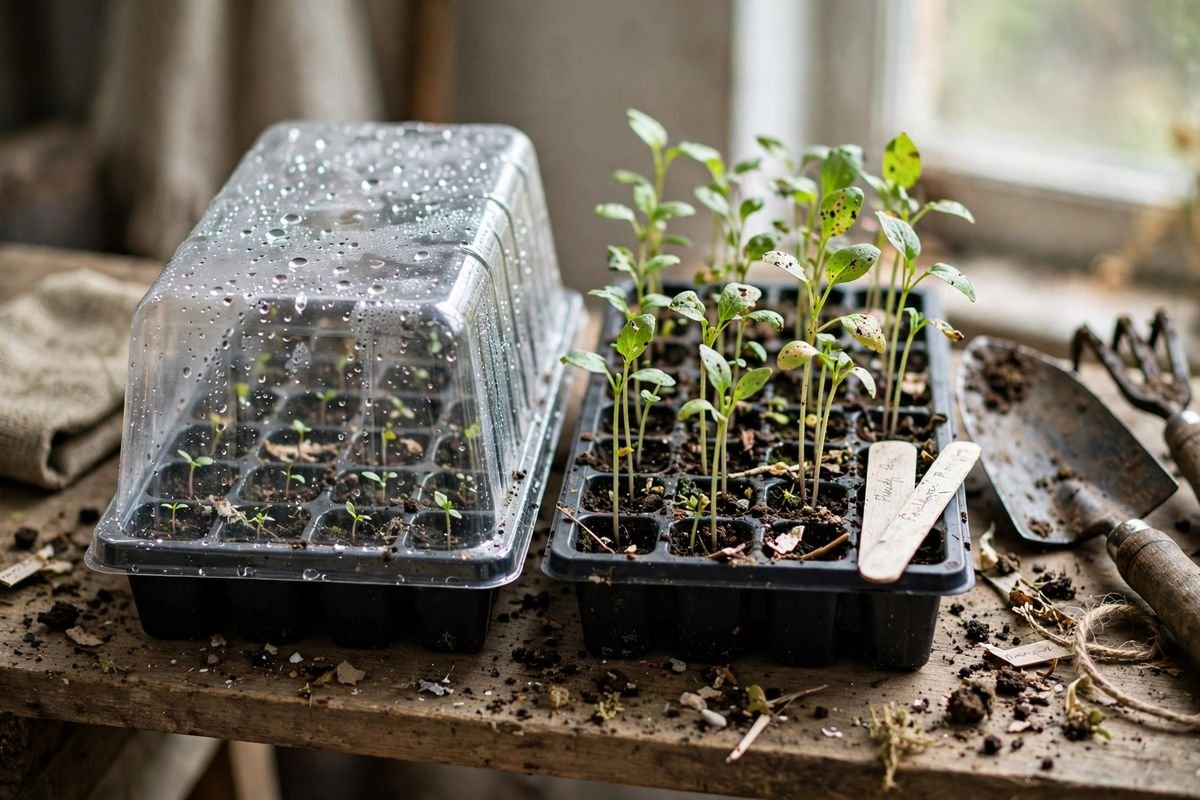
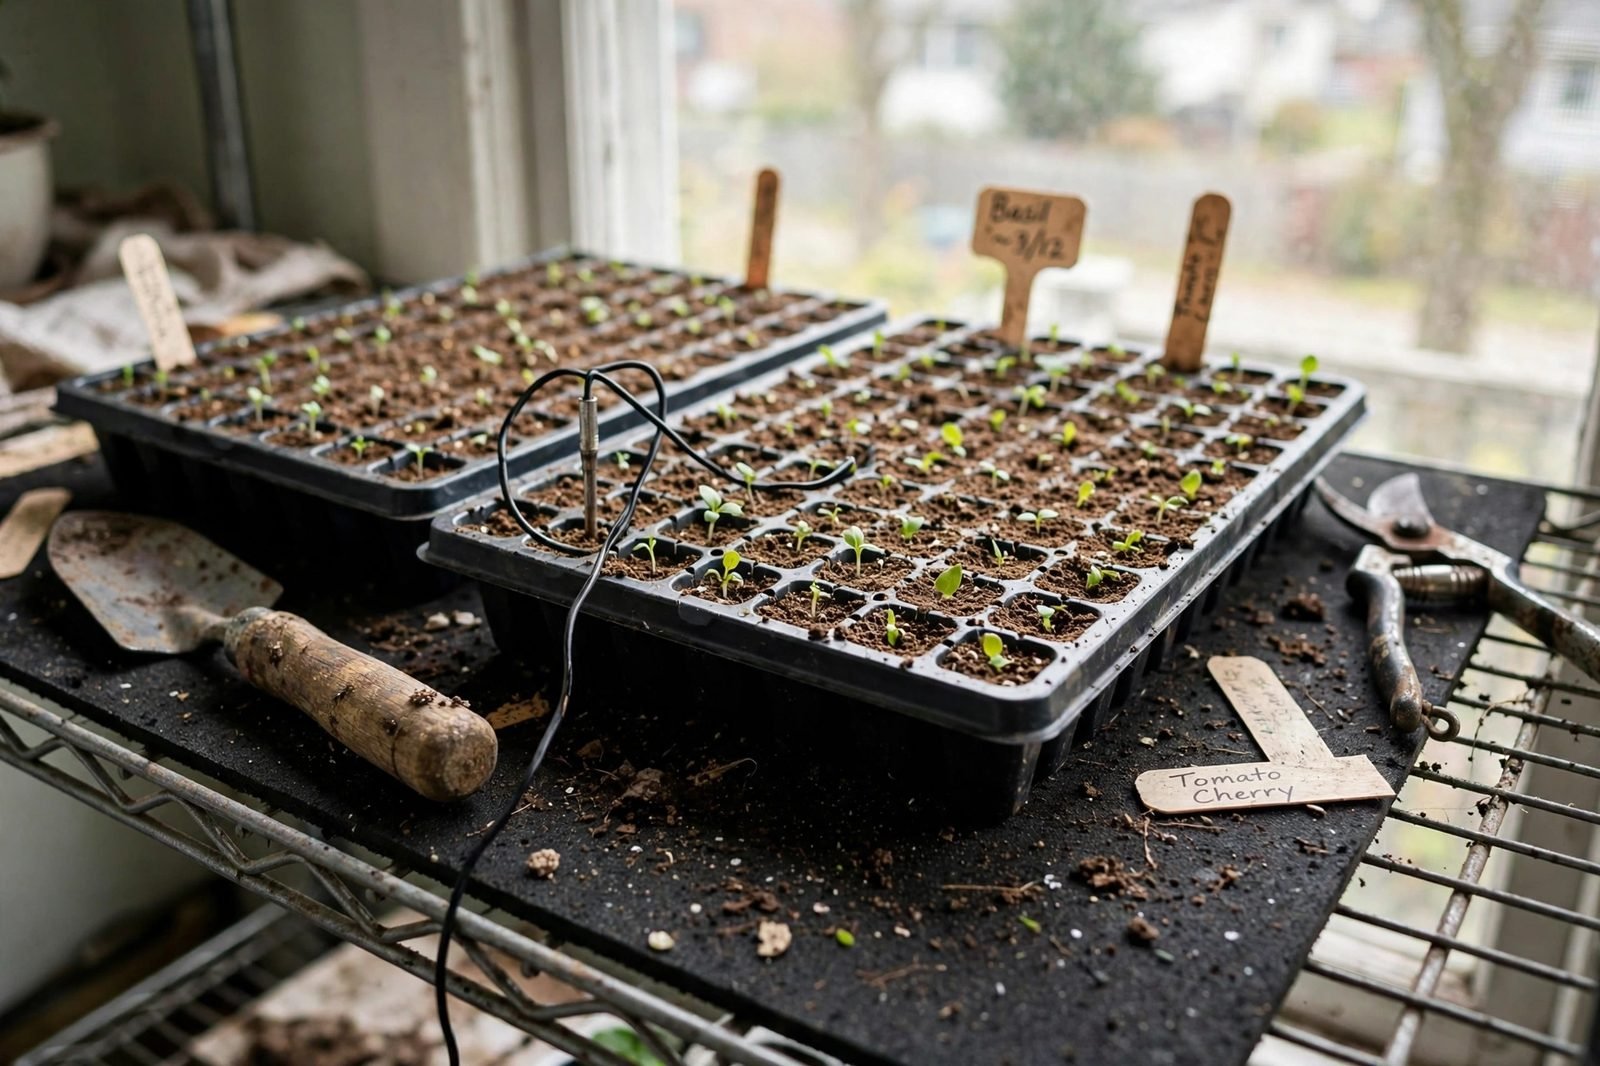
The two trays here show the payoff of even warmth. When one tray sprouts days ahead, seedlings end up at different heights under the same lights. A mat covering both trays fully, with a thermostat holding one steady temperature, keeps them on the same schedule. Once sprouts emerge, light takes over as the priority, so pair the mat with the right grow lights for seedlings — warmth to sprout, light to grow stocky.
Choosing by Use Case
Choose a basic mat if the plan is one tray of peppers or tomatoes in a room holding near 65 to 70 degrees, with a probe check every day or two. A timer adds some discipline at no real cost.
Choose a thermostat mat if the seed list mixes crops, the starting room runs cool or swings widely, or the shelf holds two or more trays. This is the setup we recommend most often.
Choose a large system if spring sowing means three or more trays at once and those crops want similar temperatures. Confirm total wattage, keep fussy crops on separate setups, and plan flat storage.
Two habits protect any setup: move trays off the heat as soon as most seeds sprout, and never run a mat under a dry tray — warm, dry soil bakes fast. Timing ties back to the calendar. Use your local frost dates and regional planting guidance — not your USDA hardiness zone alone — to choose planting dates. Counting back from the last frost with packet days-to-transplant shows when the mat should be out and running, often six to ten weeks before warm-season crops go outside.
Safety and Shelf Notes
Place the mat on a flat, hard surface, not carpet or insulation that traps heat. Keep standing water away from cords by setting trays inside a solid bottom tray. Inspect cords and the mat surface each season and retire anything cracked or worn. Warm, moist trays also favor damping-off fungi, so clean trays, fresh mix, and a small fan after sprouting matter as much as the mat itself. The mat makes the first week predictable; after that, light, water, and timing decide the harvest.
Sources & Further Reading
University of Minnesota Extension, Starting seeds indoors: https://extension.umn.edu/planting-and-growing-guides/starting-seeds-indoors
Colorado State University Extension, Growing plants from seed: https://extension.colostate.edu/topic-areas/yard-garden/growing-plants-from-seed-7-409/
UC Agriculture and Natural Resources, seed starting resources: https://ucanr.edu/site/uc-master-gardeners-san-diego-county/starting-seeds-indoors