
This post may contain affiliate links. If you buy through links on this page, we may earn a commission at no extra cost to you.
As an Amazon Associate I earn from qualifying purchases.
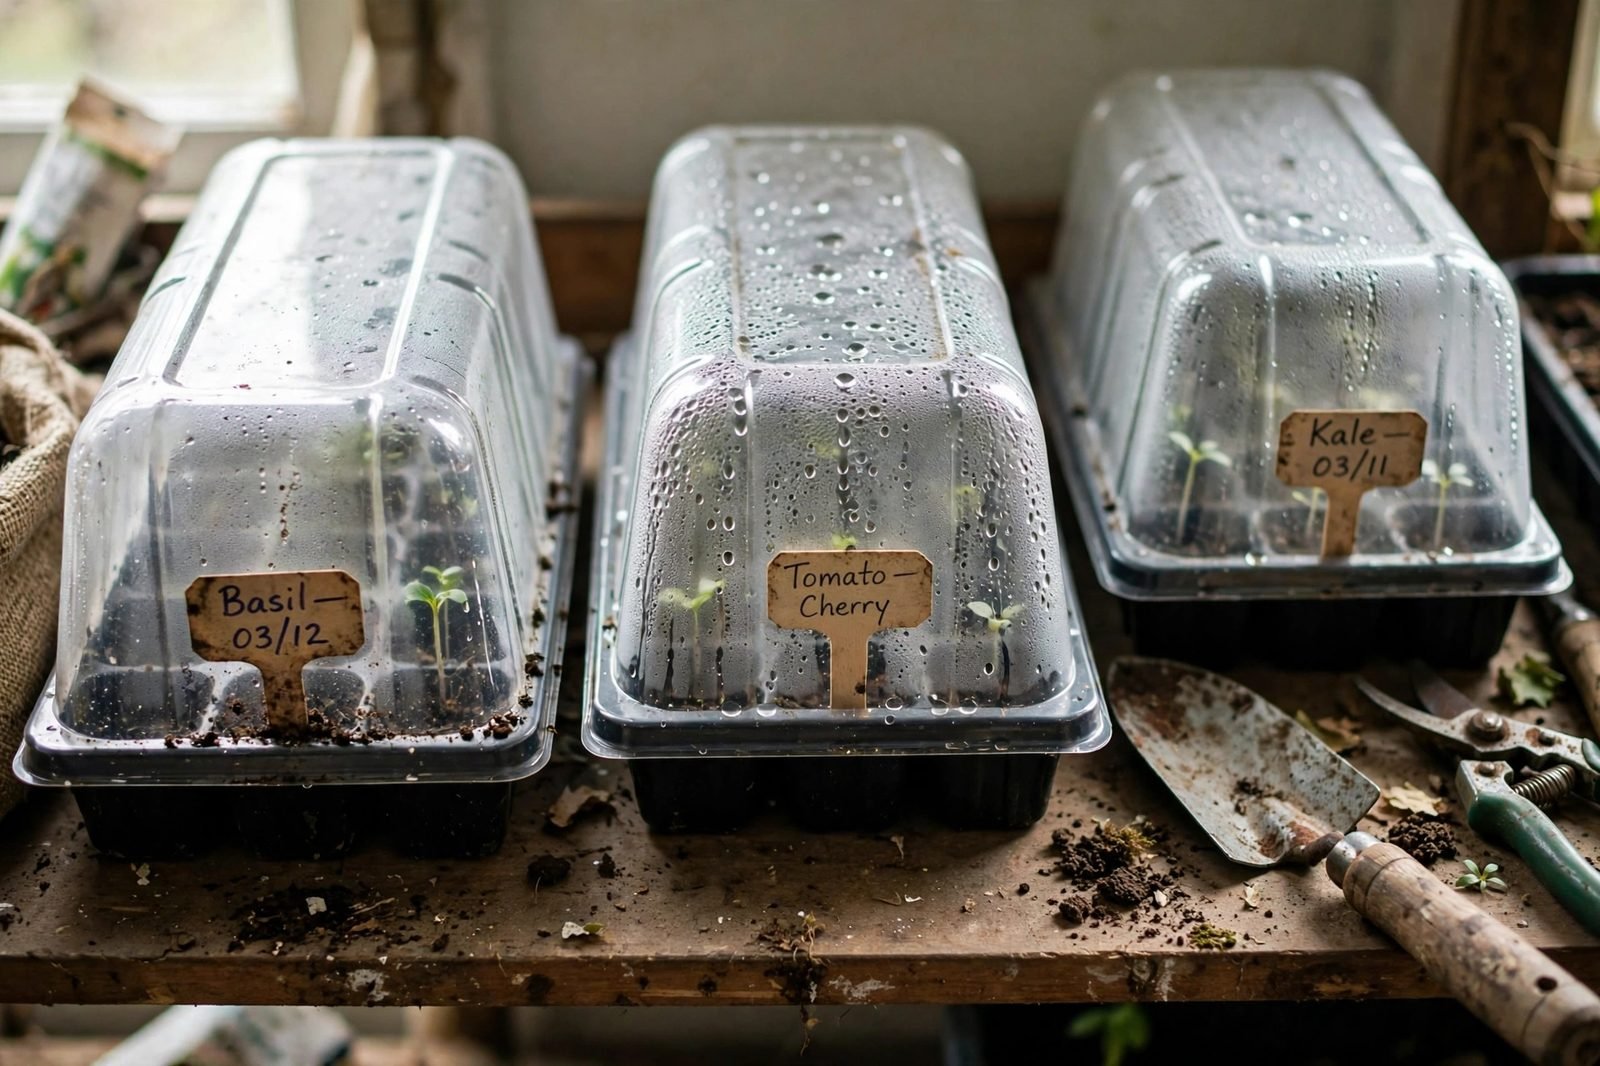
A humidity dome is the clear lid over a seed tray, and its job is narrow and temporary: hold moisture at the soil surface so small seeds never dry out while germinating. Once seedlings are up, the job is done. Damp, still air under a closed dome is what damping-off fungi love, and sprouts stretch weakly toward light dimmed by wet plastic. So the best dome is not the fanciest one. It has the right height for the crops being started, vents that actually open, and a clean lift-off the moment sprouts appear. This guide compares domes by height, vent style, and stiffness patterns across listings. We do not claim hands-on testing, and specs change by seller, so check the listing for true inside height and tray fit. Growers still choosing trays can start with our guide to seed starting trays, since a dome that misses the tray footprint leaks humidity at the edges.
Quick Reference: Humidity Dome Types at a Glance
| Type | Inside Height Pattern | Vent Style | Best For | Watch Out For |
|---|---|---|---|---|
| Low flat dome | About 2–2.5 in. above rim | Often none, or fixed slots | Fast crops removed right at sprouting | Seedlings touch the lid in days; no vent to open |
| Mid-height, adjustable vents | About 3.5–5 in. clearance | One or two top dial vents | Most home seed starting | Dial quality varies; check vent count on the listing |
| Tall dome | About 6–7.5 in. clearance | Adjustable top vents | Cuttings, taller starts | Bulkiest, priciest; still not a long-term home |
| Tinted / diffusing dome | Usually mid-height | Adjustable vents | Very bright shelves that overheat trays | Tint cuts light; remove promptly at sprouting |
The pattern to remember: height buys days, vents buy control, and neither changes the end date much. Every dome comes off at sprouting or a day or two later. Types differ only in how forgiving they are during that short window.
What a Dome Does — and When It Hurts
Small seeds sown near the surface — lettuce, celery, many herbs — can stall after one dry afternoon. A dome traps vapor rising from moist mix and returns it as condensation, holding the surface evenly damp between waterings. That is the whole benefit, and it is a real one for fine, slow, or surface-sown seed. Large seeds planted at depth, like beans and squash, sit in soil that holds moisture on its own, and a dome adds little.
The costs arrive with the first green. Seedlings need full-strength light, moving air for sturdy stems, and a surface that dries slightly between waterings. A closed dome weakens all three and keeps leaves wet, the main setup for damping-off, the fungal collapse that topples seedlings at the soil line overnight. Extension guidance repeats one sequence everywhere: dome on for germination, dome off at emergence, fan on for airflow. Treat the dome as a germination tool, never as a mini greenhouse, and most dome problems never happen.
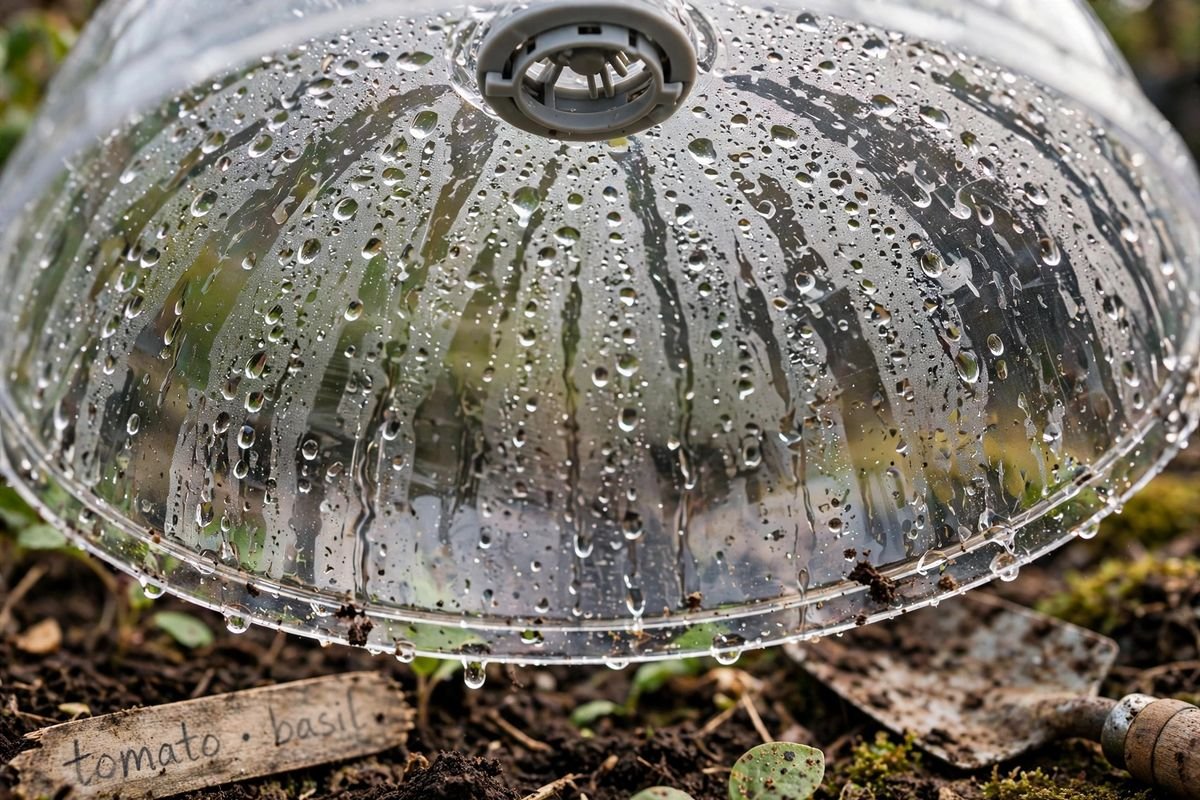
The vent dial above stretches a dome’s usefulness. Cracked partway, it lets vapor escape slowly, so humidity steps down over a day instead of crashing the moment the lid lifts. Our schedule: vents shut until sprouting begins, cracked as the first sprouts stand, fully open the next day, dome off the day after. Domes with no vents can follow the same steps by propping one edge with a plant label, though a real vent is far easier to manage alongside a seed starting station setup holding several trays.
Height, Vents, and Fit
Listings usually headline total height, but inside clearance — soil surface to the underside of the lid — is what counts. Cell inserts put soil about an inch below the tray rim, so a dome listed at 2 inches may offer barely 2 inches above the soil. Fast seedlings gain an inch within days of sprouting. Leaves pressed against wet plastic stay wet, and wet leaves invite disease. Buy height as forgiveness for imperfect timing, not as permission to leave the dome on for weeks.
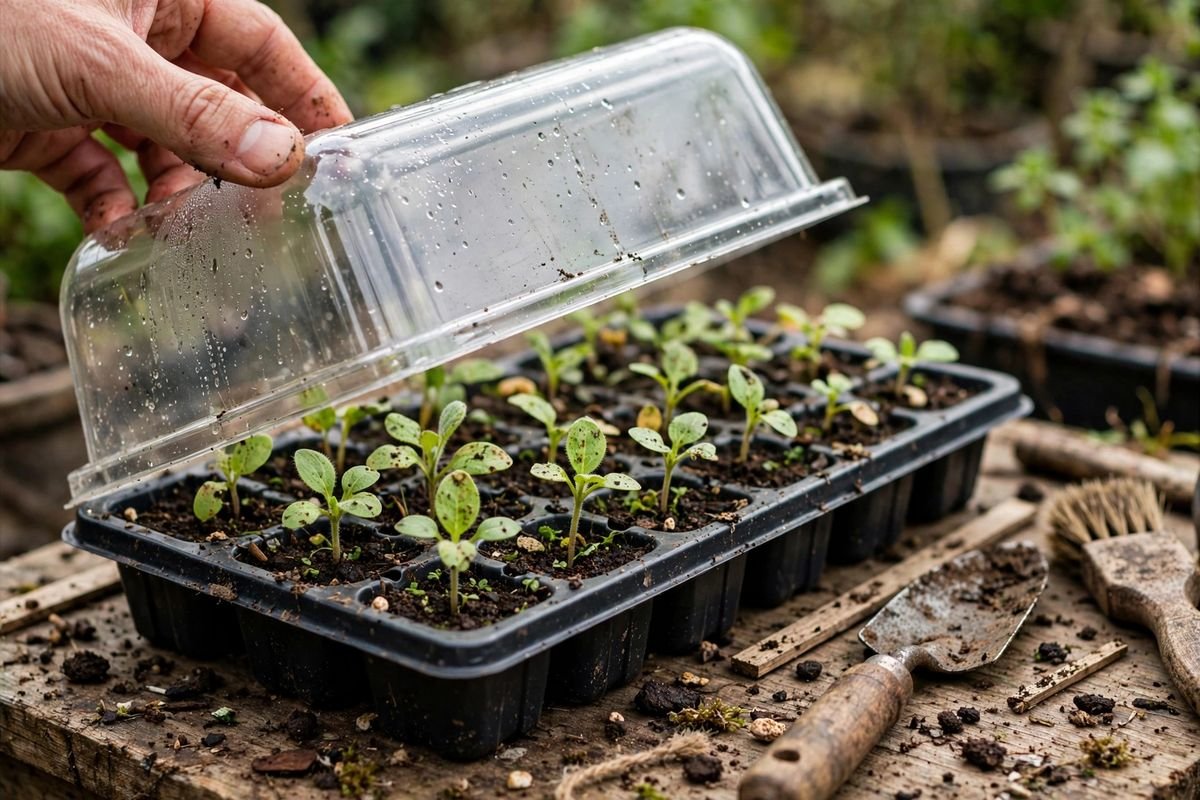
Lifting one edge, as shown here, is the manual stand-in for a vent dial. It works, but bluntly: humidity dumps fast, and a shelf draft can chill small seedlings. A dial meters the same exchange in small turns. One tray of forgiving crops like marigolds tolerates edge-lifting fine. Several trays of mixed crops make a working vent worth the small price difference by the second week.
Vents come as rotating top dials, sliding panels, or fixed slots. Dials give the widest control and sit where warm vapor rises, so we look for them first. Sliders work but can stick once grit gets in the track. Fixed slots leak during germination, when humidity should stay in, and cannot open wider later — the weakest design. Count matters too: two vents, or one large one, trade noticeably more air than a single small dial.
Plastic stiffness decides lifespan. Thin domes crack at corners and warp under warm lights; stiffer domes survive stacking, washing, and reuse for years. Stiffness also seals: a dome that rocks on the tray rim leaks humidity all night. Measure the tray’s outer rim and compare it with the dome footprint on the listing, since rim styles vary between tray brands even among so-called standard 1020 trays.
Browse the field with humidity domes for seed trays, check combined sets under seed starting trays with humidity domes, or compare bundles via seed starting kits with domes. Our preference is matched separate pieces, so each spec gets checked on its own listing; our guide to seed starting kits shows what bundles typically include.
Worked Example: Seedling Height vs. Dome Clearance
Numbers settle the height question. Assumptions first: a standard 1020 tray with soil about 1 inch below the rim; tomato seedlings growing roughly 0.5 inches per day in the first week under strong light (a planning figure — redo it with any crop’s pace); a required 0.5-inch air gap so leaves never touch plastic; and dome removal within a few days of sprouting regardless of clearance.
Low dome. Inside height 2.25 inches above the rim gives 2.25 + 1 = 3.25 inches from soil to lid. Minus the 0.5-inch gap, usable room is 2.75 inches. A fresh sprout stands about 1 inch tall, leaving 1.75 inches of growth: 1.75 / 0.5 = 3.5 days before contact. The dome should already be off for airflow well before then, so the low dome proves adequate — as long as removal is on time.
Mid-height dome. Inside height 4.5 inches above the rim gives 4.5 + 1 = 5.5 inches soil to lid, or 5 inches usable. A 1-inch sprout has 4 inches available: 4 / 0.5 = 8 days before contact. That headroom helps when seedlings must wait a few days for transplant room, or when cuttings root upright under the same lid. Even then, vents stay fully open after sprouting, so the dome acts as a dust cover, not a humidity chamber.
The takeaway: both domes outlast the safe dome-on window. Height buys forgiveness, not duration. A low dome punishes a removal delayed by one day. A mid-height dome forgives a busy weekend.
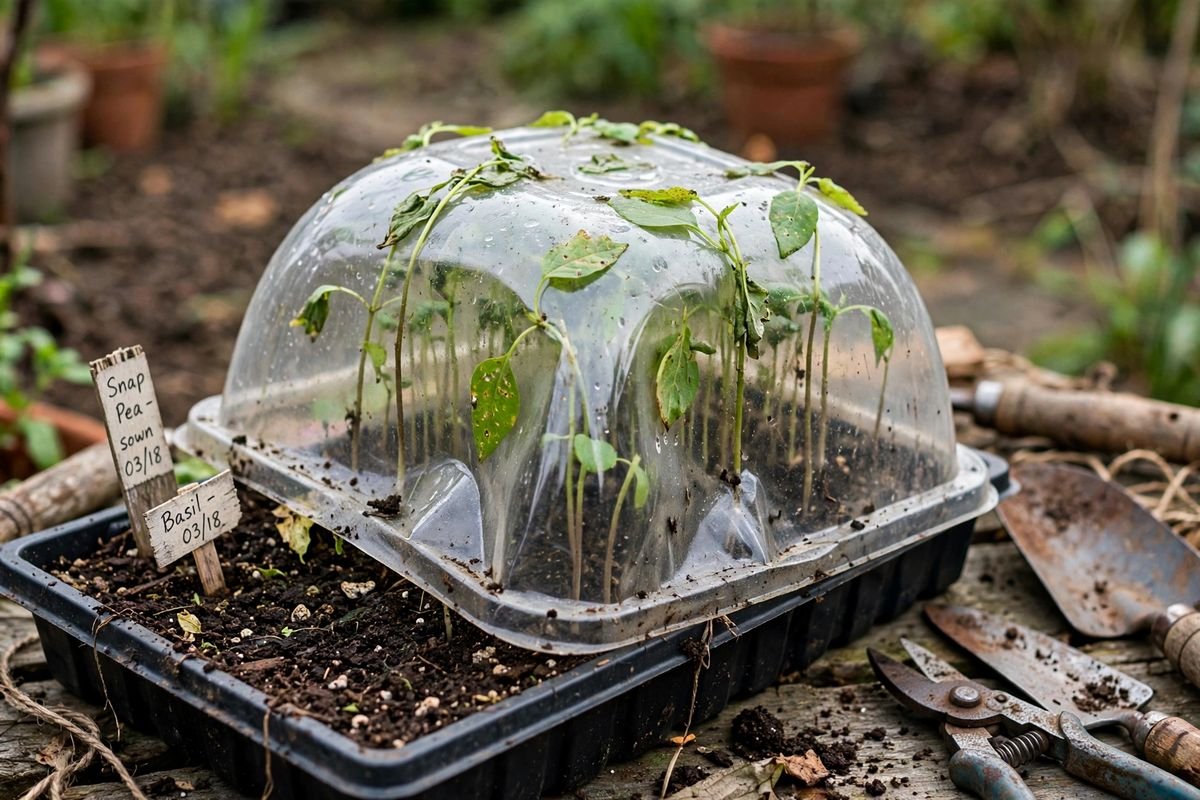
Seedlings pressed into a low dome, as here, keep leaves soaked and shaded at the exact age when light decides between stocky and spindly. The fix is never a taller dome bought mid-crisis. It is the removal habit — sprouts up, vents open; most sprouts up, dome off — plus a small fan so stems thicken. Watering shifts at the same moment, and bottom watering seedlings keeps moisture even without wetting leaves.
Pros and Cons by Type
Low flat dome. Pros: cheapest, often bundled free with trays, stacks flat, clear view of germination. Cons: almost no headroom, usually no vents, thin plastic cracks with reuse, and one forgotten day turns it into a disease chamber.
Mid-height vented dome. Pros: days of headroom, dial vents allow a gradual step-down, stiffer plastic lasts many seasons. The best match for a typical home shelf. Cons: costs more, vent quality varies, and the headroom tempts growers to leave it on too long.
Tall dome. Pros: maximum clearance for cuttings, stiffest plastic, room for upright growth while propagating. Cons: priciest and bulkiest, can wobble and break its seal. Buy it for cuttings, not for seeds alone.
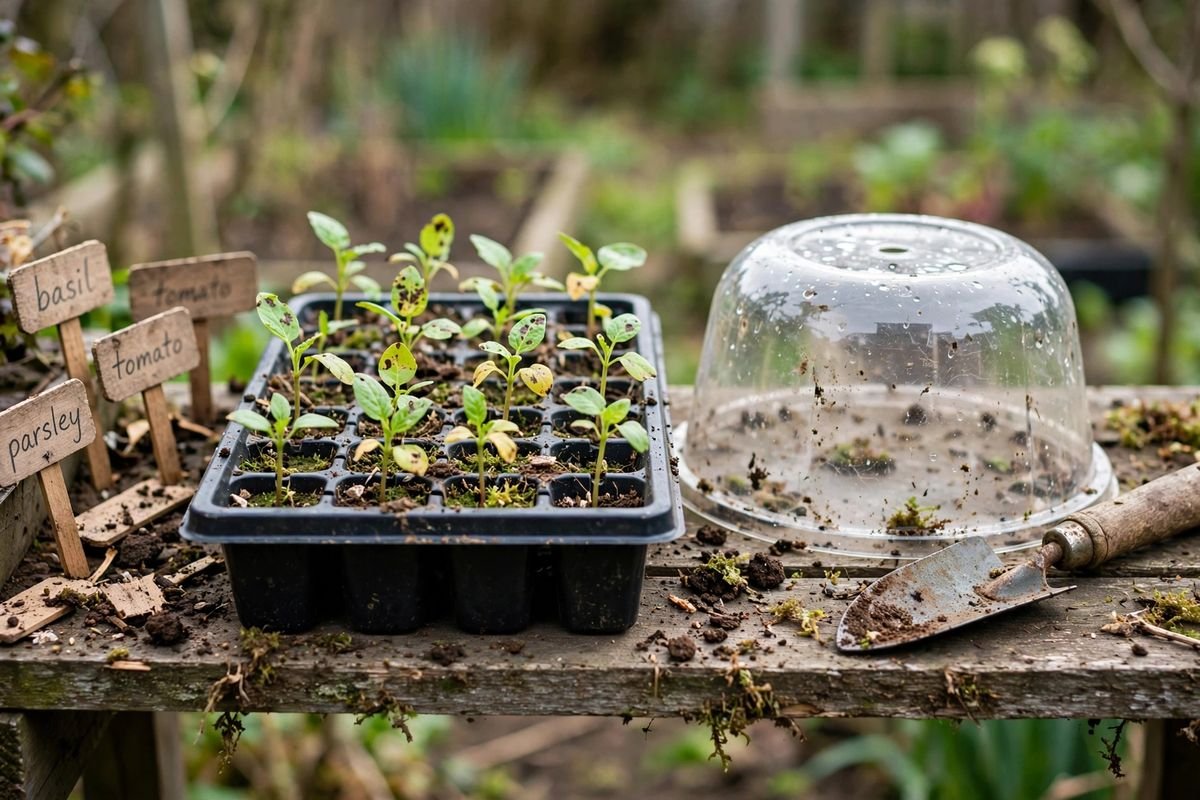
The last photo is the goal state: dome off, seedlings in open air under full light. Keep the dome beside the tray for the first week — a cold night or a fast-drying tray may call for an hour under a vented dome again. Once true leaves open and stems stand firm, it retires until the next sowing.
Choosing by Use Case
Choose a low flat dome if trays hold fast, forgiving crops, the shelf gets checked twice daily, and budget leads. Put the removal date on the calendar, because its whole risk is a late lift-off.
Choose a mid-height vented dome if the seed list mixes fast and slow crops and twice-daily checks are unrealistic. This covers most home growers, and reuse over several seasons repays the price.
Choose a tall dome if cuttings share the shelf or seedlings regularly wait extra days for space. The early-removal rule still applies to seeds.
Timing frames the purchase. Domes go on at sowing, counted back from the local last frost by the weeks on each packet. Use your local frost dates and regional planting guidance — not your USDA hardiness zone alone — to choose planting dates. A modest dome on hand for the first sowing beats a premium dome ordered mid-season.
Care, Cleaning, and Storage
Wash domes between sowings with warm water and a drop of soap, rinse, and dry fully before stacking; residue carries fungal spores from one batch into the next. Store stacked domes out of direct sun, which clouds and embrittles clear plastic. Clear vent dials of dried mix while washing. A dome that no longer seals has lost its function and should be retired. Treated gently, a stiff mid-height dome serves five or more springs — the cheapest per-season option here. Pick the height that forgives a real schedule, insist on vents that open wide, verify the tray fit, and take every dome off at sprouting.
Sources & Further Reading
University of Minnesota Extension, Starting seeds indoors: https://extension.umn.edu/planting-and-growing-guides/starting-seeds-indoors
Colorado State University Extension, Growing plants from seed: https://extension.colostate.edu/topic-areas/yard-garden/growing-plants-from-seed-7-409/
UC Agriculture and Natural Resources, seed starting resources: https://ucanr.edu/site/uc-master-gardeners-san-diego-county/starting-seeds-indoors