
This post may contain affiliate links. If you buy through links on this page, we may earn a commission at no extra cost to you.
As an Amazon Associate I earn from qualifying purchases.
A good onion harvest can feed a household for months, but only if the bulbs are cured and stored the right way. An onion pulled from the ground and dropped straight into a warm kitchen will sprout or rot within weeks. The same onion, cured for two weeks and stored cool and dry, can last until spring. The difference is not luck; it is a short curing step and a storage spot with the right temperature and air flow.
This guide covers the full path from harvest to storage: when to pull, how to cure, which bulbs keep and which to eat first, and three storage methods with honest trade-offs. The worked example below uses a 10-pound harvest, with the storage math spelled out. For the same treatment of the other storage staple, see our guide on how to store potatoes after harvest.
When to pull onions
Onions tell you they are ready when the tops fall over. When about half the tops in a row have bent at the neck and flopped onto the soil, the bulbs have stopped growing and the skins have started to set. Pull them on a dry day if you can, and leave them on the soil surface for a day or two so the sun dries the outer skins. If rain is coming, move them under cover right away; wet bulbs cure slowly and rot more often.
Pull by the tops, not by yanking the bulb out of hard ground. Loosen the soil with a fork first, then lift each bulb gently. A bruised onion rots in storage, and a bruise you cannot see on harvest day will show up as a soft spot by November. Handle every bulb like an egg for the first week, and the harvest will last far longer.
Curing: the two weeks that decide everything
Curing is the drying period that turns a fresh onion into a storage onion. The neck dries and tightens shut, the outer skins turn papery, and the bulb loses some water weight. A cured onion resists rot because the dry neck seals the bulb against the microbes that cause soft spots. Skip curing, and even a perfect bulb will spoil in a month.
| Day | What to do | What to look for |
|---|---|---|
| 0 | Pull on a dry day; lay bulbs on the soil or a rack in the sun | Skins start to dry; tops still green |
| 1 to 3 | Move under cover if rain comes; spread in a single layer with air space | Outer skins turn papery |
| 4 to 7 | Keep in a shaded, airy spot out of direct sun | Tops wilt and dry; necks start to tighten |
| 8 to 11 | Turn bulbs once so the underside dries too | Necks feel dry and firm, not soft or damp |
| 12 to 14 | Trim tops to 1 inch and roots to a short stub | Neck is dry and closed; skins rustle when touched |

Cure in a shaded, airy place: a covered porch, an open garage, or a shed with the door open. Direct sun for more than a day or two can sunburn the bulbs, and a closed, damp room grows mold. Air flow matters more than warmth; a breeze through the rack does more than a heater. The bulbs are done when the neck feels dry and tight and the skins rustle. If the neck still feels soft or damp, give it three more days.
Our worked example: a 10-pound harvest
Here is the storage math for a typical small harvest, so you can plan shelf space before the onions come in. We assume a 10-pound harvest of medium storage onions, about 40 bulbs at a quarter pound each, and a curing loss of 5 to 10 percent of weight as water dries out. That loss is a planning assumption, not a measured result; it varies with bulb size and how wet the harvest day was.
At 5 percent loss, 10 pounds becomes 9.5 pounds in storage. At 10 percent loss, it becomes 9 pounds. So plan storage space for 9 to 9.5 pounds, or about 36 to 38 bulbs. That is the number to fit on your shelf, not the 10 pounds you pulled.
Now the space. A single layer of medium onions covers about 1 square foot per 5 pounds, with a little air space between bulbs. Two layers, with a piece of cardboard or a wire rack between them, doubles that to 10 pounds per square foot. So a 10-pound harvest needs about 2 square feet of shelf in one layer, or 1 square foot stacked in two layers. A mesh bag hangs in no shelf space at all, which is why it is the best pick for a small kitchen: one full bag holds about 5 pounds, so a 10-pound harvest fills two bags.
Three storage methods, compared
| Method | Best for | Air flow | Main limit |
|---|---|---|---|
| Mesh bag | Small harvests, hanging in a cool room | Good, all around the bulbs | Hard to check bulbs at the bottom |
| Braid | Display storage, small batches of large onions | Good, each bulb hangs free | Takes time to braid; needs strong tops |
| Crate or basket | Large harvests, garage or cellar shelves | Fair, depends on stacking depth | Bottom layer can trap moisture |
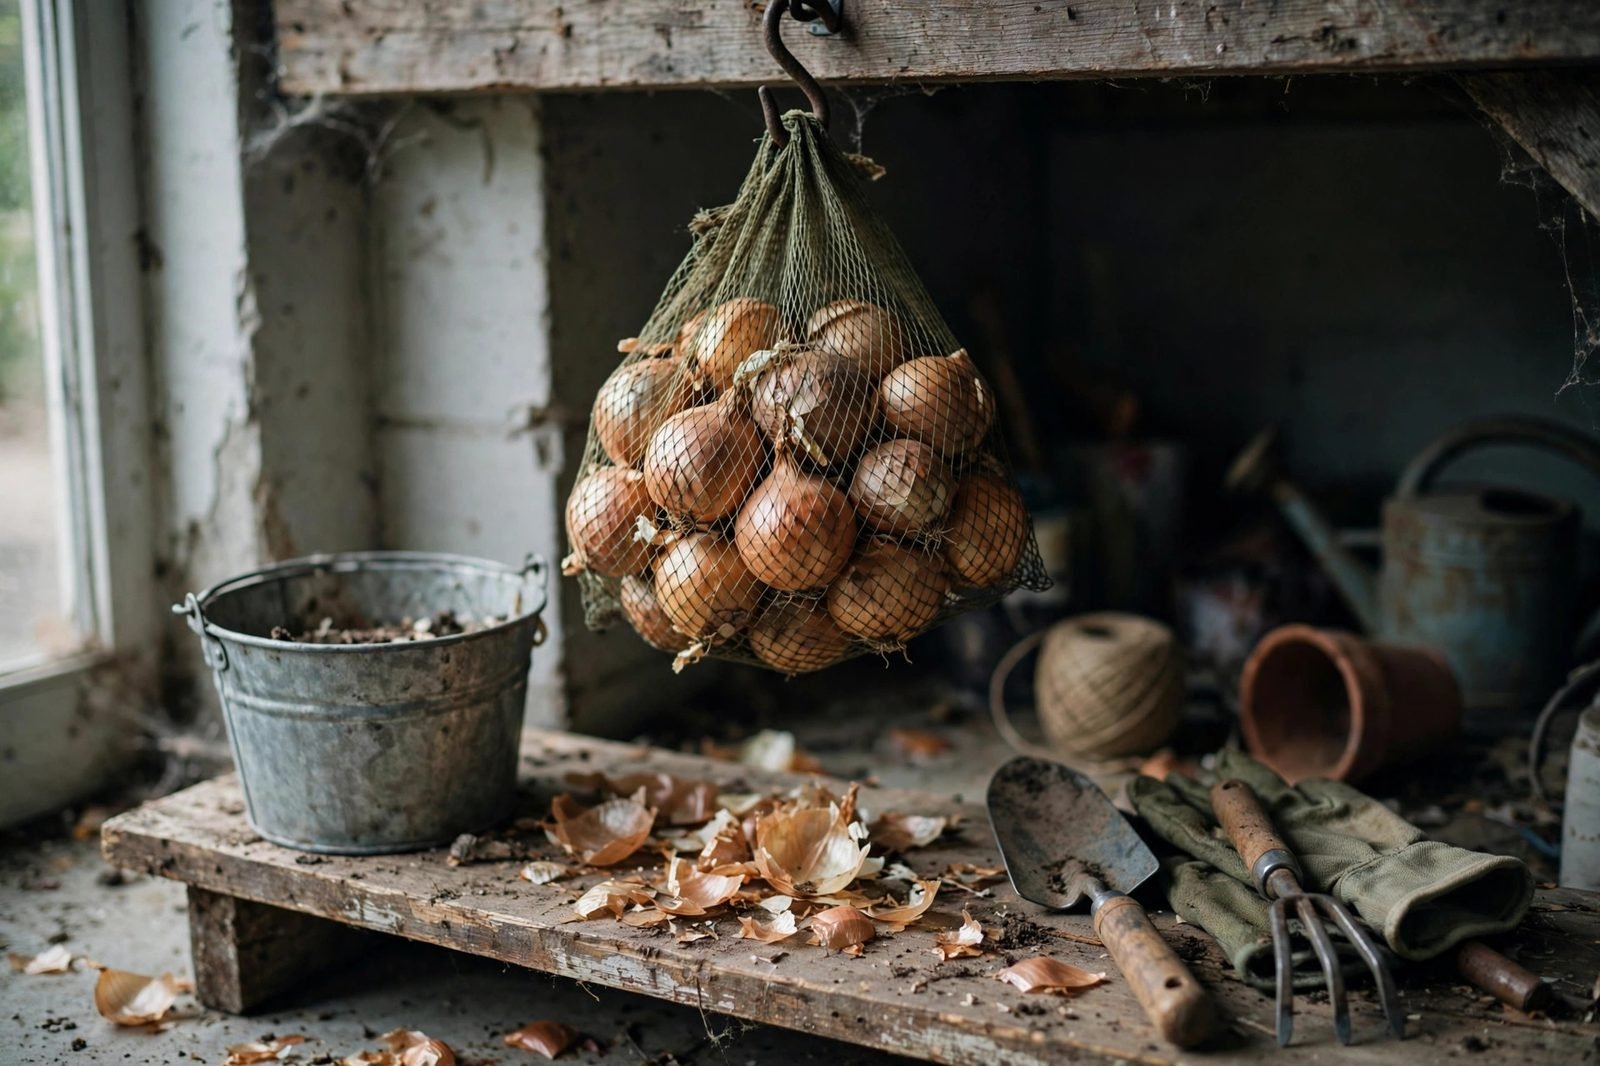
Mesh bags are the easiest method for most gardeners. Hang the bag in a cool, dark spot with air moving around it, and the onions keep for months. You can browse mesh produce bags on Amazon to compare sizes; a bag that holds 5 pounds suits a small harvest. Check the bag once a month by tipping it out and looking for soft bulbs.

A braid looks good and works well, but it only suits onions with long, dry tops that are still flexible after curing. Braid three bulbs at a time into a chain, hang it from a hook, and cut bulbs off from the bottom as you need them. If the tops snap when you bend them, the bulbs are too dry for braiding; use a bag or crate instead.
A crate or shallow basket suits a large harvest. Lay bulbs in a single layer, or at most two layers with a sheet of newspaper between them, and set the crate on a shelf where air moves. A deep box packed full is the one method that fails often, because the bottom layer sits in trapped moisture and rots first. If you use a crate, keep it shallow and check the bottom layer once a month.
Where to store onions
The storage spot matters as much as the method. Onions keep best at 32 to 40 degrees with humidity around 65 to 70 percent, in the dark, with air moving. A cool garage, an unheated cellar, or a basement shelf near a vent all work. The spot should stay dry: damp air grows mold on the necks, and wet bulbs sprout.
Keep onions away from potatoes. Potatoes give off moisture and a gas that makes onions sprout faster, and onions do the same in reverse, so the two crops shorten each other’s storage life when they share a shelf. Give them separate spots, even if both live in the same garage. For the potato side of that rule, see our guide on how to store potatoes after harvest.
Which onions keep, and which to eat first
Not every onion stores equally. Storage varieties with tight, papery skins and a sharp bite keep for months: yellow storage types like Copra and Patterson, and red storage types like Red Bull, are bred for this. Sweet onions like Vidalia and Walla Walla have thin skins and high water content, so they keep for weeks, not months; eat those first.
Sort the harvest at curing time. Any bulb with a thick neck, a soft spot, a bruise, or a green sprout goes in the eat-first pile. A thick neck never dries fully, and it rots first in storage. Use those bulbs within a few weeks, and keep only the firm, tight-necked bulbs for the long haul. One bad onion in a bag can spoil its neighbors, so check the store once a month and pull out any bulb that feels soft. If your onions came from a fall planting, our guide on how to plant onions in fall covers the varieties and timing for next year.
Troubleshooting
Onions sprout in storage
Sprouting means the storage spot is too warm or too bright. Move the bag or crate to a cooler, darker place, and use the sprouted bulbs first; a sprouted onion is still fine to cook with, though the center gets woody over time. Cut the green sprout away and use the rest.

Soft spots appear on stored bulbs
A soft spot usually starts at a bruise or a neck that never dried. Pull the affected bulbs out at once, because rot spreads to neighbors in a closed bag. Check the rest of the batch, and move the survivors to a drier spot with better air flow. If soft spots keep appearing, the harvest was stored too wet; next year, cure for the full 14 days and sort out thick-necked bulbs at harvest.
Mold grows on the necks
Neck mold means the bulbs went into storage damp or the room is humid. Spread the bulbs out in a single layer in a dry, airy spot for a few days, then re-bag them. Trim the moldy neck back to dry tissue, and use those bulbs soon rather than storing them again.
Onions dry out and go papery
Bulbs stored in a hot, dry room lose too much moisture and turn papery inside. The storage spot should stay cool, not warm; a garage that stays near freezing in winter is better than a kitchen cupboard. If the air is very dry, a loosely closed paper bag holds a little moisture around the bulbs without trapping it.
Frequently asked questions
Can I store onions in the refrigerator?
Yes, for a short time. The refrigerator keeps onions for a few weeks, but its humidity is high, and cut onions pick up smells. Whole onions store longer in a cool, dry, dark spot outside the fridge. Use the fridge only for a peeled or cut onion, wrapped well.
How long do cured onions last?
Storage varieties kept at 32 to 40 degrees in the dark with air flow last three to six months, and often longer. Sweet onions last four to six weeks. Check the batch once a month and use any bulb that softens.
Can I freeze onions?
Yes, but frozen onions suit cooking only. Chop them, spread them on a tray to freeze, then bag them. They lose their crunch, so they work in soups and stews but not in salads. Freezing is a good use for bulbs that will not store.
What do I do with onion tops and skins?
Compost them. Tops and papery skins break down well in a compost pile, and they add the dry brown material a pile needs in fall. For winter compost care, see our guide on how to keep a compost pile working in winter.
Sources and further reading
- University of Minnesota Extension, Growing onions in home gardens
- University of Georgia Cooperative Extension, Stored properly Vidalia onions can still be around this winter
- National Center for Home Food Preservation, Freezing Onions
Related reading: How to Store Potatoes After Harvest, How to Plant Onions in Fall, How to Keep a Compost Pile Working in Winter