
This post may contain affiliate links. If you buy through links on this page, we may earn a commission at no extra cost to you.
As an Amazon Associate I earn from qualifying purchases.
Pruners carry plant disease from one plant to the next on sap and debris left on the blades. A cut on a sick plant can seed infection in the next healthy plant you prune, even when the second plant shows no sign of trouble yet. Disinfecting between plants breaks that chain, and it takes less time than most gardeners expect.
This article covers disinfection between plants during a pruning session. It is a different job from a full seasonal clean of all your tools, which is covered in how to clean and disinfect garden tools. Use that guide for the deep clean, and use this guide for the quick disinfection you repeat plant by plant.
When to disinfect
Disinfect between every plant when you prune a group where any plant shows canker, blight, wilting, or odd spots. Disinfect after each cut when you cut out visibly diseased wood. A single pass through a diseased branch can load the blades with sap, and the next cut can push that sap into fresh wood.
When all the plants look healthy, disinfect between plants anyway if you move between species or between a new plant and an old one. Healthy-looking plants can carry infections without symptoms, and the cost of a quick wipe is far lower than the cost of a spreading problem. Make disinfection a habit, and you will not need to decide plant by plant whether it was needed.
Dip method: a jar by the pruning spot
The dip method uses a small jar or bucket of disinfectant set beside the plant you prune. Dip the blades, hold them under the liquid for about 30 seconds, lift them out, and let them air dry for a few seconds before the next cut. Common choices are household bleach mixed at one part bleach to nine parts water, or rubbing alcohol at 70 percent. Use one method at a time, and never mix bleach with other cleaners.

Bleach solutions lose strength during the day, so mix a fresh batch each pruning session and discard what is left at the end. Rinse the blades with clean water after a bleach dip, then dry them, since bleach left on steel speeds rust. Alcohol needs no rinse, but it evaporates fast, so keep the jar covered between dips. Wear gloves, work outdoors or in a ventilated spot, and keep the jar where it cannot tip onto plants or soil.
Wipe method: a cloth for fast moves
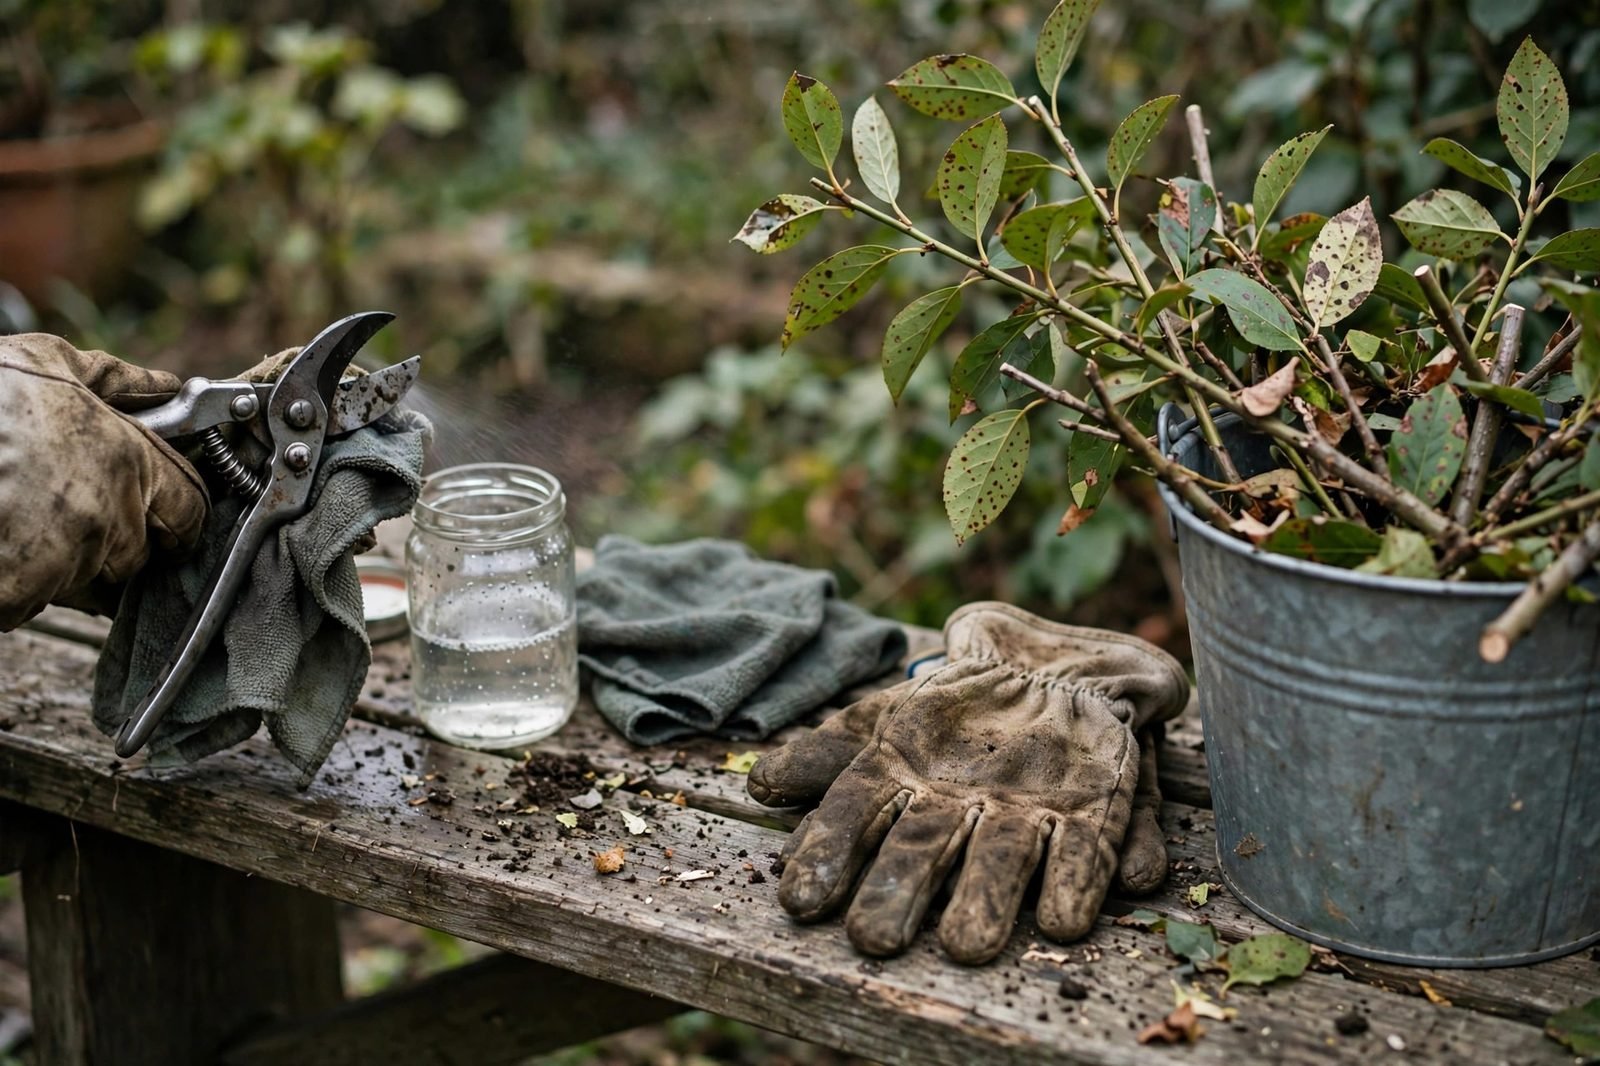
The wipe method uses a cloth or wipe soaked in disinfectant, rubbed over both blade faces and the joint. Wipe each blade face twice, once in each direction, so sap on both sides gets contact with the disinfectant. Let the blades air dry before the next cut, since a wet blade can smear sap instead of cutting clean.

Wipes suit fast work along a hedge or a row of shrubs, where carrying a jar slows you down. A zip bag of pre-soaked cloths fits in a pocket or a tool belt. Replace a cloth once it looks dirty or dry, since a dry cloth spreads debris without disinfecting. For a full tool care routine, see garden tool maintenance checklist and rust repair steps in how to remove rust from garden tools.
A worked example: ten shrubs, two methods
Take a pruning session with ten shrubs, and assume you disinfect between each shrub, which gives ten disinfections. With the wipe method, assume 30 seconds per plant: wiping both blades, plus a few seconds of drying. Ten plants times 30 seconds gives 300 seconds, or 5 minutes of disinfection for the whole session.
With the dip method, assume 30 seconds of dip time plus 15 seconds to rinse and dry after a bleach dip, or 45 seconds per plant. Ten plants times 45 seconds gives 450 seconds, or 7.5 minutes. The dip method costs about 2.5 minutes more across ten shrubs, and it gives longer liquid contact per blade. If you prune diseased wood, that extra contact time is worth the extra minutes. If you prune healthy shrubs and speed matters, the wipe method covers the session in 5 minutes.
Solution volume stays small either way. A jar holding about 16 ounces of liquid covers standard pruner blades to the joint, so one small jar serves a ten-shrub session with liquid to spare. Mix fresh solution for each session, and do not top up yesterday’s jar, since its strength is unknown.
Mistakes that undo the work
The most common mistake is wiping only the outside of the blades. Sap sits on both faces and in the joint, so a one-sided wipe leaves the other side loaded. Another mistake is cutting right after a dip, while the blades are still dripping. Wet blades can carry diluted disinfectant into the cut, and the cut may heal slower. Let the blades dry first.

A third mistake is skipping disinfection after the last diseased plant of the day. The blades go back into storage loaded with sap, and the next session starts with dirty blades. Disinfect once more before you put the pruners away, even if you already disinfected between plants. Gloves that suit pruning work are covered in best gardening gloves for pruning and planting, and choosing pruners that fit your hand is covered in how to choose the right pruners for your hand size.
Sources & Further Reading
- Clemson Cooperative Extension, Home and Garden Information Center plant disease and tool sanitation guides
- University of Minnesota Extension, Yard and Garden plant disease management guides
- Iowa State University Extension and Outreach, horticulture plant disease publications
We have not tested the products linked here, and we give no current store prices. Search current options: pruner disinfectant sprays and disinfecting wipes for garden tools.