
This post may contain affiliate links. If you buy through links on this page, we may earn a commission at no extra cost to you.
As an Amazon Associate I earn from qualifying purchases.
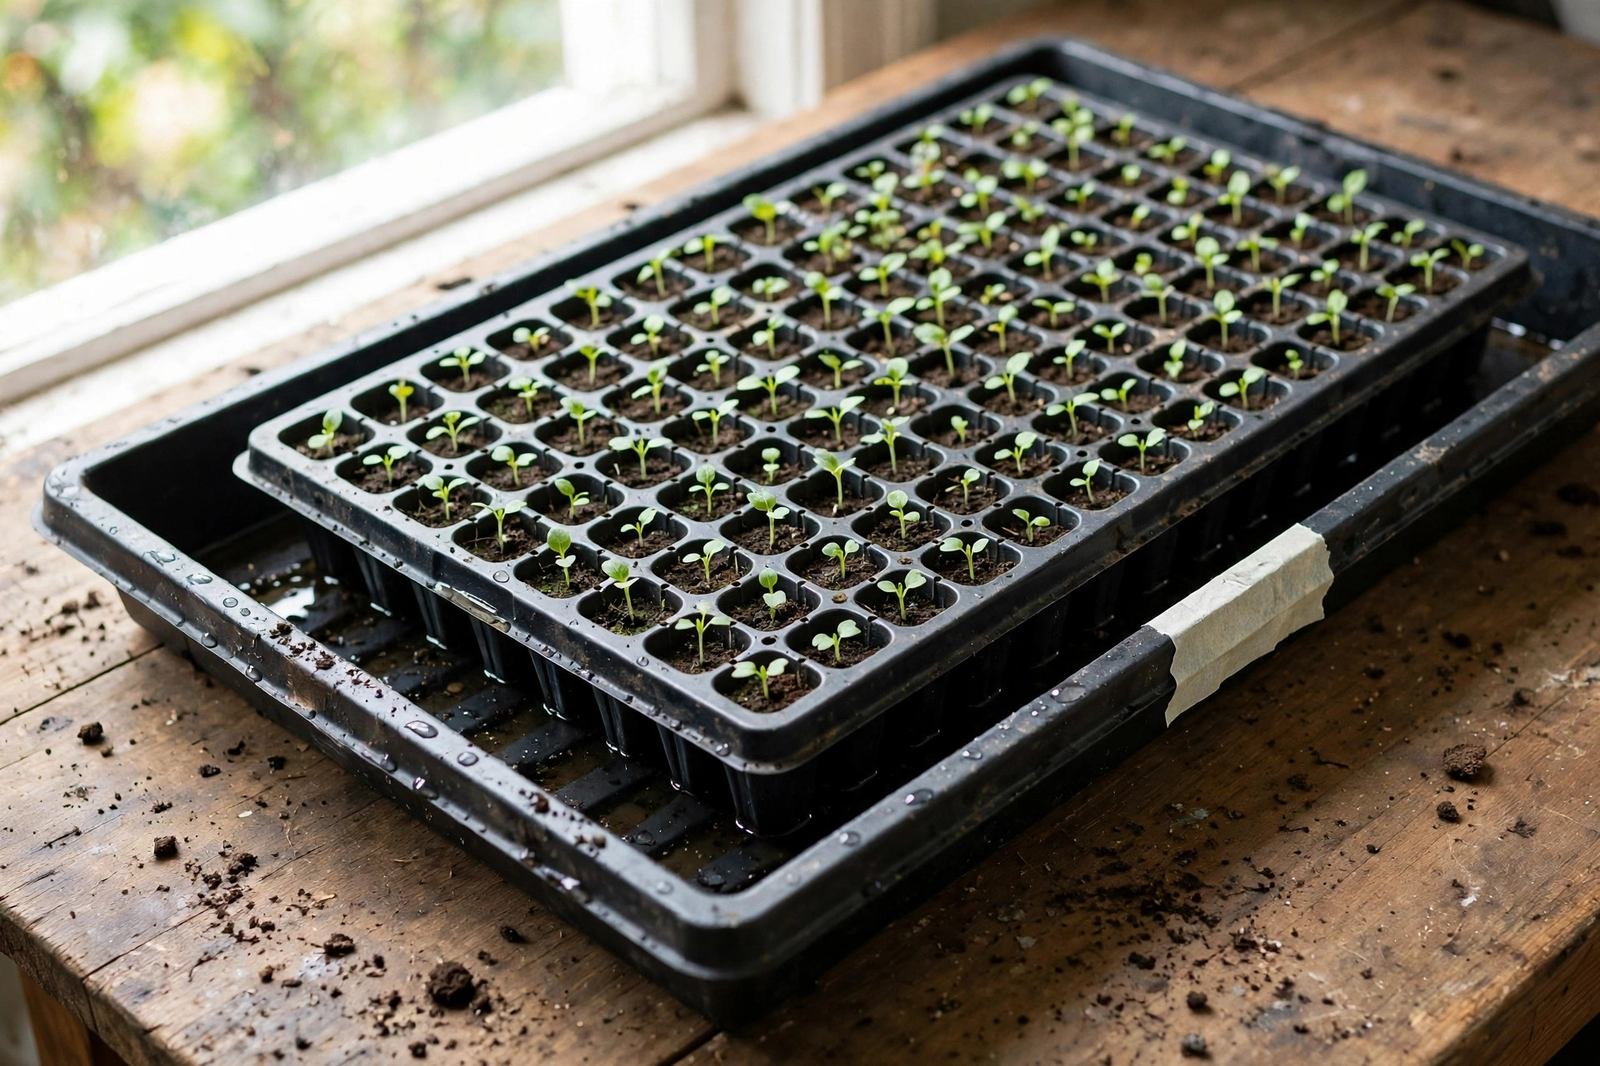
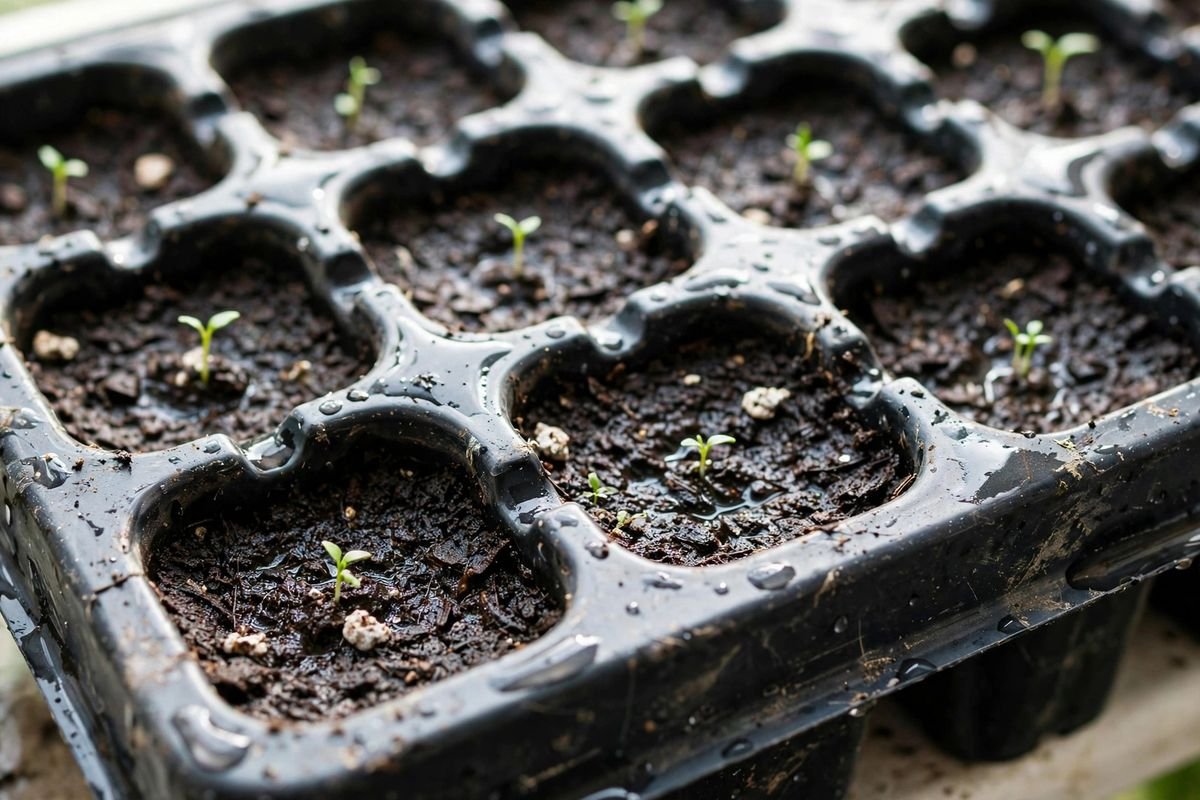
Most seedling failures are watering failures. Stems that stay wet invite damping off, the fungal disease that fells whole trays overnight, while cells that dry out between checks kill roots in hours. Water can arrive from above, poured or misted onto the mix, or from below, wicked up through drainage holes from a reservoir tray. The route changes which parts of the seedling stay wet, how evenly a tray moistens, and how much of your time each watering costs.
Bottom watering vs top watering at a glance
| Bottom watering | Top watering | |
|---|---|---|
| How it works | Water poured into a solid tray under the insert; mix wicks it up | Water poured or misted onto the mix surface |
| Leaves and stems | Stay dry | Get wet, then dry |
| Evenness across the tray | Very even; dry cells pull more | Uneven; easy to miss cells or soak one corner |
| Time for one 72-cell tray | 10 to 20 minutes of wicking, mostly hands-off | 3 to 5 minutes of active pouring |
| Best for | Full trays, tiny seeds, disease-prone crops | Single pots, quick top-ups, fertilizer drenches |
What bottom watering looks like
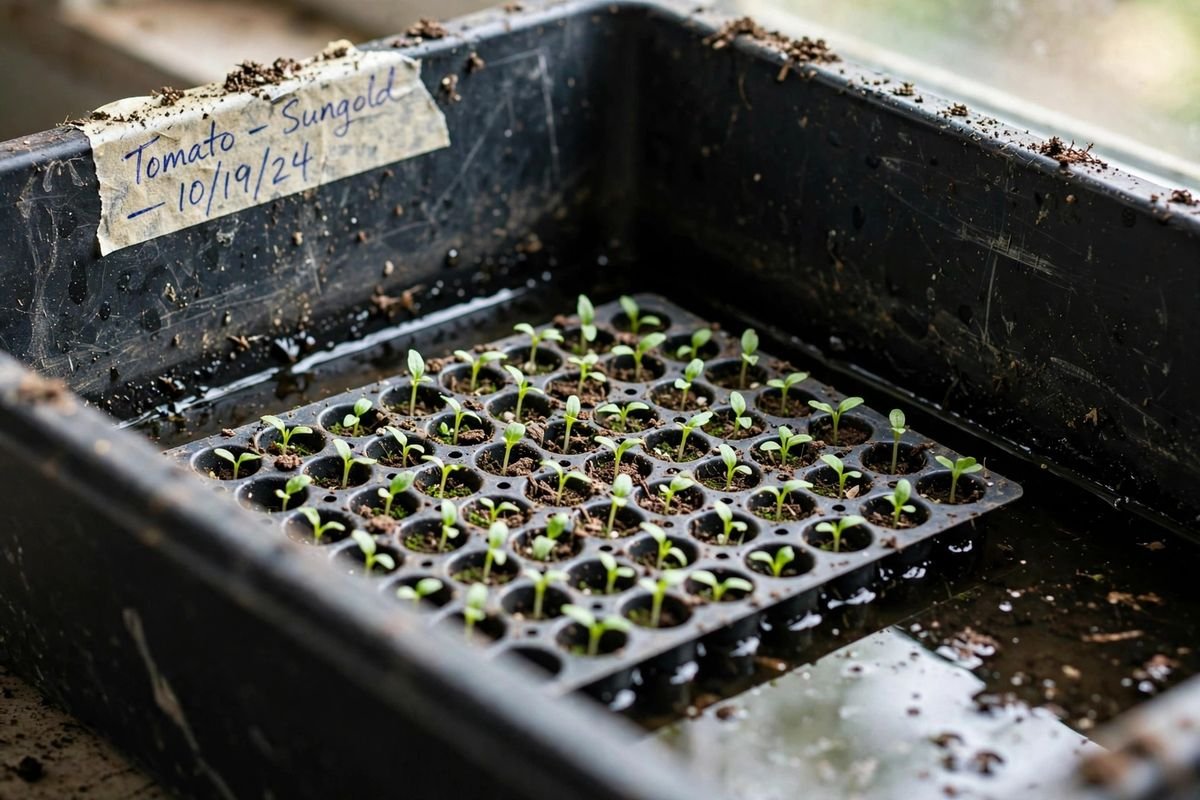
You set the cell insert inside a solid tray with no drainage holes, pour water into the gap, and walk away. Capillary action pulls moisture up through the drainage holes until the mix is evenly damp; then you pour off whatever is left so the cells never sit in standing water. The gear is simple: a leak-free solid tray under a standard insert. Our walkthrough of how to bottom water seedlings covers the setup step by step, and our roundup of bottom-watering trays lists reservoir trays that actually hold water without bowing.
What top watering looks like
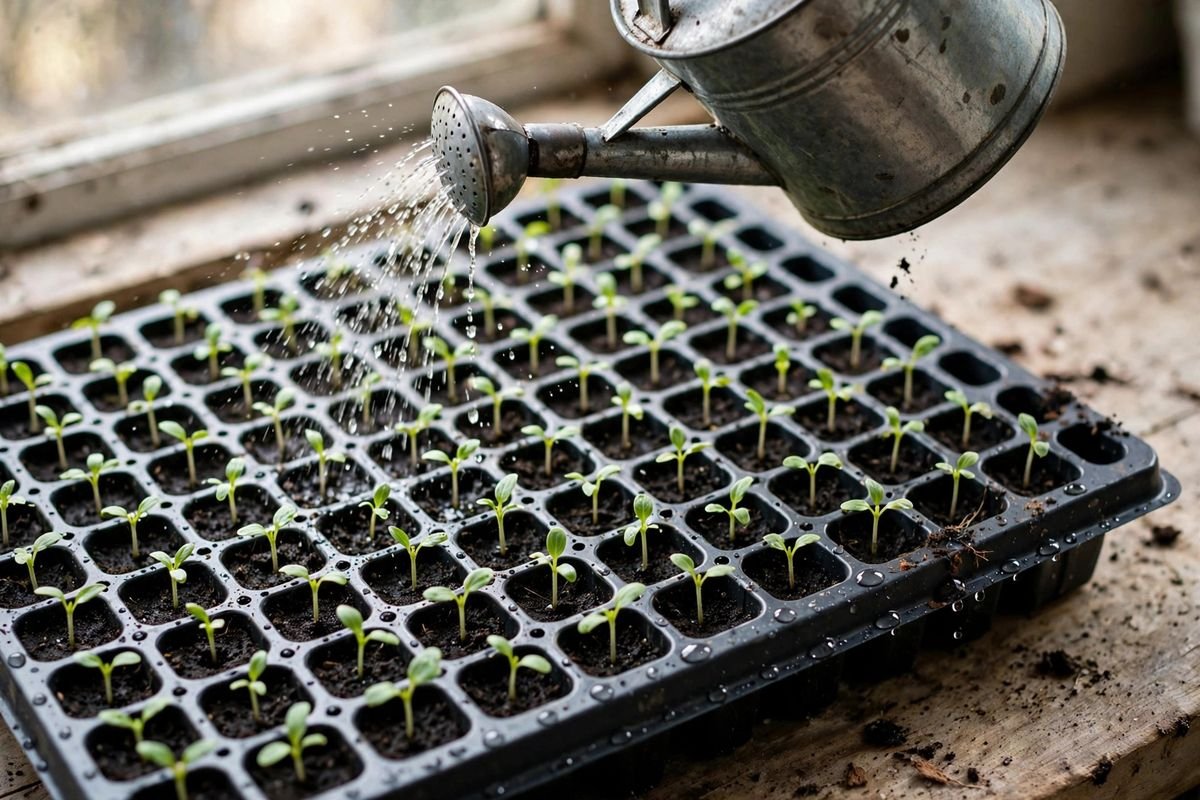
A gentle can or mister wets the mix from the surface down. It is the fastest way to water a few pots and the only practical way to deliver a liquid fertilizer drench evenly. The trade-off is mechanical: the stream can dislodge tiny seeds, splash soil onto stems, and leave leaves wet for hours, which is the condition damping-off fungi like best.
Pros and cons: bottom watering
Bottom watering pros
- Foliage and stems stay dry, which shortens the damp window damping-off fungi need.
- Every cell takes only what it wicks, so a tray moistens evenly without your attention.
- Fine seed stays exactly where you sowed it, with no washout from a can.
- Mostly hands-off: fill the tray, set a timer, drain the excess.
Bottom watering cons
- Slower per tray. Wicking takes 10 to 20 minutes against a few minutes of pouring.
- Needs solid reservoir trays; perforated inserts alone cannot do it.
- Salt and fertilizer residue can accumulate at the surface because water moves upward. Flush from the top now and then.
- Overfill and forget to drain, and roots sit in standing water.
Pros and cons: top watering
Top watering pros
- Fast. One pass with a can waters a tray in minutes.
- Works with any pot or tray; no reservoir needed.
- Flushes accumulated salts downward, away from the surface.
- The natural way to apply liquid fertilizer evenly.
Top watering cons
- Wets stems and leaves, raising damping-off risk in cool, still air.
- Easy to water unevenly: one corner soaked, the opposite corner dry.
- A hard stream displaces small seeds and exposes roots.
- Repeated pounding compacts the mix surface over time.
How much water a 1020 tray reservoir actually delivers
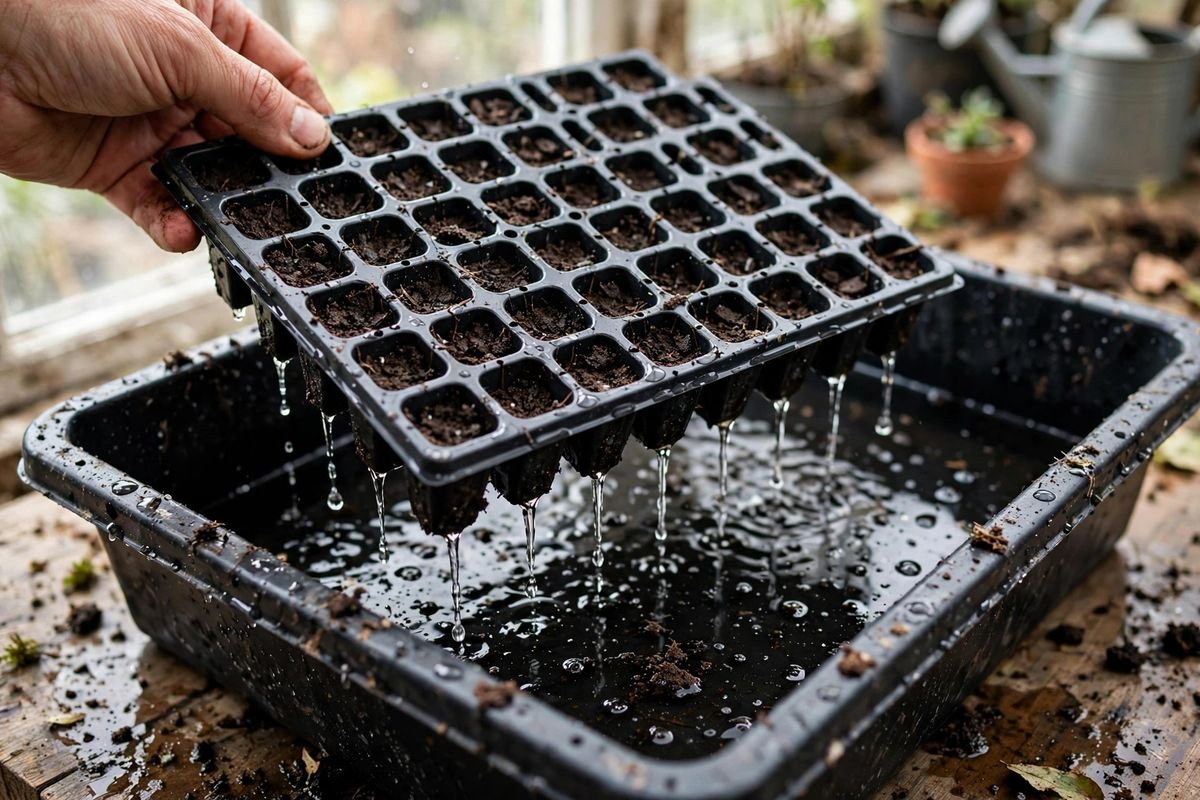
Here is a worked example with the assumptions stated, so you can scale it to your own trays. Assume a standard solid 1020 tray (about 10 by 20 inches inside, roughly 200 square inches) and a pour of 1 quart of water (4 cups, about 946 ml) into the reservoir. That quart spreads to roughly a quarter inch of water across the tray. Divided by the 72 cells of a standard insert, it works out to about 13 ml per cell, a little under a tablespoon.
A 72-cell insert holds roughly 2.5 to 3 fluid ounces of mix per cell, and seed-starting mix absorbs on the order of half its volume in water. So 13 ml per cell is a light top-up watering, not a full soak of dry mix. A full soak from bone dry takes closer to 3 quarts for the whole tray. The practical takeaway: one quart per fill for routine watering, more after a missed day. Expect the wick-up to take on the order of 10 to 20 minutes for a 72-cell tray; smaller cells drink faster, larger cells slower. Lift the insert and check that the surface has darkened evenly. That is your confirmation, not the clock.
Our verdict: which method for which sowing
Choose bottom watering if you are running full 1020 trays, sowing dust-fine seed like lettuce, starting tomatoes or peppers where damping off has burned you before, or you want watering you can start and walk away from. Pair it with a small fan for air movement. Our seed-starting station guide shows the full setup, lights and all.
Choose top watering if you are watering a few individual pots, applying liquid fertilizer, flushing salt buildup, or giving a quick drink between full waterings. Use a fine rose or mister, water early in the day so foliage dries, and keep the stream gentle around newly sprouted seed. For gear, a fine-rose watering can is the one tool worth owning here.
Most growers end up doing both: bottom water as the routine, top water for feeding and the occasional flush. Match the method to the job.
Mistakes that undo either method
- Leaving the insert sitting in the reservoir after the wick-up. Drain within 30 minutes.
- Watering on a schedule instead of by weight. Lift the tray; light means thirsty.
- Using cold water straight from the tap in a cool room. Room-temperature water avoids chilling roots.
- Never flushing. If you bottom water exclusively for weeks, run one top watering to push salts down and out.
- Watering late in the evening with no air movement, so leaves stay wet all night.
Frequently asked questions
Can seedlings be bottom watered every time?
Yes, with one habit: drain the reservoir after each soak, and flush from the top every week or two once you start fertilizing, so salts do not crust at the surface.
Does bottom watering prevent damping off?
It lowers the risk by keeping stems dry, but it is not a cure. Sterile mix, good air movement, and not overcrowding matter as much, and the University of Minnesota Extension seed-starting guide lists all three alongside careful watering.
How do I know the water reached the top of the cells?
The surface darkens as it moistens. If the top stays pale after 20 minutes, the reservoir was too shallow or the mix pulled away from the cell walls. Pour in a little more water and check again.
Sources & further reading
- University of Minnesota Extension, Starting seeds indoors: https://extension.umn.edu/planting-and-growing-guides/starting-seeds-indoors
- Iowa State University Yard and Garden, Starting seeds indoors: https://yardandgarden.extension.iastate.edu/how-to/starting-seeds-indoors
- Clemson Cooperative Extension HGIC, Starting seeds indoors: https://hgic.clemson.edu/factsheet/starting-seeds-indoors/