
This post may contain affiliate links. If you buy through links on this page, we may earn a commission at no extra cost to you.
As an Amazon Associate I earn from qualifying purchases.
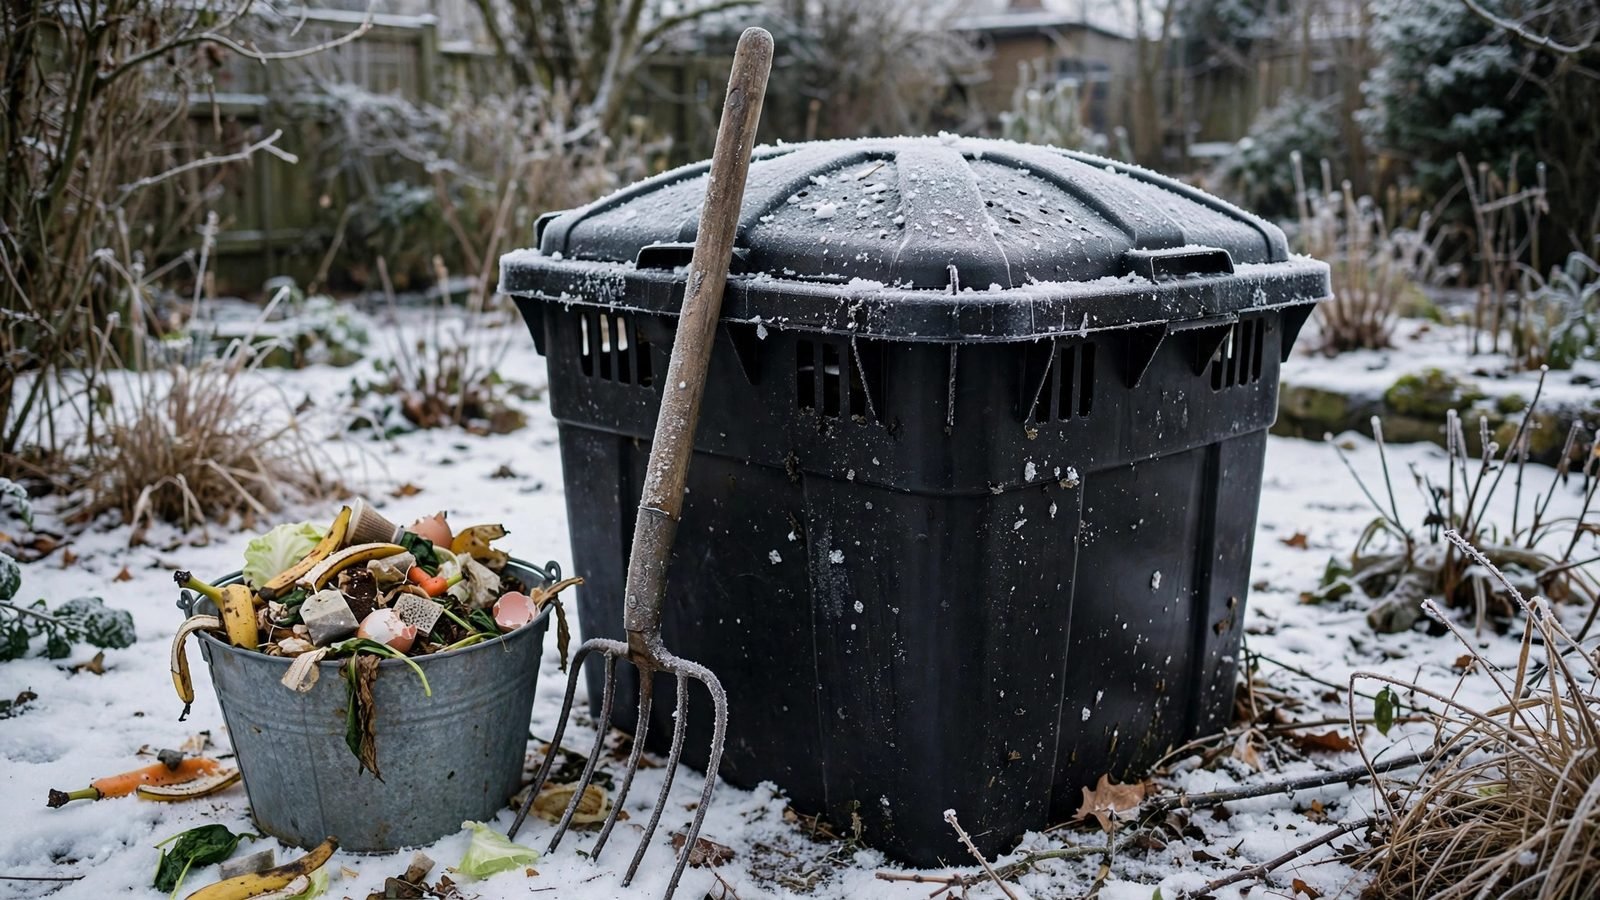
A compost bin that worked all summer can turn into a solid block by January. The lid sticks, the pitchfork bounces off the surface, and last week’s kitchen scraps sit on top in a frozen layer. The bin has simply gone cold enough, for long enough, that the water inside it turned to ice and the microbes went quiet.
A frozen bin is not a failed bin. Decomposition stops only while the contents stay frozen solid, and it starts again when temperatures rise. The microbes are mostly still there, and the material you added in autumn is already in place for spring. What the bin needs now is gentle thawing, dry browns on hand, and no new material that will make the spring mess worse.
This guide covers why bins freeze, how far the freeze goes, safe ways to loosen one, and what to keep adding or stop adding until the weather turns, plus thaw math for a typical 30-gallon bin.
Why a compost bin freezes
Compost breaks down because microbes eat organic matter and give off heat as they work. In warm weather a working pile can hold 130 to 150 degrees Fahrenheit in its center. In winter that heat leaks away faster than the microbes can make it. Once the center drops below about 68 degrees, heat-loving bacteria hand over to cold-tolerant bacteria that work much more slowly, and below freezing, water in the pile turns to ice and activity stops.
Size decides how fast that happens. A pile of about 3 feet on each side holds heat far better than a small bin, because heat is made through the whole mass but lost only through the surface. A small plastic bin or a tumbler has a lot of surface for its volume, so it cools fast and freezes through, while a large heap often keeps a warm core while the outside freezes.
Wet material freezes harder than dry material. A bin that went into winter soaked from autumn rain holds more water, and that water becomes more ice. A loose or missing lid collects snow and rain on top, and each melt-freeze cycle adds another icy layer. Wind strips heat from the sides, and shade keeps the bin from catching low winter sun. Two bins with the same contents can freeze very differently.
Freezing does one small favor: ice crystals break down plant cell walls, so frozen and thawed scraps break down faster once microbes wake up. Use your local frost dates and regional planting guidance — not your USDA hardiness zone alone — to choose planting dates.
How to tell how frozen your bin is
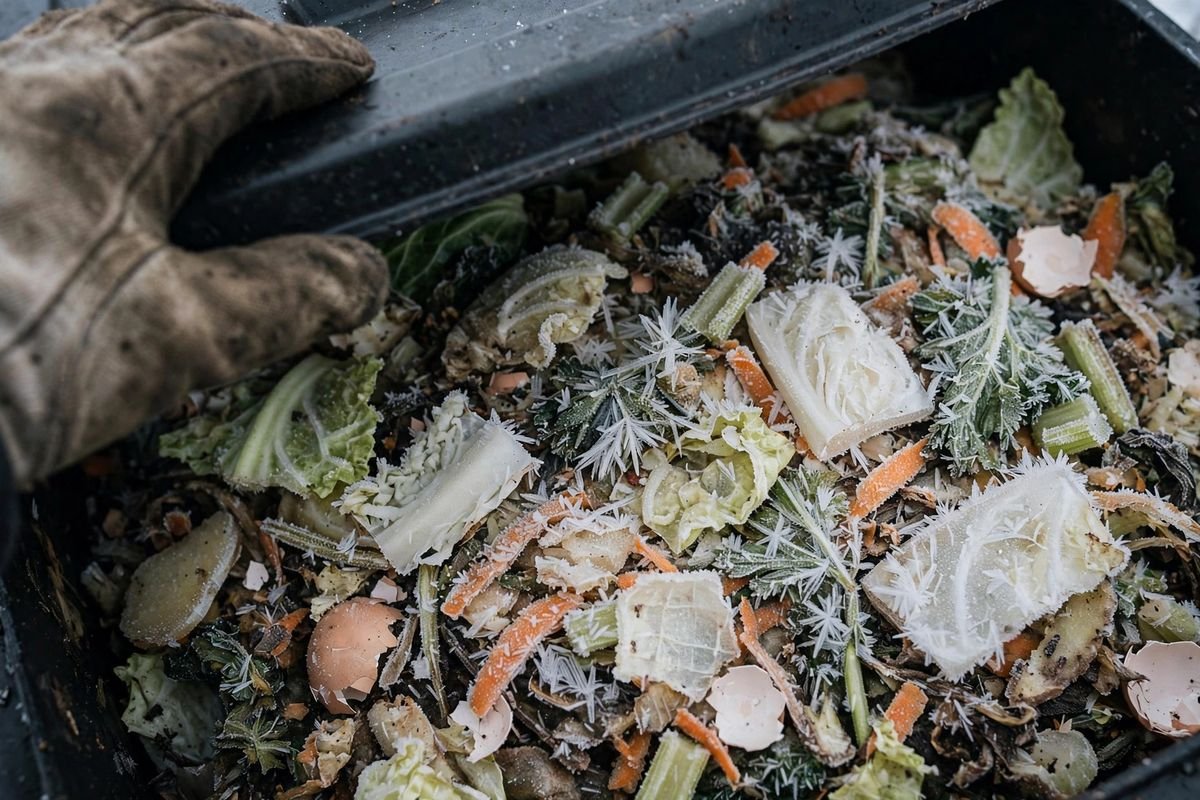
Start with the lid. If it lifts freely and the top few inches are soft, only the surface froze and the bin will recover with the next mild spell. If the lid is stuck, do not force it: pour a jug of warm water around the rim, wait a few minutes, and try again.
Push a pitchfork or a long screwdriver into the contents. If it sinks a few inches and stops, the freeze is shallow; if it will not go in at all, the bin is frozen through. A compost thermometer helps: push the probe in as far as it will go, and a reading at or below 32 degrees Fahrenheit through the full depth means the bin is solid. Look for compost thermometers with a long probe, so the reading comes from the center of the pile instead of the surface layer.
Safe ways to thaw a frozen bin
The safest thaw is the slow one. Leave the lid on, keep the bin out of the wind, and let mild weather do the work. A bin in a sunny, sheltered spot thaws sooner than one in open shade, and a dark bin absorbs more sun than a pale one. Moving a small bin to a sunnier spot before the deep cold arrives is easier than moving it after it freezes solid.
Warm water can loosen the top layer so you can keep adding scraps, but it is a tool for the surface, not for the whole bin. Use water that feels warm to the hand, around 100 to 110 degrees Fahrenheit, poured slowly over the frozen top in stages. Hot water can kill microbes near the surface and can crack cold plastic, so keep it warm, not hot. Never pour boiling water into a bin, and never use a space heater, heat lamp, or open flame near a plastic bin or dry leaves.
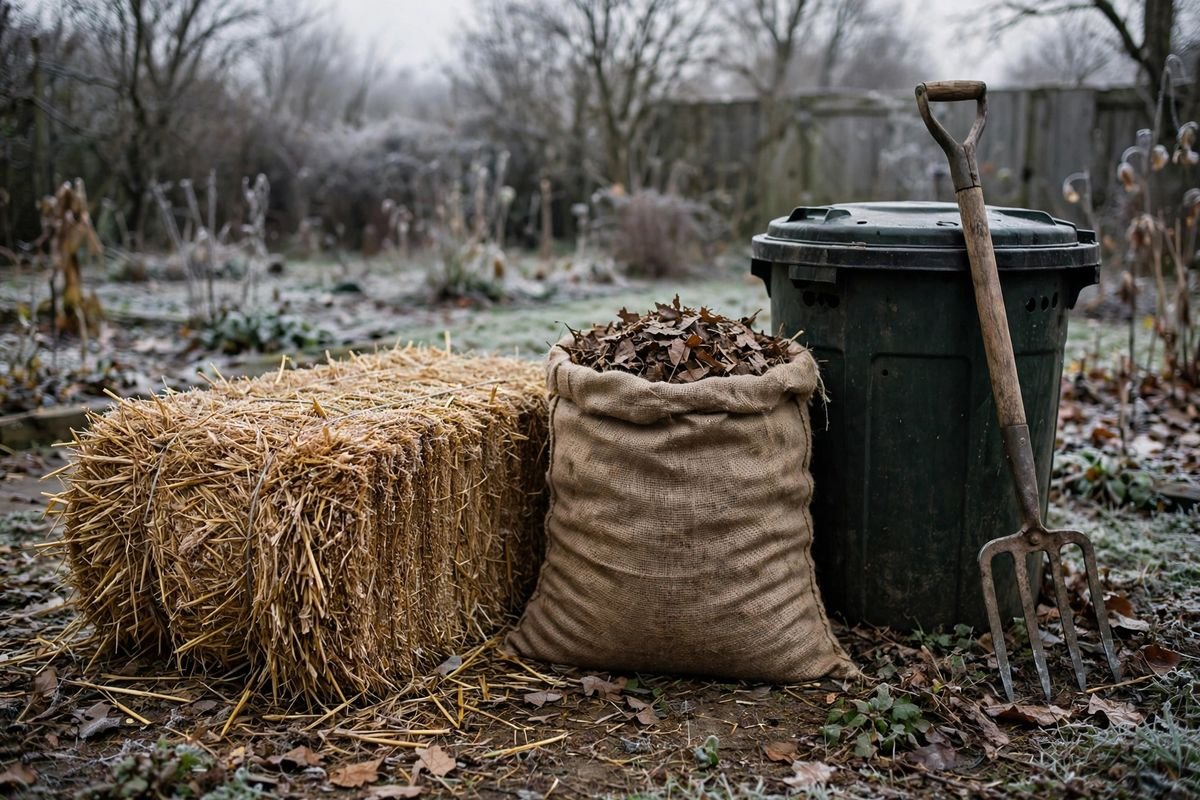
Insulation helps the thaw hold. Straw bales around the sides, bags of dry leaves packed against the bin, or a thick straw layer on top all slow heat loss. A tarp over the top keeps snow and rain off, but leave a gap for air, since a bin sealed tight under plastic can turn soggy and airless. For insulation, look for straw mulch bales sold for garden use, and check the listing for size and whether the straw is seed-free before ordering.
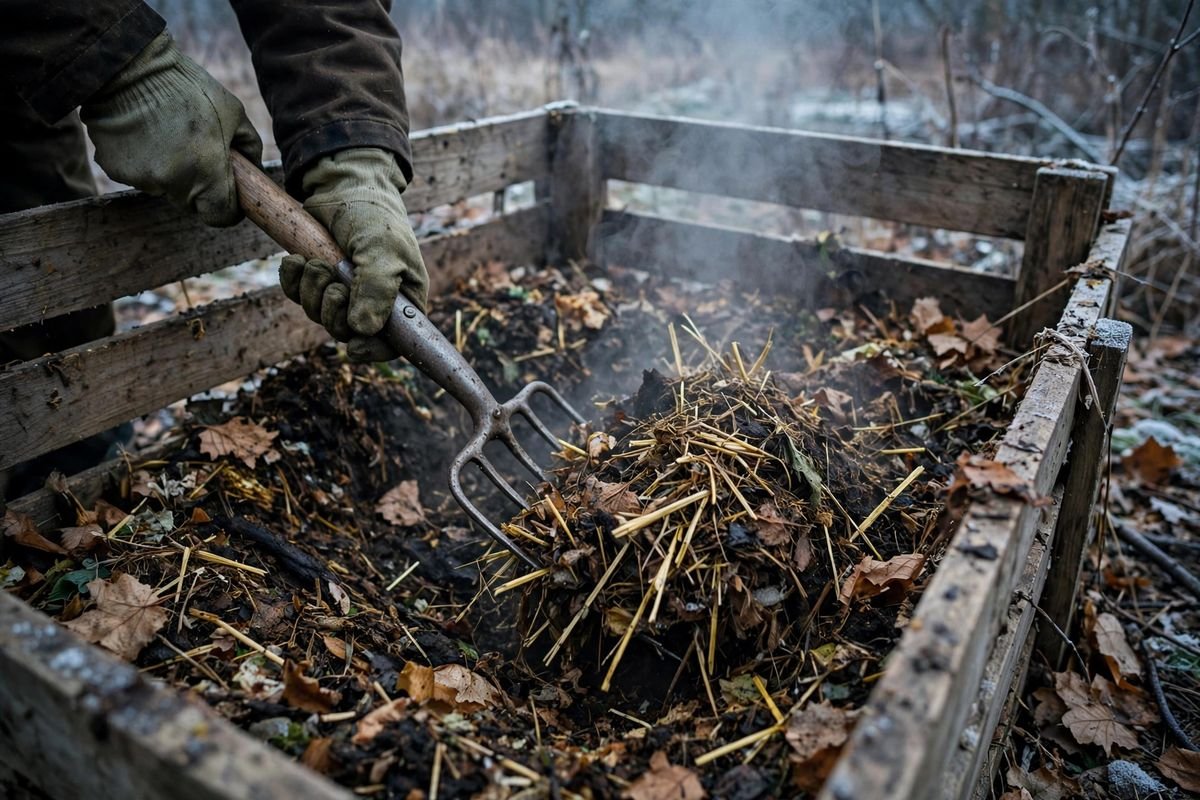
Do not turn a frozen bin. Turning loses the little heat that is left and mixes frozen chunks through the pile without breaking them down. Wait until a fork passes through, then turn gently. A sturdy fork matters here, so look for garden pitchforks with a solid handle and check the length and tine count against your bin size before ordering.
What to add in winter, and what to stop adding
Keep adding kitchen scraps if you can reach the bin, but change how you add them. Chop scraps small, since small pieces give slow winter microbes more surface to work on, and bury each addition under dry browns and a few inches of leaves or straw. Scraps left exposed on a frozen surface attract animals and freeze into a sheet that blocks air.
Browns are the winter workhorse. Dry leaves, shredded newspaper, straw, and sawdust soak up moisture, add air pockets, and keep the balance from tipping toward wet greens. Stockpile browns in autumn in bags or a covered can near the door, and use about one scoop of browns for every scoop of kitchen scraps, with an extra scoop after wet additions such as coffee grounds or melon rinds.
Stop adding the things that cause trouble in a cold, slow bin. Meat, dairy, fats, and oils break down slowly at any time of year, and in winter they sit and draw pests. Diseased plants and seeded weeds are also out, since a cold bin never reaches the heat that kills weed seeds or plant pathogens. Large woody pieces, whole pumpkins, and thick stalks will still be there in April, so chop them or hold them until the bin is working again.
If you cannot reach the bin at all, use a pre-compost bucket by the door: layer scraps with browns in a lidded bucket or trash can and empty it into the outdoor bin when the weather allows. For help deciding what belongs in the bucket, see what can and cannot go in a compost bin.
Keeping microbes active through cold weather
Microbes need food, air, moisture, and as much warmth as the season allows. Food is rarely the problem, since kitchen scraps keep coming. Air is the one most gardeners lose, because a bin that is never turned and sits under snow compacts into a dense, wet mass. Moisture should feel like a wrung-out sponge: damp, never dripping. Squeeze a handful when the bin softens; if water runs out, add dry browns, and if it feels dry and crumbly, add a little water. Turn only on a mild day, when the contents are soft enough to move, and only enough to mix in browns and open air channels.
Build big before the cold arrives: a new pile started in autumn should measure about 3 feet on each side, roughly a cubic yard. Smaller piles struggle to hold heat, and much larger piles let too little air reach the center. Harvest finished compost in autumn to make room, because winter additions pile up while decomposition runs slow. For the full method, see how to make compost at home.
Watch the thermometer rather than the calendar. A center reading that climbs after a mild spell means microbes are back at work, while a reading that stays at air temperature for weeks means the bin is still paused. If your bin never heats up even after a thaw, the cause is usually too little mass, too much water, or too few browns. Our guide to why compost is not heating up walks through each cause in order.
Thaw math: how much warm water, and how long
Warm water feels like the fast fix, but the numbers show why it only helps the top layer. This worked example uses stated assumptions, not a trial, so adjust the figures to your own bin.
Take a typical 30-gallon bin, about 114 liters. Assume the contents weigh about 45 kilograms, about half of that water, so about 22 kilograms of ice when frozen solid. Assume the frozen contents start at 23 degrees Fahrenheit (minus 5 degrees Celsius) and must reach 32 degrees Fahrenheit (0 degrees Celsius) before any ice can melt.
Warming the frozen mass takes about 450 kilojoules: 45 kilograms times a rough specific heat of 2.0 kilojoules per kilogram per degree, times 5 degrees. Melting the ice takes far more: 22 kilograms times 334 kilojoules per kilogram, about 7,350 kilojoules, for a total near 7,800 kilojoules.
One liter of water at 104 degrees Fahrenheit (40 degrees Celsius) gives up about 167 kilojoules as it cools to freezing. Dividing 7,800 by 167 gives about 47 liters, or roughly 12 gallons, of warm water to thaw the whole bin by water alone. That much water would soak the pile and leave it waterlogged, so a full thaw by warm water is not a sound plan.
The practical target is the top 4 inches, about 10 kilograms of frozen material holding about 5 kilograms of ice. Melting that ice needs about 1,670 kilojoules plus about 100 kilojoules of warming, near 1,770 kilojoules in total, or about 11 liters (about 3 gallons) of 104-degree water poured slowly in stages. That loosens the surface enough to add scraps and browns, while the rest of the bin thaws on its own schedule.
Thaw time depends on air temperature, sun, and bin size. As a planning estimate, a frozen 30-gallon bin in steady air of 40 to 45 degrees Fahrenheit, with sun on the bin and the lid on, softens at the surface in 3 to 5 days and thaws through in 1 to 2 weeks. A larger heap takes longer to thaw through but often keeps a working core, and a tumbler in full shade can take longer than a dark bin in sun. These are estimates for planning, not measured results, and a cold snap resets the clock.
When to leave the bin alone until spring
Sometimes the best move is to stop managing the bin and let winter pass. If the bin is frozen solid, the ground is deep in snow, and the next mild spell is weeks away, there is nothing to gain by chipping at ice or forcing the lid. Put scraps in a pre-compost bucket, keep the bin covered, and check again after the first thaw. Do not empty a frozen bin onto the garden and call it compost: frozen scraps are not finished compost, and they will sit on beds and draw animals.
Wait until the material is dark, crumbly, and earthy-smelling with no food pieces left to recognize. For the checks that tell you it is ready, see how to tell when compost is finished.
What to do at the first spring thaw
The first mild week is the busiest week for a winter bin. Open the lid, check the moisture, and turn the pile once it is soft enough to move. Add dry browns if the thaw left the pile soggy, and add water only if the contents feel dry. Shredded leaves, straw, and a forkful of finished compost on top help restart activity. Do not use the contents until they pass the finished checks: winter material often looks dark outside while the center still holds recognizable scraps.
Frequently asked questions
Will a frozen compost bin start working again on its own?
Yes. Microbes survive freezing in most home bins, and activity restarts when the contents thaw. A large pile often keeps a warm core all winter, while a small bin may stay paused until spring. Give the bin a turn and fresh browns after the thaw.
Can I keep adding kitchen scraps to a frozen bin?
You can, if you can open the lid and cover each addition with browns. Scraps added on top of ice will freeze in place and wait for spring, which is fine as long as they are covered and the bin is not already full. If the bin is full, use a pre-compost bucket until space opens up.
Does freezing kill the microbes in compost?
Freezing slows microbes and stops active decomposition, but most bacteria and fungi in a home pile survive the cold and resume work when temperatures rise. Hot-phase bacteria that need temperatures above 113 degrees Fahrenheit give way in winter to cold-tolerant bacteria that work slowly, and the hot-phase community rebuilds when the pile warms again.
Should I turn my compost in winter?
Turn rarely and only when the contents are soft. Each winter turn loses heat, so turn on a mild day, mix in dry browns, and then leave the pile alone. If the pile is frozen solid, do not turn it.
How do I keep a compost bin from freezing next year?
Build the pile to about 3 feet on each side before the cold arrives, harvest finished compost in autumn to make room, stockpile dry browns, site the bin where it catches low winter sun and shelter from wind, and keep a lid or cover on it. Straw bales or bags of leaves around the sides help small bins the most.
Sources and further reading
- University of New Hampshire Extension: Can you compost in the winter?
- Royal Horticultural Society: Composting through the winter months
- University of Illinois Extension: Composting in Winter (PDF)
- Cornell Cooperative Extension Essex County: Winter Composting
Related reading: How to Make Compost at Home, Why Is My Compost Not Heating Up, How to Tell When Compost Is Finished, Best Compost Bins for Small Backyards
By the Pot and Plot Team