
This post may contain affiliate links. If you buy through links on this page, we may earn a commission at no extra cost to you.
As an Amazon Associate I earn from qualifying purchases.
A raised bed rewards steady, low watering. Its soil mix dries from the surface, and a wand or sprinkler often wets leaves and paths more than the root zone. Drip irrigation places small emitters at the soil surface and runs water slowly where plants can use it. For a single bed the setup stays simple: a head assembly at the faucet, a main line to the bed, a few lateral lines across the soil, and emitters spaced to match the crop plan.
This guide walks through a standard layout for one bed, with parts, pressure, spacing, and a worked runtime plan you can adjust for your own dimensions. Newer growers may want our overview of raised bed gardening for beginners first. Readers comparing products can pair this how-to with our roundup of the best drip irrigation kits for raised beds and drip irrigation vs soaker hose. We frame the steps as a standard layout plan, not a hands-on product test.
Parts list for one raised bed
A single-bed system needs a short list. The sizes below follow the common 1/2-inch main line pattern in many home kits; confirm tubing diameter and fitting style on the listing before ordering.
- Backflow preventer that matches the faucet thread
- Pressure regulator, near 25 psi in our plan (match it to the emitter rating)
- Filter with a washable screen
- Main supply tubing, 1/2 inch, enough to reach the bed plus slack
- Lateral drip tubing (solid tubing for punched emitters, or drip line with built-in emitters)
- Emitters at 0.5 gallons per hour for our worked example, plus a punch tool
- Elbows, tees, couplers, end caps, and goof plugs
- Stakes to hold lines in place, plus scissors or a tubing cutter
- Optional: a battery hose timer
A complete drip irrigation kit for a raised bed often bundles most of these pieces. When we shop a kit, we check the regulator pressure, emitter flow rate and spacing, total tubing length, and whether the head assembly includes backflow protection and a filter.
Step 1: Plan the layout on paper
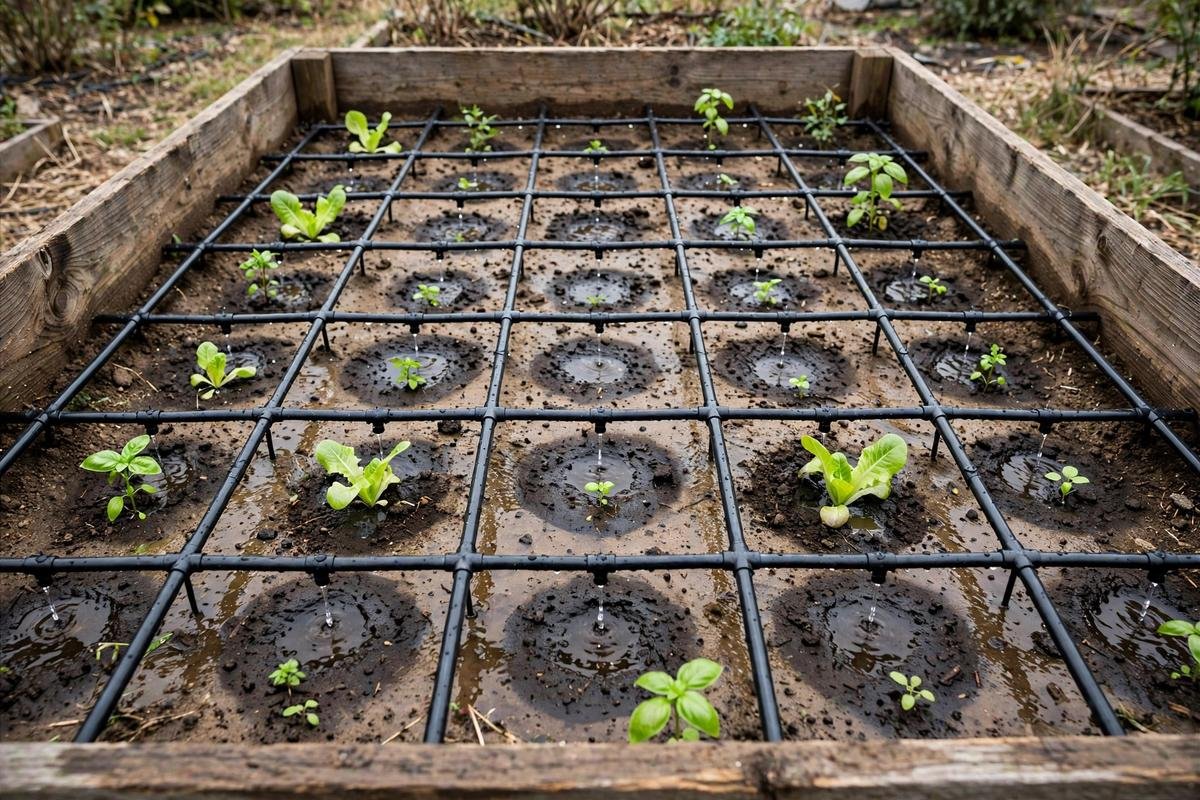
Start with the bed dimensions and crop rows. For a 4-foot by 8-foot bed, four lateral lines running the 8-foot length, spaced about 12 inches apart across the width, cover the surface evenly for mixed vegetables. Crops in rows suit a line per row. Larger plants suit a line beside the row with emitters near each plant. Our notes on how to grow tomatoes show the spacing those larger plants need, which helps decide whether one emitter per plant or two will serve the root zone.
In a loamy mix, water spreads several inches from each emitter, so 12-inch spacing gives overlapping wet spots without large dry gaps. Sandy mixes spread less and may need closer spacing. We keep 12 inches as the baseline because it matches many pre-spaced drip lines. Sketch the faucet location, the main line path, and any spot where tubing crosses a path or the bed edge.
Step 2: Connect the head assembly at the faucet
The head assembly protects the system and sets the pressure. The order at the faucet runs: faucet, backflow preventer, timer if used, filter, pressure regulator, then the adapter to the main tubing. The preventer keeps irrigation water from moving backward into the household supply, and local codes often require one. The filter catches grit that would clog emitters. The regulator drops household pressure to a level drip parts are built for.
Many home systems plan around a regulator near 25 psi. We state that as an assumption: check the emitter listing for its rated range and match the regulator to it. A separate drip irrigation pressure regulator makes that match simple when a kit omits one. Hand-tighten joints and check for drips during the first pressurized test.
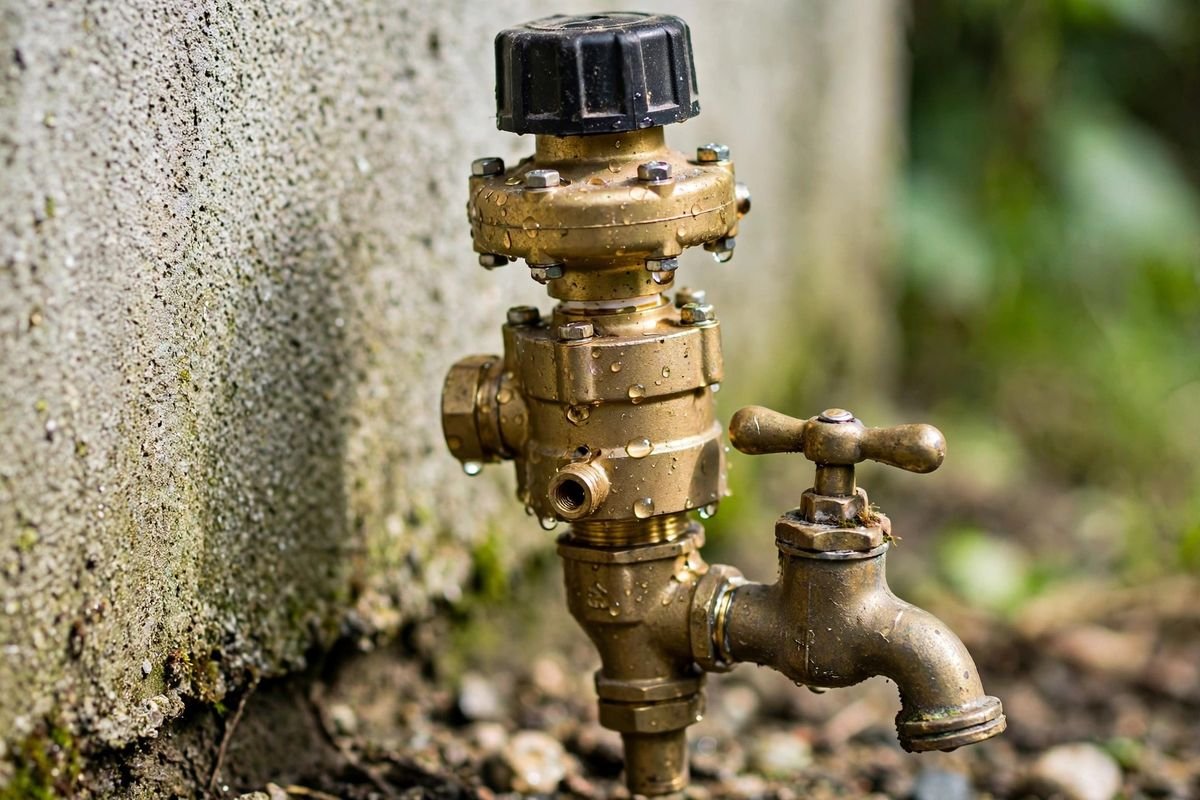
Keep the assembly within reach. The filter screen needs rinsing during the season, and the head comes off before freezing weather.
Step 3: Lay the main line and lateral lines
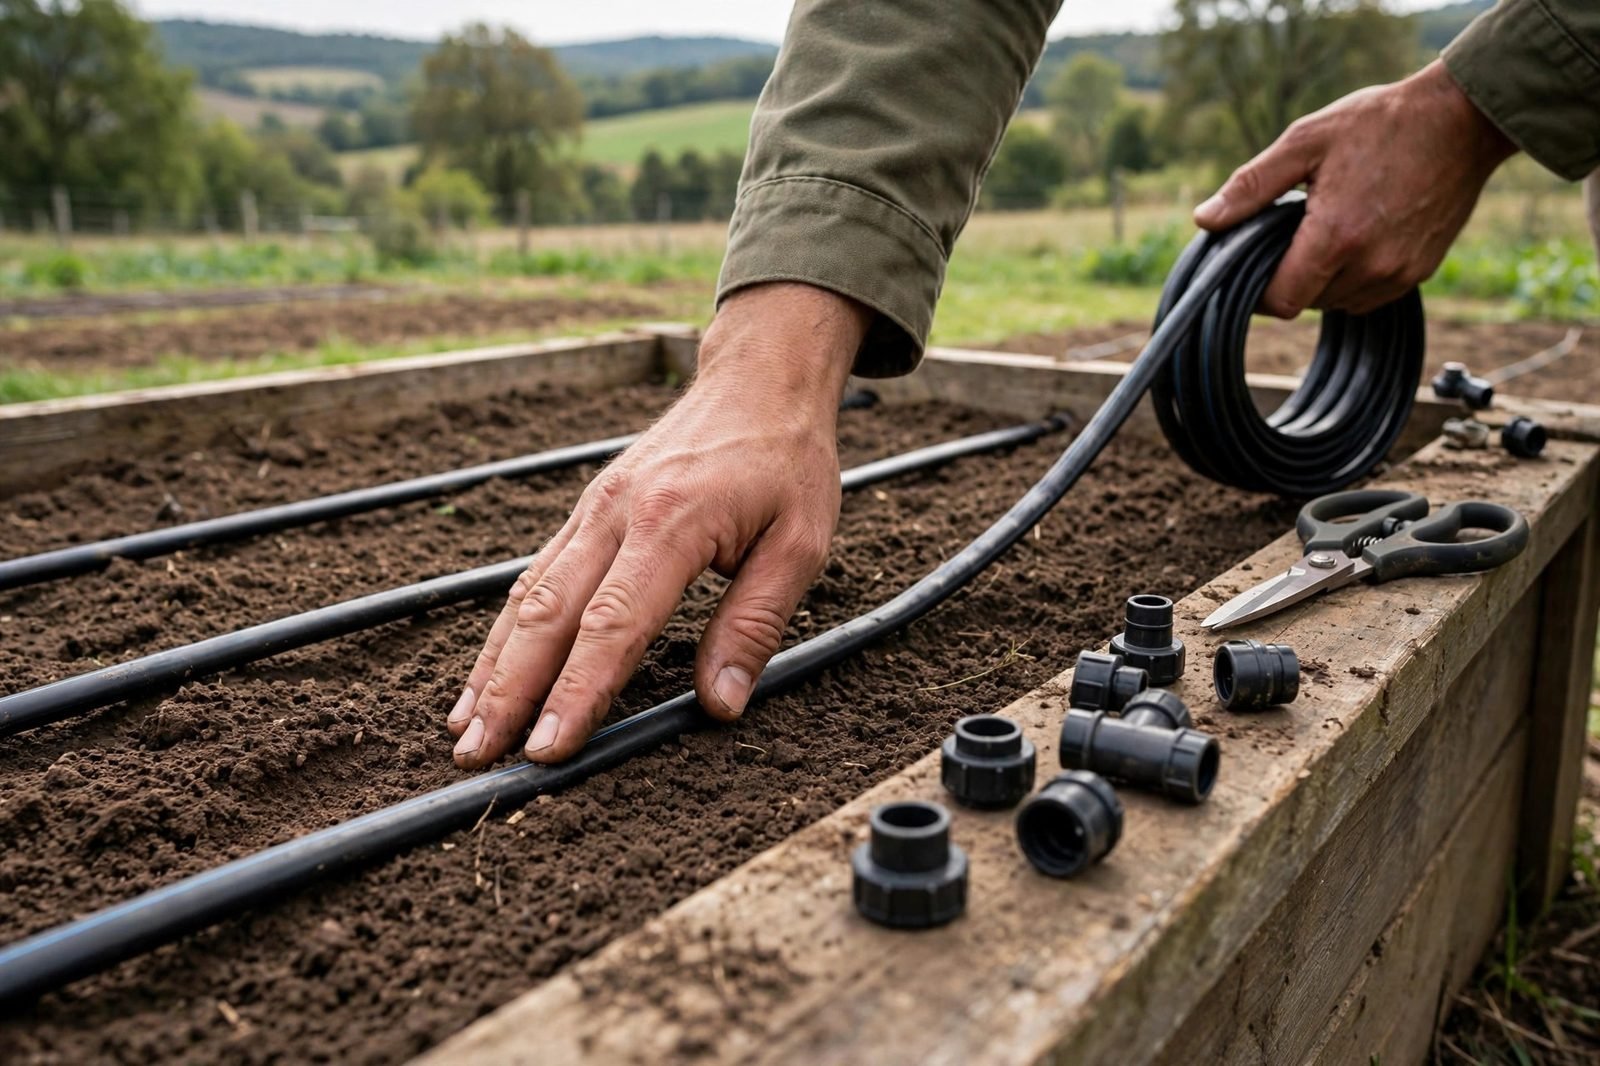
Run the main tubing from the faucet to the near corner of the bed, leaving a little slack at bends. Tubing that rests briefly in the sun softens, cuts cleanly, and lies flatter. At the bed, add a tee or elbow to send tubing over the edge, then lay the laterals along the planned rows. We keep the feed along one short end of the 4 by 8 bed, with the four 8-foot laterals branching from it.
Stake each lateral every few feet so lines stay put during hoeing and mulching. Close the far ends with caps that can open for flushing, and leave those ends accessible rather than buried. A gentle bend or elbow where tubing crosses the bed edge guards against a pinched line.
Step 4: Add emitters where plants will sit
With solid lateral tubing, punch a hole at each planned spot and press an emitter in until it seats. With pre-spaced drip line, the emitters already sit inside the tubing; our job is to align those intervals with the crop rows. Either way, placement follows the plants: an emitter near the base of each transplant, with extras added as roots spread. Goof plugs patch a wrongly punched hole, so a mistake costs a plug rather than a new line.
Wide-canopy crops may start with one 0.5 gallon-per-hour emitter and gain a second later in summer. Greens and root crops in rows rely on the regular 12-inch pattern. We count as we go, since the count feeds the runtime math in the next step.
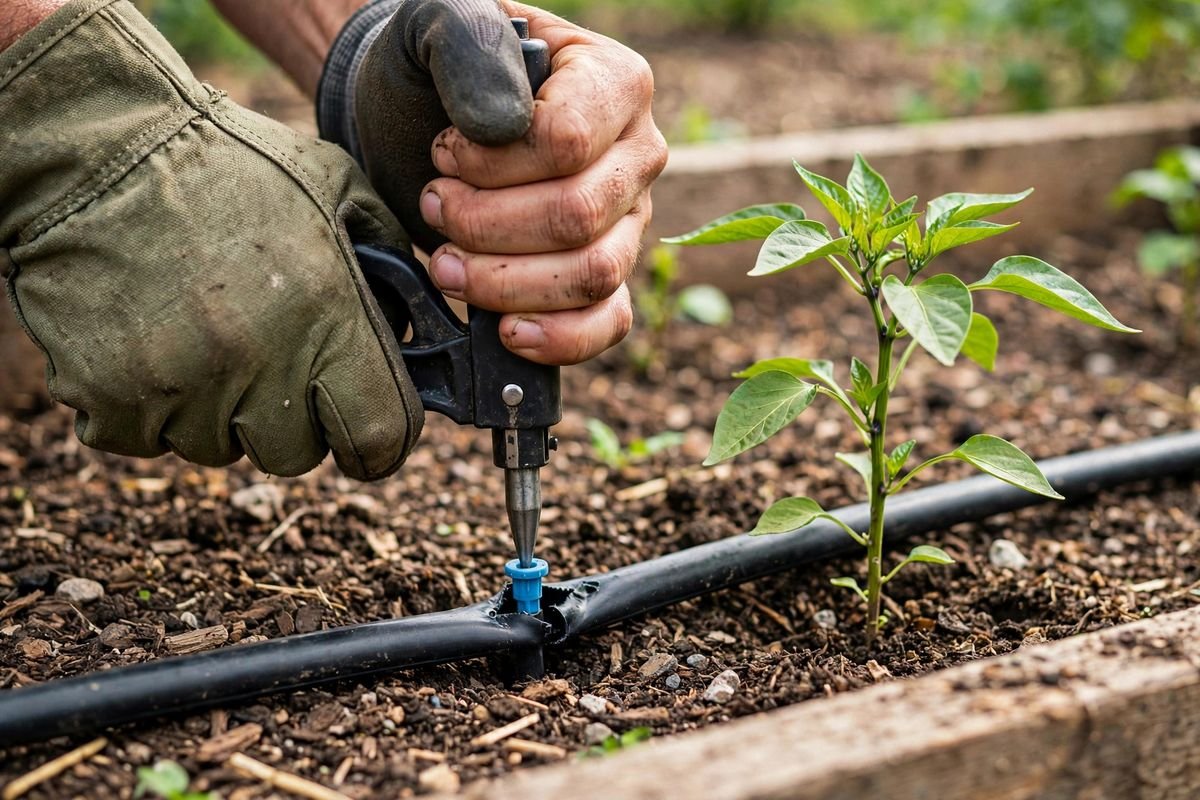
After punching, leave the end closures open and run water briefly to flush out shavings and crumbs. Then close the ends and reseat any emitter that weeps at its base.
Step 5: Test the system, check pressure, and set runtime
Open the faucet and walk the bed. Each emitter should drip at a similar pace, with even dark spots forming under the lines. A slow line points to a kink, a clogged filter, or a partly closed fitting. A spraying emitter points to a poor seat or pressure above its rating. We fix those faults now, while the lines are easy to lift.
Worked example: parts and runtime for one 4 by 8 bed
Inputs, stated plainly: one bed 4 feet by 8 feet (32 square feet); four lateral lines, each 8 feet long, spaced about 12 inches apart; emitters every 12 inches along each line; each emitter rated at 0.5 gallons per hour at the assumed regulated pressure near 25 psi.
Emitter count: an 8-foot line with an emitter every 12 inches holds about 8 emitters. Four lines times 8 emitters gives about 32 emitters.
Total flow: 32 emitters times 0.5 gallons per hour equals 16 gallons per hour for the whole bed.
Water for 1 inch over the bed: one inch over 32 square feet is 32 times 1/12, about 2.67 cubic feet. At about 7.48 gallons per cubic foot, that comes to roughly 20 gallons for about 1 inch across the bed, before evaporation or drainage losses.
Runtime: 20 gallons divided by 16 gallons per hour equals 1.25 hours, about 75 minutes, for a deep watering of roughly 1 inch. Splitting that into two shorter cycles helps water soak in rather than puddle. The arithmetic scales: double the emitter flow rate and the runtime halves.
We treat these numbers as a planning baseline. A finger pushed into the soil after watering shows whether moisture reached the root zone, and we adjust minutes from the 75-minute starting point.
Our guide on how often you should water a raised bed covers frequency by soil and weather; this math converts that frequency into timer minutes.
Step 6: Add a timer and set the schedule
A timer turns a tested layout into a steady routine. A simple battery garden hose timer handles one bed or a small group on the same schedule. Our comparison of the best garden hose timers covers features that matter once more zones enter the plan. We program early-morning runs, when wind and evaporation stay low.
Frequency follows crop stage and weather. New transplants may need short, frequent runs while roots establish. Established plants do better with the deeper, less frequent watering the worked example plans for. Planting dates for new successions still rest on the local climate: Use your local frost dates and regional planting guidance — not your USDA hardiness zone alone — to choose planting dates.
Step 7: Maintain the system and store it for winter
Drip parts ask for small, regular care. We rinse the filter screen when flow drops, flush each line at season start and after any repair, and walk the bed monthly to spot chewed tubing, lifted stakes, or emitters buried under mulch. Mulch can sit over the lines, but emitter outlets need to stay clear enough that water reaches the soil.
Before hard freezes, we drain the lines, remove the head assembly and timer, and store small parts indoors. The full sequence in how to winterize a raised garden bed places that plumbing work beside the soil and cover tasks for the same bed.
Common problems and plain fixes
End-of-line emitters run slower. The line may be kinked or blocked, or the filter clogged. We flush the line, straighten bends, and clean the filter before changing parts. One emitter clogs. We pop it out, rinse or replace it, and check the filter screen. Wet edges, dry middles. A coverage gap is likely; adding a lateral or tightening spacing evens the pattern. Flow drops after adding a second bed. Demand rose with the new emitters, so we rerun the Step 5 arithmetic.
FAQ
How far apart should emitters be in a raised bed?
Twelve inches along the line is a sound baseline for a loamy mix and mixed vegetables, as in our worked example. Sandy mixes may need closer spacing; a test run that shows the wet pattern settles the choice.
Do we need a pressure regulator for one small bed?
Most drip emitters are rated for low pressure, so a regulator matched to the emitter rating, often near 25 psi, protects emitters and fittings even on a single bed.
Can one faucet run more than one bed?
Often yes, within the flow the head assembly and main line can supply. Add the emitter counts of every bed on the zone, multiply by the flow rate, and confirm the total sits within the tubing and regulator ratings.
Sources & Further Reading
- Utah State University Extension — drip irrigation systems: https://extension.usu.edu/yardandgarden/research/drip-irrigation-systems
- University of California Agriculture and Natural Resources — drip irrigation: https://ucanr.edu/site/uc-master-gardeners/drip-irrigation
- Colorado State University Extension — drip irrigation for home gardens: https://extension.colostate.edu/topic-areas/yard-garden/drip-irrigation-home-gardens-4-702/