
This post may contain affiliate links. If you buy through links on this page, we may earn a commission at no extra cost to you.
As an Amazon Associate I earn from qualifying purchases.
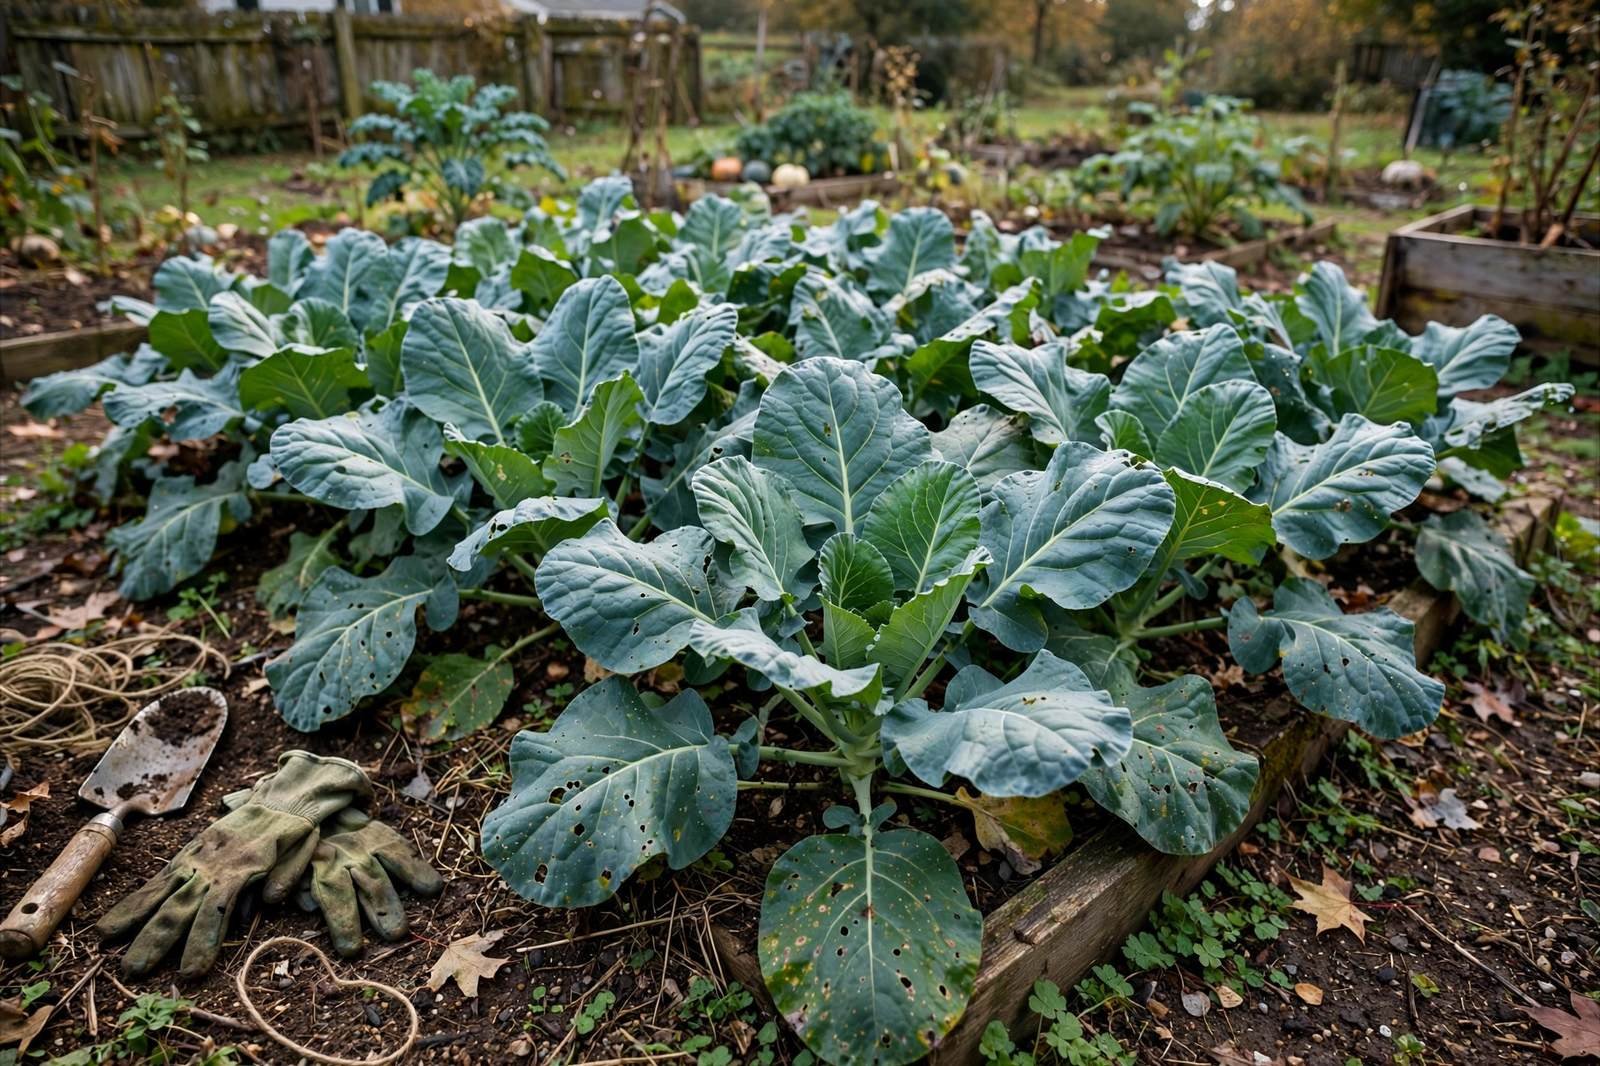
Collard greens are one of the most forgiving leafy crops we can plant. They tolerate heat better than spinach, shrug off light frost, and keep producing large, sturdy leaves for months when we pick them the right way. A small bed can supply steady harvests for soups, sautes, and slow-cooked greens without much fuss, as long as the plants get sun, steady moisture, and enough room to size up.
This guide walks through when to plant, how to sow or transplant, spacing, watering, feeding, pest control, and harvest. Collards belong to the brassica family, along with kale, cabbage, and broccoli, so many of the same care habits apply. If we already grow kale, collards will feel familiar, only bigger and often tougher through changing weather.
| Sun | Full sun, 6 or more hours; light afternoon shade in hot climates |
|---|---|
| Soil | Rich, well-drained, pH 6.0 to 7.5, with compost worked in |
| Sowing depth | 1/4 to 1/2 inch deep |
| Spacing | 18 to 24 inches between plants, 24 to 36 inches between rows |
| Water | About 1 to 1.5 inches per week, steady moisture |
| Days to harvest | 55 to 75 days from transplant, outer leaves sooner for baby greens |
| Frost tolerance | Hardy to about 20 degrees F, flavor often improves after light frost |
When to Plant Collard Greens
Collards grow best in cool to mild weather, roughly 60 to 75 degrees F for steady leaf growth. We can plant them for a spring harvest or, more commonly in many regions, for fall and winter harvests. Fall-planted collards are prized because cool nights take the edge off their flavor and reduce pest pressure compared with midsummer.
For spring, we sow or set out transplants 3 to 4 weeks before the average last frost date, once soil can be worked. For fall, we count back from the first expected frost: transplants usually go out 6 to 8 weeks before that date, and direct-sown seed needs a bit more time to reach harvest size before hard cold arrives. In mild-winter areas, a late summer or early fall planting can produce well into winter.
Use your local frost dates and regional planting guidance — not your USDA hardiness zone alone — to choose planting dates. A zone number tells us how cold winter gets on average, but it does not tell us when to sow in spring or how long the fall growing window lasts. Local extension calendars give much better timing for a specific county.
If we are planning a fall bed, our guide to what to plant in October helps place collards alongside other cool-season crops. Collards pair well in planning with kale for fall and winter, because both like similar soil, spacing, and frost protection.
Choosing a Variety
Most home gardeners start with a classic, widely available type and do well. Common choices include Georgia Southern, known for heat tolerance and large leaves, Morris Heading, which forms a loose head if left longer, and Champion, selected for bolt resistance and winter hardiness. Vates is a compact, dark green type that suits smaller beds. We recommend checking a regional seed catalog or local extension variety list, because a variety that shines in the humid Southeast may behave differently in a dry mountain climate.
Bolt resistance matters for spring plantings, when lengthening days and warm spells push brassicas to flower. For fall, cold tolerance and days to maturity matter more. Whatever we pick, fresh seed from a current season packet gives the most even germination.
Preparing the Soil
Collards are heavy feeders with big leaves to build. We work 2 to 3 inches of finished compost into the top 8 to 10 inches of soil before planting, and we loosen compacted beds so roots can push down. If we have not tested soil in a few years, a basic soil test through a local extension office tells us pH and whether phosphorus or potassium need attention.
A soil test kit can give a rough starting point at home, though lab tests are more precise. Aim for a pH between 6.0 and 7.5. If soil is sandy and drains fast, extra compost and mulch help hold moisture. If soil is heavy clay, raised beds or mounded rows improve drainage and reduce the risk of root problems in wet weather.
Our overview of how to make compost at home covers building a steady supply for beds like this. Collards also grow well in large containers or grow bags when ground space is limited, as long as each plant gets a roomy pot and consistent watering.
How to Plant Collard Greens
Starting From Seed Indoors
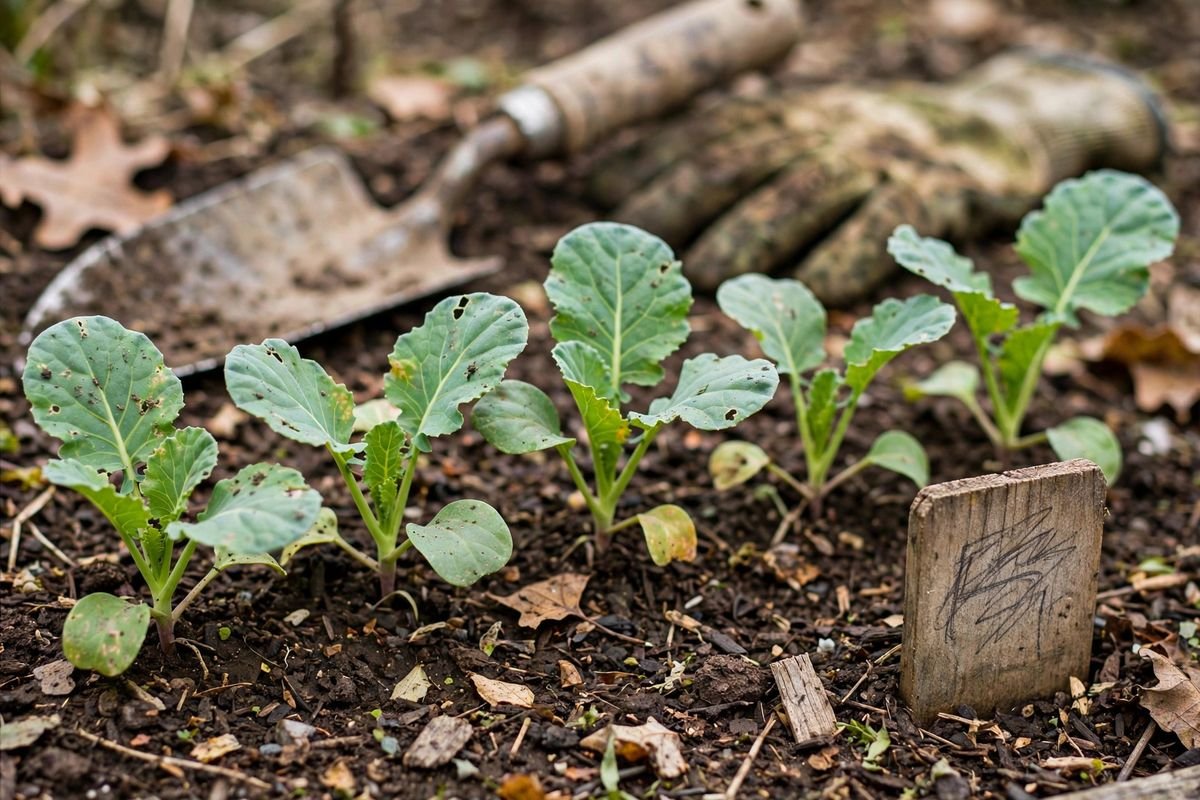
We can start seed indoors 4 to 6 weeks before the planned transplant date. Sow seed 1/4 to 1/2 inch deep in a fine seed-starting mix, keep the mix evenly moist, and provide strong light once seedlings emerge. Warmth around 65 to 75 degrees F gives quick, even sprouting, often in 5 to 10 days. Thin to one strong seedling per cell and harden plants off for 5 to 7 days before moving them outside.
Direct Sowing in the Garden
Direct sowing works well when soil temperatures are at least 45 degrees F and the bed is ready. We sow seeds 1/2 inch deep, a few inches apart in the row, then thin seedlings to final spacing once they have a few true leaves. Thinnings can go into salads when small, so little is wasted. Keep the seedbed moist until germination, which may take longer in cool spring soil.
A packet of collard green seeds usually holds far more seed than a home bed needs, so we store the rest cool and dry for the next season.
Transplanting
Set transplants at the same depth they grew in their pots, firm soil around the stem, and water in well. Space plants 18 to 24 inches apart. Crowded collards stay small, trap humid air, and invite disease, while well-spaced plants form the large rosettes that make harvest worthwhile. If we plant in a raised bed, a staggered layout can fit more plants while keeping airflow.
Watering and Mulching
Steady moisture produces tender leaves and fast growth. We aim for about 1 to 1.5 inches of water per week from rain or irrigation, and we water at the base of plants in the morning when possible. Soaker hoses or drip lines keep foliage drier than overhead sprinklers, which helps reduce leaf disease. A soaker hose for garden beds is a simple way to deliver slow, even water along a row.
After seedlings or transplants settle in, we add 2 to 3 inches of mulch such as clean straw, shredded leaves, or untreated grass clippings kept a few inches from stems. Mulch slows evaporation, keeps soil cooler in warm spells, and reduces mud splash onto lower leaves during rain. In fall beds, mulch also moderates soil temperature swings when nights turn cold.
Feeding Collards Through the Season
Because collards produce a lot of leaf mass, nitrogen matters. The compost worked in at planting covers the first weeks. When plants reach about a foot tall, we side-dress with a balanced organic fertilizer or a nitrogen-focused feed according to label rates, then water it in. Container plants need feeding more often, since nutrients wash out with frequent watering.
Yellowing lower leaves paired with slow growth often signal hunger rather than disease, especially in sandy soil. Pale plants in rich soil with wet feet point to a drainage problem instead. We avoid piling high-nitrogen fertilizer against stems, and we keep rates moderate: excess nitrogen can produce soft growth that aphids love.
Can We Grow Collards in Containers?
Yes. One plant per large pot works best, with a container at least 5 gallons and preferably larger for full-size leaves. Fabric grow bags drain well and air-prune roots, and our batch guide to grow bags for vegetables in larger sizes. Use a quality potting mix with compost blended in, water more often than in-ground beds, and feed every few weeks. Container collards can move into a sheltered spot when hard freezes threaten, which stretches the harvest.
New container growers should review basic container gardening guidance for pot size, drainage, and watering rhythm that applies to collards as well as other vegetables.
Protecting Plants From Cold and Heat
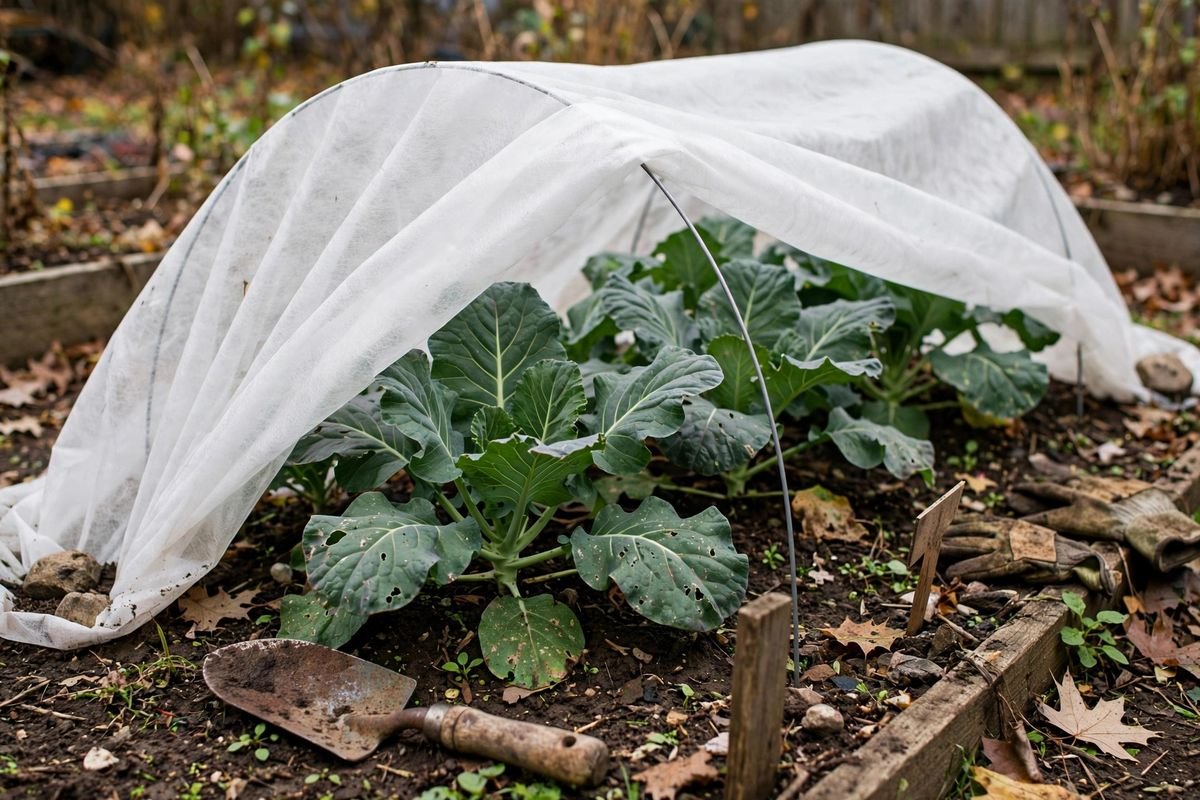
Collards handle light frost with ease, and many gardeners find the flavor milder after cold nights. When forecasts call for temperatures in the low 20s or teens, a layer of floating row cover or a cold frame adds protection. A floating row cover also blocks cabbage moths earlier in the season, which makes it a two-purpose tool in the brassica bed.
In hot weather, collards slow down and leaves can turn tougher and more bitter. Afternoon shade, mulch, and steady water help spring plantings last longer before bolting. Once a plant sends up a flower stalk, leaf quality drops, and we usually pull it and let fall plantings take over.
Common Pests and Problems
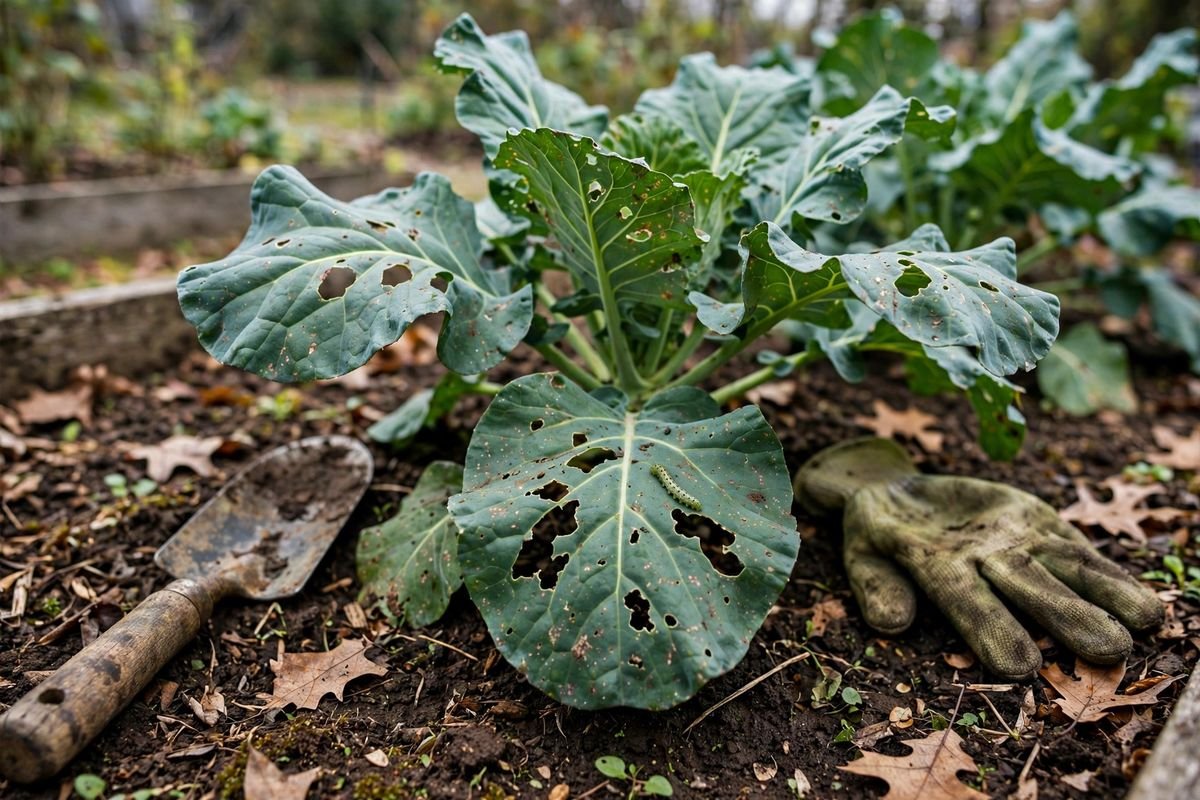
Cabbage worms and loopers chew holes in leaves and leave green droppings. Row cover from day one prevents egg laying, and handpicking works in small beds. For larger caterpillar numbers, Bt (Bacillus thuringiensis) sprays, used according to label directions, target caterpillars while sparing most beneficial insects.
Aphids cluster on leaf undersides and new growth, especially on overfed or water-stressed plants. A firm spray of water knocks many off, and we repeat every few days. Flea beetles pepper young leaves with tiny holes; row cover and vigorous early growth help plants outgrow the damage.
Leaf spots and yellowing can follow wet weather and crowded spacing. We remove badly spotted lower leaves, water at the base, and rotate brassicas so collards, cabbage, and kale do not occupy the same bed year after year. A three or four year rotation reduces soilborne disease pressure.
How and When to Harvest Collard Greens
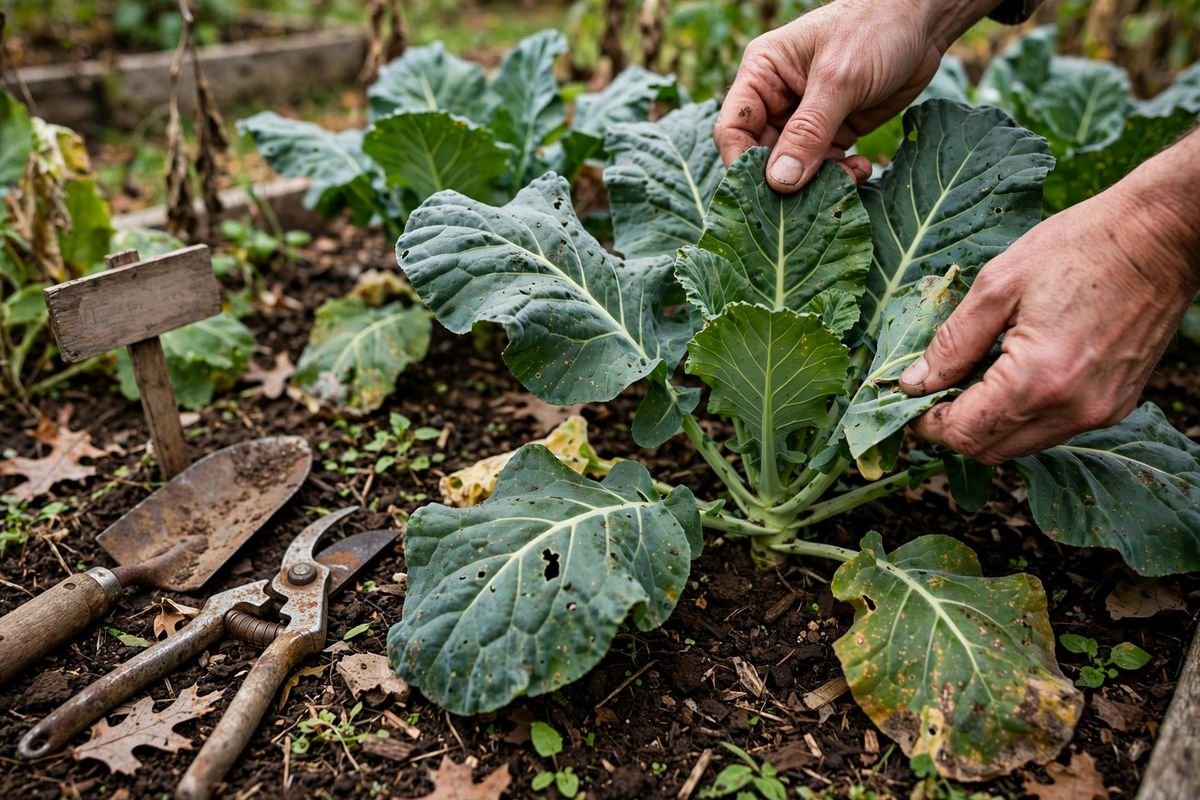
The cut-and-come-again method keeps plants productive for months. We pick the lowest, largest outer leaves first, snapping or cutting them at the stem, and leave the central growing point untouched. A plant can spare a third of its leaves at a time and keep growing from the center. Harvest in the morning when leaves are crisp, rinse well, and check undersides for stowaway caterpillars.
Baby collards can be cut young for tender salad or saute greens, while full-size leaves suit braising and soups. After a light frost, many gardeners notice a sweeter taste, so fall gardeners often wait for cold nights before the biggest harvests. If a hard freeze is coming and plants are unprotected, we pick heavily beforehand rather than lose leaves.
Kitchen shears or a harvest knife speeds the job. A simple garden harvest knife makes clean cuts that heal faster than torn stems.
Troubleshooting Collard Greens
Why are my collard leaves turning yellow?
Yellow lower leaves usually point to nitrogen shortage, soggy soil, or natural shedding of the oldest leaves. Check drainage first, then feed if soil is lean. Yellowing between veins on new growth can signal a pH problem, which a soil test can confirm.
Why are there holes in the leaves?
Holes with ragged edges usually mean caterpillars, while tiny shotgun holes point to flea beetles. Look under leaves in the morning. Row cover, handpicking, and Bt for caterpillars handle most cases without broad sprays.
Why did my collards bolt?
Bolting follows heat, lengthening days, or a cold spell that hit young transplants and tricked them into flowering. Spring plantings bolt sooner. For summer harvests, choose bolt-resistant varieties and provide afternoon shade; for the most reliable crop, lean on fall plantings.
Why are the leaves tough and bitter?
Heat, drought stress, and old leaves all toughen collards. Water steadily, harvest younger outer leaves, and cook larger leaves longer with a gentle braise. Fall-grown leaves are usually the mildest.
FAQ
How long do collard greens take to grow?
From transplant, most varieties give full-size leaves in 55 to 75 days. Direct-sown plants need an extra 2 to 3 weeks. Baby leaves are ready sooner, often in 35 to 45 days from sowing.
Do collards come back every year?
Collards are biennials grown as annuals in most gardens. In mild climates a plant may survive winter and flower the second year, but leaf quality drops once flowering starts, so most gardeners replant each season.
How many collard plants does a family need?
Four to six healthy plants, picked regularly, supply generous bunches for most households. Succession sowing a few seeds every few weeks in spring keeps younger plants coming along.
Can collards grow in shade?
They tolerate light shade, especially in hot regions, but growth slows and leaves stay smaller with less than 5 to 6 hours of sun. Full sun gives the sturdiest plants in cool seasons.
Sources & Further Reading
- University of Georgia Extension — commercial and home production guidance for collard greens and other leafy brassicas (extension.uga.edu)
- North Carolina State Extension — collard greens in the home garden, variety and spacing guidance (extensiongardener.ces.ncsu.edu)
- Clemson University Cooperative Extension — leafy greens fact sheets covering collards, soil pH, and fertility (hgic.clemson.edu)
- University of Minnesota Extension — growing brassica greens, frost tolerance, and pest management for home gardens (extension.umn.edu)
- USDA Agricultural Research Service — nutrient and crop background resources for Brassica oleracea crops (usda.gov)
More fall greens to explore:
Collards reward simple habits: rich soil, room to spread, steady water, and regular picking from the outside in. Plant them with fall in mind, give them a little cover when real cold arrives, and a handful of plants will keep the kitchen in greens long after summer vegetables fade.