
This post may contain affiliate links. If you buy through links on this page, we may earn a commission at no extra cost to you.
As an Amazon Associate I earn from qualifying purchases.
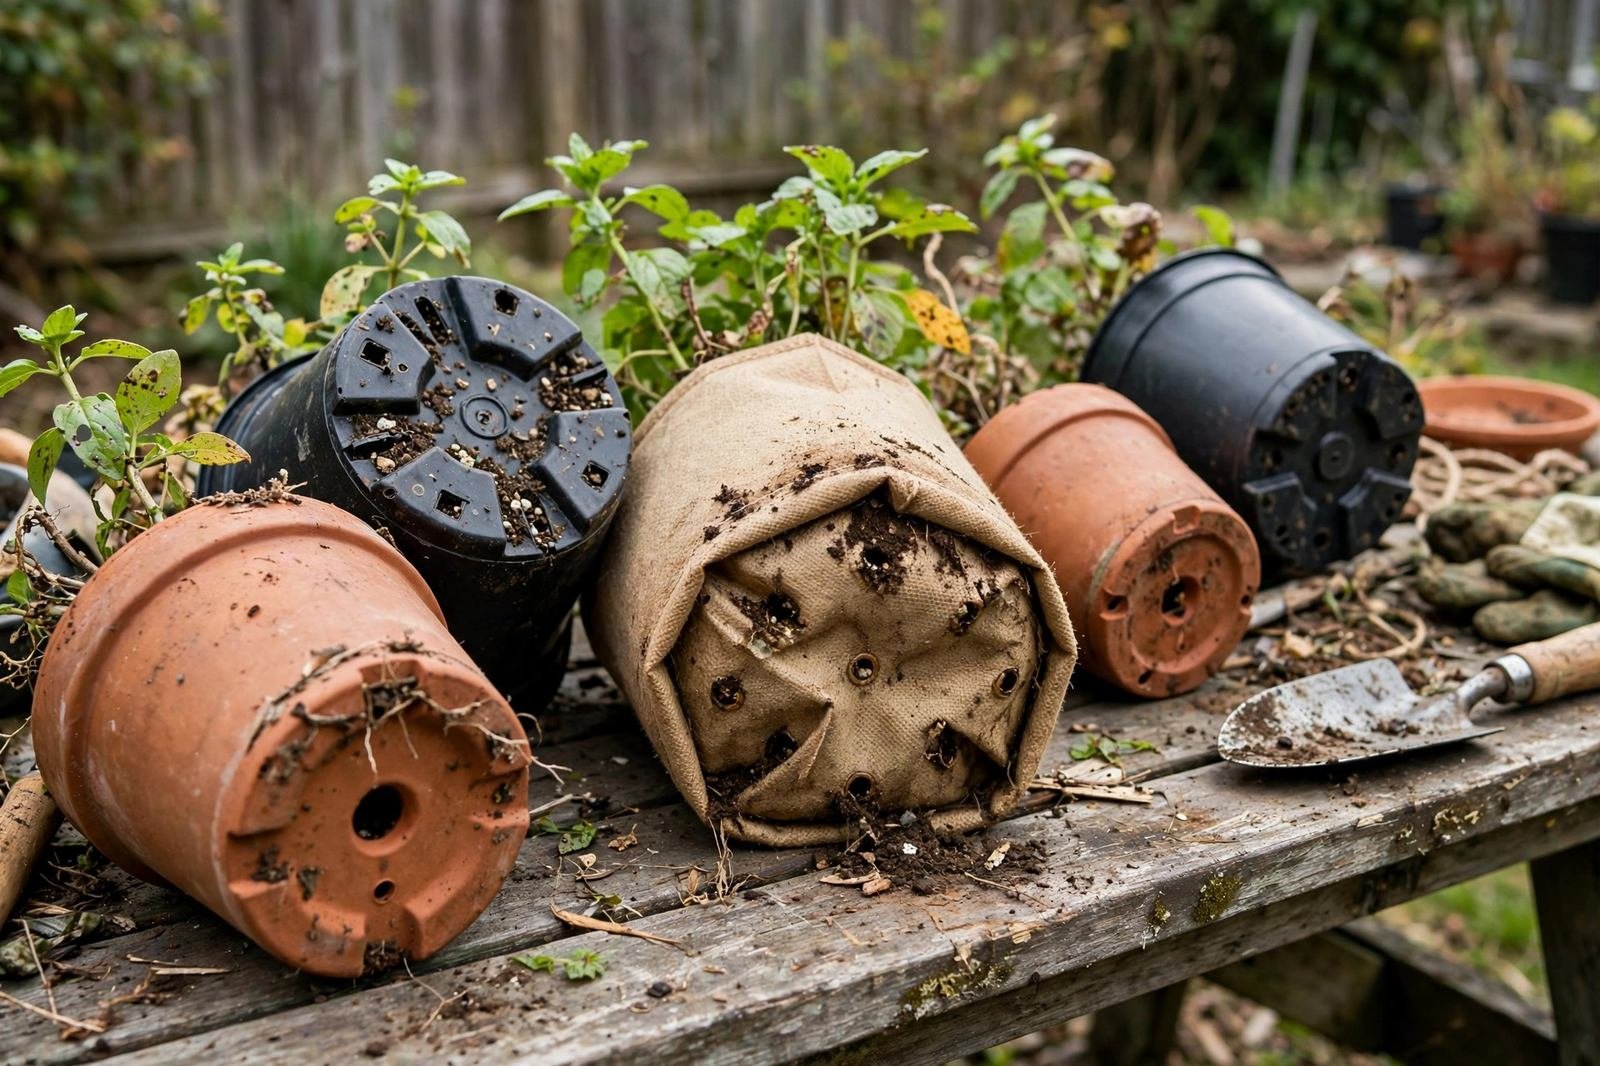
Flip over any nursery pot and you’ll see the holes — sometimes one big one, sometimes a ring of small ones. Then flip over a pretty ceramic pot from the home store and find… nothing. Just a smooth, sealed bottom. So how many drainage holes does a pot actually need, and does it matter? It matters more than most beginners expect. Poor drainage is behind a huge share of container plant deaths: roots sitting in soggy soil suffocate, and root rot follows.
In this guide, we cover how many holes different pots need, why one hole is often enough (but sometimes isn’t), how to add drainage to a hole-less pot, and what to do about drainage without ruining your patio or floors.
| Small pots (under 1 gal) | 1 hole, at least 1/2 inch wide |
|---|---|
| Medium pots (1–5 gal) | 1 large or 3–5 smaller holes |
| Large pots (5+ gal) | 4–8 holes spread across the bottom |
| No holes at all | Drill them, or use as a cachepot only |
| Fabric pots | None needed — the fabric drains everywhere |
Why Drainage Holes Matter
Roots need both water and air. In a pot with no drainage, water collects at the bottom and pushes air out of the soil pores. Roots in that airless zone can’t breathe, fine root hairs die, and opportunistic fungi move in — the classic root rot spiral. The plant’s leaves yellow, wilt (ironically looking thirsty), and the decline continues even though the soil is wet.
Drainage holes don’t just let extra water escape; they let fresh air get pulled into the soil as water drains out. That wet-dry cycling is what keeps container roots healthy. One well-placed hole beats a sealed bottom every time.
So How Many Holes? It Depends on Size
There is no magic number, but these guidelines work well:
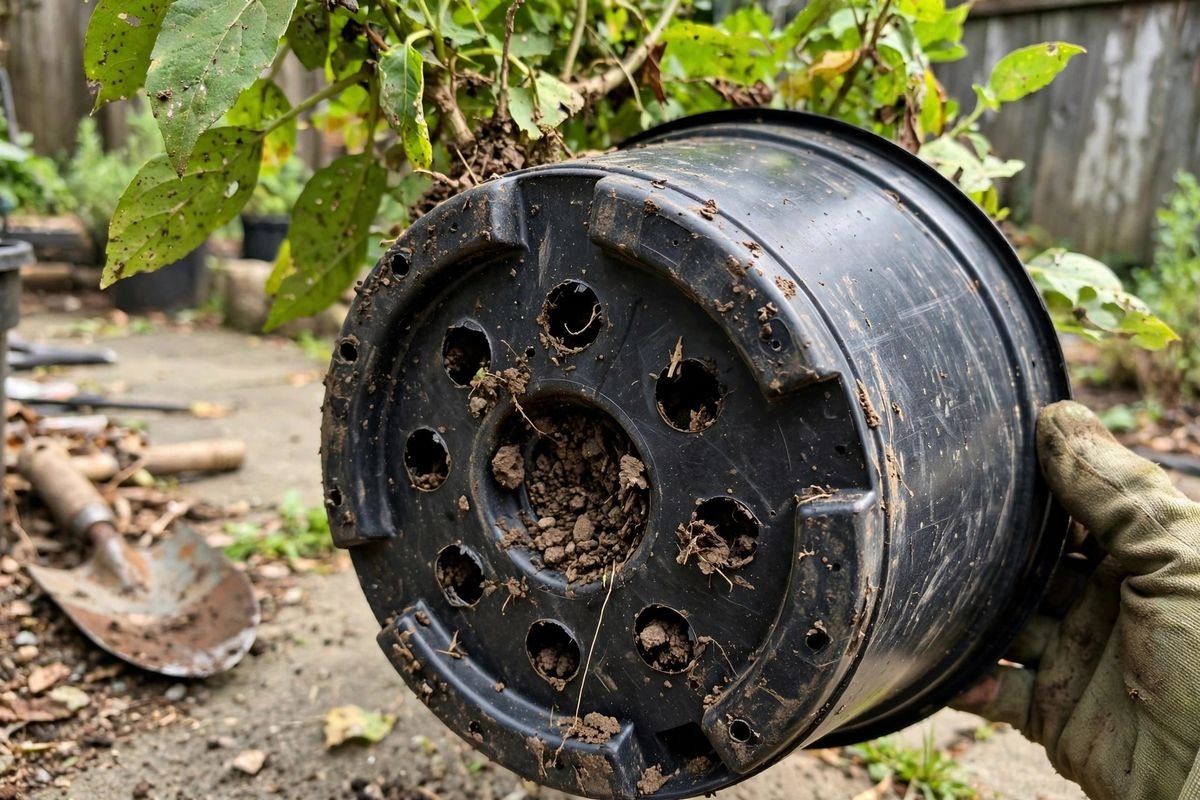
- Small pots (4–6 inch): a single 1/2-inch hole is plenty. Small soil volumes drain fast on their own.
- Medium pots (8–12 inch / 1–3 gallons): one 3/4-inch center hole, or three to five 1/2-inch holes. Multiple smaller holes spread drainage more evenly than one big one.
- Large pots and planters (14 inch and up / 5+ gallons): four to eight holes distributed across the bottom. Big containers hold a lot of water; spread-out holes prevent soggy dead zones at the edges.
- Long window boxes and troughs: holes every 6–8 inches along the length.
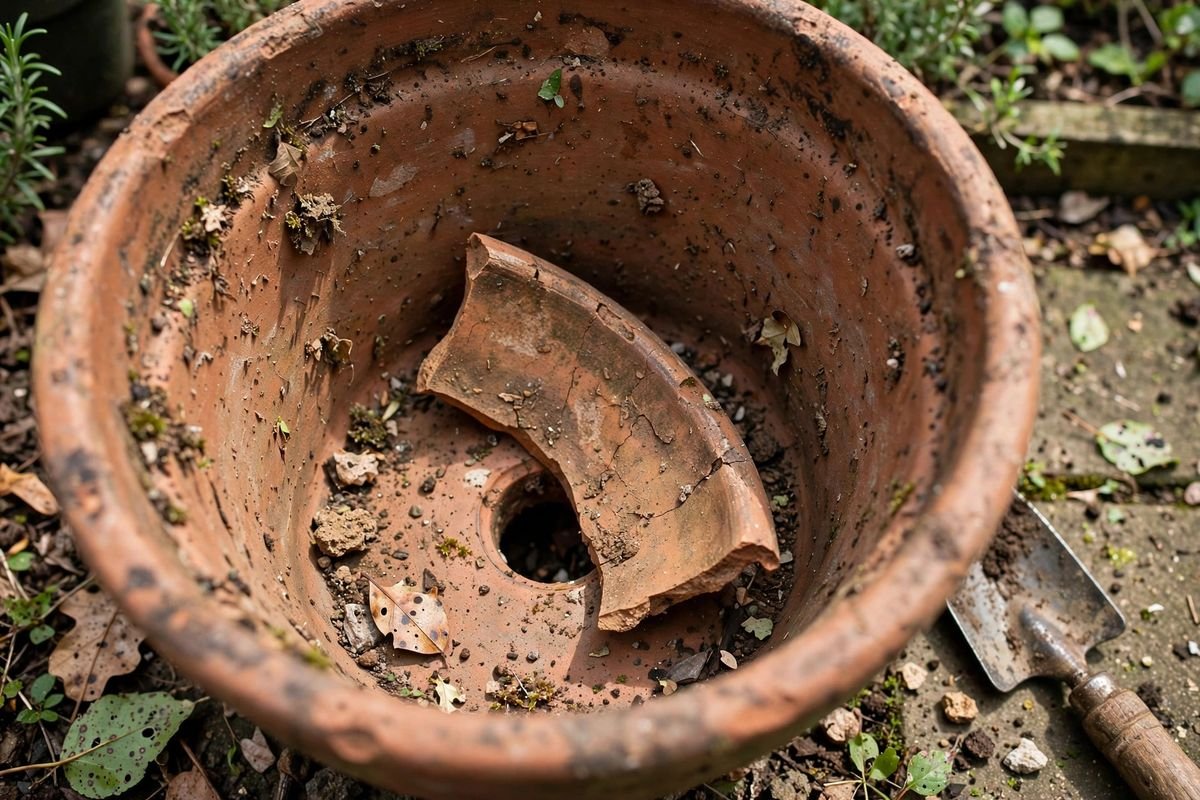
Hole size matters too. Holes under about 1/4 inch clog easily with fine soil particles and roots. Aim for 1/2 inch or larger, and cover each hole with a shard of broken pottery, a piece of landscape fabric, or a coffee filter to keep mix from washing out while letting water through.
Does Pot Material Change the Answer?
Yes — because the pot walls themselves participate in moisture movement:
- Unglazed terracotta: the porous walls wick moisture out all over, so standard drainage is usually enough even with fewer holes.
- Glazed ceramic, plastic, resin, metal: sealed walls mean the bottom holes do all the work — don’t skimp, and make sure they’re fully open, not half-blocked by a stuck-on price sticker.
- Fabric pots: the whole pot breathes and drains; no holes needed at all. (They dry fast, though — see how to keep container soil from drying out.)
- Wood planters: drill plenty of holes; wood holds moisture against the soil, and trapped water rots both roots and the wood itself.
How to Add Drainage Holes to a Pot
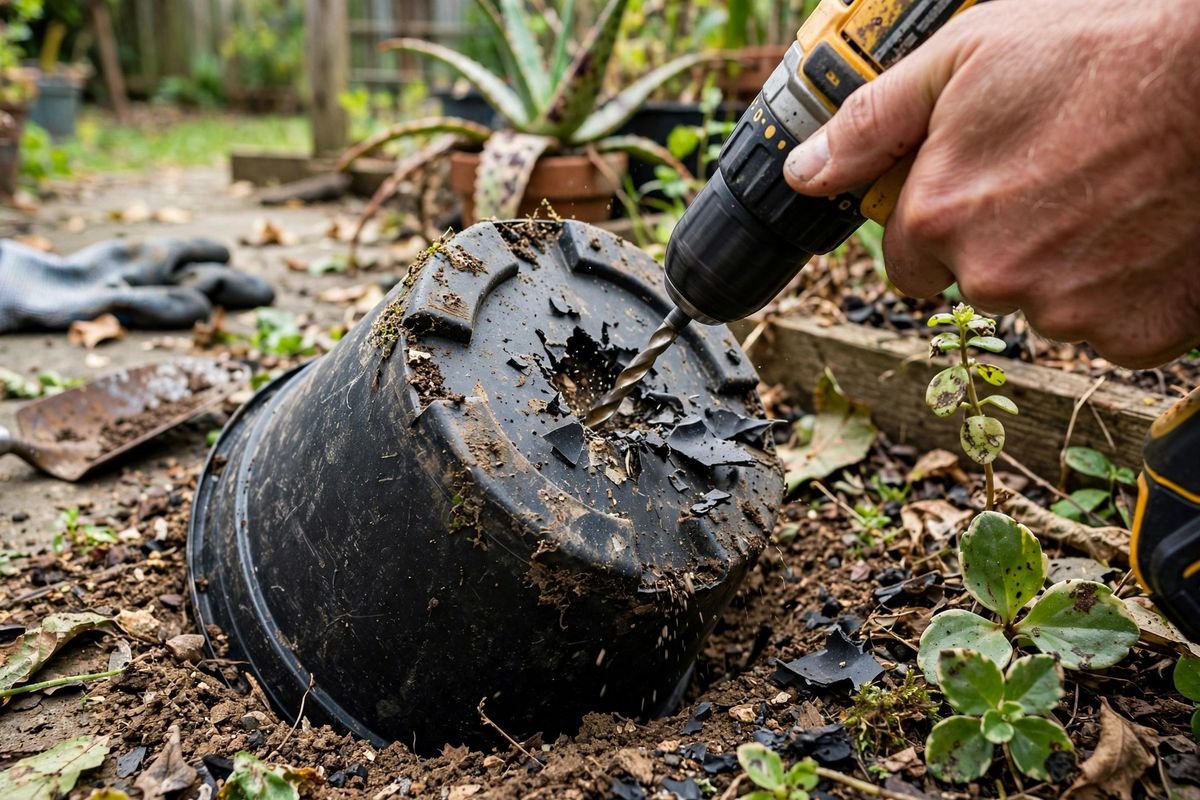
That gorgeous hole-less pot isn’t useless — you just need a drill and the right bit:
- Plastic and resin: a standard twist bit works. Start with a small pilot hole, then widen. Support the bottom so it doesn’t crack.
- Unglazed terracotta: a masonry bit, slow speed, light pressure. Keep the bit and pot damp to reduce dust and heat.
- Glazed ceramic: a diamond or carbide-tipped bit made for tile and glass. Put masking tape over the spot to prevent the bit from skating, go slow with light pressure, and keep everything wet. It takes patience, but it works.
Always drill from the inside bottom outward if you can, wear eye protection, and work over a surface you don’t mind getting dusty. If drilling feels too risky for a beloved pot, use it as a cachepot instead: keep the plant in a plastic nursery pot with drainage and set that inside the pretty one, emptying any collected water after watering.
What About the “Rocks in the Bottom” Trick?
This is one of gardening’s most persistent myths. A layer of gravel or pottery shards at the bottom does not improve drainage — physics says otherwise. Water doesn’t move easily from fine-textured potting mix into coarse gravel until the mix above is fully saturated. The gravel just raises the soggy zone higher into the pot and steals space from roots. Fill the whole pot with good mix instead, and put a single curved pottery shard over each hole to keep soil in.
Managing Drainage Water (Without Ruining the Patio)
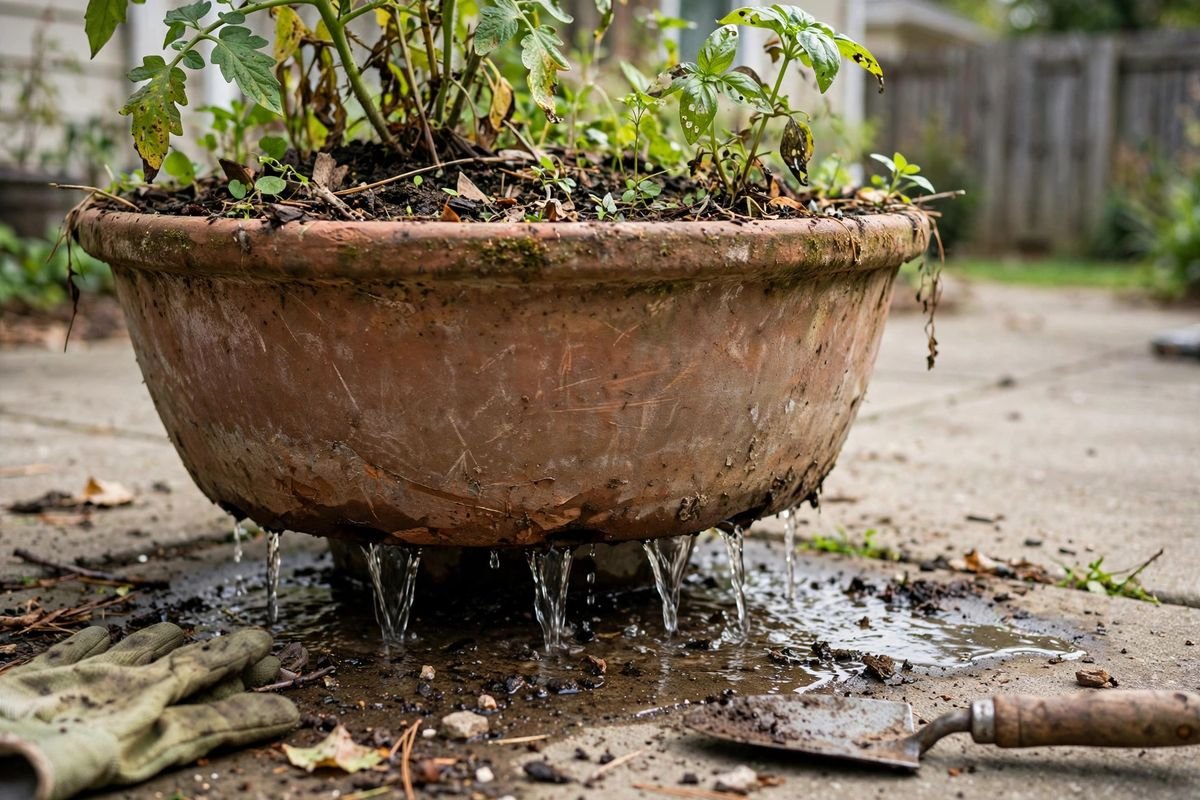
Good drainage means water comes out the bottom — which has to go somewhere:
- Saucers catch runoff and let the plant reabsorb it. Empty them after heavy rain so roots don’t sit in water for days.
- Pot feet or risers lift pots slightly so water flows freely instead of sealing the holes against a flat patio. They also prevent the ugly ring stains and keep wooden decks from rotting underneath.
- Indoors, always use a saucer or cachepot — and check it. A surprising amount of indoor plant trouble is just a cachepot with an inch of standing water nobody noticed.
A sturdy plant saucer sized to your pot is one of the cheapest, most useful container accessories you can own.
Troubleshooting Drainage Problems
- Water pools on the soil surface: the mix may be compacted or hydrophobic. Loosen the top inch with a fork and consider repotting with fresh mix.
- Holes clog with roots: common in long-term plantings. When repotting, trim circling roots and refresh the mix.
- Plant wilts despite wet soil: classic overwatering/root rot sign — check that holes are actually open and the pot isn’t sitting in a full saucer.
- White crust on pot or soil: salt buildup from fertilizer and hard water. Flush the pot thoroughly until water runs clear, and leach containers a few times a season.
FAQ
Can I grow plants in pots with no drainage holes?
It’s possible but risky — you’d need a careful layering system and very disciplined watering, and even then root rot is likely over time. For beginners, it’s not worth the gamble. Drill holes or use the pot as a decorative outer shell.
Do succulents need more drainage holes?
Succulents need faster-draining soil more than extra holes — a gritty cactus mix in a standard-holed terracotta pot is the classic combo. Terracotta’s breathability is a genuine advantage for succulents.
Should drainage holes be on the side instead of the bottom?
Bottom holes drain best because water collects at the lowest point. Side holes near the base work as a backup but leave a reservoir below them — fine for plants that like steady moisture, not for those that hate wet feet.
Sources & Further Reading
- Clemson Cooperative Extension — “Container Gardening” fact sheet (HGIC 1251)
- University of Minnesota Extension — container growing and drainage guidance
- Iowa State University Extension — “Container Vegetable Gardening” publication
- Penn State Extension — houseplant and container culture articles
More container growing posts to explore:
- Container Gardening for Beginners: What Grows Best in Pots
- What Size Pot Does a Tomato Plant Need?
- Can You Reuse Potting Soil?
When in doubt, add one more hole — your plants will forgive extra drainage far sooner than they’ll forgive none. Got a hole-less pot you’ve been afraid to drill? Now you know exactly how.