
This post may contain affiliate links. If you buy through links on this page, we may earn a commission at no extra cost to you.
As an Amazon Associate I earn from qualifying purchases.
Most seed catalogs sell you two container systems at once and leave the difference to checkout. The first is the 1020 tray with drop-in cell-pack inserts: a flat tray about ten by twenty inches that holds sheets of small cells. The second is the standalone cell pack, a sheet of four, six, eight, or nine cells with its own drainage holes that many gardeners slide into a 1020 tray anyway. Both grow healthy seedlings, but they differ in price, reuse life, watering, and cleanup, and picking the wrong one means buying the same gear twice. This comparison lays out both systems, the cost math that settles it for most of us, and the use cases where each one earns its place.
The two systems side by side
| 1020 tray + inserts | Standalone cell packs | |
|---|---|---|
| What it is | Flat solid tray (about 10 x 20 in) holding drop-in cell sheets (36, 50, 72, or 128 cells) | Thin multi-cell sheets (4, 6, 8, or 9 cells each) with built-in drainage holes |
| Bottom watering | Built in: pour water into the tray and the cells wick it up | Only if you set the packs inside a solid tray or saucer |
| Sturdiness | Tray is rigid and lasts for years; thin inserts flex when lifted full | Thicker than inserts; still bend when lifted by one edge |
| Cell sizes | Many, from 128 tiny cells to 36 roomy ones | Mostly 4- to 9-cell packs in medium sizes |
| Cleanup | Scrub one tray plus rinse the insert sheets | Scrub each pack; corners hold old mix |
| Typical reuse life | Tray: many seasons. Inserts: one to two seasons | Two to four seasons if handled gently |
| Cost per sowing | Lowest for repeat sowers (see the math below) | Higher per cell, but cheap for a small one-off batch |
How the 1020 tray system works

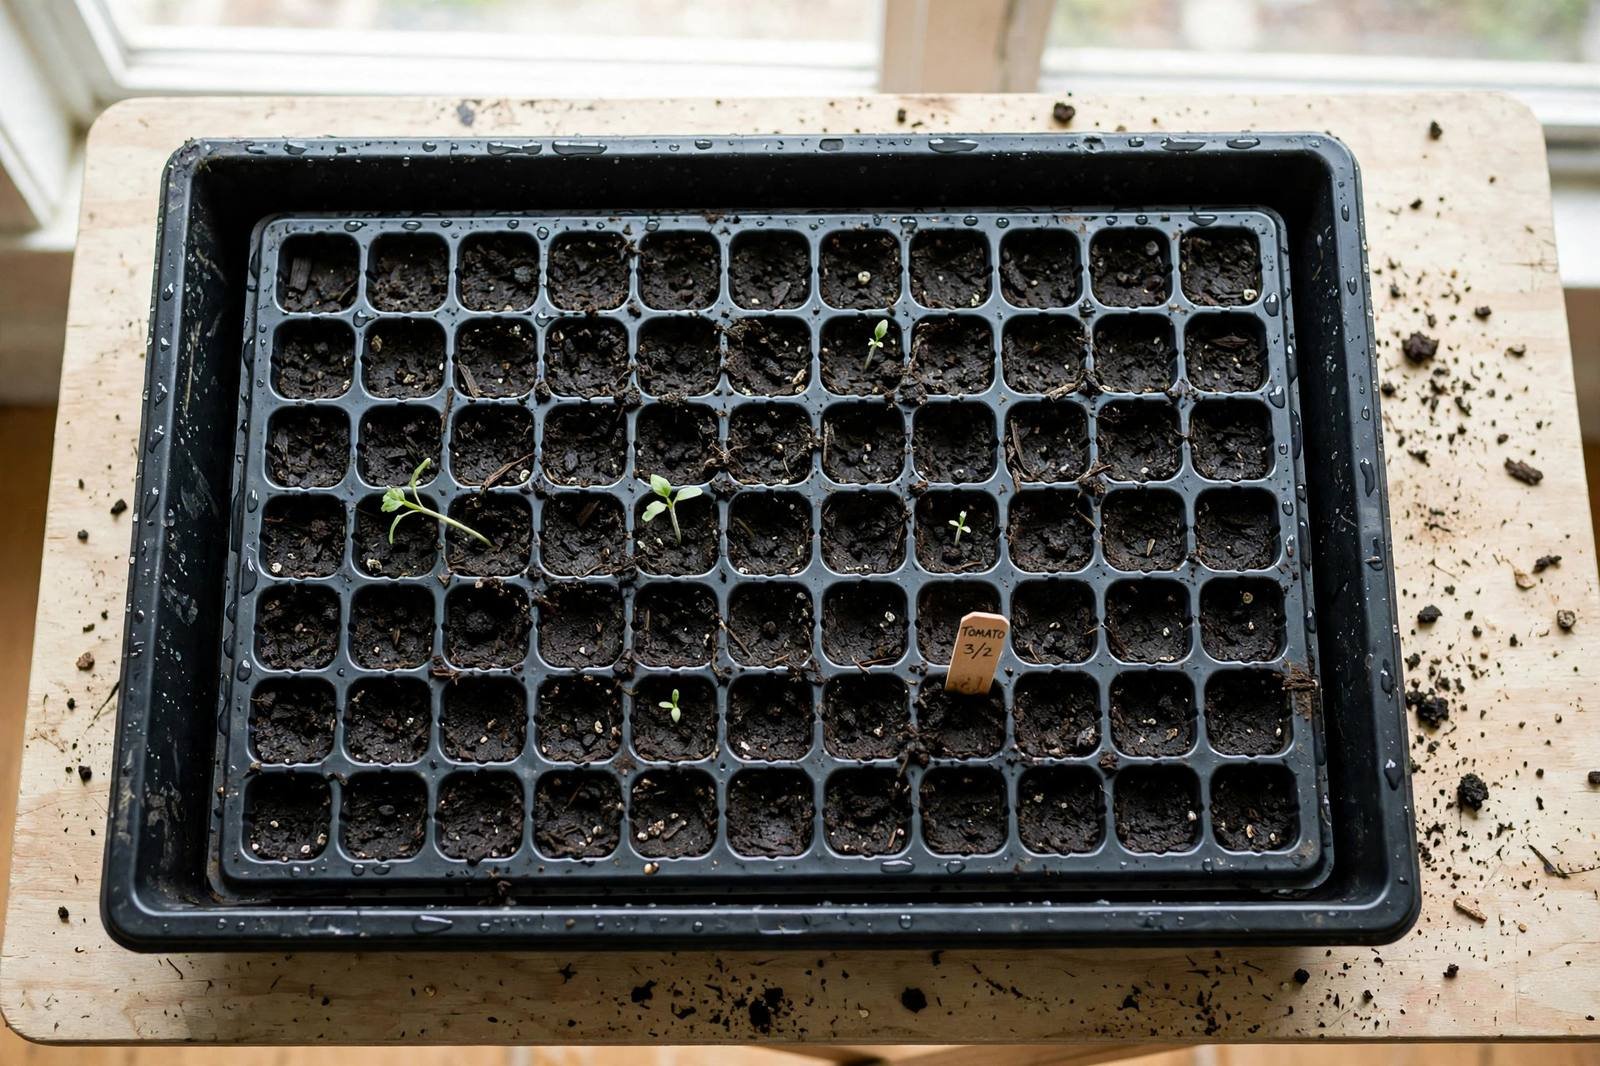
The 1020 tray is the workhorse of indoor seed starting, and it earns that title every March. The tray itself has no drainage: it is the reservoir and the carrying tray in one. Drop-in inserts sit inside it, and you fill those with mix, sow your seeds, and water by pouring into the tray so the cells drink from below. Our walkthrough of how to bottom water seedlings uses this exact setup. On sowing day, lift the whole tray, never the insert sheet, because a full insert sags in the middle and can dump soil across the bench.
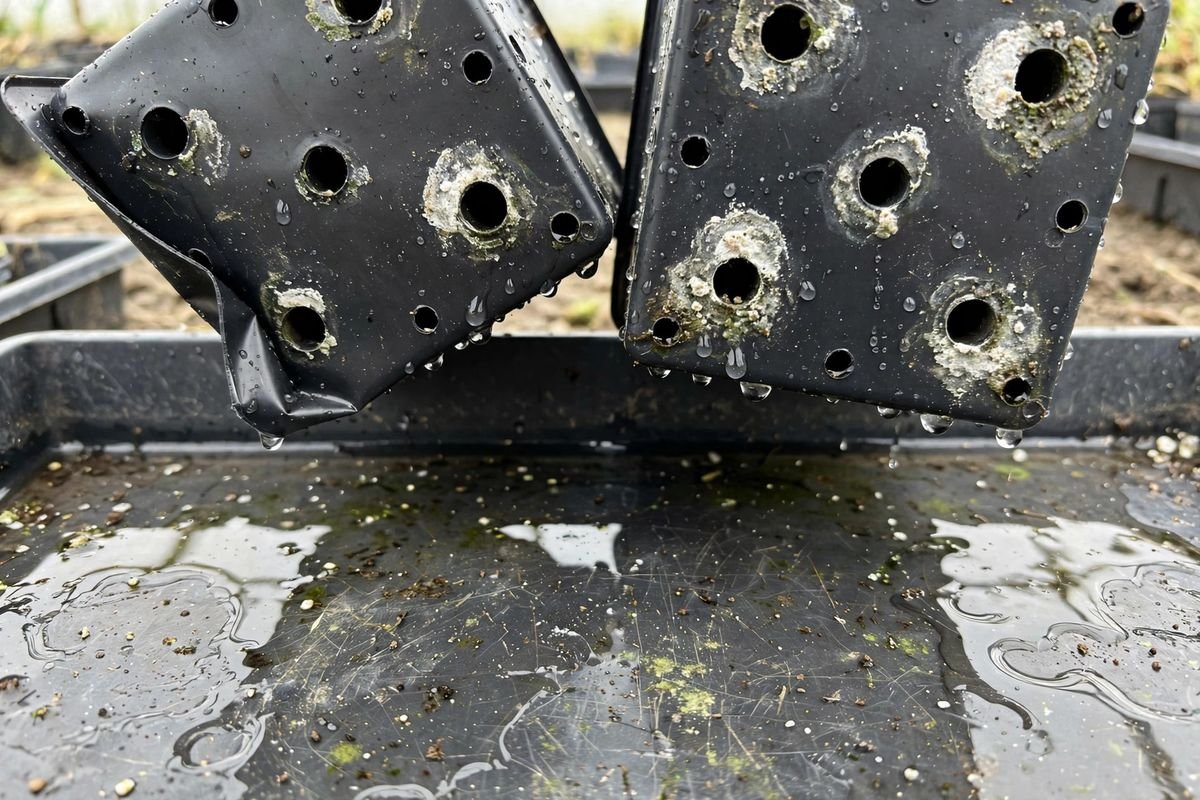
Cell depth matters more than most beginners expect. Shallow cells dry out between waterings and crowd roots fast, which is why we wrote a separate guide to how deep seed starting cells should be for common crops. In a 1020 system you can match the insert to the crop: deep 36-cell sheets for peppers, standard 72-cell for tomatoes and brassicas, 128-cell for onions and fast greens. We sow tomatoes six to eight weeks before our last spring frost. Use your local frost dates and regional planting guidance — not your USDA hardiness zone alone — to choose planting dates.
What standalone cell packs do differently
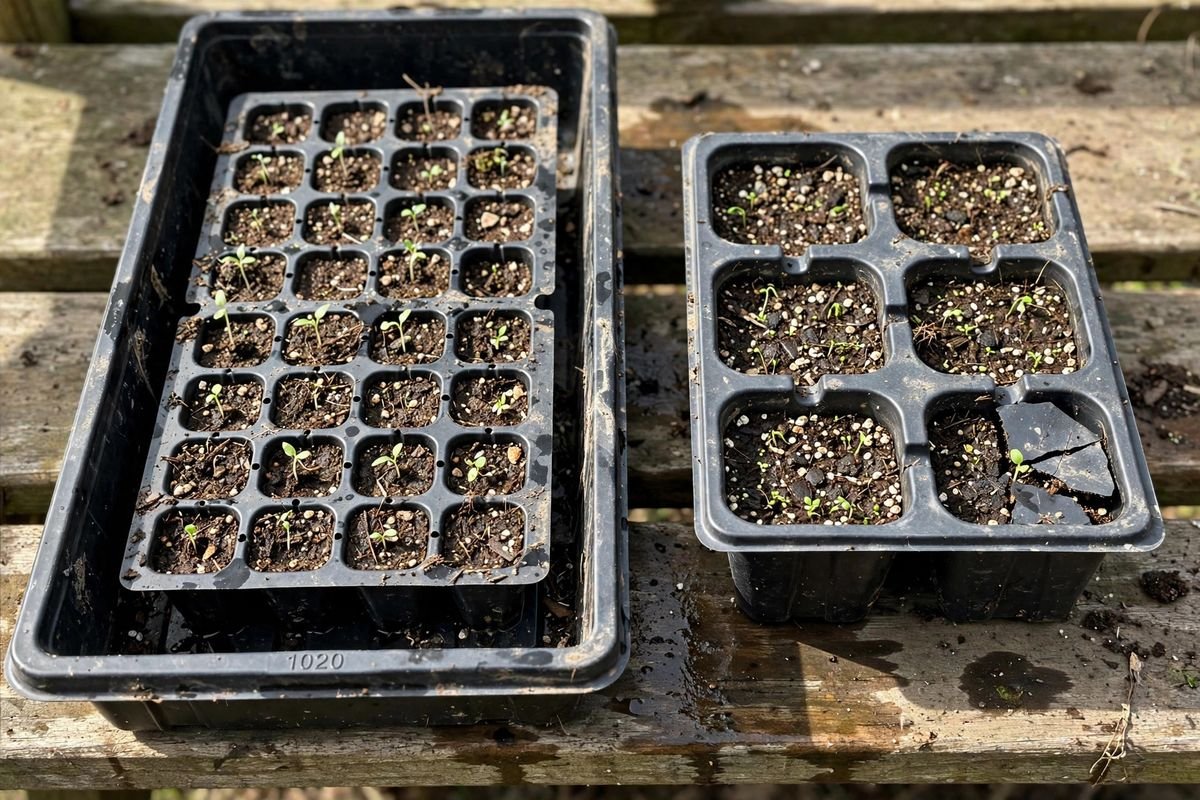
Cell packs are the thinner thermoformed sheets sold in most garden centers: six cells in a strip, sometimes four, eight, or nine. Each cell has drainage holes, and the plastic runs thicker than an insert sheet, so a pack survives a few more seasons of handling. The catch is that a pack has no water reservoir of its own. To bottom water, you set the packs inside a solid tray or a shallow saucer, which means many gardeners end up buying a 1020 tray anyway. At that point the real comparison is between thin insert sheets and thicker standalone packs, both sitting in the same tray. If you are shopping for either, browse seed starting trays and cell packs and compare the plastic thickness before you buy.
Pros and cons
Pros of the 1020 tray with inserts
- Lowest cost per sowing for gardeners who start seeds every year
- Bottom watering is built in
- One rigid tray carries the whole batch
- Insert sizes cover every crop from onions to peppers
Cons of the 1020 tray with inserts
- Thin inserts flex and tear after a season or two
- You must lift by the tray, never by the insert
Pros of standalone cell packs
- Thicker plastic survives more seasons
- Cheap to buy for a small one-off batch
- Handy for splitting a sowing among friends
Cons of standalone cell packs
- No reservoir: you still need a tray or saucer for bottom watering
- Higher cost per cell over several seasons
- Small batches dry out faster than a full tray
Cost per season: our math
We start three trays of seedlings most years, a typical load for a vegetable gardener who raises tomatoes and peppers from seed. The numbers below use prices we commonly see at garden centers, rounded and stated up front because prices move with the store and the season: a 1020 tray at about $10 lasting five seasons, a 72-cell insert sheet at about $3 lasting two seasons, and a six-pack cell pack at about $1 lasting two seasons.
Tray with inserts: $10 divided by five seasons is $2 a season for the tray, plus $3 divided by two seasons is $1.50 a season for inserts, for a total of $3.50 a season. Across three trays a year, that is about $1.17 per sowing.
Standalone packs: twelve six-packs fill a 1020 footprint with 72 cells. At $1 each and replaced every two seasons, that is $12 divided by two, or $6 a season, about $2 per sowing, and that is before the tray most gardeners slide them into anyway.
The break-even is simple: from the first season, the tray-and-insert system costs roughly half as much per sowing, and the gap grows if you sow more than three trays a year. The math only flips for a gardener who starts one small batch a year and already owns trays, where a couple of dollar packs beat a whole new system. Reuse stretches both systems further; our guide to reusable versus disposable seed trays walks through which plastics survive and which do not.
The verdict
Choose the 1020 tray with inserts if you start seeds every year and want the lowest cost per sowing, if you bottom water, or if you want one rigid tray carrying the whole batch.
Choose standalone cell packs if you grow in small batches, if you already own solid trays to slide them into, or if you split sowings among friends and want packs you can hand over.
Troubleshooting common problems
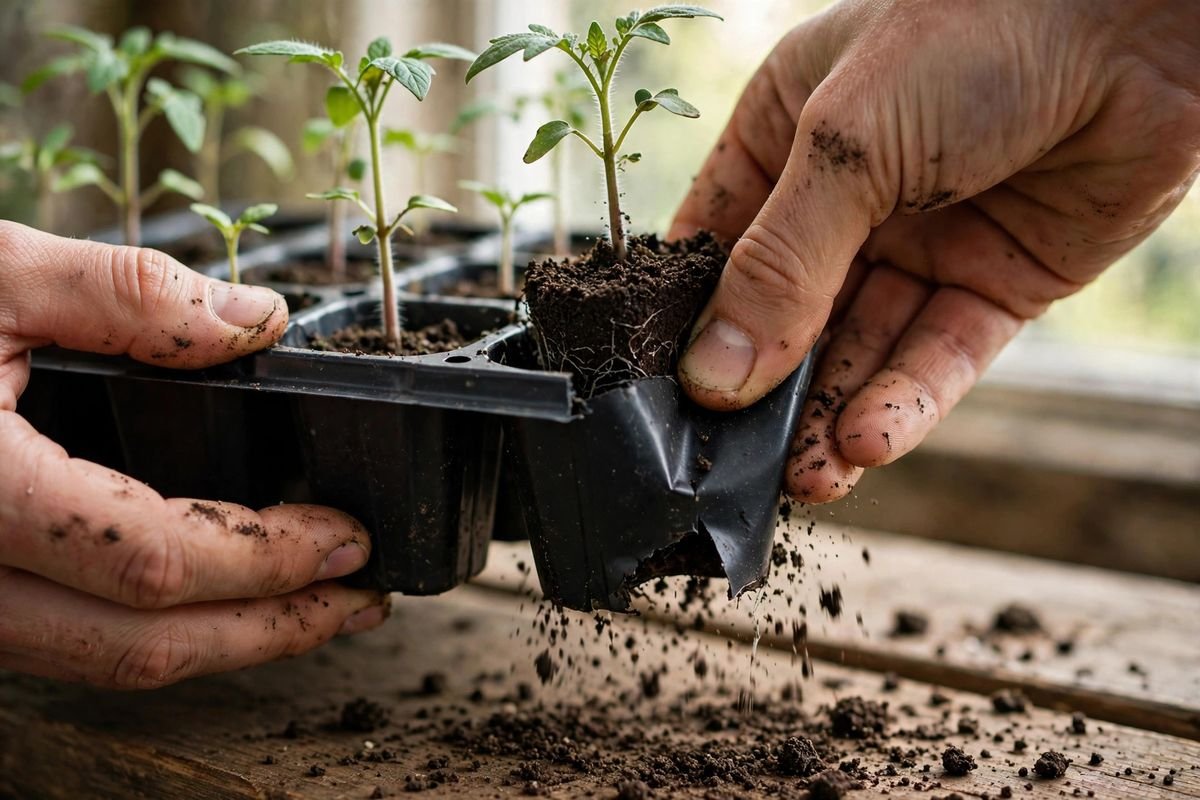
Seedlings stick in the cells: water the tray an hour before transplanting so the root ball holds together, then squeeze each cell from the bottom and push the plant out from below instead of pulling the stem. Inserts tear mid-season: slide a second insert underneath as a patch, and plan thicker plastic next year. Algae films the tray: dump standing water between waterings and scrub the tray between batches; our guide to cleaning seed starting trays covers the routine we use. When you are ready to shop, our roundup of the best seed starting trays compares sturdy options worth the money.
Sources & further reading
- University of Minnesota Extension, “Starting seeds indoors”: https://extension.umn.edu/planting-and-growing-guides/starting-seeds-indoors
- North Carolina State Extension, Extension Gardener Handbook, Chapter 13, Propagation: https://content.ces.ncsu.edu/extension-gardener-handbook/13-propagation