

This post may contain affiliate links. If you buy through links on this page, we may earn a commission at no extra cost to you.
As an Amazon Associate I earn from qualifying purchases.
A pot can have holes in the bottom and still drown a plant. The mix inside, the way it was packed, and the saucer under the pot all change how fast water leaves. A timed drain test gives a clear answer in under ten minutes, with no guesswork and no need to pull the plant out of the pot.
Start with the pot at its normal moisture level, not bone dry and not freshly soaked. Water the plant as usual the day before, then run the test the next day. That way the result reflects how the pot behaves in ordinary use, rather than how a dry mix repels water or how a soaked mix holds a surplus.
Why drainage fails even with holes in the bottom
Holes let water out, but they do not control how fast water moves through the mix. A fine, dense mix can hold water like a sponge even when the holes are open. A mix packed down hard during potting has fewer air pockets, so water moves slowly and roots sit in wet soil for longer. A saucer that stays full also stops drainage, because water has nowhere to go once the saucer fills to the level of the holes.
Signs of slow drainage show up before a plant collapses. Soil stays dark and damp on the surface for days after watering. Algae or a sour smell appears on the surface. Leaves turn yellow from the lower leaves upward, even though watering has been regular. When we see that pattern, we test drainage before we change the watering schedule, because adding less water to a pot that cannot drain still leaves the lower mix wet.
For background on fixing a mix that holds too much water, see our guide to how to make potting mix drain better, and for pots that stay wet after every watering, see how to fix potting soil that stays too wet.
The timed drain test, step by step
Gather a measuring cup, a timer, and an empty saucer or tray. Set the pot on the empty saucer where drips will be easy to see. Note the pot size, the mix type, and the number of holes before starting, because those details make the result useful later when comparing pots.
Pour water slowly and evenly over the surface. Use 2 cups of water for a pot up to 10 inches across, 4 cups for a pot 12 to 14 inches across, and 1 cup for a pot under 6 inches across. Pouring slowly matters, because a fast pour can run down the gap between the mix and the pot wall and give a false fast result. Start the timer when the first water hits the surface.
Watch for three moments and write each one down: the time of the first drip from a hole, the time when dripping slows to about one drip every five seconds, and the amount of water collected in the saucer after ten minutes. Empty the saucer at the ten-minute mark and measure what came out, so the pot does not sit in that water afterward.

If no water appears after ten minutes, the test still gives an answer: the pot is not draining at a usable rate. Check whether a hole is blocked by a root mat or a piece of crock, and check whether the saucer was already full. If the holes are clear and the mix still holds all the water, the mix itself needs changing, and the watering routine alone will not fix it.
A worked example: a 10-inch pot, 2 cups of water
Here is a test we can walk through with numbers stated plainly, so the method is easy to repeat at home. Inputs: one 10-inch plastic pot with four half-inch holes, filled with a peat-based potting mix, planted with a small shrub. Water poured: 2 cups, equal to 16 fluid ounces, poured slowly over 30 seconds. Time to first drip: 48 seconds after pouring started. Time until dripping slowed to one drip every five seconds: 4 minutes 20 seconds. Water collected in the saucer after ten minutes: half a cup, equal to 4 fluid ounces.
The arithmetic is simple. Water in: 2 cups. Water out: 0.5 cup. Water retained in the pot: 2 minus 0.5 equals 1.5 cups. As a share, 1.5 divided by 2 equals 0.75, so the pot retained 75 percent of the water poured and drained 25 percent within ten minutes. A first drip at 48 seconds shows water is moving, and a slowdown by 4 minutes 20 seconds shows the mix is holding a large share, which is normal for a peat-based mix in a 10-inch pot.
Repeat the same test after any change, using the same amount of water and the same pot, and compare the numbers. If the first drip moves from 48 seconds to under 20 seconds after adding coarse material to the mix, drainage has clearly improved. If the first drip moves past three minutes, drainage has slowed, and the mix or the holes need attention before the next watering.
Reading your result: pass, slow, or stuck
Use these ranges as a starting point, not as a strict rule for every plant. A first drip within 30 to 90 seconds, with steady dripping that slows within five minutes, points to drainage that works for most container plants. The pot holds water long enough for roots to take it up, then lets the surplus leave.
A first drip after three minutes, or no drip at all within ten minutes, points to slow or stuck drainage. Check the holes first, then look at the mix. A dense mix, a pot with only one small hole, or a saucer left full after watering can each cause this result on their own. For pots with too few holes, our guide to how many drainage holes a pot should have covers hole count and size by pot size.
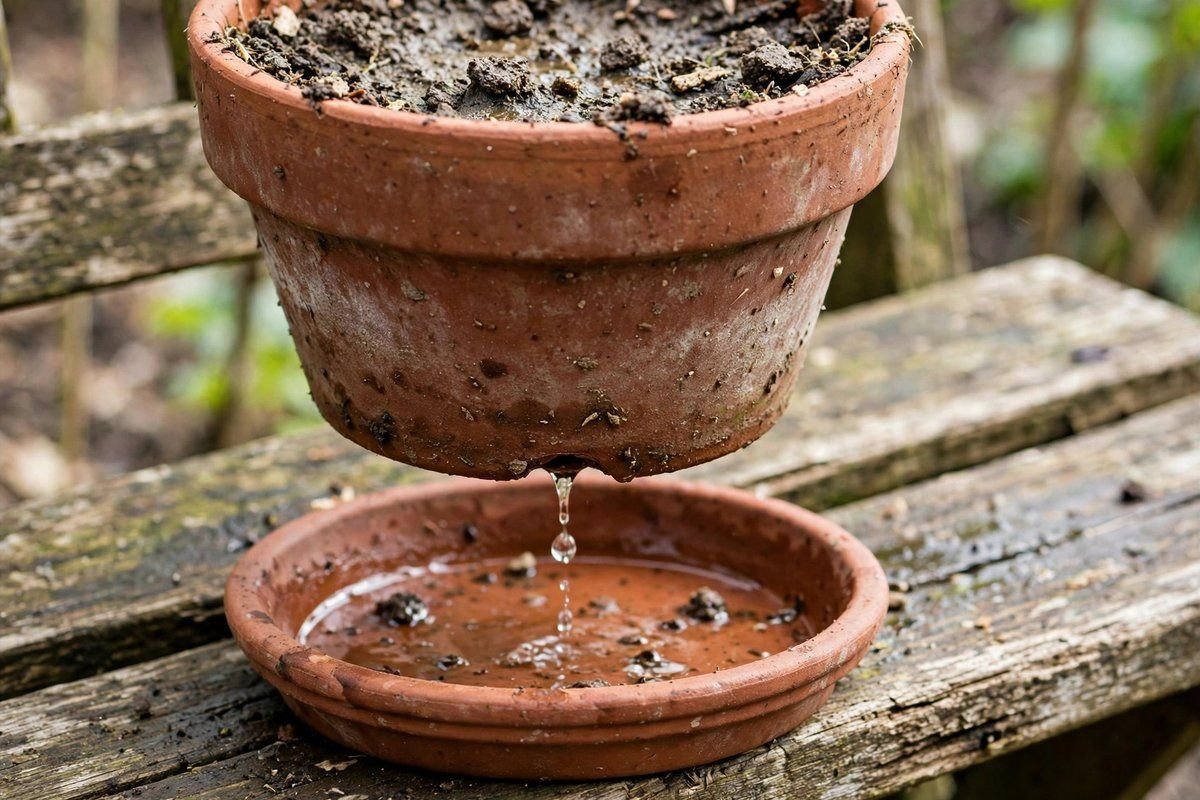
A first drip in under 10 seconds, with most of the water running straight through, points to the opposite problem. Water may be running down the side gap in a dry pot, or the mix may be so coarse that it holds too little water between waterings. In that case, water the pot slowly in two rounds, with a ten-minute pause between rounds, and test again. If water still rushes through, the mix may need more fine material, and our guide to how to keep container soil from drying out too fast covers that fix.
Plant type changes what counts as a pass. Herbs such as rosemary and lavender prefer a faster drain, so a first drip near the fast end of the range suits them. Leafy greens and many houseplants accept a slower drain, as long as the saucer is emptied and the surface dries between waterings. Judge the result with the plant in the pot in mind, not against one number alone.
Fixing a pot that drains too slowly
Start with the simplest checks. Lift the pot and look at the holes. Clear any root mat, soil plug, or debris with a chopstick, working from outside the pot so the root ball stays intact. Empty the saucer after every watering, and raise the pot on small feet or a rack if the saucer tends to refill and touch the holes.
If the holes are clear and drainage is still slow, the mix is the next place to look. Repotting into a mix with more coarse material, such as perlite or bark, usually changes the test result more than any other single step. For amounts by mix type, see how much perlite to add to potting mix. Repot when the plant is not in active bloom and the weather is mild, and water lightly after repotting, then test again in a few days once the mix has settled.
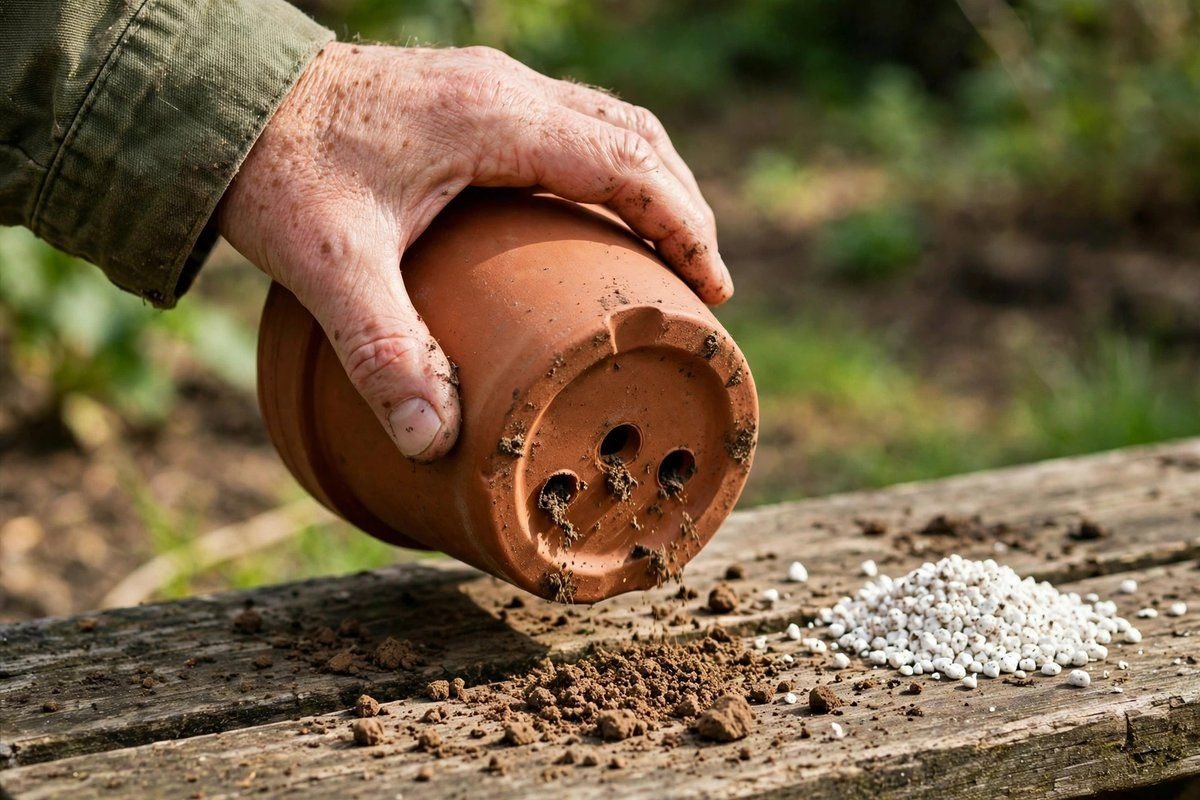
Do not add a layer of gravel or broken pots at the bottom of the pot to improve drainage. That layer raises the level where water sits inside the pot and leaves less room for roots, while the fine mix above it still holds water. A uniform mix with coarse material mixed through it drains more evenly than a pot with separate layers.
Retest after any fix, using the same amount of water as the first test. Keep the three numbers from each test in a short note: pot size, water poured, time to first drip, and water collected. Over a season, that note shows whether drainage is holding steady or slowly getting worse as the mix breaks down, which is a useful prompt to repot before a plant shows stress.
Sources & Further Reading
University of California Agriculture and Natural Resources
Cornell Cooperative Extension
USDA Natural Resources Conservation Service