

This post may contain affiliate links. If you buy through links on this page, we may earn a commission at no extra cost to you.
As an Amazon Associate I earn from qualifying purchases.
Potted plants freeze faster than plants in the ground, and the gap is bigger than most of us expect. A pot holds a small ball of soil with cold air on every side, while a garden bed draws warmth from the earth below it. On a night when a bed dips to just above freezing, a pot on the same patio can freeze solid. The fix is simple in shape: move pots first, group what stays outside, wrap the pots, and cover the leaves before dusk. This guide walks through each step, with a worked example for a set of six pots, and covers what to do the morning after a frost.
Why pots freeze before beds
A raised bed or an open border sits on a large mass of soil that holds the day’s warmth and releases it slowly overnight. A pot has no such reserve. Its soil mass is small, its sides face the wind, and its base often sits on cold concrete or decking that pulls heat away. A 10-inch pot can lose its stored warmth in a few hours on a clear, still night, which is when frost hits hardest. Clear skies let heat escape upward, still air lets cold settle low, and both conditions arrive together on the nights that catch us out.
Roots are the weak point. Leaves can take a light frost and recover, but roots in a frozen pot have nowhere to retreat. That is why wrapping the pot matters as much as covering the leaves. A plant can lose a few leaves and regrow; a root ball that freezes through may not come back at all. Tender plants such as citrus, tomatoes left out late, and tropical houseplants that summer outside face the most risk, while hardy herbs and dormant perennials in pots often ride out a light frost with little fuss.
Move first, wrap second
Moving a pot is the single best frost defense we have, and it costs nothing. Before the first frost of the season, we walk the patio and sort pots into three groups: move inside, move under cover, and leave out with protection. Tender plants go inside or into a garage, shed, or greenhouse for the night. Plants that stay out move to the warmest spot we have, which is usually against a south or west-facing wall under an eave, where the house gives off a little stored warmth and the roof blocks the open sky.
Use your local frost dates and regional planting guidance — not your USDA hardiness zone alone — to choose planting dates. That same habit applies here: we watch the local forecast for the first frost rather than a zone map, and we start moving pots when the forecast shows a night near freezing, not after the first leaves turn black. A frost date tells us when cold usually arrives; a forecast tells us when it arrives this week.
We move pots in the afternoon, while we still have light and the soil is warm from the day. A pot that goes inside cold stays cold, while a pot that goes inside warm holds that warmth for hours. If a pot is too heavy to lift, we set it on a plant trolley or a piece of old carpet in autumn so it can slide across the patio when a cold night is forecast.
Group pots and use walls
Pots left outside do better together than alone. We cluster them tight against a wall, with the tallest and hardiest pots on the windward side and the tender ones tucked in the middle. The group shares warmth, breaks the wind, and gives us one small area to cover instead of pots scattered across the patio. We set the cluster on soil, mulch, or a wooden pallet rather than bare concrete, since concrete stays cold and draws heat from the base of each pot.
Inside the group, we pack straw, dry leaves, or old blankets between the pots. That packing fills the cold gaps and turns a loose row of pots into one warmer mass. We keep the packing below the rim of each pot so it does not hold rain against the stems, and we pull it out on mild days so the soil can dry.
Wrap the pot, then cover the plant
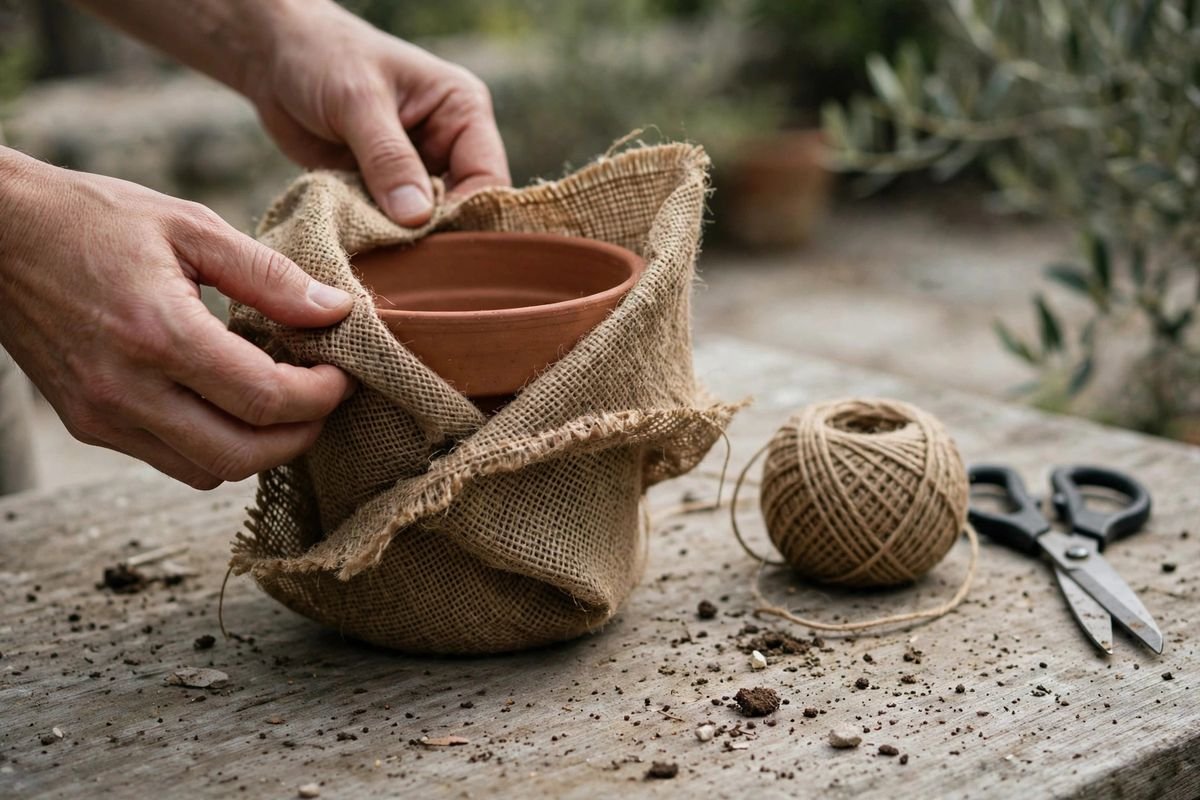
Wrapping the pot guards the roots. We wrap burlap, bubble wrap, or an old blanket around the sides of the pot and tie it with twine, leaving the drainage hole clear at the bottom. Two layers beat one thick layer, since the air trapped between layers is what slows the cold. For a row of pots, a single long strip of bubble wrap around the whole group is faster than wrapping each pot alone and works just as well.
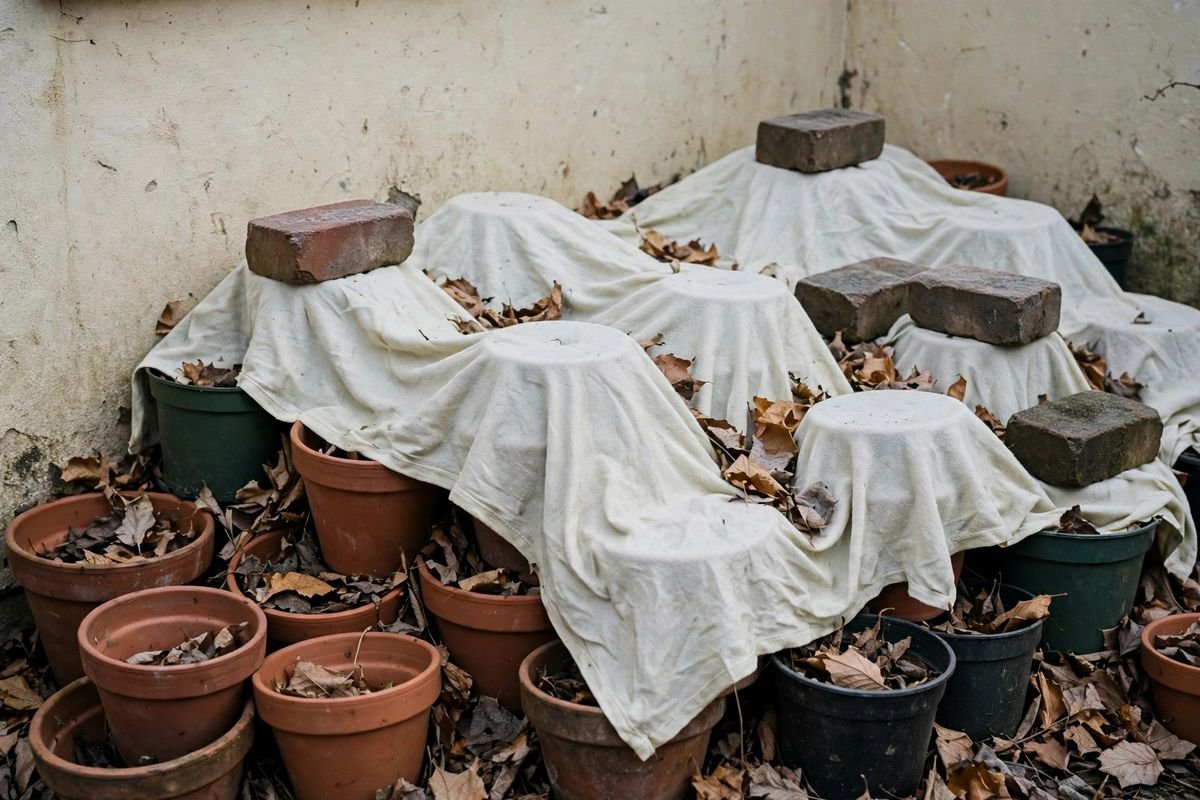
Then we cover the plant itself with frost cloth, an old sheet, or a purpose-made cover, draped over stakes or an upturned pot so the cloth does not rest on the leaves. Cloth that touches wet leaves can freeze to them and do more harm than no cover at all. We weigh the edges down with bricks or stones so the wind cannot lift the cover in the night. Plastic sheeting can work in a pinch, but it must never touch the leaves, and we take it off first thing in the morning, since sun on plastic cooks the plant underneath. Our comparison of frost cloth versus plastic cover lays out when each material fits and when it does not.
If we need a cover and have none on hand, a search for frost cloth for potted plants on Amazon will turn up rolls and pre-cut covers in several sizes: frost cloth for potted plants. We measure the widest pot in the group before we order, since a cover that is too short leaves the windward side open.
Worked example: wrapping six pots in one evening
To show what an evening of frost prep looks like, we worked it out for six pots on a small patio: two large terracotta pots with citrus, two medium plastic pots with herbs, and two small clay pots with tender perennials. These are plain counts we set for the example, and the timing scales up or down with the number of pots.
Inputs: six pots; one roll of burlap 3 feet wide; one roll of bubble wrap; a ball of twine; six bricks; one frost cloth 10 by 12 feet; a pair of scissors. Steps: move the two citrus pots against the south wall (10 minutes), group the other four pots beside them and pack dry leaves between them (10 minutes), wrap all six pots in one layer of bubble wrap plus one layer of burlap, tied with twine (10 minutes per large pot, 5 minutes per small pot, 40 minutes in total), and drape the frost cloth over the group on stakes, weighted with bricks (15 minutes).
Total time: about 75 minutes for six pots, or roughly 12 minutes per pot once the materials are on hand. Materials used: about 12 feet of burlap, 12 feet of bubble wrap, 6 feet of twine, and one frost cloth. The lesson is that the first night takes the longest, since we cut and fit everything from scratch, while later nights take about 15 minutes: pull the cloth over the group at dusk and lift it off in the morning. That is why we keep the cut burlap, the twine, and the cloth in a labeled tub by the back door from the first frost warning until spring.
When to cover and when to uncover
We cover before dusk, while the soil still holds the day’s warmth, and we trap that warmth under the cloth. Covering after dark traps cold air instead, which defeats the point. On a night with frost in the forecast, we cover in the late afternoon and check the edges are weighted before we go in.
We uncover in the morning once the temperature climbs above freezing and the frost has melted off the cloth. Leaving a cover on through a sunny day traps damp and heat, and a damp plant under a warm cover is open to rot. If the forecast shows several freezing nights in a row, we can leave the pot wrapping in place and lift only the top cover each morning. For more on choosing the cover itself, our guide to the best frost covers for raised beds and containers compares cloth weights and sizes, and our post on protecting raised beds from frost covers the same timing for beds in the ground.
Water before the cold night
Damp soil holds warmth better than dry soil, so we water pots the day before a frost is forecast, giving the soil time to soak and the leaves time to dry before nightfall. We water the soil, not the leaves, and we water in the morning or early afternoon, never at dusk. Wet leaves at dusk freeze where the water sits, and a wet crown on a cold night is a common way to lose a plant that would have survived dry.
We skip watering if the pot is already damp from rain. Soggy soil in a freezing pot can heave and crack a clay pot, and it gives the roots no extra warmth beyond what damp soil already holds. A finger test tells us enough: if the top inch feels moist, we leave the watering can alone.
After a frost night
In the morning, we lift the cover and look before we act. Leaves that look water-soaked and dark have frozen, and we leave them alone for a day or two. Cutting frozen growth right away can expose live tissue underneath to the next cold night, and the damage often looks worse than it is on the first morning. We wait, watch for new growth, and prune only the parts that stay limp and black after a week.
We water sparingly after a frost, since a stressed plant drinks slowly and wet soil in cold weather invites rot. We move badly hit pots to a sheltered spot out of the wind and leave them there until the weather settles. If the pot itself has cracked, we repot once the plant shows signs of life, not before, since moving a frozen root ball does more harm than the crack does.
We also note what happened. A line in the notebook that reads “November 12, light frost, citrus fine under cloth, basil lost” tells us next year which plants need to come inside first and which covers earned their keep. Over a few seasons, those lines turn into a frost plan that fits our own patio rather than a generic list.
What covers cannot save
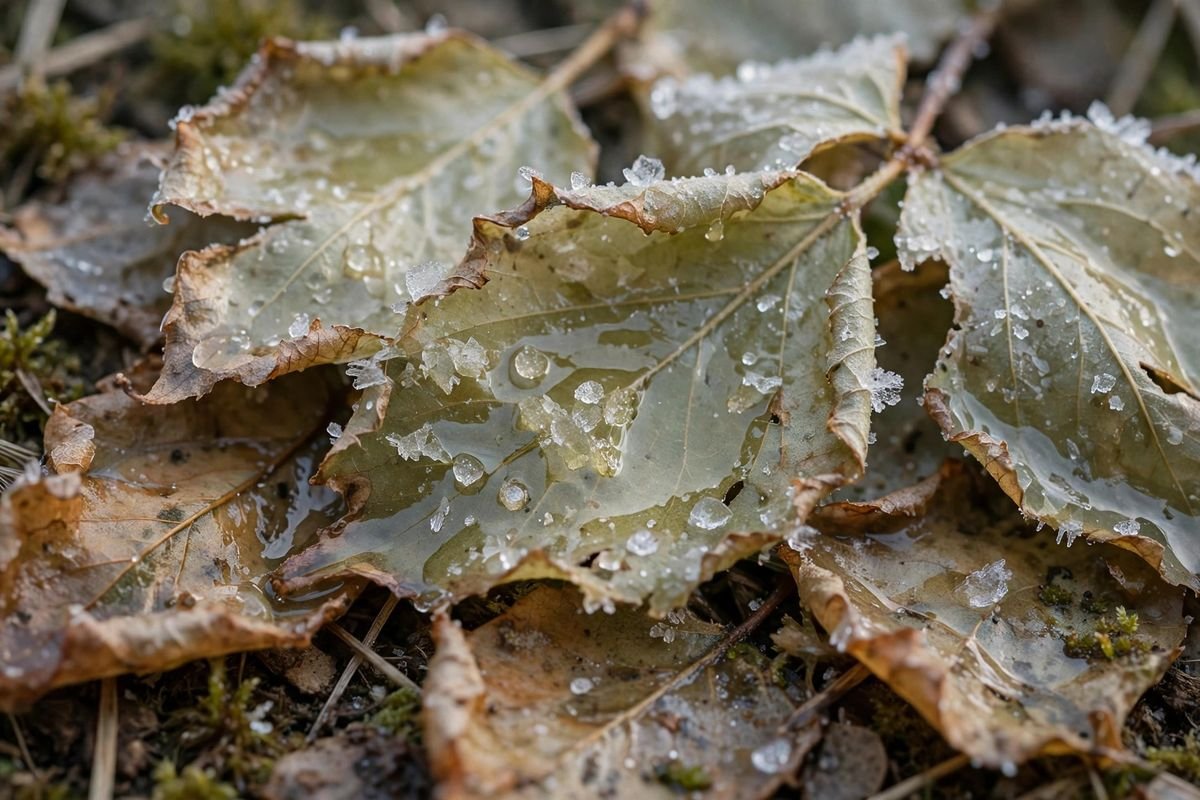
A cover buys a few degrees, not a season. Tender plants left out through a hard freeze, where the temperature drops well below freezing for hours, will still lose leaves and stems under cloth. Tropical plants, young citrus, and anything that was growing fast in warm weather should come inside before the first real freeze, not after. A cover is for the marginal nights, the ones where the forecast shows a light dip and the plant has a fair chance with a little help.
The same limit applies to pots on their own. A wrapped pot survives a light frost; a wrapped pot left out through a week of hard freezes will still freeze through. When the forecast shows a run of nights below freezing, we bring the tender pots inside or into a garage and accept that the patio will look bare for a while. The plants will thank us in spring.
Sources & Further Reading
University of Minnesota Extension, frost protection guidance for home gardens. Cornell Cooperative Extension, cold protection for container plants. Clemson Cooperative Extension, winter protection for container plants. USDA Natural Resources Conservation Service, soil temperature and frost guidance.