
This post may contain affiliate links. If you buy through links on this page, we may earn a commission at no extra cost to you.
As an Amazon Associate I earn from qualifying purchases.
Damping off is the quiet thief of seed starting. One day a tray looks fine, the next day seedlings lie flat with thin, brown stems at the soil line, and no amount of watering brings them back. The good news is that damping off is mostly preventable. It thrives in a narrow set of conditions: dirty trays, old mix, still air, and mix that stays wet. Each of those conditions is one you can change before you sow a single seed.
This guide sets out a prevention system. Each step below removes one leg the problem stands on. Put them together, and most trays stay standing through the tender first weeks.
Start clean: trays, tools, and hands
Old trays carry soil, algae, and fungi from last season, even after a rinse. Those leftovers feed the fungi that cause damping off, and they sit right where new stems will emerge.
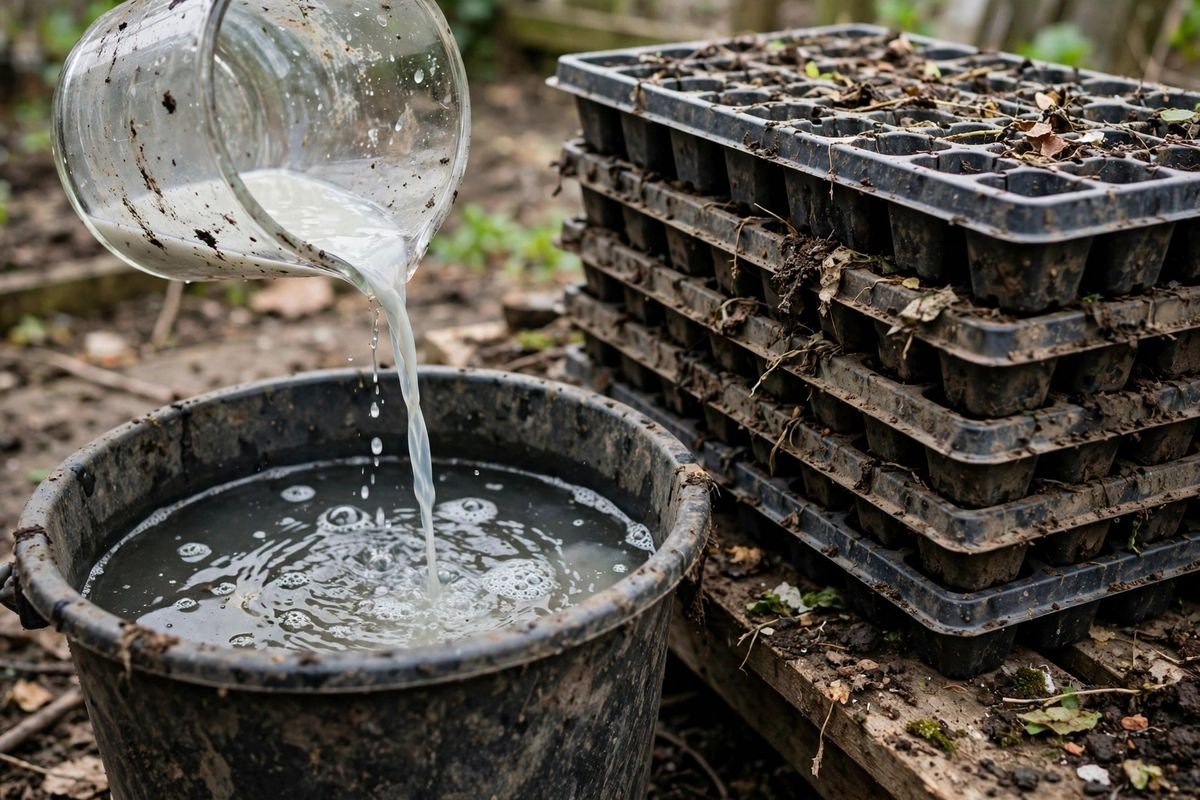
Our cleaning math uses a common household bleach soak as a planning example. Mix 1 part bleach to 9 parts water. A 2-gallon basin holds 32 cups, so about 3 cups of bleach plus 29 cups of water fills it at roughly that ratio. Soak trays for 10 minutes, rinse them well with clean water, and let them air-dry fully before use. Wear gloves, work where air moves, and never mix bleach with other cleaners. These amounts are arithmetic from the stated ratio and basin size, not a lab test, and you should follow the label on your bleach product for safe use.
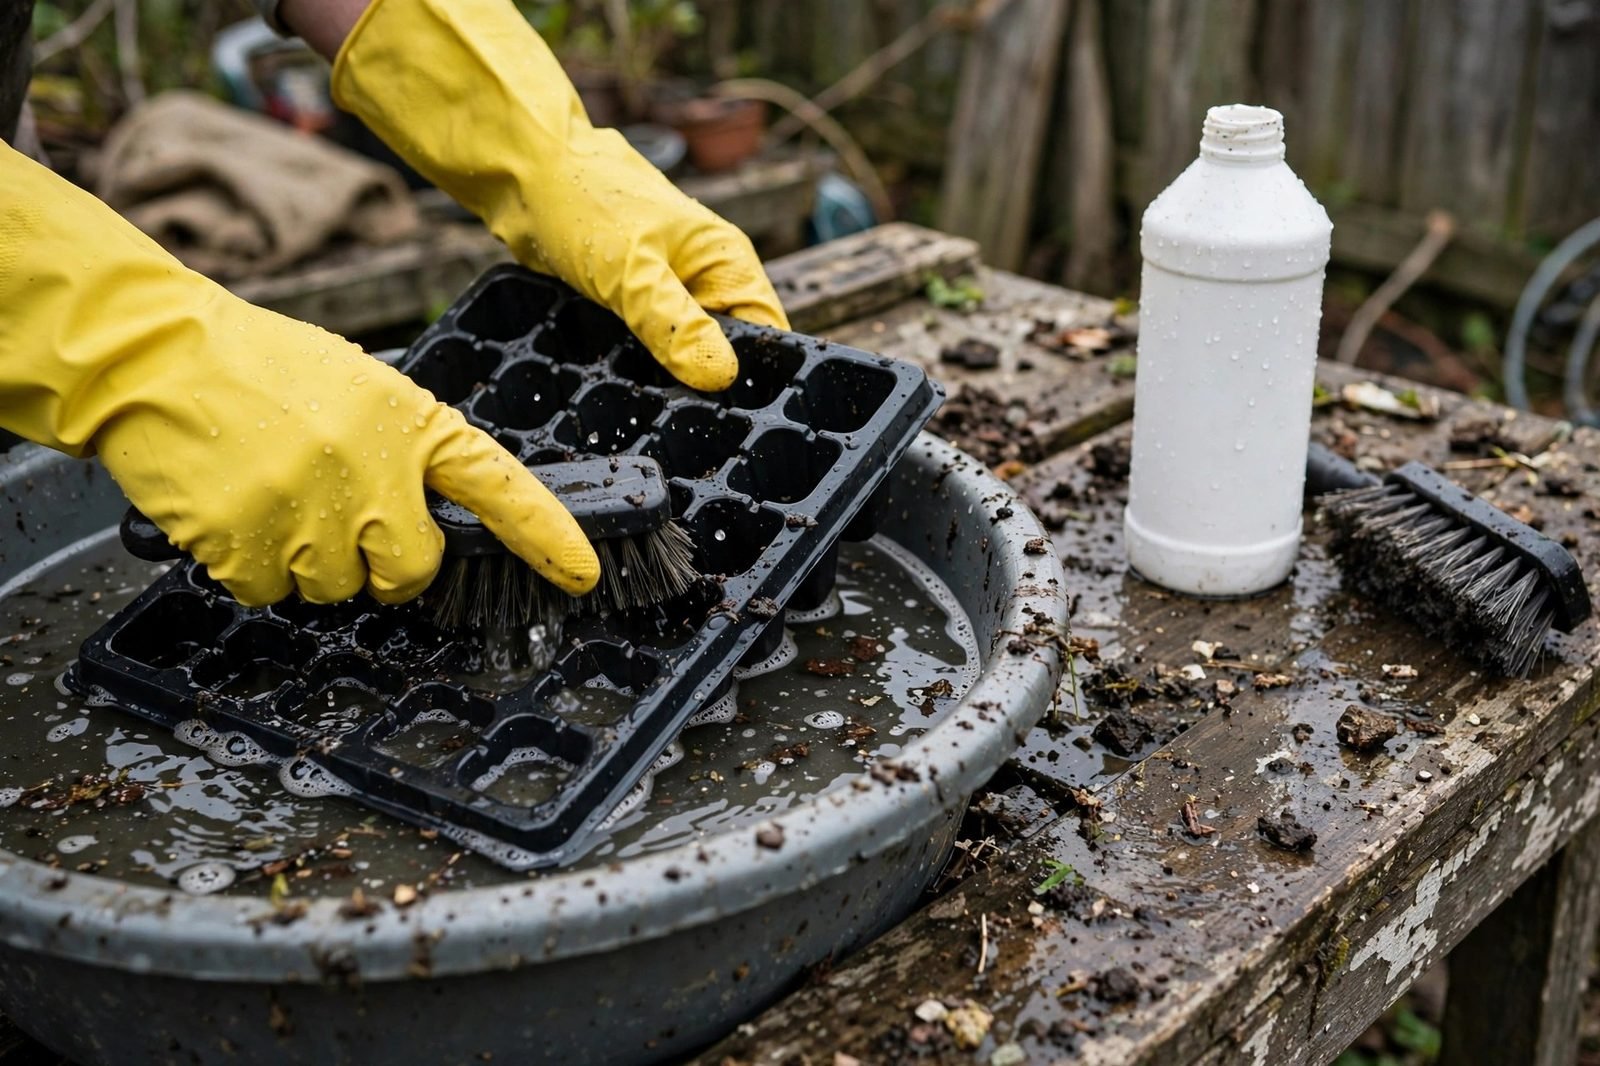
Scrub off soil and algae first, since bleach cannot reach fungi hiding under a crust of old mix. A stiff brush and plain soapy water do that job. Clean small tools at the same time: scissors, dibbers, and plant labels all carry soil from tray to tray. See how to clean seed starting trays for the full routine.
Use fresh mix, and sow at the right depth
Garden soil belongs in the garden, not in a seed tray. It drains poorly in a small cell, compacts fast, and can carry fungi and weed seed. A bagged seed starting mix drains freely, holds air around young roots, and starts out nearly free of plant disease. Open a fresh bag each season.
Sow at the depth on the seed packet, or about twice the width of the seed as a rough rule when the packet gives no depth. Seed buried too deep takes longer to emerge, and a long, slow emergence gives fungi more time to attack a soft stem. Seed sown on the surface without cover can dry out before it roots. A light, even covering of mix, pressed down just enough to make seed-to-mix contact, gives the seed a fair start.
For mix choices, see best seed starting mixes for fast, even germination. Fill cells loosely and water the mix before sowing if the bag feels dry.
Give seedlings moving air
Still, humid air around a tray is ideal ground for damping off. A covered dome holds humidity for germination, but it should come off once seedlings emerge. After that, seedlings need air moving across the tray, which dries the mix surface between waterings and helps stems grow firmer.

A small room fan on a low setting, placed a few feet away and aimed across the trays rather than straight at them, is enough. Run it for much of the day while lights are on. Seedlings should sway slightly, not bend hard or dry out at the leaf edges. If leaves start to crisp, move the fan farther away.
Water from below, and water less often
Top watering keeps the stem zone wet, which is exactly where damping off strikes. Bottom watering flips that pattern: water rises through the mix from below, roots get moisture, and the surface stays drier.
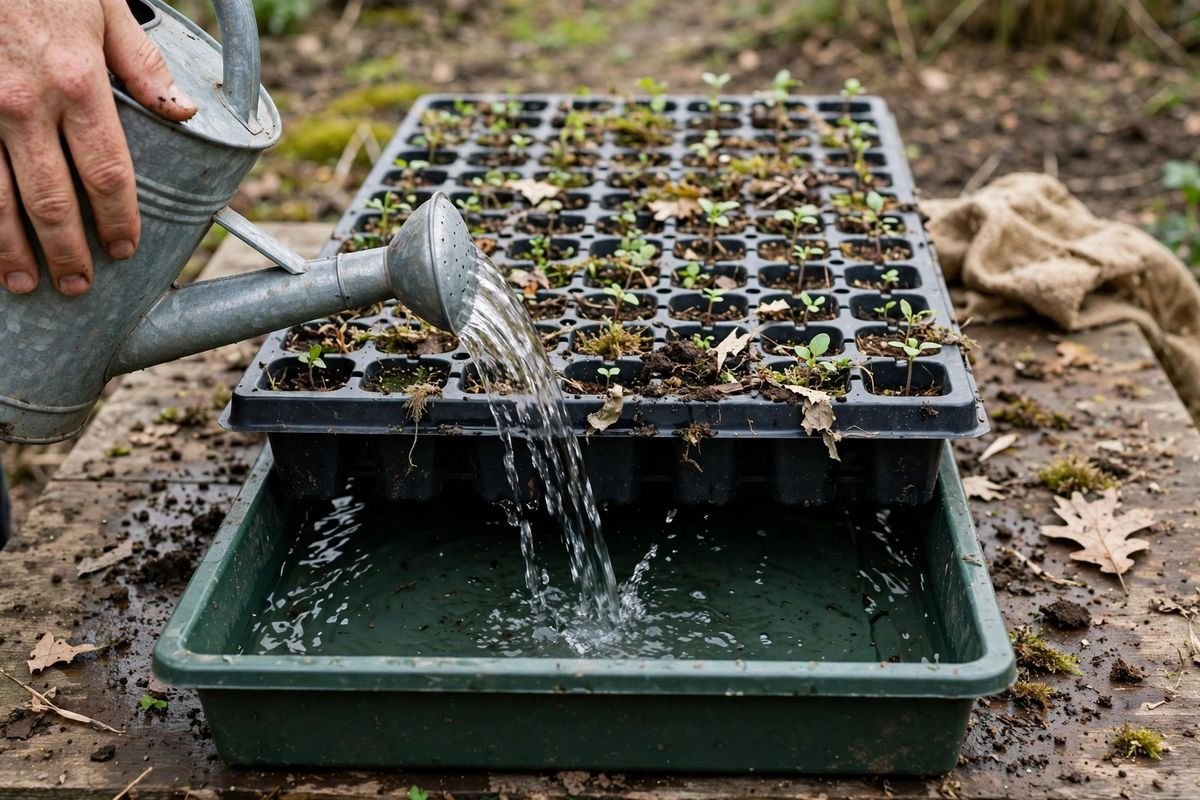
Set the cell tray into a solid tray, pour water into the solid tray, and wait 10 to 20 minutes for the mix to soak it up. Then pour off all water that remains. Never leave trays sitting in standing water overnight. Check before the next watering by pressing a finger into the mix: if the top half inch feels damp, wait a day.
Our guide on how to bottom water seedlings shows the setup in detail, and how often to water seedlings covers the finger test and the signs of both dry mix and soggy mix. Sturdy trays with drainage holes make this routine simple; you can find seedling trays on Amazon if your old trays no longer drain well.
Give each seedling room
Crowded seedlings trap humid air between their leaves and shade each other, so the mix surface stays wet longer. Spacing is a quiet form of disease control: air reaches the mix, light reaches each plant, and a single sick seedling is less likely to pass trouble to its neighbors.
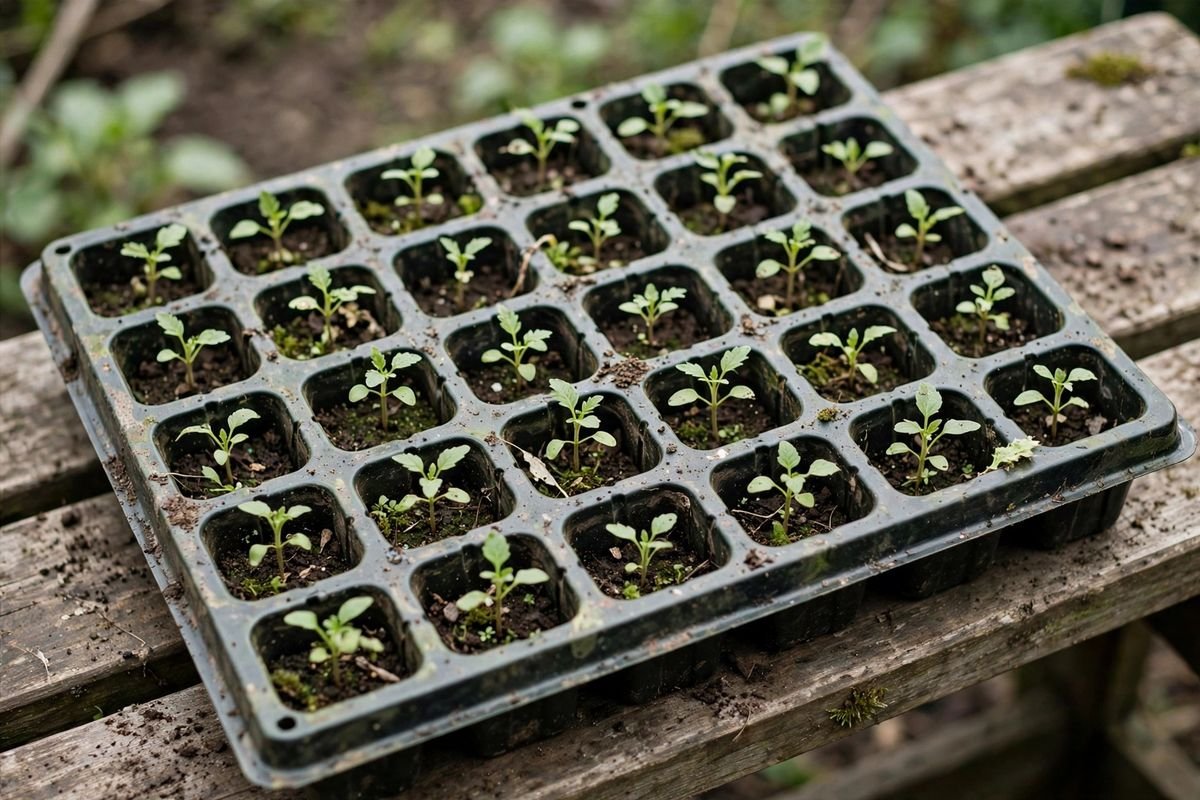
Cell size is a simple way to buy room. In a tray of the same outer size, a 36-cell tray gives each seedling roughly twice the air space of a 72-cell tray, because each cell covers about twice the area. That is arithmetic from cell counts, not a measured airflow test, but the effect in practice is plain: wider spacing dries faster and lets you spot a fallen seedling sooner. Thin each cell to one seedling as soon as the first true leaves appear, snipping extras at the soil line with small scissors rather than pulling them out by the roots.
Light close above the plants
Strong light from directly above keeps seedlings short and stocky, with firm stems that resist falling. Weak light stretches stems thin, and thin stems are easy prey for any rot at the soil line. Light is therefore part of damping off prevention, even though it is not a disease control on its own.
Hang a shop light or grow light 2 to 3 inches above the tops of the seedlings, and raise it as they grow so the gap stays about the same. Keep lights on for 14 to 16 hours a day. A tray that leans toward a window is telling you the light is too far away or too dim; move the light closer to the plants. Combine close light with moving air and bottom watering, and stems grow firm enough to stand through the weeks before transplanting.
Timing and a weekly check routine
Prevention also means sowing at a time when seedlings can move outdoors without sitting indoors for weeks past their prime. Seedlings held too long in small cells grow crowded and stressed, and stressed plants fall sick more readily. Sow so that seedlings reach transplant size near your outdoor planting window. Use your local frost dates and regional planting guidance — not your USDA hardiness zone alone — to choose planting dates.
Once a week, run a short check over every tray:
- Lift the tray and look underneath for standing water or algae.
- Press the mix in a few cells to judge moisture before watering.
- Look at the soil line of each seedling for thinning or browning.
- Remove any fallen seedling at once, so it cannot feed fungi near healthy plants.
- Confirm the light is still 2 to 3 inches above the plant tops, and that the fan still moves air across the tray.
If damping off does appear in one tray, isolate that tray, remove fallen seedlings, and let the mix dry down a little between waterings. Do not reuse that mix for a fresh sowing. Start the next tray clean, with fresh mix, and the rest of the system in place.
Sources & Further Reading
University of Minnesota Extension: Starting seeds indoors
North Carolina State Extension Gardener Handbook: Chapter 13, Propagation