
This post may contain affiliate links. If you buy through links on this page, we may earn a commission at no extra cost to you.
As an Amazon Associate I earn from qualifying purchases.
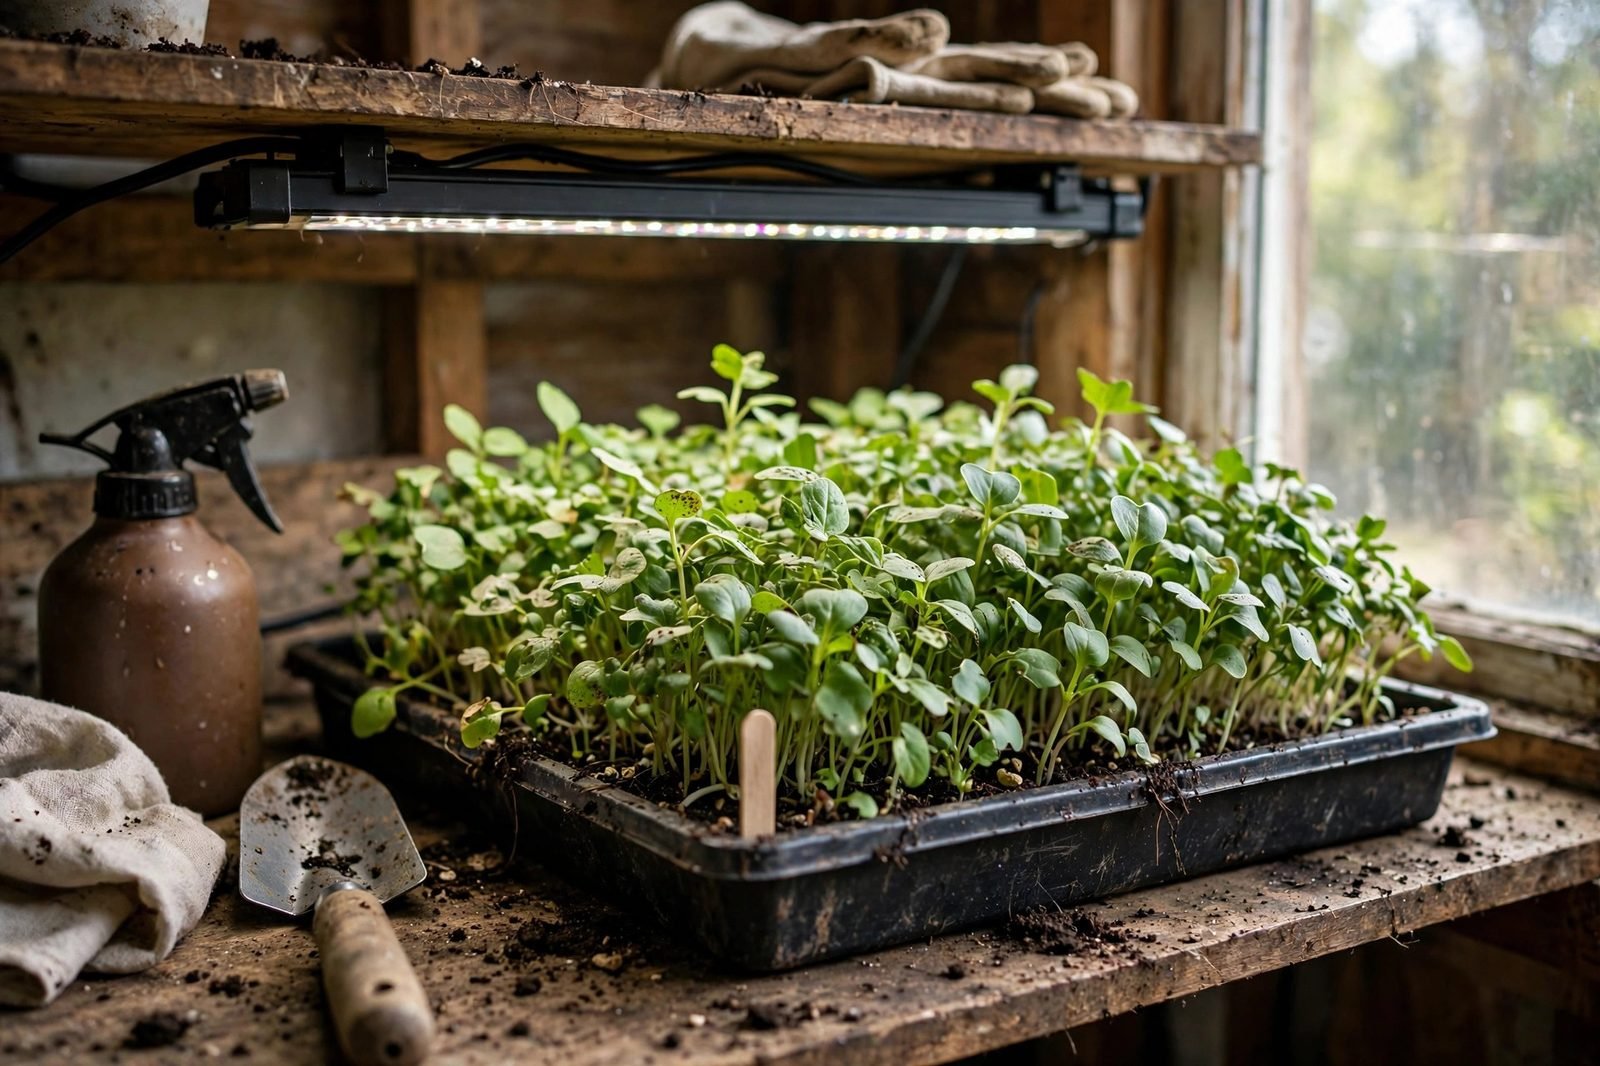
Microgreens are young vegetable and herb seedlings harvested soon after their first leaves open. That short timeline is what makes them such a good indoor crop. A shallow tray on a shelf or counter can go from seed to harvest in about one to two weeks, with no garden bed and very little space. For apartment growers and anyone working through a short winter day, they offer fresh flavor when outdoor greens are still weeks away.
This guide walks through the full setup we recommend for reliable results: choosing a tray and medium, sowing at the right density, managing light and water, keeping mold in check, and cutting a clean harvest. Most failures come from three fixable causes — too little light, soggy medium that never dries at the surface, and sowing so thick that air cannot move. Get those right and a small indoor station can produce tray after tray.
| Light | 12 to 16 hours under an LED bar 2 to 4 inches above the canopy, or the brightest south-facing window available |
|---|---|
| Water | Keep medium evenly moist; bottom water once roots reach the tray base, mist lightly only at sowing |
| Container or tray | Shallow tray about 1 to 2 inches deep with drainage holes set inside a solid tray |
| Soil or medium | Fine seed-starting mix or coconut coir, pre-moistened and leveled |
| Days to harvest | 7 to 14 days for most brassicas, radish, and pea shoots; 14 to 21 days for slower herbs |
| Common problems | Leggy stems from low light, mold from poor airflow, uneven germination from dry patches |
Choose the Right Tray and Growing Medium
A standard 10-by-20-inch seed tray with drainage holes nested inside a solid tray is the easiest setup to manage. Shallower 10-by-10-inch trays and clean reused takeout containers work too, as long as excess water can drain away and a second container catches it. We favor trays with drainage because standing water around young roots invites odor and mold. Our guide to best seed starting trays compares common sizes and materials for indoor growing spaces.
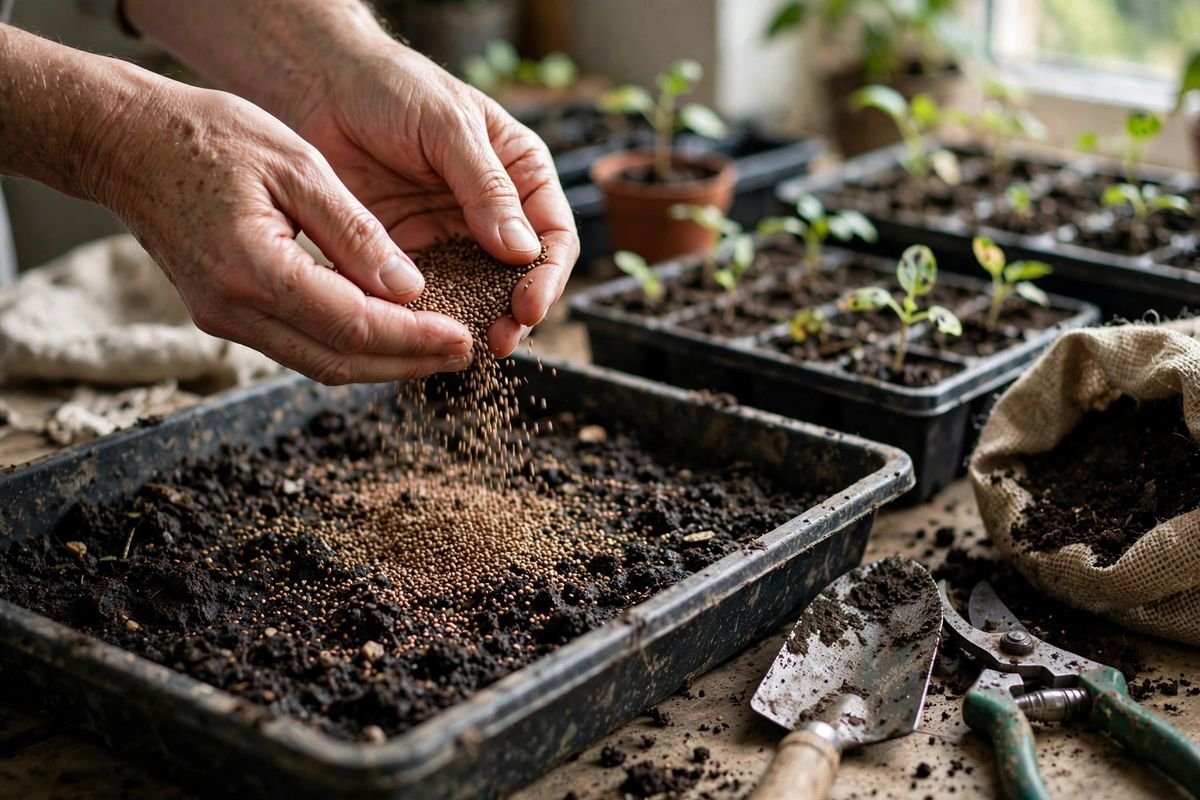
For the medium, a fine seed-starting mix or coconut coir holds moisture evenly without large chunks that push seeds around. Fill the tray to within about half an inch of the rim, level the surface with the edge of a ruler or a spare piece of cardboard, and pre-moisten the mix until it feels like a wrung-out sponge. A level surface matters more than it sounds. Seeds that settle into dips get buried too deep, and seeds on high spots dry out first, which leads to patchy germination across the tray.
We do not add fertilizer at sowing. Microgreens live off the energy stored in the seed for most of their short life, so rich feeding is unnecessary and can leave salts on the surface. Plain, fresh medium also reduces the chance of bringing in fungus gnat eggs or weed seeds from garden soil. Save garden soil for outdoor beds.
Sowing Densely for a Full Tray
Microgreens are sown much more thickly than garden transplants. The goal is a dense carpet that supports itself as it grows, not individual plants with room to spread. Scatter seed evenly over the leveled surface, aiming for consistent coverage with very little bare medium showing. Small-seeded crops like broccoli, kale, and mustard cover quickly, while larger seeds such as pea and sunflower need a heavier hand and a bit more space between seeds.
After scattering, press the seeds gently into contact with the moist surface using the flat of a hand or the bottom of another tray. Most microgreen seeds do not need a soil covering. A few larger seeds benefit from a very light dusting of dry mix, but burying small seeds under a thick layer slows them and produces uneven heights. Mist the surface once with a spray bottle so every seed is damp, then move the tray into its germination setup.
Even coverage at this step saves trouble later. Bare corners grow slowly and invite mold on exposed wet medium, while piled-up clumps tangle and rot at the center. Taking an extra thirty seconds to redistribute seeds with a fingertip gives a far more uniform tray.
The Blackout Period and a Little Weight
Many growers cover a freshly sown tray for two to four days to keep seeds dark and humid while they germinate. An inverted second tray or a sheet of cardboard does the job. During this blackout window, roots push down and stems stretch slightly as they search for light, which can produce a taller, easier-to-cut harvest.
Placing a light, even weight on top of the cover — a book or a clean brick wrapped in a towel — is an optional technique some growers use, especially for pea shoots and sunflower. The gentle pressure encourages sturdy stems and helps seeds shed their hulls. It is not required for good results, and it should never be heavy enough to compact the medium into a hard slab. If we skip both steps, the tray still grows. Seeds simply go straight under light once sown, and harvest may come a day or two later with slightly shorter stems.
Check under the cover once a day. As soon as most seeds have sprouted and the seedlings begin to lift the cover, remove it and move the tray into light. Leaving seedlings in darkness too long produces pale, weak growth that rarely recovers well.
Light for Compact, Flavorful Greens
Light is the single biggest factor in whether microgreens look sturdy or spindly. A bright window can work in late spring and summer, but short winter days and north-facing glass rarely provide enough intensity. Seedlings grown in weak light stretch tall, pale, and floppy, with thin stems that fall over at harvest. Our comparison of an LED grow light vs. a sunny window explains why indoor greens so often lean toward supplemental light.
An LED bar or shop light hung just 2 to 4 inches above the canopy for 12 to 16 hours a day gives compact, well-colored growth. Raise the fixture as the crop grows so the distance stays consistent. If we notice seedlings bending hard toward a window, rotating the tray a quarter turn each day helps, but adding overhead light solves the problem more completely. The shelving setups in our guide to how to set up grow lights on a shelving unit show how a small footprint can hold several trays at different stages.
Watch the plants rather than the clock alone. Deep green or richly colored leaves and short, upright stems signal enough light. Stretching between the soil and the first leaves is an early warning sign, covered in more detail in our troubleshooting notes on why seedlings get leggy under grow lights.
Watering From Below
Once roots reach the bottom of the tray, bottom watering becomes the most reliable method. Pour water into the solid outer tray and let the medium wick it up for ten to fifteen minutes, then pour off anything that remains. The surface stays drier, which discourages mold, and delicate seedlings are not flattened by a stream of water from above. Our step-by-step guide to how to bottom water seedlings covers the same technique we use for young transplants.
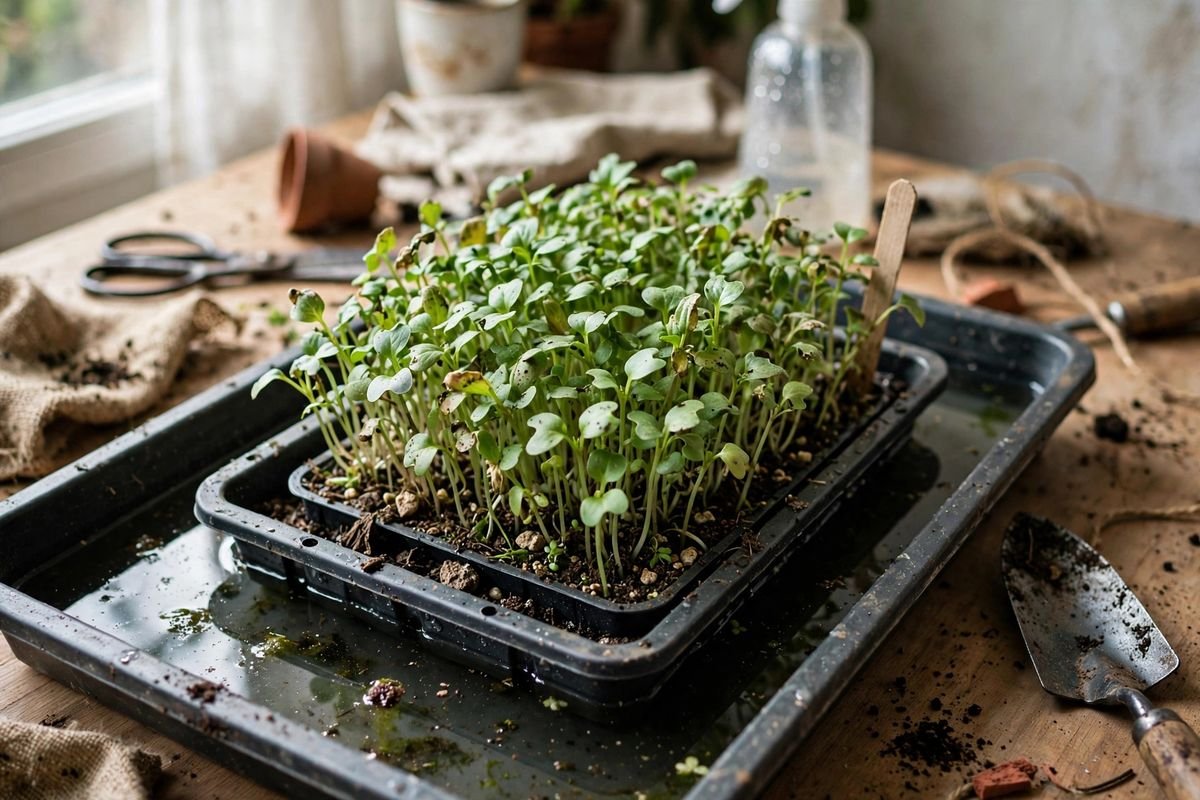
Before roots reach the base, a gentle mist once or twice a day keeps the surface moist. The medium should feel damp throughout but never soupy. If water pools on the surface or the tray feels heavy and smells sour, it has had too much. Let it drain fully and hold off watering until the surface lightens in color slightly.
Consistency matters more than volume. A tray checked each morning and watered in small amounts grows far more evenly than one soaked heavily every few days. In a warm room with a fan running, trays can dry quickly, so a daily check becomes part of the routine.
A basic set of 1020 trays with humidity domes and a simple LED light bar cover the core equipment for several trays in rotation, and neither takes much storage space between sowings.
Airflow and Mold Prevention
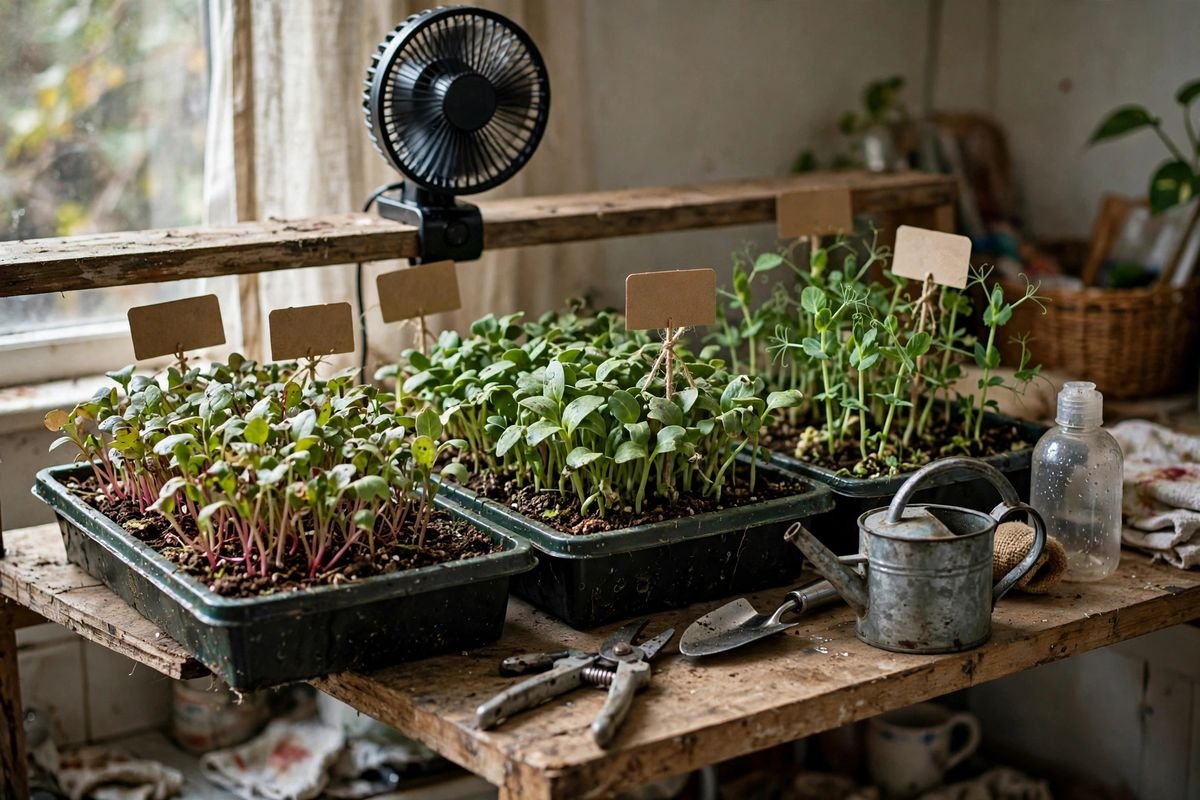
Still, humid air around a dense tray is an open invitation to mold. A small fan on its lowest setting, placed a few feet away so it moves air across the tops of the trays without blasting them, makes a real difference. We run the fan on the same timer as the lights. Good spacing helps too. Trays pushed tightly together on a shelf trap moisture along their edges.
It helps to tell true mold apart from healthy root hairs. Root hairs look like fine white fuzz clustered right along the root or lower stem, and they disappear when misted because they collapse against the root. Mold tends to look webby or gray, spreads across the soil surface between plants, and often carries a musty smell. Improving airflow and letting the surface dry slightly between waterings usually stops early mold. A tray that smells sour or shows spreading gray patches across most of the surface is better composted and restarted with fresh medium than eaten.
Cleanliness closes the loop. We wash trays with hot soapy water between crops and let them dry fully before refilling. Reusing medium from a finished microgreen tray invites the same mold back, so spent mix goes to the compost and each sowing starts fresh.
Harvesting With Scissors
Most trays are ready when seedlings stand 2 to 4 inches tall and the first true leaves have opened between the seed leaves. Flavor is brightest just before harvest grows woody or bitter, so tasting a few stems near the end of the window helps us pick the day. Radish and mustard lean spicy, pea shoots taste sweet and fresh, and sunflower brings a mild, nutty crunch.
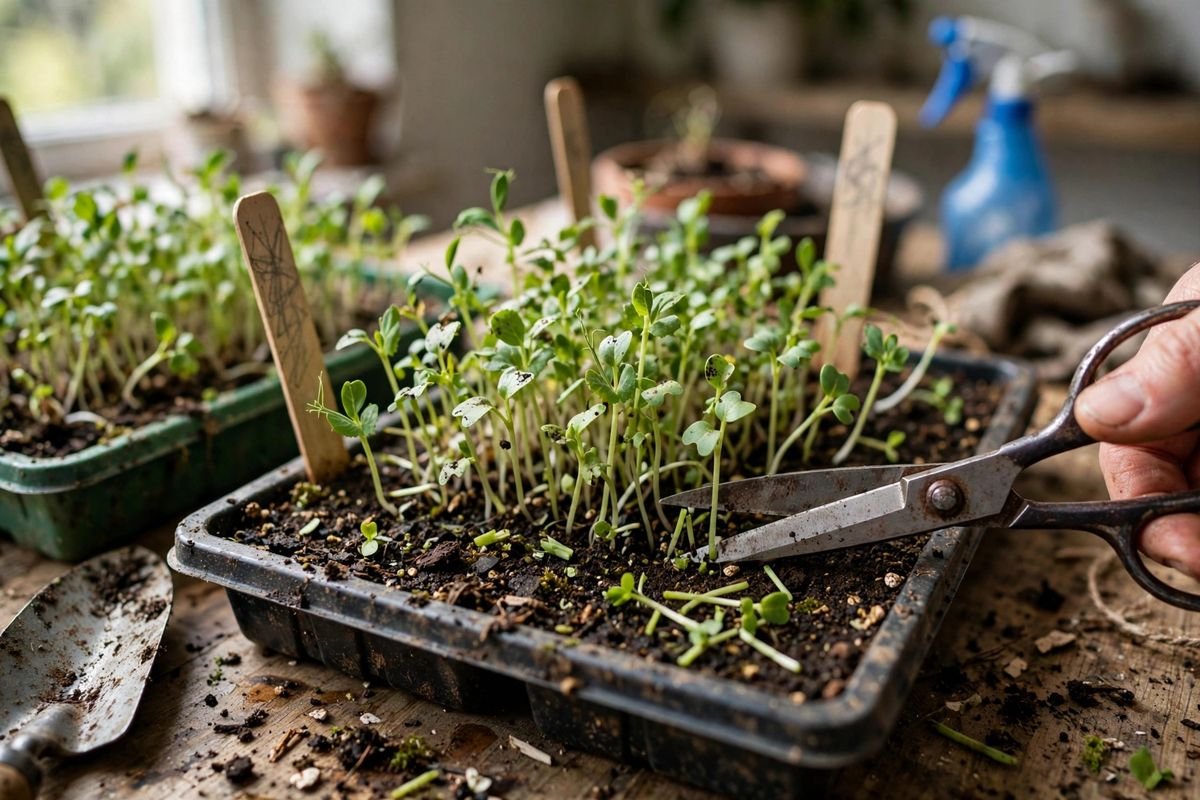
Use clean, sharp scissors or a sharp knife and cut stems just above the soil line, working in small handfuls. Cutting slightly above the medium keeps soil and seed hulls out of the harvest bowl. A pair of sharp kitchen scissors kept only for the garden makes this step fast and tidy. Rinse the cut greens gently in cool water, spin or pat them very dry, and store them in a container lined with a paper towel in the refrigerator. Kept dry, most microgreens hold quality for four to seven days.
Harvest the whole tray at once rather than nibbling over many days. Cut greens left standing in a warm room lose texture quickly, and an emptied tray can be washed and resown the same day, keeping the rotation moving.
Will Microgreens Regrow After Cutting?
For most crops, the honest answer is no. Microgreens are harvested at such a young stage that cutting the stem removes the growing point, and the root left behind has no leaf left to feed new growth. Broccoli, kale, radish, mustard, and sunflower trays are one-cut crops in practice. Expecting a second full harvest from them leads to thin, weak sprouts and off flavors.
Pea shoots are the main exception. Peas store more energy in the seed and can push a modest second flush after the first cutting, sometimes a smaller third. Even then, each round comes back thinner than the last, and most growers find that sowing a fresh tray on a weekly rhythm produces better quality with less waiting. We treat regrowth as a small bonus when it happens, never the plan. Succession sowing — starting a new tray every seven to ten days — is the reliable way to keep fresh greens on hand.
Troubleshooting Microgreens
Why are my microgreens tall, pale, and falling over?
Low light is the usual cause. Move the light closer, run it longer each day, or shift the tray to a brighter spot. Seedlings that have already stretched rarely firm up, so the next tray under better light is often the real fix.
Why is there white or gray fuzz on the soil?
Fine white fuzz hugging the roots is usually harmless root hairs. Webby gray growth spreading across the surface, especially with a musty smell, is mold. Increase airflow, bottom water only, and let the surface dry a little more between waterings.
Why did only part of the tray sprout?
Uneven moisture and uneven sowing are the common culprits. Dry high spots and buried low spots germinate on different schedules. Level the medium, pre-moisten it evenly, and mist the whole surface consistently during the first days.
Why do my microgreens taste bitter or harsh?
Harvesting late, heat stress, and dry medium all sharpen flavor past pleasant. Cut earlier, keep the tray in a cooler room when possible, and water steadily. Fresh seed also matters, since old seed germinates unevenly and produces mixed sizes.
FAQ
How long do microgreens take from seed to harvest?
Most fast crops such as radish, broccoli, and kale are ready in 7 to 14 days. Pea shoots land near the middle of that range, while basil, cilantro, and other slow herbs can take 14 to 21 days.
Can we grow microgreens without a grow light?
Yes, in a very bright south-facing window during longer days. In winter or in north-facing rooms, seedlings usually stretch and lean. A simple LED bar removes the guesswork and keeps trays compact year-round.
Do microgreens need fertilizer?
Generally no. The seed carries most of what the seedling needs for this short growth window. Fresh seed-starting mix and consistent water produce better trays than added feeding.
How often should we start a new tray?
Every seven to ten days suits most households. That rhythm keeps a tray near harvest, a tray mid-growth, and a tray just sprouting, so fresh cuttings are always close.
Sources & Further Reading
- University of Illinois Extension — growing microgreens indoors, light, watering, and harvest guidance (extension.illinois.edu)
- Mississippi State University Extension — growing microgreens indoors and microgreen varieties for home growers (extension.msstate.edu)
- Utah State University Extension — grow your own microgreens, tray setup, seeding rates, and timing (extension.usu.edu)
- University of Hawaii College of Tropical Agriculture and Human Resources — microgreens as an indoor crop, basic steps and supplies (cms.ctahr.hawaii.edu)
Keep building your indoor setup:
Start with one tray of radish or broccoli, watch it closely for ten days, and take notes on what the light and water did. That first small harvest teaches more than any chart, and the second tray is always easier than the first. What will go on top of dinner with your first cutting?