
This post may contain affiliate links. If you buy through links on this page, we may earn a commission at no extra cost to you.
As an Amazon Associate I earn from qualifying purchases.
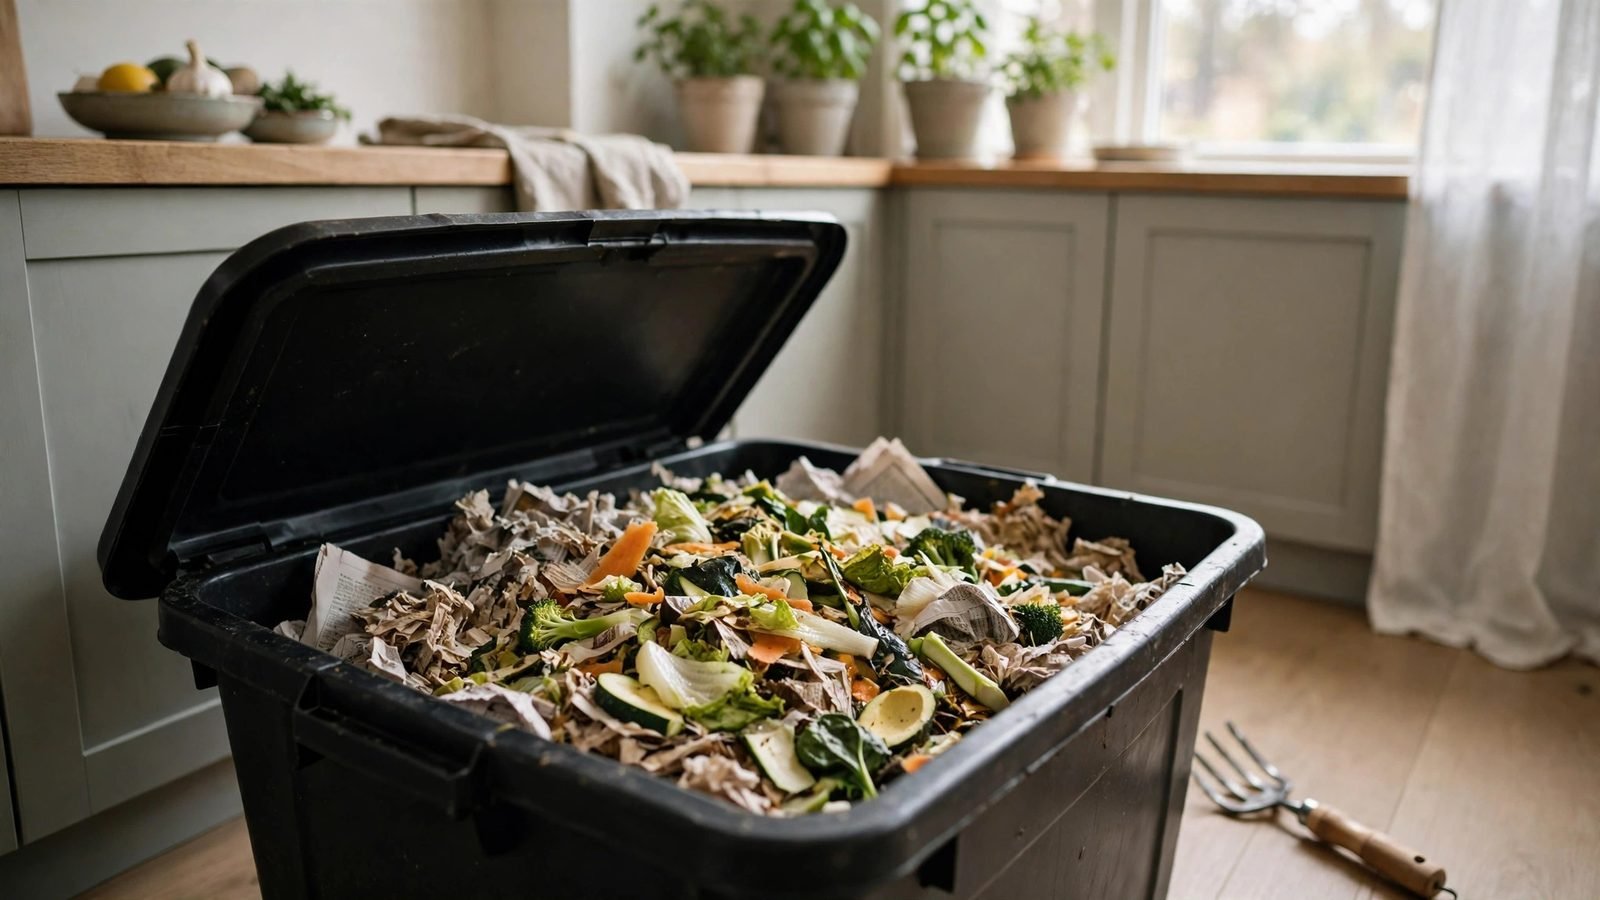
Winter brings a quiet garden and a full kitchen scrap bucket. Outdoor compost piles slow down in cold weather, and a worm bin moves the work indoors, where red wigglers keep eating vegetable peels and coffee grounds while snow or rain sits outside the window.
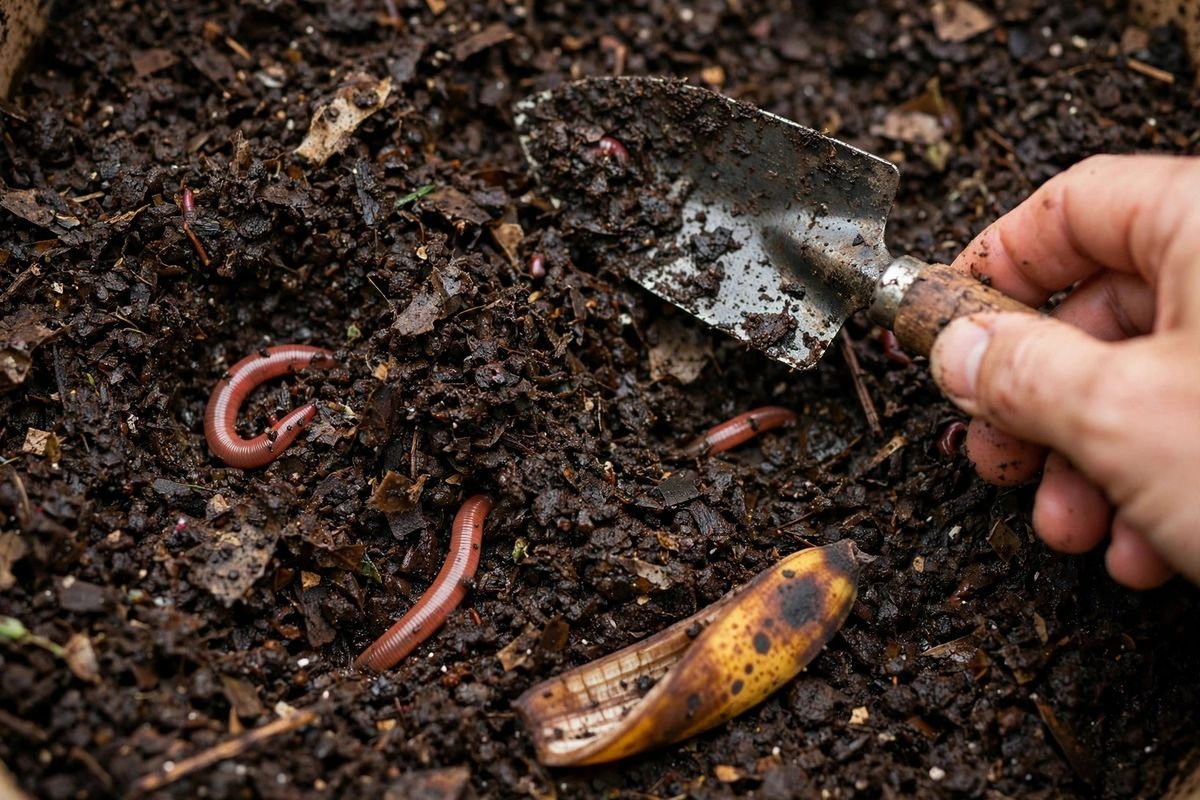
An indoor worm bin is a small, lidded container filled with damp bedding and composting worms. The worms eat kitchen scraps and leave behind dark, crumbly castings that feed houseplants and garden beds in spring. The setup fits under a sink, in a laundry room, or in a garage corner, and it asks for about ten minutes of care each week once it is running.
This guide covers the whole setup: picking a bin, choosing worms, making bedding, feeding at the right rate, keeping moisture in balance, and stopping smells before they start. The feeding section works out the numbers step by step, so you can size food portions to the worms you actually have.
Why winter is a good time to start indoors
Cold slows outdoor composting because the microbes in a pile need warmth to work fast. Worms have the same need, and a heated room gives them steady temperatures through the coldest months. The Royal Horticultural Society puts the active range for composting worms at about 18 to 25 degrees Celsius, or 64 to 77 degrees Fahrenheit, with activity dropping off below 10 degrees Celsius. Most kitchens and laundry rooms sit inside that range all winter.
Starting in winter also matches the rhythm of the kitchen. Holiday cooking and regular meals produce a steady stream of peels, cores, and trimmings, and a worm bin turns that stream into something useful instead of sending it to the trash.
Choose the right bin
Most indoor worm bins start as a plain plastic storage tote with a lid. A 10-gallon tote works well for one or two people, while a larger household may want an 18-gallon tote or a two-bin stacked system. Look for a tote with a snug lid and opaque walls, since worms avoid light and a dark bin keeps them working below the surface.
Drill air holes before you add anything else: eight to ten holes, about a quarter inch wide, in the lid, and four to six holes on each long side near the top. Cover the holes from the inside with fine mesh or old window screen to keep fruit flies out while air moves in. Drill six to eight small drainage holes in the bottom as well, and set the bin on a shallow tray to catch any liquid that drains through. Search for a plastic storage bin with a lid, 10 gallon size and check that the lid closes flat and the walls feel stiff rather than flimsy.
Pick the right worms
Composting worms are not the same as the earthworms in a garden bed. Garden earthworms live deep in soil and do poorly in a bin. The worms you want are red wigglers, sold as Eisenia fetida, sometimes called red worms or tiger worms. They live in decaying organic matter, eat fast, and breed well in captivity. Buy from a worm supplier, a garden center, or a local composting group, and avoid worms sold as fishing bait, which are often a different species that will not settle into a bin. One pound of red wigglers, roughly 1,000 worms, is the standard starting amount for a 10-gallon bin, and it matches the feeding math below.
Make the bedding
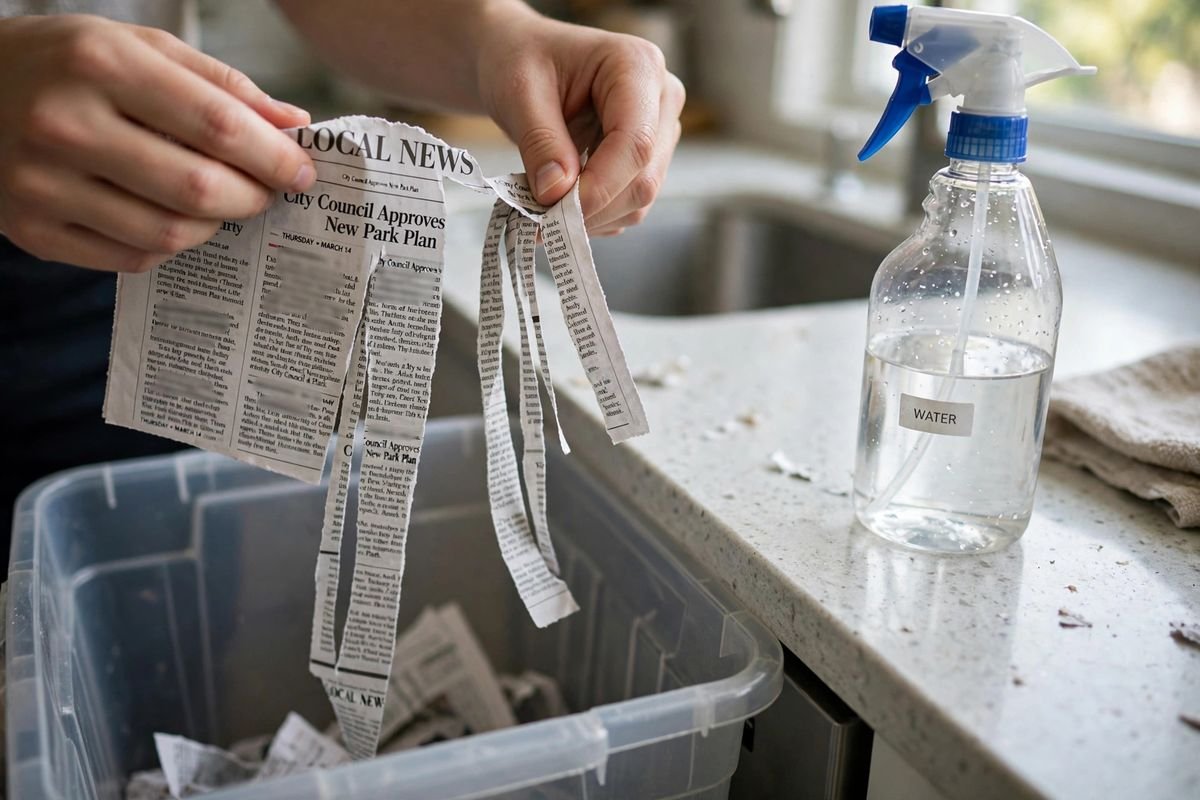
Bedding is the worms’ home, food source, and shelter all at once. It holds moisture, gives the worms a place to burrow, and balances the wet kitchen scraps you add later. Shredded black-and-white newspaper is the most common bedding, and it is free in most homes. Shredded cardboard, coconut coir, and fallen leaves also work. Avoid glossy paper, colored ink pages, and cedar shavings.
Tear newspaper into strips about one inch wide and soak them in a bucket of water for a few minutes. Lift out a handful and squeeze it until only a few drops of water come out. The feel you want is a wrung-out sponge: damp all the way through, with no water dripping when you hold it still. Fluff the damp strips and fill the bin about two-thirds full, leaving a few inches of space under the lid for air and food. Mix in about a cup of plain garden soil or finished compost for a 10-gallon bin. The soil adds grit that helps worms grind food.
Set up the bin step by step
Work on a tray or an old towel, because damp bedding drips. Start with the bin on its tray, air holes drilled, and bedding fluffed inside. Mist the top of the bedding lightly with a spray bottle if the surface feels dry to the touch. Scatter the worms over the surface and leave the lid off for about an hour in a dim room. The worms will move down into the bedding and away from the light on their own.
Once the worms have settled in, add a first small feeding: about a cup of chopped vegetable scraps buried under the bedding in one corner. Cover the food fully, replace the lid, and leave the bin alone for a week.
What to feed and what to skip
Worms eat most raw and cooked fruit and vegetables. Good everyday foods include banana peels, apple cores, carrot tops, lettuce leaves, cucumber ends, squash scraps, bread crusts, cooked rice and pasta in small amounts, coffee grounds with paper filters, and tea bags with staples removed. Chop everything small and bury it under the bedding each time.
Some foods need limits. Citrus peels, onion, garlic, and leeks can irritate worms in large amounts, so add them only in small pieces and only when the bin is eating well. Spicy, salty, and oily foods belong in the trash, not the bin. Meat, fish, dairy, fat, and grease attract pests, smell bad as they rot, and break down too slowly for a small indoor bin. Our guide to what can and cannot go in a compost bin covers the same yes-and-no list for outdoor piles, and most of the rules carry over. The one difference is scale: a worm bin is small, so a food that is fine in a large outdoor heap can still overwhelm a bin if you add too much at once.
How much to feed: the weekly food budget
Feeding is where most new worm bins go wrong, and the fix is simple arithmetic. The rule used by Oregon State University Extension is that worms eat about half their body weight in food per day. That single rule lets you work out a weekly budget for any bin size, with no guesswork.
Start with the worms you have. A bin started with 1 pound of red wigglers holds about 1,000 worms. Half of 1 pound is 0.5 pounds, so the worms can eat about 0.5 pounds of food per day once they are settled and the bin is warm. Multiply by seven days: 0.5 pounds per day times 7 days gives 3.5 pounds of food per week. That is the steady-state budget for a 1-pound bin, and it assumes the bin stays between 60 and 77 degrees Fahrenheit, the food is chopped small, and the worms have had one to two weeks to settle in.
Do not start at the full budget. For the first two weeks, feed at half the steady rate, about 1.75 pounds per week, or roughly a quarter pound per feeding if you feed twice a week. Watch what happens before the next feeding. If the last feeding is mostly gone and the bedding smells like damp soil, raise the amount a little. If food from the last feeding is still sitting there, skip a feeding and wait until it is gone. The worms set the pace, and the math gives you the ceiling, not a quota to hit. The same method scales: a bin with 2 pounds of worms can handle about 1 pound of food per day, or 7 pounds per week at steady state, while a bin with half a pound of worms handles about 1.75 pounds per week.
Bedding volume follows the same kind of worked math. A 10-gallon bin holds about 1.34 cubic feet of space, since one gallon equals 231 cubic inches and ten gallons equal 2,310 cubic inches. The bin interior in this worked example measures about 18 inches long by 12 inches wide, which gives a floor area of 216 square inches. A bedding layer 6 inches deep over that floor gives 216 times 6, or 1,296 cubic inches, which is 0.75 cubic feet, or about 5.6 gallons of loose bedding volume. That fills a little more than half the bin and leaves room for food, air, and a lid that closes flat. Assumptions: the bin walls are close to vertical, the bedding is fluffed rather than packed down, and the depth is measured after the newspaper has been soaked and squeezed. Wet newspaper compresses, so prepare a bit more dry shredded paper than the math suggests and add it as the bedding settles.
Keep moisture and air in balance
Moisture is the second most common trouble spot after overfeeding, and the test for it takes five seconds. Pick up a handful of bedding and squeeze. If a few drops of water come out, the moisture is right. If water runs out in a stream, the bin is too wet. If no drops come out at all and the bedding feels dry, the bin is too dry.
A bin that is too wet smells sour and can drown worms. Fix it by adding dry shredded newspaper or cardboard, leaving the lid ajar for a few hours, and skipping wet foods such as melon and cucumber until the bedding dries out. A bin that is too dry slows the worms down and leaves food untouched. Fix it with a light misting from a spray bottle and a layer of damp newspaper on top. Fluff the bedding gently with a hand fork every two weeks, taking care not to injure worms near the surface, and do not let food form a wet mat across the top, since a mat blocks air and the bedding under it turns sour fast.
Stop smells before they start
A healthy worm bin smells like damp soil and nothing more. Smells mean something is out of balance, and the cause is usually one of three things: too much food, too much water, or food left sitting on the surface. Overfeeding is the most common cause. Uneaten food rots before the worms can reach it, and rotting food smells. The fix is to stop feeding until the old food is gone, then restart at half the amount. Always cover food with at least an inch of bedding. Bury each new feeding under the bedding in a different corner of the bin, rotating around the bin so no single spot stays loaded with fresh food.
Where to keep the bin in winter
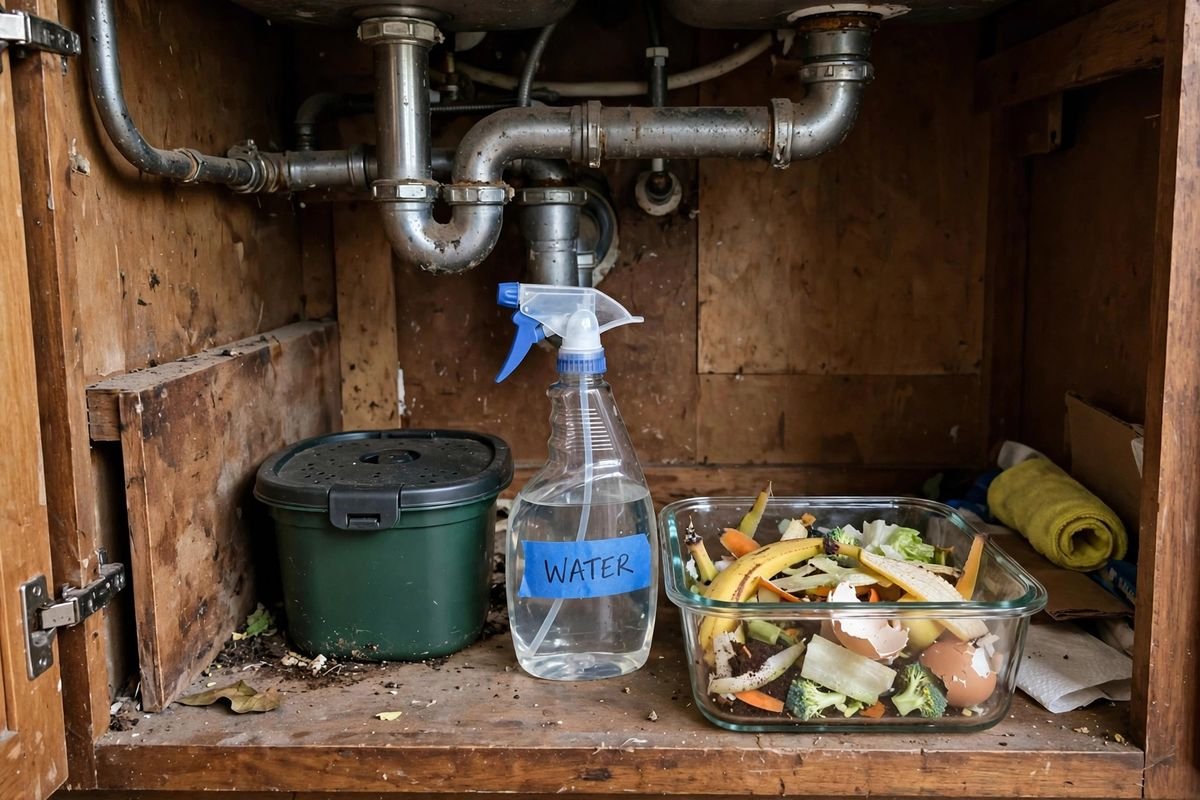
Pick a spot that stays between 55 and 77 degrees Fahrenheit, stays dark, and sits close to the kitchen so feeding stays easy. Good spots include under the kitchen sink, in a laundry room, in a heated garage near the door, or in a basement that stays above 55 degrees.
Avoid spots near a furnace vent, a radiator, or a sunny window. Hot air dries bedding fast and can push the bin above 85 degrees, which stresses worms. Avoid unheated garages, porches, and sheds in cold climates. Worms slow down sharply below 50 degrees and can die if the bedding freezes, so a bin that lives outside in summer needs to move indoors before the first hard frost.
Harvest castings and worm tea
After three to four months, most of the bedding will have turned into dark, crumbly castings that smell like soil. That is the harvest point. Stop feeding for a week, then push the finished material to one side of the bin and add fresh damp bedding and a small feeding to the empty side. Over the next week or two, most worms will move into the fresh side, and you can scoop out the finished castings from the other side. Use castings as a top dressing for houseplants, mix a handful into potting soil for seed starting, or spread a thin layer around garden beds in spring. A quarter inch on the soil surface is enough for most containers. Our guide to how to tell when compost is finished describes the same dark, crumbly, earthy-smelling finish for outdoor compost, and worm castings should match that description.
Frequently asked questions
How long does it take to set up a worm bin?
Plan for about an hour, including drilling air holes, shredding and soaking bedding, and letting the worms settle under the lid. The bin then needs a quiet week before regular feeding starts.
Will a worm bin smell up my kitchen?
A balanced bin smells like damp soil. Smells come from overfeeding, wet bedding, or food left on the surface, and each of those has a direct fix: stop feeding until old food is gone, add dry shredded newspaper, and bury every feeding under the bedding.
Can I keep a worm bin in an apartment?
Yes. A 10-gallon bin fits under a sink or in a closet, and it handles the scraps of one or two people when fed at the rate in the math section above. Start with 1 pound of worms, feed little and often, and keep the bin where you will see it twice a week.
What do I do with the bin when I go on vacation?
Feed the worms a normal portion, add a layer of damp shredded newspaper on top, and close the lid. Worms can go two to three weeks without fresh food if the bedding stays damp.
How do I know the castings are ready to use?
Finished castings are dark, crumbly, and smell like soil, with little bedding left in recognizable strips. If you still see a lot of newspaper or food pieces, give the bin another few weeks.
Sources and further reading
- Royal Horticultural Society: Worm Composting, bedding depth, temperature range, feeding guidance, and foods to avoid.
- Cornell Cooperative Extension: Vermicomposting, Indoor Container Composting, bin setup, bedding amounts, temperature range, and weekly care.
- Oregon State University Extension: Composting with Worms, the half-body-weight feeding rule, bin sizing, and moisture testing.
Related reading: How to Make Compost at Home, Worm Bin vs Traditional Compost Bin, What Can and Cannot Go in a Compost Bin, and How to Tell When Compost Is Finished.
By the Pot and Plot Team