

This post may contain affiliate links. If you buy through links on this page, we may earn a commission at no extra cost to you.
As an Amazon Associate I earn from qualifying purchases.
A drip system left full of water through a hard freeze will crack at the fittings, split along the lines, and drip from a dozen small holes next spring. Winterizing takes about an hour for a small garden, and it saves the cost of new tubing, new emitters, and a weekend of repairs. The work is simple: shut off the water, drain every line, push the last water out with air, and bring the parts that frost can break indoors.
Our guide covers a typical home setup: a hose bib or mainline feeding a filter, a pressure regulator, a timer, and drip lines running through raised beds. Larger systems with buried mainlines and many zones follow the same steps, zone by zone, and take longer. The order stays the same whatever the size.
Why water left in the lines causes damage
Water grows by about 9 percent in volume when it freezes. Inside a closed tube, that growth has nowhere to go, so it presses outward on the walls and the joints. Poly tubing can split along its length. Barbed fittings pop apart or crack at the barb. Emitters jam with ice and never drip right again. A timer with water trapped inside can crack its housing, and a pressure regulator can split at the seam.
The damage often hides until spring. A split in a line buried under mulch will not show until the system runs, and a cracked fitting can leak for weeks before anyone spots the wet patch. Draining the system in autumn costs an hour. Rebuilding it in spring costs a Saturday and a new set of parts.
When to winterize
Do the work before the first hard freeze, when night temperatures drop to 28 degrees Fahrenheit or below for several hours. A light frost at 32 degrees will not hurt a drained line, and a line still full of water can survive a short dip just below freezing. The risk climbs fast once nights stay below freezing, so do not wait for the first freeze warning to start. Plan the work around your local first frost date, and leave a free afternoon in the week before it.
Use your local frost dates and regional planting guidance — not your USDA hardiness zone alone — to choose planting dates. The same local dates tell you when to shut the system down: your county extension office publishes first frost dates that fit your area far better than a zone number does.
In places where winter nights stay above freezing, a full winter shutdown is not needed. Drain the lines after the last watering of the season anyway, and bring the timer and filter indoors if a rare cold night is forecast. Our guide to cleaning and storing garden hoses for winter covers the same drain-and-store routine for hoses.
What you need
- A bucket and a towel for the water that comes out of the filter housing
- A small air compressor with a blow-out adapter, or a bicycle pump with a Schrader fitting for a very small system
- A pressure gauge, so you can hold the air pressure at or below 30 psi
- A labeled bin or bag for emitters, caps, and small fittings
- A marker and tape for labeling lines and zones
Step 1: Shut off the water and open the ends
Turn off the water at the hose bib or the main shutoff valve, then open every end cap and flush valve on the system. Open the valves on the manifold one at a time, and let each zone drain for a minute before moving to the next. Remove the timer from the bib so water does not sit behind it, and open the filter housing over a bucket to catch the water inside.
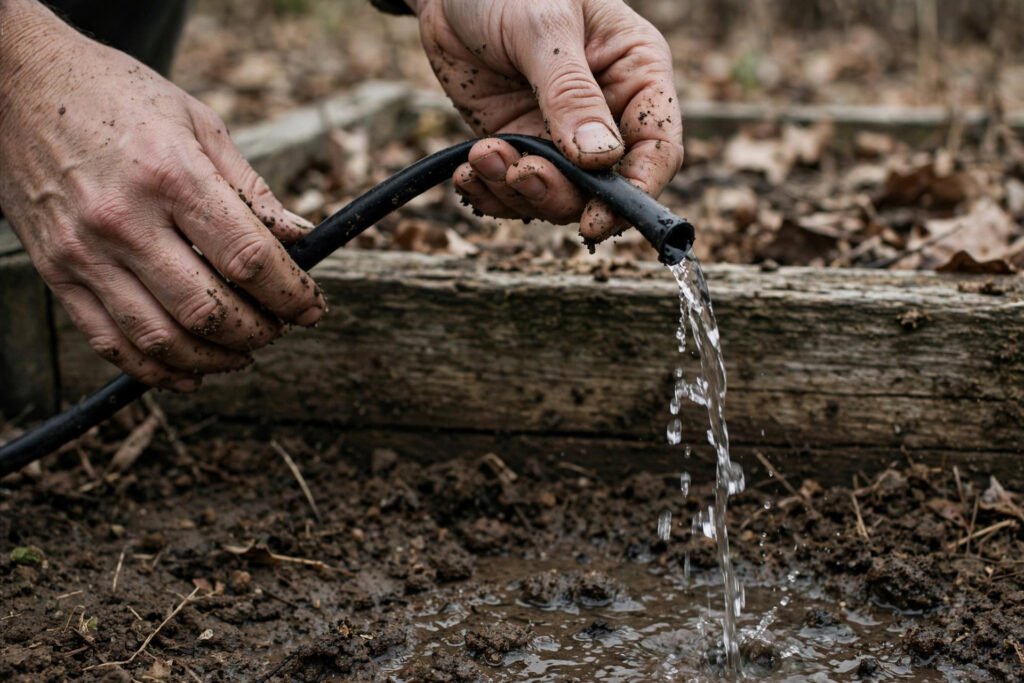
Label each line as you open it. A strip of tape with the bed name on it takes seconds now and saves confusion in spring, when every black line looks the same. If your system has a backflow preventer, open its test cocks and drain it too, since trapped water can crack the brass body.
Step 2: Drain the lines by gravity
Walk each line from its high end to its low end, lifting it as you go so water runs ahead of your hands toward the open end. Drip lines sag between stakes and hold water in every dip, so a single pass rarely empties them. A second pass catches the pockets the first one missed. The line should feel light and empty, with no sloshing when you shake a loop.
On flat ground, gravity alone will not clear a line. Pick the line up section by section and tip each part toward the open end. For lines with emitters, press the line gently near each emitter to push water out of the small openings. This step takes about 10 to 15 minutes for a four-bed garden, and it removes most of the water before the compressor ever runs.
Worked example: how much water sits in a four-bed system
The numbers below are a worked example with the assumptions stated, so you can scale them to your own garden. Take four raised beds, each 4 by 8 feet, with two runs of half-inch poly mainline per bed and eight emitters per bed on quarter-inch tubing.
Half-inch poly tubing has an inside diameter of about 0.6 inches. Its cross-section holds about 0.015 gallons per foot of length. Four beds with two 8-foot runs each give 64 feet of mainline, which holds about 0.95 gallons, or close to a gallon. Quarter-inch emitter tubing holds about 0.0012 gallons per foot. With eight emitters per bed on 2-foot leads, that adds 64 feet of small tubing holding about 0.08 gallons, or a little over a cup. Add the water in the filter housing, the regulator, and the manifold, about half a cup, and the whole system holds roughly 1.1 gallons.
That is less water than most people expect, and it is also enough to split a line. A gallon of water spread through 64 feet of tubing freezes in small pockets, and each pocket presses on the tube wall. Gravity draining for 15 minutes removes most of that gallon. The blow-out step clears what gravity leaves behind, which is usually a cup or two spread across the low spots.
Step 3: Blow out the lines with air
Connect the compressor to the system at the manifold or at the hose bib, with a pressure gauge in line. Keep the pressure at or below 30 psi. Drip parts are built for low pressure, and a household compressor can reach 100 psi or more, which will pop fittings off the line and crack emitters. Set the regulator on the compressor first, check the gauge, and only then open the valve to the system.

Open one zone at a time and run air in short bursts of about 30 seconds. Watch the far end of the line: water comes out first as a stream, then as a spray, then as mist. When only mist comes out, close that zone and move to the next. A small compressor moving 2 to 3 cubic feet of air per minute clears a four-bed system in about 10 minutes. If you do not own a compressor, a blow-out adapter that fits a standard air hose is a cheap addition to the tool shelf, and you can find one by searching for a drip irrigation blow out adapter.
Do not run the compressor with all zones open at once. The air takes the path of least resistance, so one zone clears while the others stay full. Do not leave the air running on a zone after the mist stops, since dry air blowing through emitters for minutes on end can push grit into them. Short bursts, one zone at a time, clear the lines without wearing the parts.
Step 4: Remove the parts that freeze can break
Take the timer, the filter, the pressure regulator, and any fertilizer injector off the system and bring them indoors. A timer left on an outdoor bib through winter can crack at the battery compartment, and a filter housing left full of water can split at the threads. Rinse the filter screen, let it dry, and store it in a labeled bag with its O-ring so the parts stay together.
Disconnect the mainline from the hose bib and cap the bib. If the bib has a frost-free sillcock, close its inside shutoff valve and leave the outside valve open so any water in the pipe can drain. Our guide to setting up drip irrigation for a raised bed shows how these parts fit together, which helps when you take them apart and put them back in spring.
Step 5: Coil and store the tubing and emitters
For lines you plan to lift out of the beds, coil them in wide loops of about 2 feet across and hang them in a shed or garage. Tight coils kink poly tubing, and a kinked line drips unevenly next season. Pull the emitters off the lines you remove, drop them in a labeled bin, and soak them in a bucket of water with a splash of vinegar if mineral crust has built up on them. Rinse and dry them before storage.
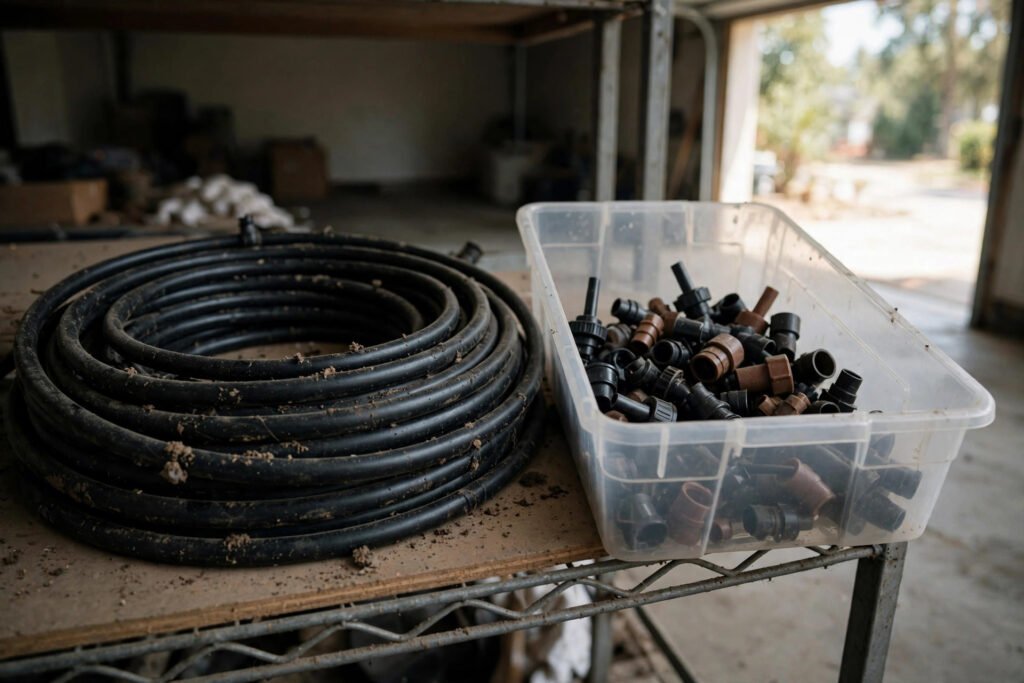
Store the coils off the floor and out of direct sun. Ultraviolet light hardens poly tubing over a winter, and mice chew lines left on a shed floor. A hook on the wall and a bin on a shelf keep everything dry, dark, and easy to find. Label the bin with the year, so you know which emitters are oldest when you replace them.
Leaving lines in place in mild climates
In places where winter lows stay above 28 degrees most nights, you can leave drained lines in the beds. Drain them by gravity, blow them out, and leave the end caps open so any water that finds its way in can run out. Cover the open ends with a scrap of cloth tied loosely, so soil and insects stay out while air can still move.
Watch the forecast through winter. If a hard freeze is coming, bring the timer and filter indoors that afternoon, even if you planned to leave them out. The parts that break in a freeze are the ones with trapped water and no room to expand, and a single cold night can do the damage.
Spring restart checklist
Reconnect the filter, regulator, and timer, and check every O-ring for cracks before you turn the water on. Run each zone with the end caps open for a minute to flush out any grit that settled over winter, then close the caps and check every emitter. Replace any emitter that drips in a stream instead of a slow pulse, and replace any line with a split or a kink that will not straighten.
Walk the beds while the system runs and look for wet spots that point to a cracked fitting. A fitting that survived winter can still fail under pressure in spring, so a slow first run with the caps open is the time to catch it. If you are comparing watering methods for the coming season, our drip irrigation versus soaker hose comparison lays out the tradeoffs, and our roundup of drip irrigation kits for raised beds covers replacement parts and full kits.
Questions we hear often
Can we skip the blow-out step and just drain by gravity?
Gravity draining removes most of the water, and in a mild climate it may be enough. In any place with regular hard freezes, the cup or two left in the low spots is the water that splits lines. The blow-out step takes 10 minutes and clears that last water, so we do it every year.
What pressure is safe for blowing out drip lines?
Stay at or below 30 psi, and use a gauge to check it. Drip emitters and barbed fittings are built for working pressures around 20 to 30 psi, and higher pressure can pop a fitting off the line or crack an emitter body. Short bursts at low pressure clear the water without stressing the parts.
Do soaker hoses need the same treatment?
Yes. Soaker hoses hold water along their whole length and split just as easily. Drain them, coil them loosely, and store them indoors. A soaker hose left stretched across a bed through winter is likely to leak from several spots in spring.
Sources & further reading
University of Minnesota Extension, Yard and Garden: guidance on draining irrigation systems before winter and protecting outdoor faucets from freeze damage. Colorado State University Extension: fact sheets on home irrigation systems and seasonal maintenance. University of Georgia Cooperative Extension: drip irrigation guidance for home gardens, including pressure limits and emitter care.