
This post may contain affiliate links. If you buy through links on this page, we may earn a commission at no extra cost to you.
As an Amazon Associate I earn from qualifying purchases.
Sowing day goes wrong in small ways. The mix runs out halfway through a tray, the labels are still in a drawer somewhere, the light is not hung yet, and the seeds for one variety turn out to be last year’s packet with no sowing date on it. None of these problems is hard to fix on its own, but together they turn a calm morning into a scramble. A checklist run the day before sowing keeps all of it in order.
This checklist covers seeds, mix, containers, light, water, warmth, labels, and calendar. It is a readiness check, not a shopping guide: it assumes you already own most of the gear and just need to confirm that everything is present, clean, and in place before the first seed goes into mix. For help picking the gear itself, see best seed starting trays and best grow lights for seedlings.
Seeds: counted, dated, and in reach
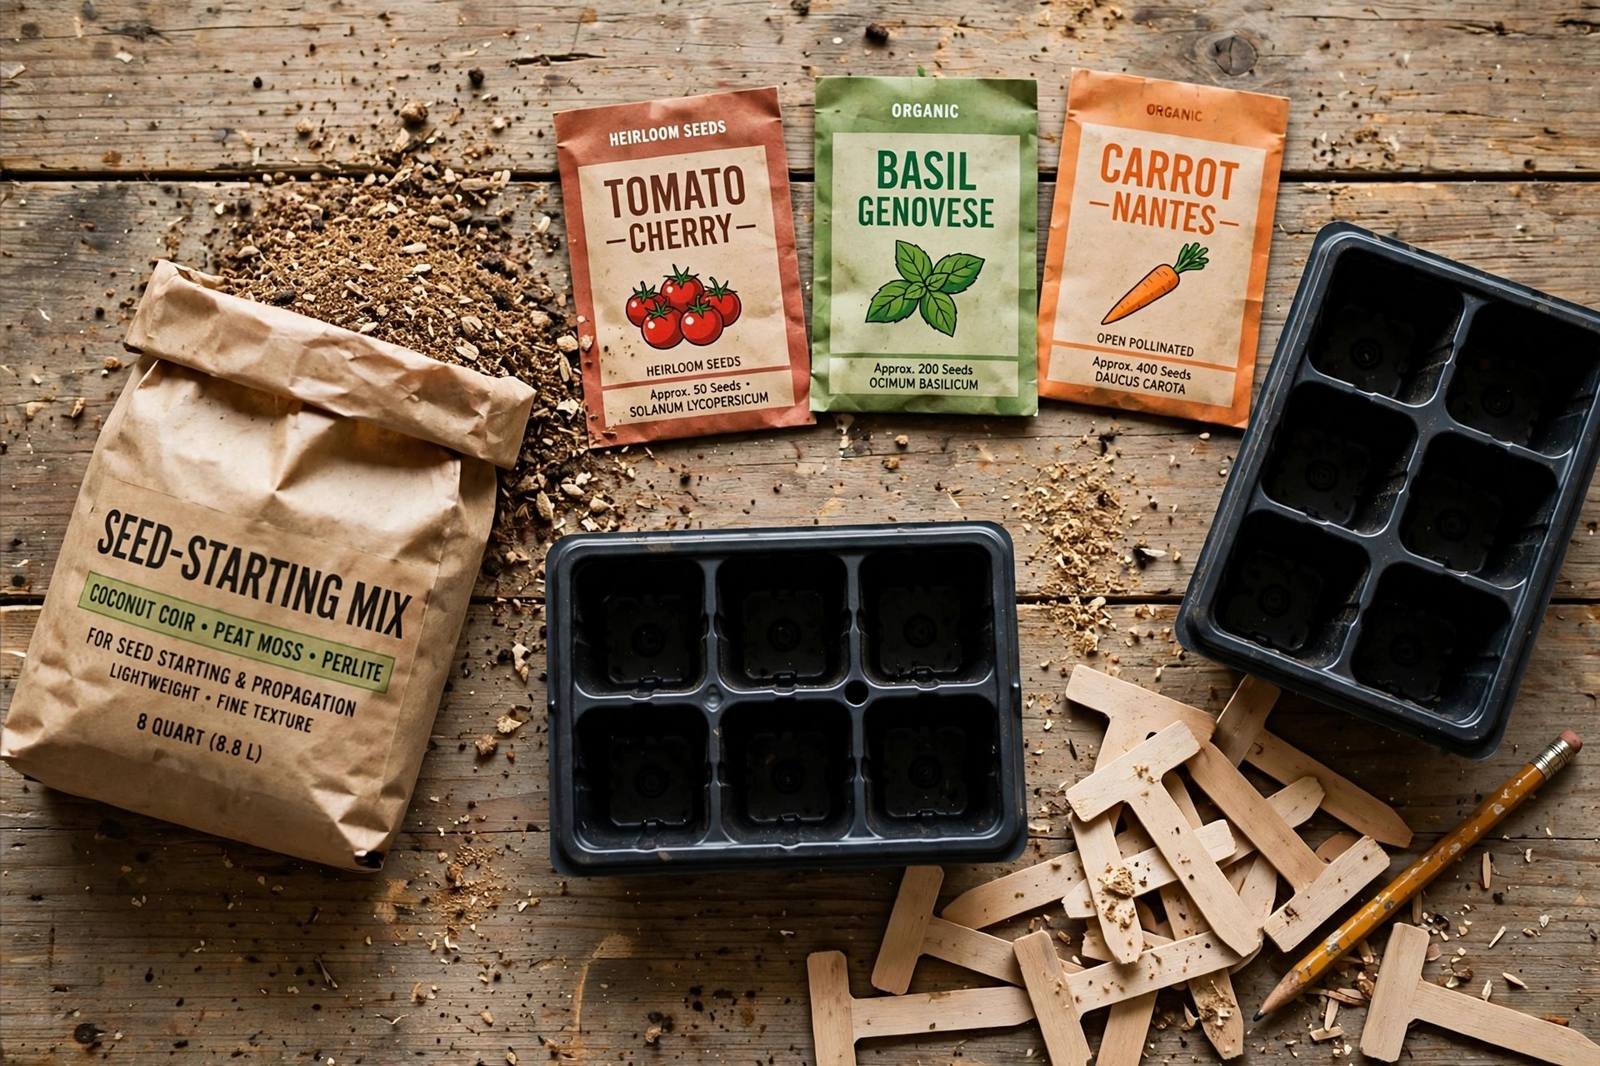
Start with the packets. Pull out only the varieties you plan to sow, and check each packet for two things: the sowing date window and the seed count. A packet with too few seeds for the cells you plan to fill needs a backup plan before sowing day, not during it. As a planning example, sowing 2 seeds per cell across a 72-cell tray calls for 144 seeds. If a packet holds fewer than that, sow fewer cells, thin to one seedling per cell later, or order a second packet.
Check the packet year too. Seeds kept cool and dry often stay usable past the year printed on the packet, but germination can drop, so plan to sow a few extra cells of older seed rather than counting on every seed to sprout. Set the chosen packets in one tray or box, in sowing order, so you are not hunting through a seed box with mix on your hands.
Mix and containers: enough for every cell
Work out the mix volume before you open the bag. A 72-cell tray with cells of about 3 cubic inches each needs about 216 cubic inches of mix. That converts to 0.125 cubic feet, or about 3.7 quarts, since one cubic foot holds about 29.9 quarts. Two trays need about 432 cubic inches, or 0.25 cubic feet, which is about 7.5 quarts. One 8-quart bag covers two trays with a little spare for topping up cells that settle after watering.
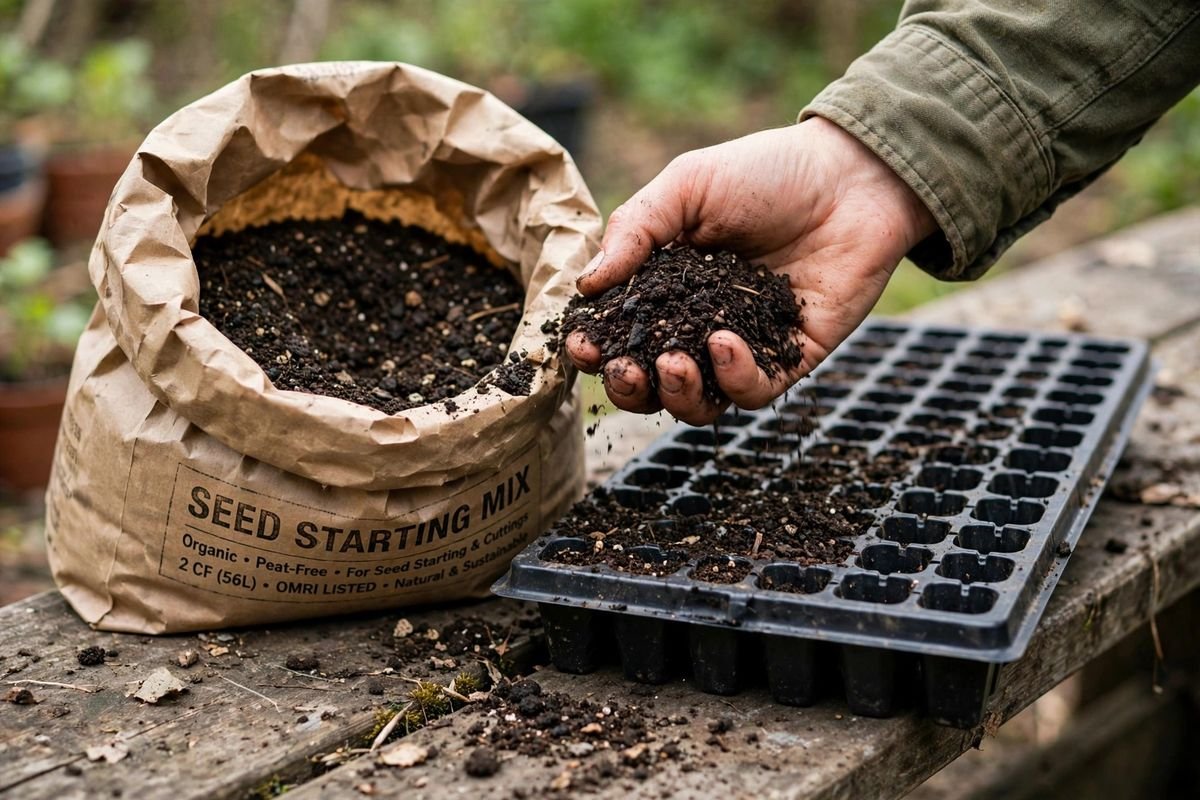
Those figures assume standard 72-cell trays and cells close to 3 cubic inches. Larger cells and deeper pots need more mix, so run the same math with your own cell size if your trays differ. Having the bag open and the mix damp before sowing starts saves a mid-tray pause to fetch more, and damp mix holds seed at the right depth better than dry mix that shifts when watered.
Containers come next. Confirm that you have enough clean trays, inserts, and pots for the varieties on your list, plus solid bottom trays under every cell tray. Check that domes sit flat on their trays and that drain holes are open, since a blocked hole turns a cell into a puddle. For mix choices, see best seed starting mixes for fast even germination.
Labels: written before sowing, not after
Labels belong in the checklist because a tray sown without labels is a tray of mysteries. Write every label before the first seed goes in, with the variety name and the sowing date. A pencil mark on a plastic label lasts through watering, while many pens fade or wash away within days, so pencil is the safer tool for this job.
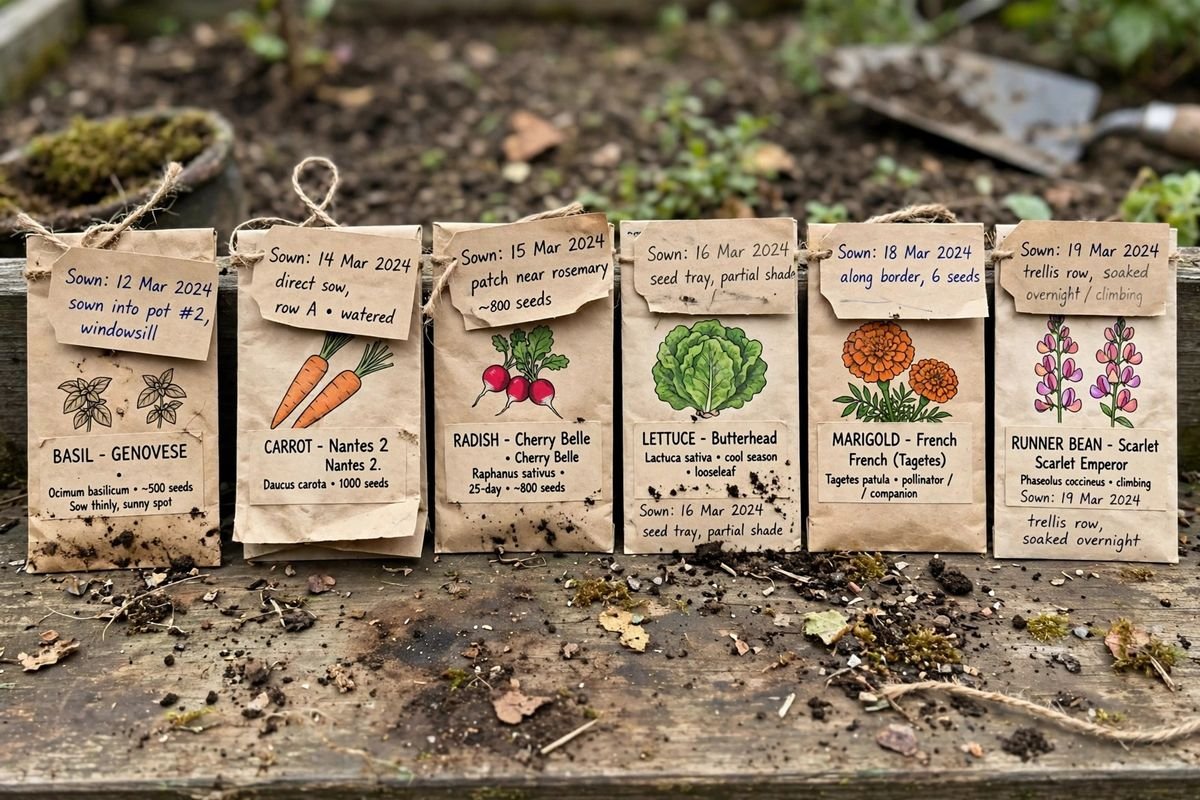
Match each label to its packet before sowing, and place the label at the end of its row or block as soon as that block is sown. Waiting until the whole tray is done invites mix-ups between varieties that look alike as seed. If you sow more than one variety in a single tray, a simple sketch of the tray layout on paper, kept with the tray, removes all doubt later.
Light and warmth: hung, plugged in, and tested
Seedlings need strong light from the day they emerge, so the light setup must be ready before sowing, not after sprouts appear. Hang the light over the growing shelf, set it close to the tray height you will use, and switch it on to confirm that it works. A timer takes the daily on-off chore off your hands, so plug the light into a timer and set the hours now.
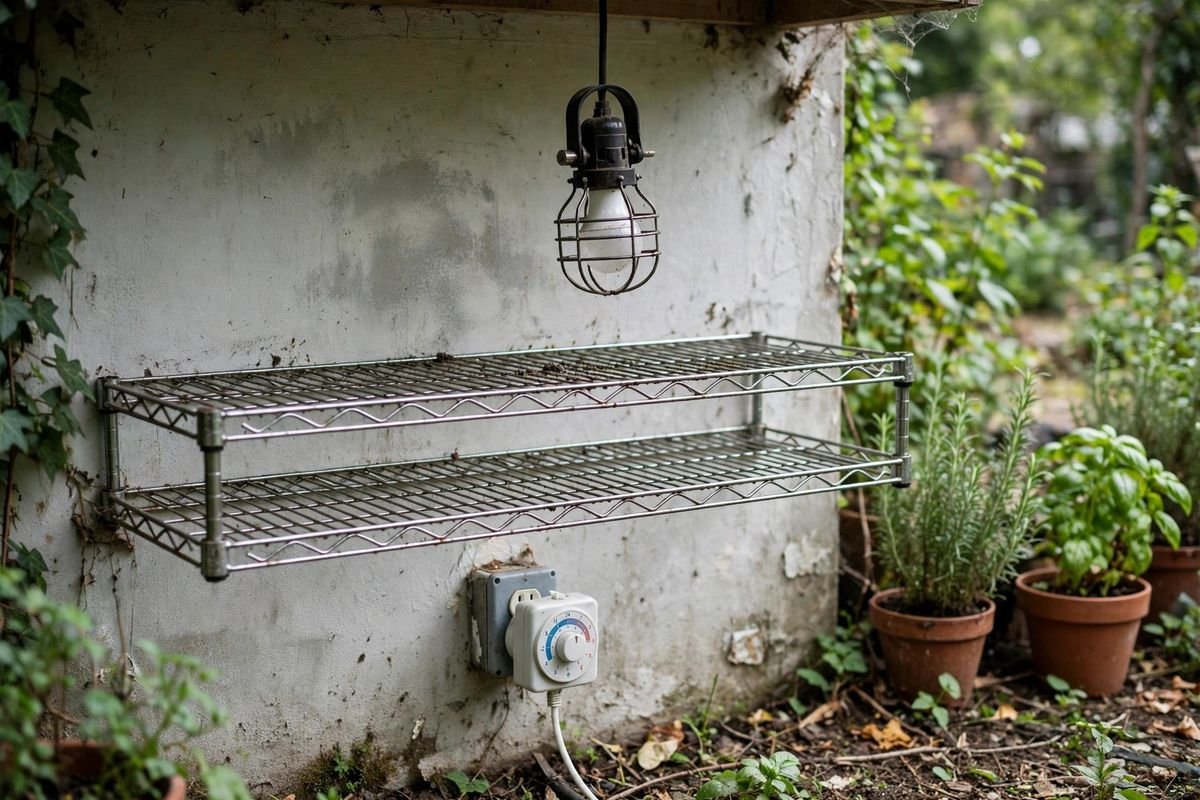
Warmth matters at the sowing stage for heat-loving seeds. If you use a heat mat, lay it on the shelf, set the tray on it, and run it for an hour to confirm that it warms. A thermostat keeps the mat from running too warm, so check that the thermostat probe sits where it can read the tray temperature. For a full setup walkthrough, see how to set up a seed starting station.
Water: gentle tools within reach
Freshly sown seed sits close to the surface, so the watering tool must be gentle. A spray bottle wets the surface without moving seed, and a small watering can with a fine rose gives a soft soak once seedlings are up. Fill both before sowing, and keep them beside the trays so the first watering happens at once, while the mix is still freshly firmed.
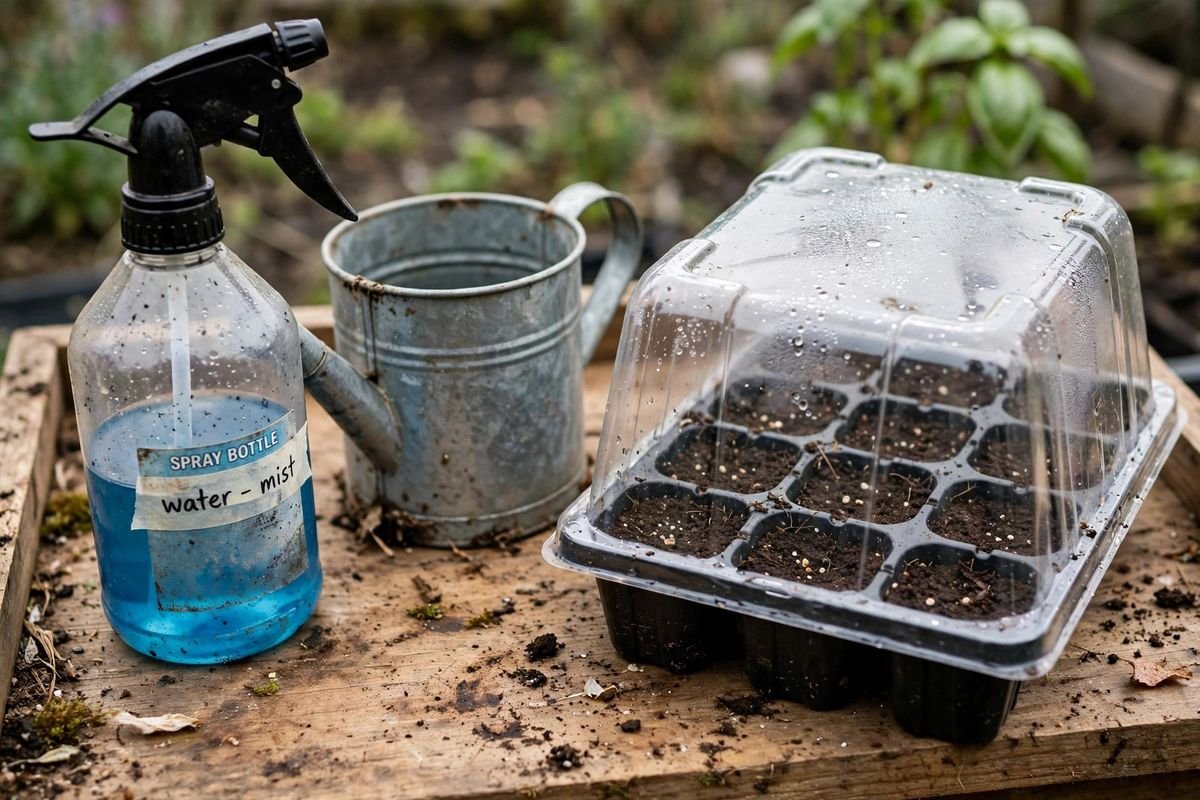
Set a dome or cover over the tray after watering to hold moisture while seeds sprout, and plan to lift it for air each day once seedlings emerge. Keep a tray or towel under the growing shelf as well, since even careful watering drips, and a shelf that stays dry stays free of algae and salt crust.
Calendar: sowing dates fixed in advance
Write the sowing date for each variety on its label and on your calendar before sowing day. Count back from your area’s last frost date using the weeks-to-transplant figure on each packet, and stagger varieties that need different lead times so no tray sits waiting too long. Use your local frost dates and regional planting guidance — not your USDA hardiness zone alone — to choose planting dates.
With the calendar set, the checklist is done. Seeds counted, mix measured, containers clean, labels written, light hung, water at hand, warmth tested, and dates fixed: sowing day becomes a calm hour of work instead of a hunt for missing gear. If a piece of gear still needs replacing before you start, browse seed starting supplies on Amazon and check it off the list before the seeds come out.
Sources & Further Reading
University of Minnesota Extension, “Starting seeds indoors”: https://extension.umn.edu/planting-and-growing-guides/starting-seeds-indoors
North Carolina State Extension, Extension Gardener Handbook, Chapter 13 Propagation: https://content.ces.ncsu.edu/extension-gardener-handbook/13-propagation