
This post may contain affiliate links. If you buy through links on this page, we may earn a commission at no extra cost to you.
As an Amazon Associate I earn from qualifying purchases.
When the last seedlings move out to the garden, the trays, domes, and pots they grew in usually end up in a pile by the shed door. Some of that pile deserves another season. Some of it does not, and keeping the wrong pieces can mean cracked cells that spill mix, domes that no longer sit flat, and labels that no longer stay put. A short sort at the end of the season, plus a simple wash, keeps the good gear in service and keeps the worn-out pieces out of next spring.
This guide covers which supplies hold up to reuse, which ones to retire, and a cleaning routine that takes one afternoon. It deals with containers and equipment only; reusing the mix itself is a separate question, covered in our post on can you reuse potting soil.
What survives reuse well
Thick plastic trays with solid bottoms are the best candidates for reuse. They hold their shape after many fills, they stack without bending, and a quick wash brings them back to clean. Rigid pots in the four-inch range and larger also last, since their walls resist the flexing that cracks thin cells. Sturdy web trays that carry cell inserts tend to last longer than the inserts themselves, so judge each part on its own condition rather than retiring the whole set because one insert failed.
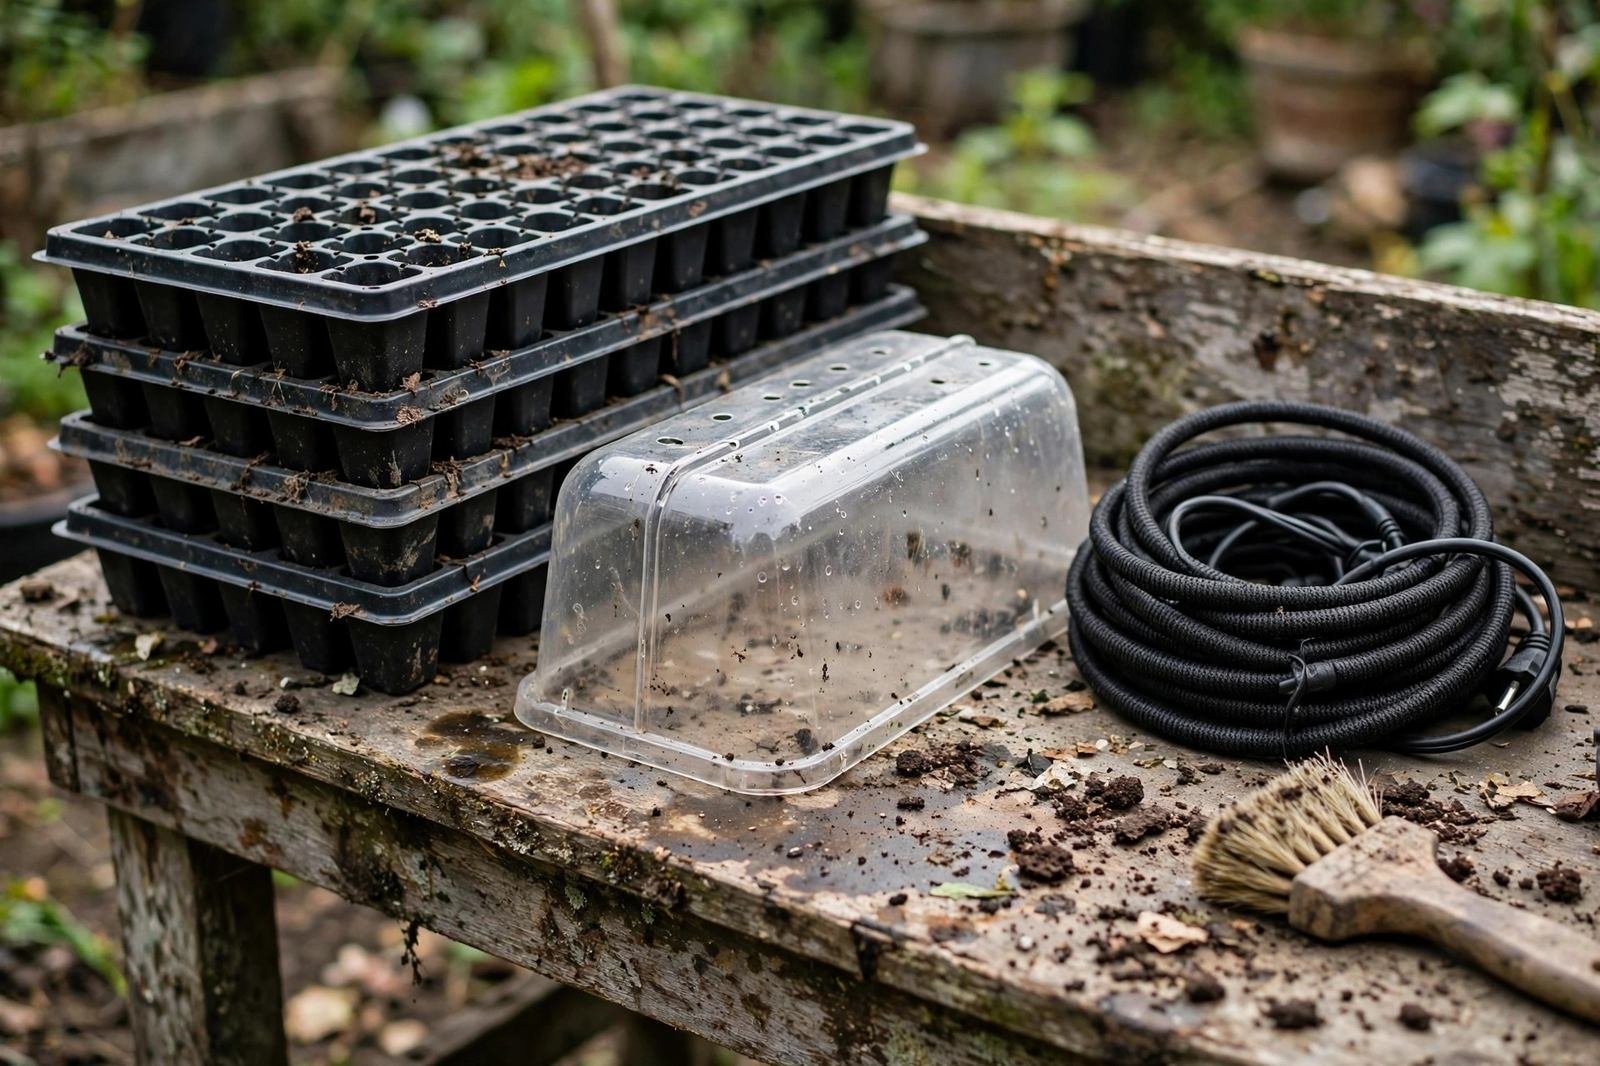
Humidity domes in clear, rigid plastic can serve for several seasons if they still sit flat on the tray rim and their vents still open and close. Grow lights and heat mats are equipment, not containers: a light that still gives even coverage and a mat that still warms evenly both stay in service. Check cords too: a nicked jacket, a loose plug, or a scorched smell takes a cord out of use at once.
Wooden labels can be reused if the writing sands off clean and the wood has not gone soft. Plastic labels last longer, and a pencil mark on plastic usually scrubs off with a firm rub. For a closer look at tray types, see reusable vs disposable seed trays.
What to retire
Thin cell inserts are the first thing to check. They are made to be light and cheap, and after a season of filling, watering, and lifting, they often tear at the corners or split along the cell walls. A torn insert spills mix when you lift it, and a bent corner leaves cells sitting uneven, so water pools on one side and runs dry on the other. Retire any insert with a tear, a crack, or a corner that no longer holds its shape.
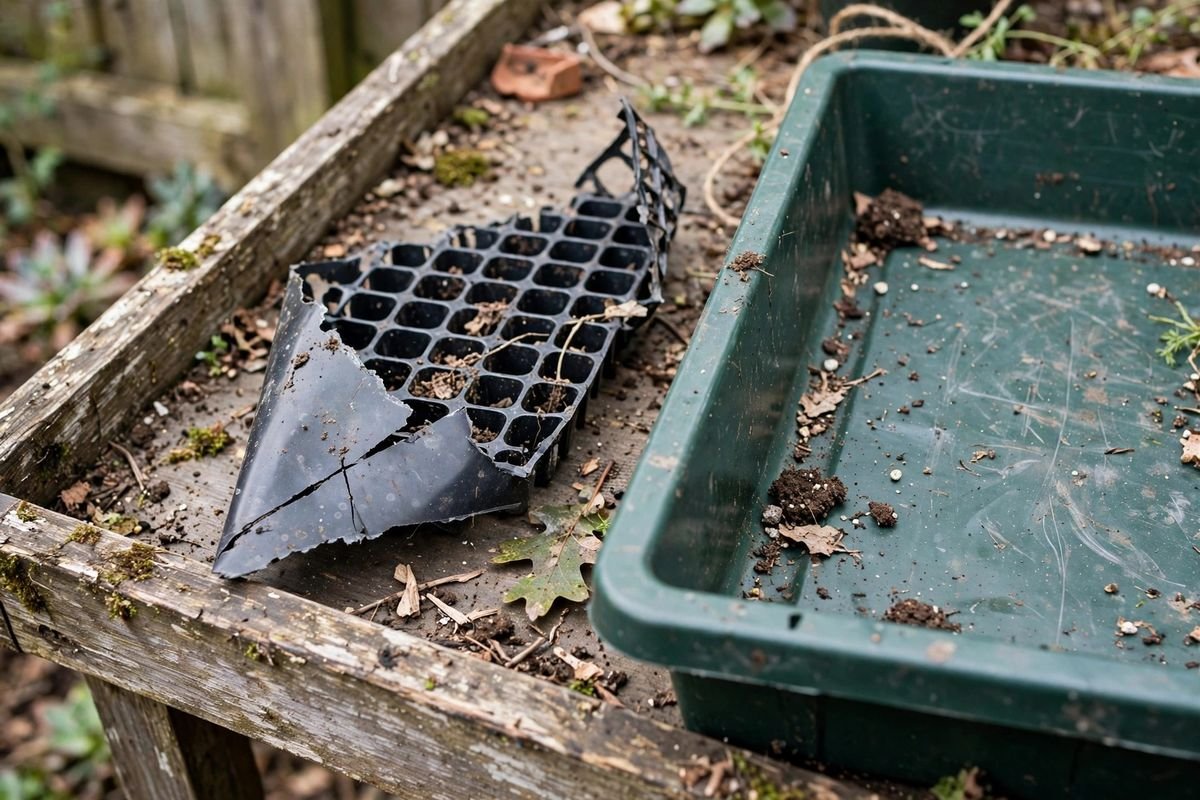
Cracked domes go the same way. A crack lets humidity escape, so the dome no longer does the one job it exists to do, and a cracked edge can snag or cut a hand during handling. Brittle packs that snap rather than flex when you press a corner have reached the end of their life too. So do pots that have gone chalky and pale in the sun, since that chalky surface usually means the plastic has weakened and will split under a full load of wet mix.
Anything with a smell that survives washing also leaves the pile. A sour or musty odor after a full clean points to residue trapped in a crack or seam, and that piece is not worth carrying into a fresh season. When in doubt, retire it: one replacement insert costs far less than a tray of seedlings lost to a collapse.
A cleaning routine for one afternoon
Start by knocking loose mix out of every tray, pot, and dome over a compost heap or a garden bed. A stiff brush takes off the dried crust along the rims and in the corners. Follow with a wash in warm water and plain dish soap, scrubbing each cell and each rim. Rinse well, since soap residue left on plastic can sit against damp mix all season.
Many gardeners follow the soap wash with a soak in a mild disinfectant made for garden use, mixed exactly as the label directs. Soak for the time the label states, then rinse again and let everything dry fully in open air. Drying matters as much as washing: trays stacked while still damp trap moisture between layers, and that damp, dark space invites the very mold and algae you just washed off. Our full walkthrough is at how to clean seed starting trays.
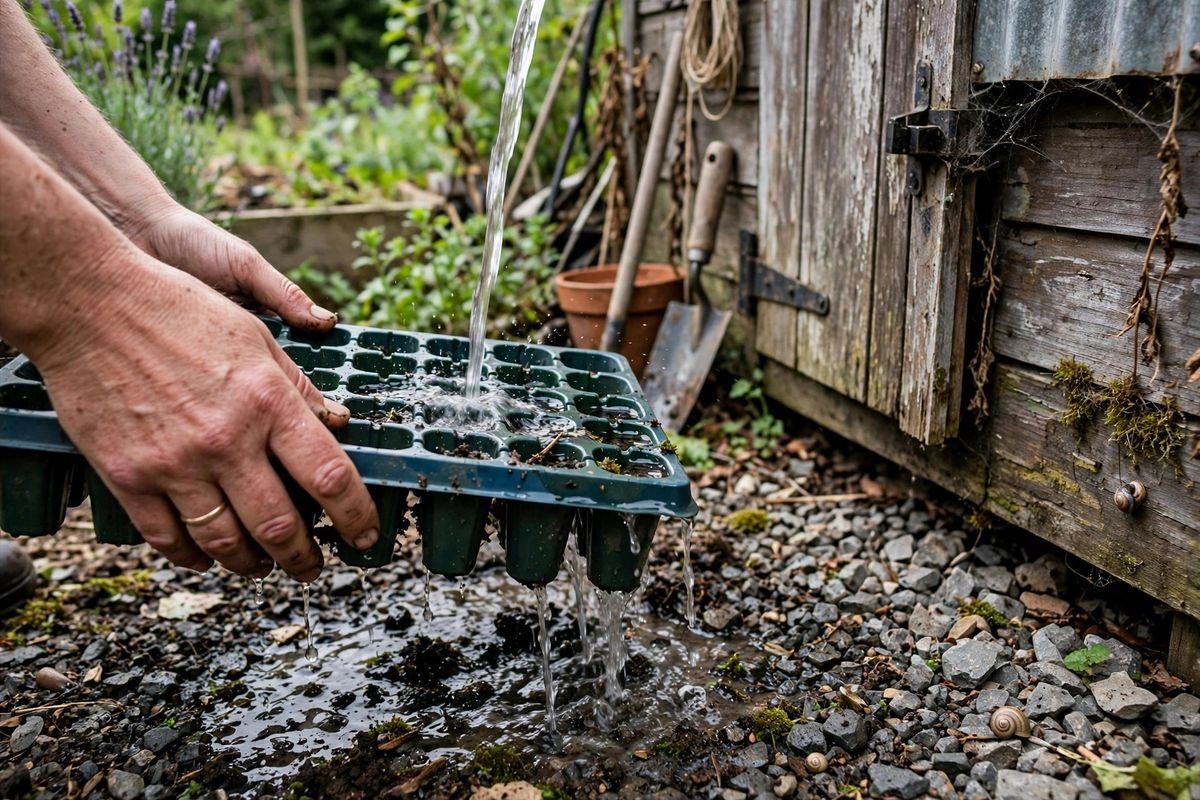
Work through the pile in batches, sorting as you wash. Keep a “keep” stack and a “retire” box beside the wash area, so a cracked insert does not drift back into the good pile by accident.
Pots, trays, and small parts
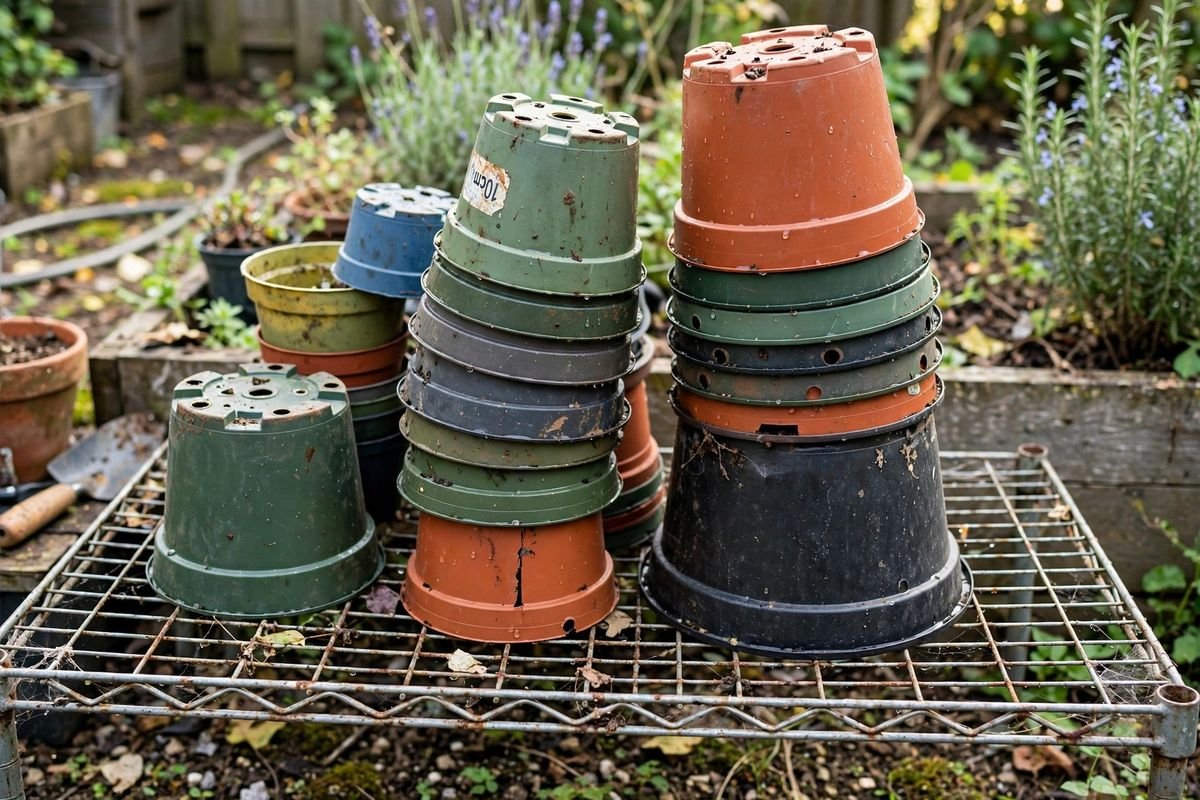
Pots need the same treatment as trays: knock out old mix, scrub, rinse, and dry before stacking. Pots in mixed sizes stack best when sorted by size first, with the largest at the bottom and each size nested inside its own group. Mixed stacks lean and topple, and a toppled stack of pots across a shed floor is a good way to crack the very pieces you just saved.
Small parts often get lost in the end-of-season rush, so gather them before you pack away. Vent plugs, dome clips, drip trays, and the little feet that raise a tray off a mat all belong in one labeled box rather than loose in a shed corner. Heat mat thermostats and timers go in the same box, with their cords coiled loosely rather than wound tight, since a tight wind strains the cord where it meets the plug.
Sorting domes and packing away
Domes need a flat check before they go back on the shelf. Set each dome on a known flat tray and look along the rim. A dome that rocks or leaves a gap along one side will not hold humidity evenly, and seedlings under it will dry on the gap side while staying damp on the other. A dome with a cracked corner belongs in the retire box even if the rest of it looks fine, since cracks spread under the warmth of a heat mat.
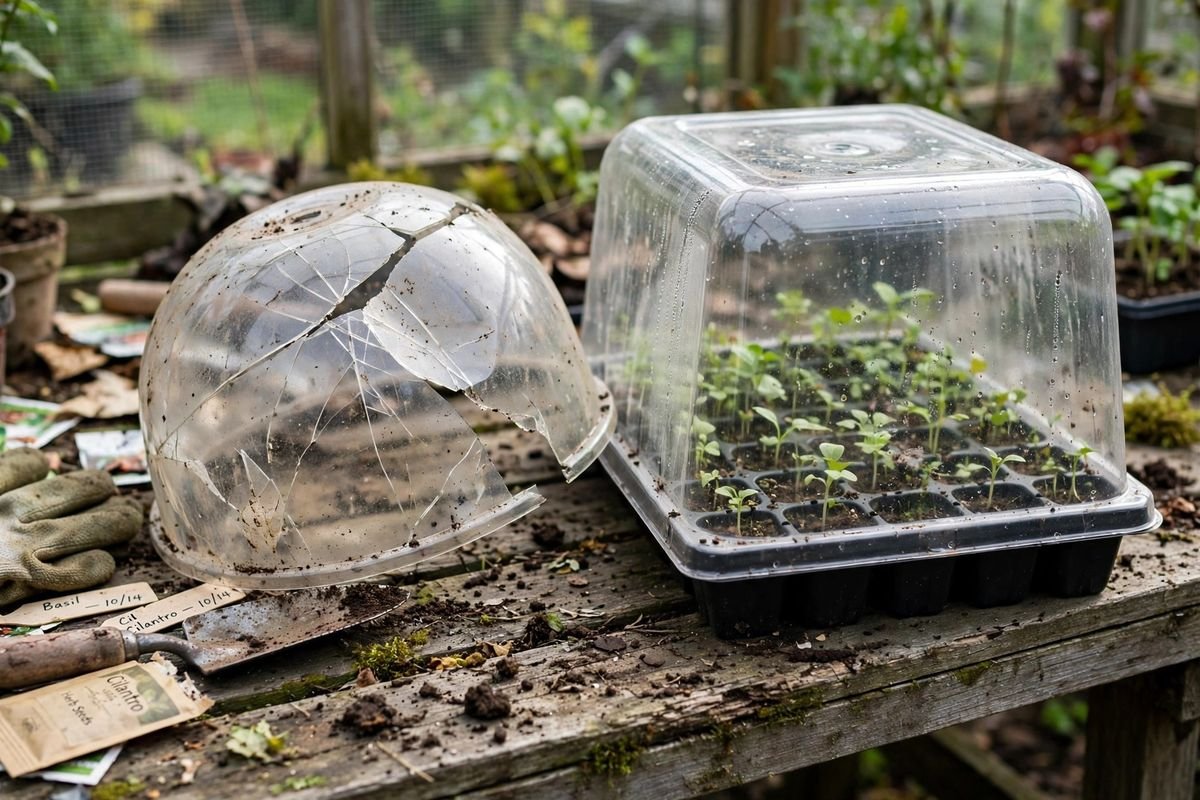
When the sorting is done, pack the keep pile where it will stay dry and out of direct sun, since sunlight weakens plastic over time. Stack trays with their rims aligned, set domes upside down on top so they do not nest and stick, and keep the small-parts box on top of the stack where you will see it first in spring.
What reuse saves over five years
The savings add up in a quiet way. Take a simple setup of three trays as a planning example, using planning prices rather than current store prices: three trays at $10 each cost $30. Buying a new set of three trays each year for five years comes to $150. Reusing the same three trays for five years costs the original $30 plus about $5 of cleaning supplies across that span, or about $35 in total. That is a saving of about $115 over five years, before counting the pots, domes, and mats that also stay in service.
Those numbers assume the trays survive five seasons, which sturdy trays often do with a yearly wash and dry storage, and that one set of trays meets your sowing needs each year. Each season a tray survives is a season you do not buy its replacement. For help choosing trays that last, see best seed starting trays, or browse seed starting trays on Amazon.
Sources & Further Reading
University of Minnesota Extension, “Starting seeds indoors”: https://extension.umn.edu/planting-and-growing-guides/starting-seeds-indoors
North Carolina State Extension, Extension Gardener Handbook, Chapter 13 Propagation: https://content.ces.ncsu.edu/extension-gardener-handbook/13-propagation