
This post may contain affiliate links. If you buy through links on this page, we may earn a commission at no extra cost to you.
As an Amazon Associate I earn from qualifying purchases.
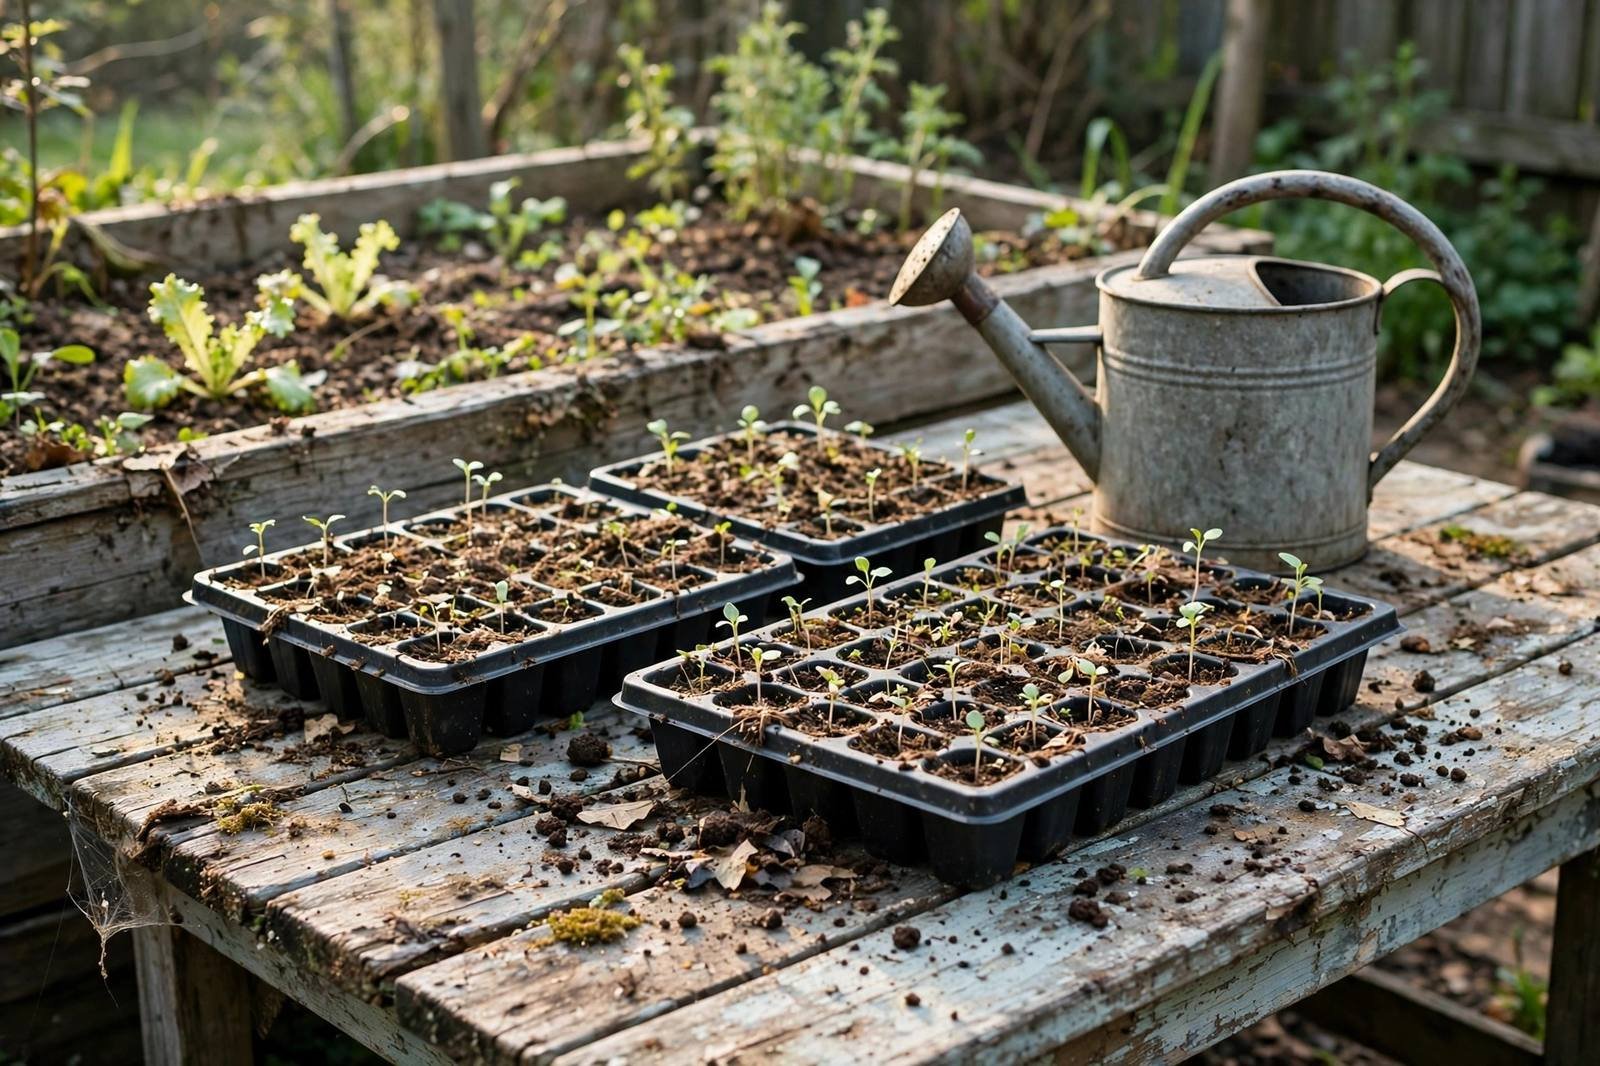
Seedlings raised indoors live in steady warmth, still air, and filtered light. Outdoors, sun, wind, and cool nights hit them all at once. A seedling moved straight from a windowsill to a garden bed can wilt, bleach, or stall for weeks, even when the soil and water are right. Hardening off closes that gap on purpose, in small daily steps, so the plant builds thicker leaves, sturdier stems, and a tolerance for wind and sun before it has to live outside full time.
The schedule below runs ten days. It works for tomatoes, peppers, squash, and other warm-season crops, and for cool-season crops with a shift in dates explained below. Move trays out each morning and back in each evening during the first eight days. Check the forecast each day, and hold a tray indoors when frost, hard rain, or strong wind is forecast. Our guide to how to grow tomatoes covers the crop most gardeners harden off first, and our notes on how often to water seedlings help with the watering checks in this schedule.
The 10-day hardening schedule
Start on a mild, cloudy day when you can. Place trays in shade for the first outing, even when the air feels warm, because direct sun on indoor leaves is the fastest way to scorch them. Each step adds time, sun, or wind, but only one large change at a time, so a problem on one day points to the change made that day.

| Days | Time outside | Light and wind | Night |
|---|---|---|---|
| Days 1-2 | 1-2 hours | Shade, sheltered from wind | Back indoors |
| Days 3-4 | 3-4 hours | Morning sun, still sheltered | Back indoors |
| Days 5-6 | 5-6 hours | More sun plus a light breeze | Back indoors |
| Days 7-8 | Full day | Full sun and open air | Back indoors |
| Days 9-10 | Full day and night | Full sun and open air | Outside overnight if no frost is forecast |
Days 1 and 2 are about air and light change, not sun. A shaded porch or a spot under a tree gives outdoor air without direct sun. Days 3 and 4 add morning sun, which is gentler than afternoon sun, while keeping the tray out of wind. Days 5 and 6 add wind exposure, so leaves lose water faster, and watering checks matter more from day 5 onward. Days 7 and 8 test a full day outside, and days 9 and 10 test a full night outside, but only when the forecast stays above freezing.
Work out your dates from your last frost date
Assumptions. We use a last spring frost date of May 10 for this example. Warm-season crops go out after that date, and cool-season crops go out two weeks before that date. The hardening schedule itself runs ten days in both cases.
For warm crops, hardening runs May 1 to May 10, and transplant day is May 11, one day after the last frost date in this example. For cool crops, transplant day is two weeks before May 10, which is April 26. Counting ten hardening days back from April 26 gives a start date of about April 16, with hardening running April 16 to April 25 and transplanting on April 26. Use your local frost dates and regional planting guidance — not your USDA hardiness zone alone — to choose planting dates.
Shift the whole block when your own last frost date differs. A last frost date of April 20 moves warm-crop hardening to April 10 to April 19, with transplanting on April 21. A last frost date of May 20 moves it to May 10 to May 19, with transplanting on May 21. The ten-day shape stays the same, and only the calendar block moves. Trays kept near the door during hardening week, as in our guide to how to set up a seed starting station, make the daily moves easier.
What to check each day
Check soil moisture before trays go out and again when they come in. Outdoor air and wind dry mix faster than indoor air, and a small cell can dry out in one sunny afternoon. Water from the bottom when the mix feels dry at the surface, and let trays drain before they go back indoors, so trays do not sit in standing water overnight.
Check leaves at the end of each day. White or pale patches on leaves that were green in the morning point to sun scorch, and the fix is to repeat the prior day’s step rather than pushing ahead. Wilting that recovers within an hour indoors points to wind and water loss, and the fix is more shelter and a watering check. Leaves that stay wilted into the next morning point to a deeper problem, and that seedling needs a rest day indoors with steady water.
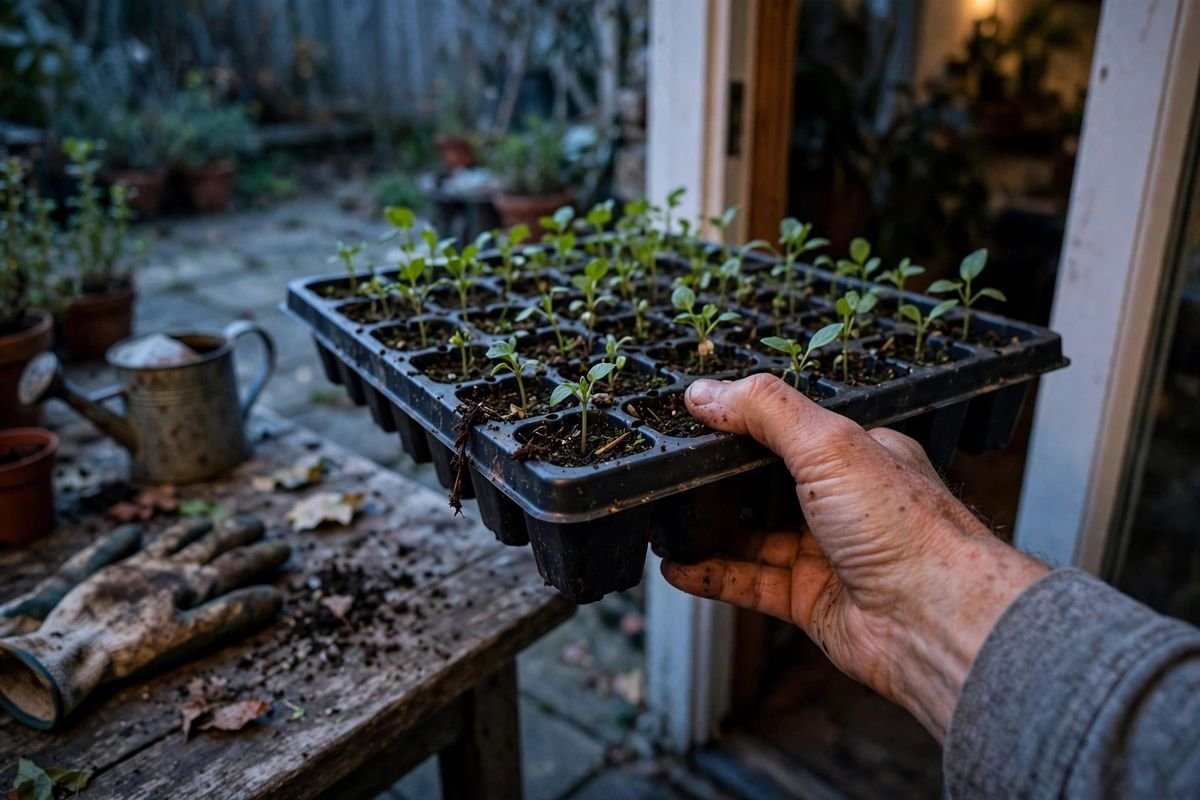
Check stems and growth as the week goes on. Stems often feel firmer by day 5, and leaves often look a little thicker and less glossy than indoor leaves. Slow growth during hardening week is normal, and growth picks up again after transplanting, once roots settle into garden soil.
When to pause the schedule
Pause, do not push through, when frost is forecast, when wind gusts are strong enough to topple trays, or when rain is heavy enough to flood cells. A paused day does not ruin the schedule. Repeat the last completed step the next fair day, and add one extra day at the end when two or more days in a row are lost to weather. A tray that misses days 9 and 10 to frost still needs an overnight test before transplanting, so wait for a frost-free night rather than skipping that test.
Hold back a seedling that is sick, leggy, or freshly repotted. Fix the indoor problem first, then start the ten-day count from day 1.
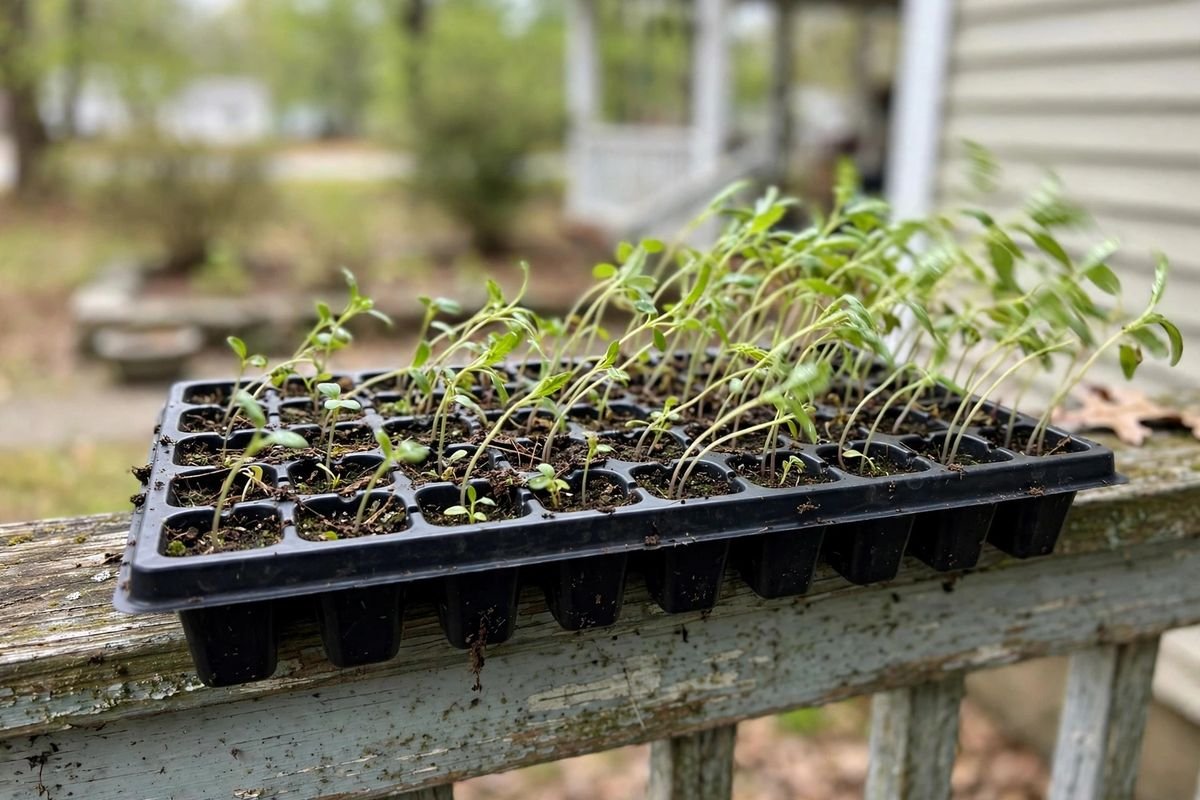
A light breeze on days 5 and 6 is part of the plan, and a tray on a porch rail catches it well. A strong, drying wind is different: it strips water from leaves faster than small roots can replace it. Shelter trays behind a wall or a low fence on windy days, and move them back into full wind only when gusts ease.
Transplant day
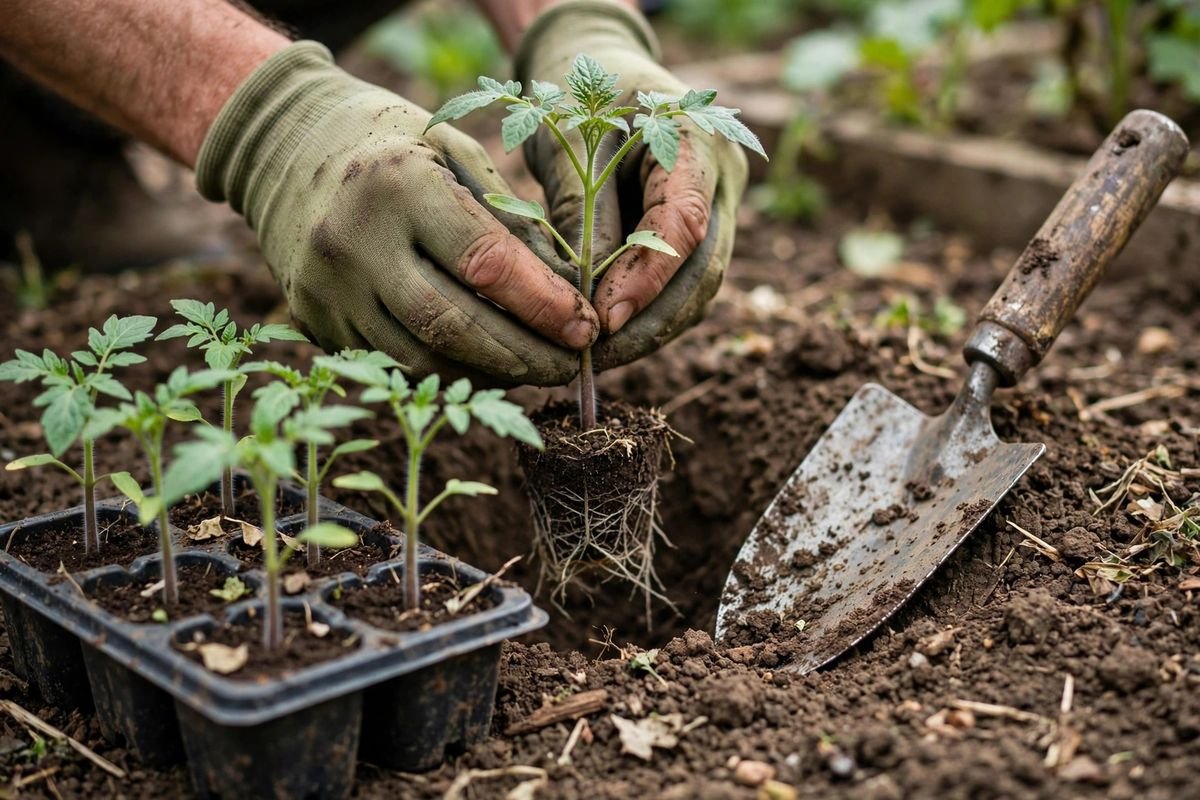
Transplant on a cloudy day or in late afternoon when you can, because that gives roots a cool night to settle before the next full sun day. Water trays an hour before transplanting, so plugs slide out whole and roots stay damp. Dig the hole, set the seedling at the same depth it grew in the cell, firm the soil around the plug, and water again at the base. Tomatoes are an exception to the depth rule, since they root along a buried stem.
After transplanting, water at the base each day for the first week, then shift to deeper, less frequent watering as roots spread. A shade cloth over a transplant for one hot afternoon can help, but remove it the next day, so the plant does not grow soft again under cover. Check for cutworms and slugs in the first nights, since a fresh transplant is an easy target.
For supplies, a sturdy tray that survives daily carrying matters more than a fancy one. The trays in our guide to best seed starting trays cover the sizes and depths that hold up to this daily routine, and a seedling tray search on Amazon shows the common sizes in one place.
Sources & Further Reading
- University of Minnesota Extension, Starting seeds indoors: https://extension.umn.edu/planting-and-growing-guides/starting-seeds-indoors
- North Carolina State Extension, Extension Gardener Handbook Chapter 13 Propagation: https://content.ces.ncsu.edu/extension-gardener-handbook/13-propagation