
This post may contain affiliate links. If you buy through links on this page, we may earn a commission at no extra cost to you.
As an Amazon Associate I earn from qualifying purchases.
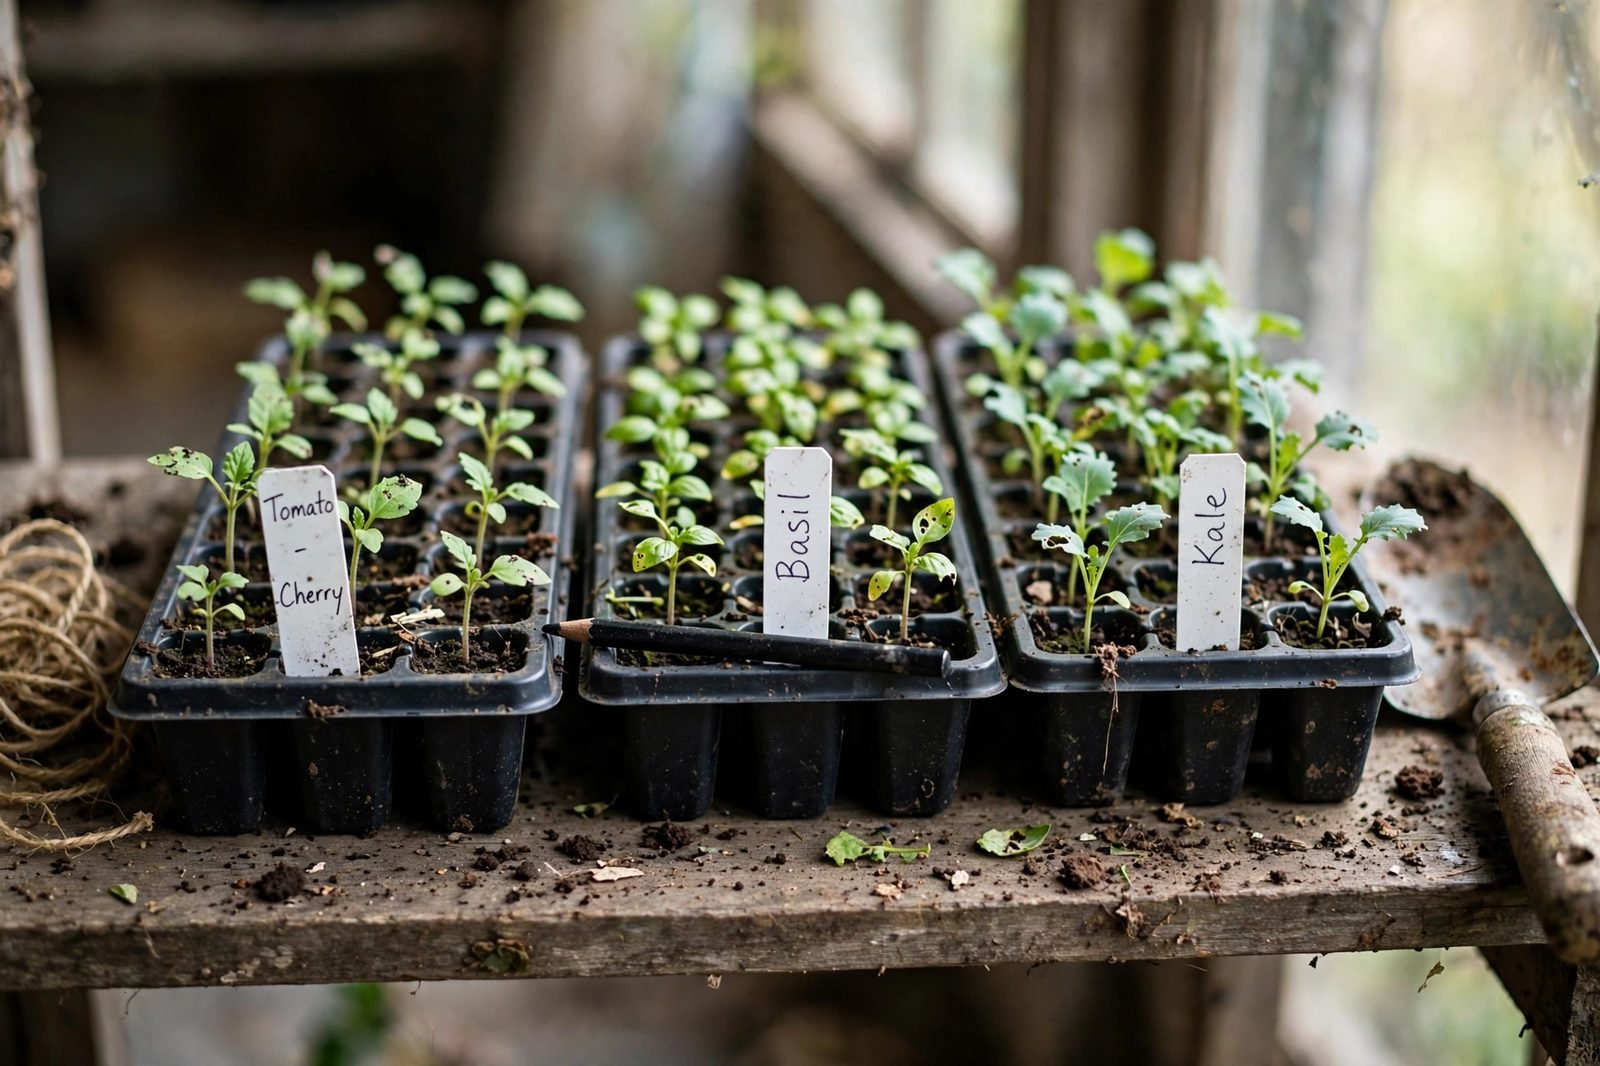
Every spring we sow trays that look identical for two weeks — six tomatoes, four peppers, a flat of herbs — and promise that memory will sort them out. Memory rarely does. A label that fades or washes blank turns a careful plan into guesswork at transplant time. The fix is a label material and a marker that survive water, light, and handling from sowing to the garden.
This guide compares label types by material and writing surface, not by brand claims. We have not run hands-on weathering trials on the labels linked here, and exposure varies by climate and light stand. Check the listing for material, size, and pack count before ordering. Our contribution is season-count math, so we can estimate how many labels a real plan consumes and what reuse does to cost per season without invented prices.
| Label Type | Material Pattern | Best Writing Match | Best Use | Main Tradeoff |
|---|---|---|---|---|
| White plastic stake labels | Thin to medium plastic, smooth face | Grease pencil or garden marker; check finish | Trays, cell packs, pots | Thin versions can turn brittle; marker decides fade |
| Metal plant tags | Aluminum or zinc-style tags | Embossing tool or marker renewed yearly | Perennials, trees, long-season pots | More effort; handwriting can be hard to read |
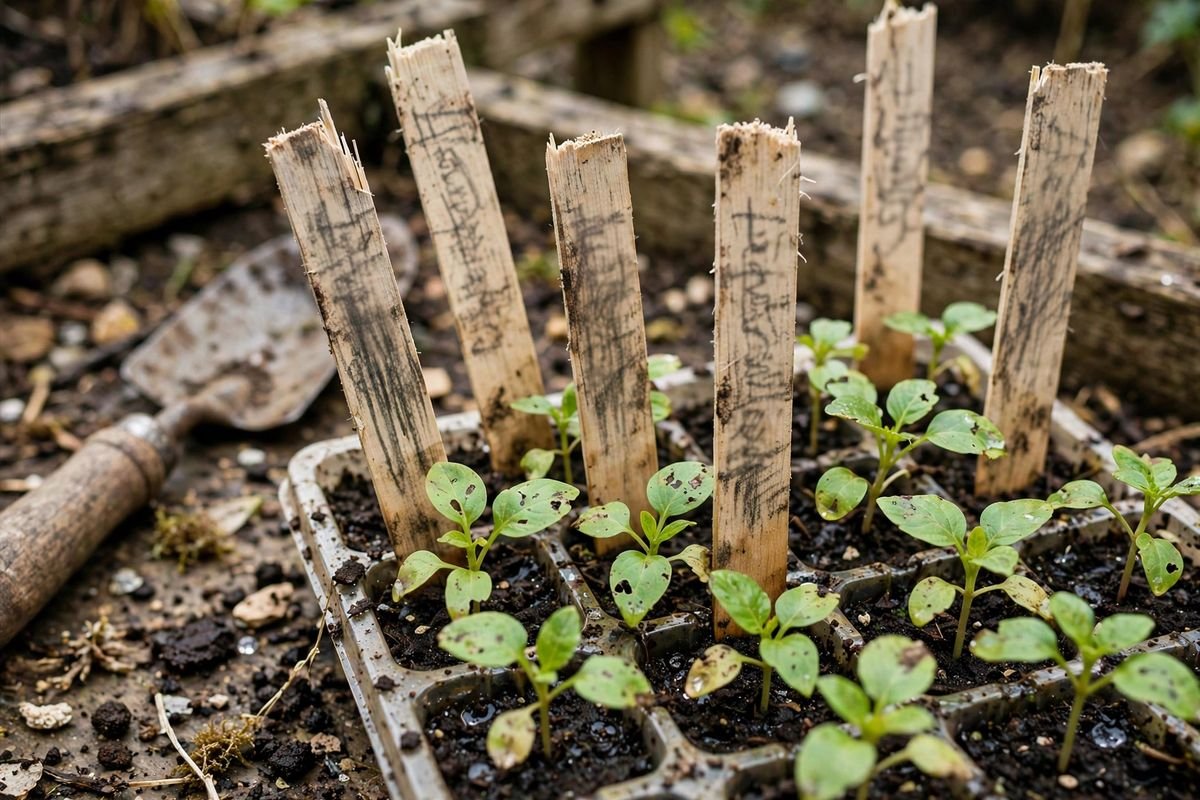
| Wooden craft-stick labels | Untreated wood or bamboo | Pencil for short runs | Quick batches, successions | Wicks moisture, smudges on long crops |
| T-style plastic labels | Thicker plastic, T-shaped | Grease pencil or label tape | Nursery pots handled often | Bulkier in tight cells; tape can lift when wet |
Two labels that look alike can behave differently because plastic blend, surface texture, and marker pairing differ. We use material and marker as the deciding pair, then confirm size and thickness on the listing.
Why Labels Fade
Water lifts inks that sit on the surface, especially when the label base stays damp in a bottom-watered tray. Light breaks down many inks and chalks the plastic, so a label that reads well indoors can bleach on a sunny windowsill. Handling finishes the job as soil and tray edges rub the writing away. A fade-resistant setup pairs a marker that bonds or embosses with a surface that holds the mark when wet.
Grease pencils lay down a waxy line that resists water and wipes off plastic for reuse. Garden markers use pigments rated for outdoor exposure, yet performance varies, so we check the listing and expect to renew writing each season. Desk markers fade fastest outdoors. Pencil on wood or matte plastic can surprise readers: graphite does not fade in light, though it smudges when wet.
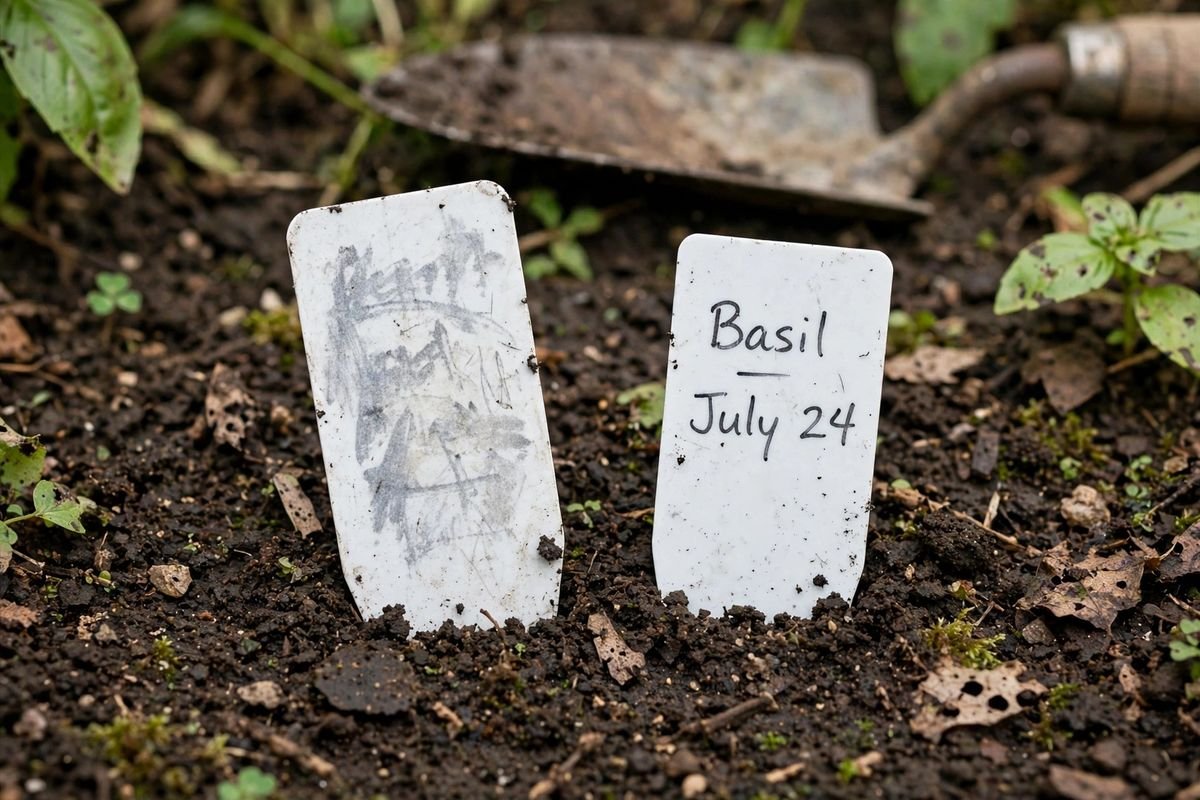
The pairing matters more than either half alone. A good marker on glossy plastic may bead and rub off, while the same marker on a matte stake holds well. When a listing suggests a marker type, we set one test label beside our trays for a week before committing a whole flat.
Our Labels-per-Season Math
Assumptions. We sow 6 trays in spring. Each tray holds 6 rows, labeled once per row. We run 3 rounds across the season — spring greens, summer transplants, and a fall round — and count a fresh label each time unless the label is cleaned and reused.
The math. 6 trays × 6 rows = 36 row labels per round. Across 3 rounds, 36 × 3 = 108 label uses per season. Add 50 pot labels at transplant and the total reaches about 158 uses. A reusable label cleaned each round covers 3 uses, so the 108 row uses need only 36 reusable labels on hand, plus spares. A single-use label needs the full count before spring.
Cost-per-season framing. Divide any live pack price by the seasons the label realistically serves. A reusable label lasting 3 seasons spreads cost across roughly 324 row uses in our example (108 × 3), while a single-season wood label spreads cost across one season before composting. We run that division with the current listing price, since prices and pack counts change. The marker is usually the part worth choosing carefully, because a good marker serves every label type we own. We add about ten percent for spares that crack or vanish.
Label Types Compared
White Plastic Stakes: The Tray Workhorse
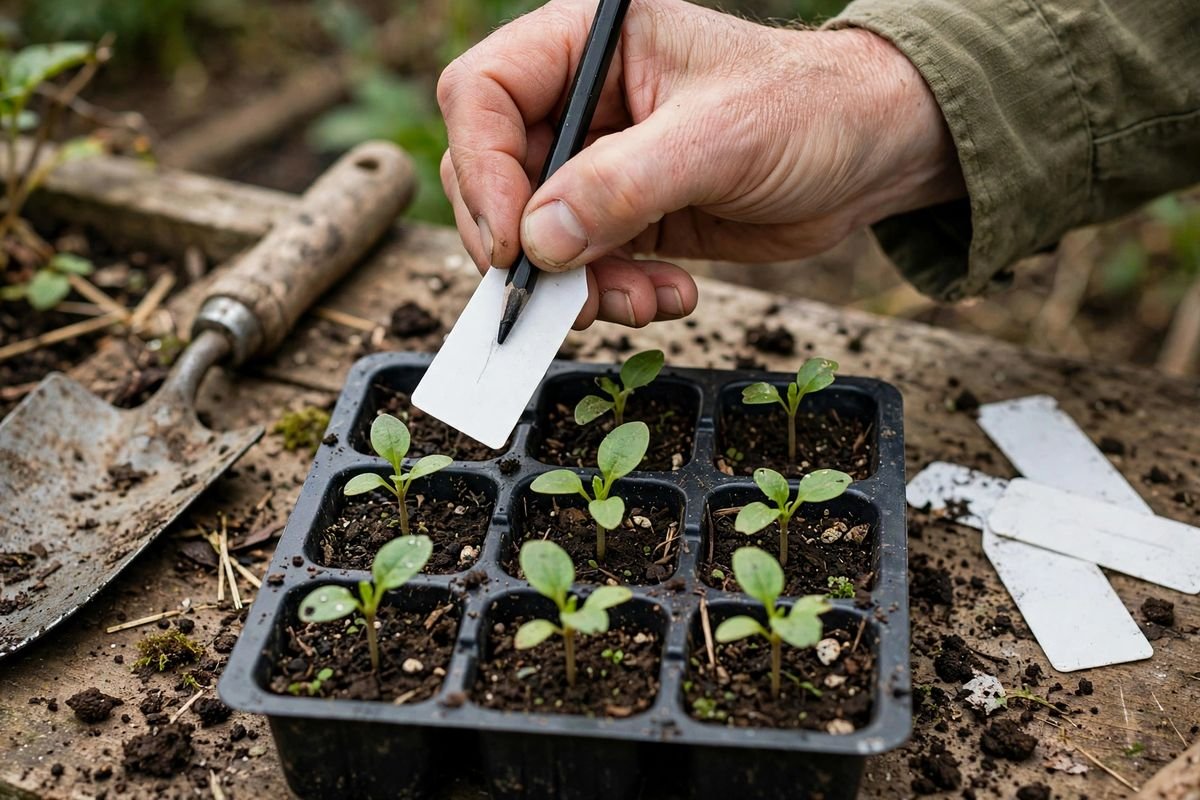
Pros: slim fit in cell packs, smooth face takes grease pencil and wipes for reuse, low profile slides under a dome. Cons: thin stakes snap in dry mix, glossy versions can shed ink, white plastic can turn brittle in strong sun. Choose plastic stakes if most labeling happens in trays. Browse white plastic plant labels on Amazon and check thickness and whether the face is matte.
Metal Tags: Label Once for Long-Term Plants
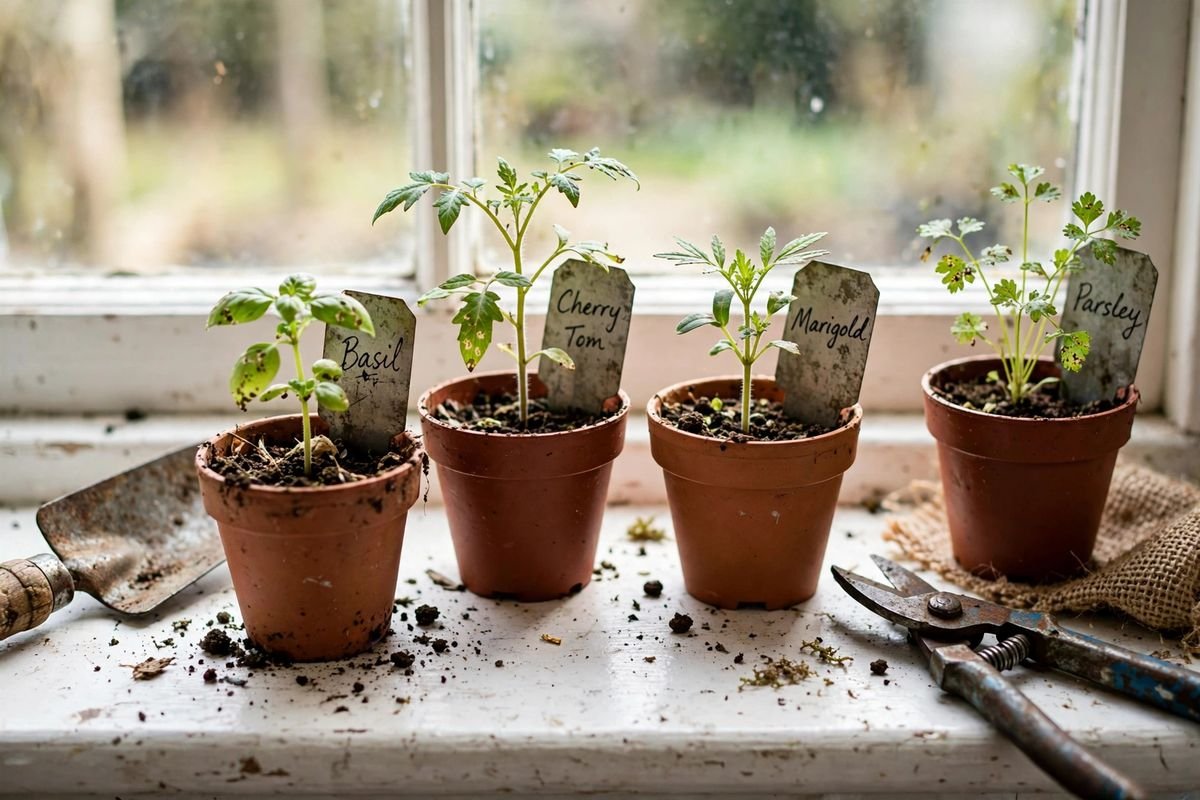
Pros: embossed writing does not fade in light or wash off in rain and survives years in pots. Cons: embossing takes more time, thin edges can be sharp, and marker-only writing on metal still fades. Choose metal when a plant keeps the same name for years. Compare metal plant tags on Amazon, confirming wires or stakes and the suggested embossing tool.
Wooden Craft Sticks: Fast and Compost-Friendly
Pros: widely available, easy to write with pencil, wide face fits variety plus date, and the label can go to compost after a short crop. Cons: wood absorbs water and lettering smudges in a damp tray, so a long-season crop can outlast the label. Choose wood for quick successions. See wooden plant labels on Amazon and check stick width for cells versus pots.
T-Style Labels for Handled Pots
Thicker T-style labels stand up well in nursery pots that get moved and watered often, and the horizontal face reads from above. Tradeoffs are size, cost per label, and tape that can lift when wet, so we reserve these for pots. Our guide to how to set up a seed starting station shows where label storage fits beside the trays so labeling happens at sowing.
Writing That Survives
We write on a clean, dry face, since soil film and moisture under the stroke shorten the life of any marker. Bold, simple lettering beats a cramped botanical name; we write the variety large and the sowing date smaller below. A numbered label paired with a notebook note keeps the stake readable and the data complete.
Heat and light at the station age labels before the garden sees them. Readers weighing warmth will find our notes on do seedlings need a heat mat helpful for placing mats so labels do not bake under a dome. We clean reusable labels at the sink during tray washing and discard chalky or cracked stakes. Our routine in how to clean seed starting trays pairs naturally with that step.
A System That Stays Straight at Transplant
We label at sowing, before seeds go in, with each row labeled at the reading end of the tray. One label per row is enough when cells in that row match; mixed cells earn a label per group. At potting up, the label travels with the first pot, and we write pot labels while seedlings stay grouped. Color can back up the written name but should never replace it. For tray choices that affect label fit, our comparison of best seed starting trays shows cell sizes where slim stakes sit cleanly.
We start labels when we start seeds, well ahead of transplant, so writing can be checked while trays match the plan. Use your local frost dates and regional planting guidance — not your USDA hardiness zone alone — to choose planting dates. That schedule decides when each labeled tray moves outside, and a readable label keeps varieties straight in the ground.
Which Label Should We Choose?
Choose white plastic stakes with a grease pencil if we label mostly in trays and want writing that resists bottom watering. Choose metal tags if a plant keeps its name for years and we prefer embossed writing. Choose wooden craft sticks if the crop is short and composting the label suits our routine. Choose T-style plastic labels if pots get handled and read from above. When unsure, matte plastic stakes plus a grease pencil cover the widest range of jobs.
Common Problems and Plain Fixes
Writing washes off. The marker and surface likely mismatch, or the face was damp when written. We switch to a grease pencil on smooth plastic and run a one-week test label. Labels bleach in bright light. We use embossed metal for long-term pots or renew garden-marker writing each season. Stakes snap. We moisten mix first and guide the stake along the cell wall. Varieties still mix up. The gap is usually at potting up, so we move labels with the plants.
FAQ
What marker lasts longest on seedling labels?
A grease pencil on matte plastic resists water and wipes off for reuse, while embossing into metal outlasts any ink. Garden markers rated for outdoor use hold for a season or more on the right surface.
How do we reuse plastic labels?
Grease pencil wipes clean with firm rubbing. Garden marker often leaves a ghost, so we reuse that stake only where a faint ghost causes no confusion.
Are wooden labels worth using if they smudge?
Yes, for short crops where the label needs only a few weeks. For a long indoor stretch before transplant, plastic or metal serves better.
Should every cell get its own label?
One label per row or variety group is enough when cells match. Mixed sowing earns more labels, so any single plant traces to a written name.
Sources & Further Reading
- University of Minnesota Extension — starting seeds indoors: https://extension.umn.edu/planting-and-growing-guides/starting-seeds-indoors
- Colorado State University Extension — growing plants from seed: https://extension.colostate.edu/topic-areas/yard-garden/growing-plants-from-seed-7-409/
- University of California Agriculture and Natural Resources — seed starting: https://ucanr.edu/site/uc-master-gardeners/seed-starting
Keep Growing With These Guides
A readable label is a small thing that saves a whole tray of careful sowing. Which flat on our shelf would be hardest to sort out today if the labels vanished?