
This post may contain affiliate links. If you buy through links on this page, we may earn a commission at no extra cost to you.
As an Amazon Associate I earn from qualifying purchases.
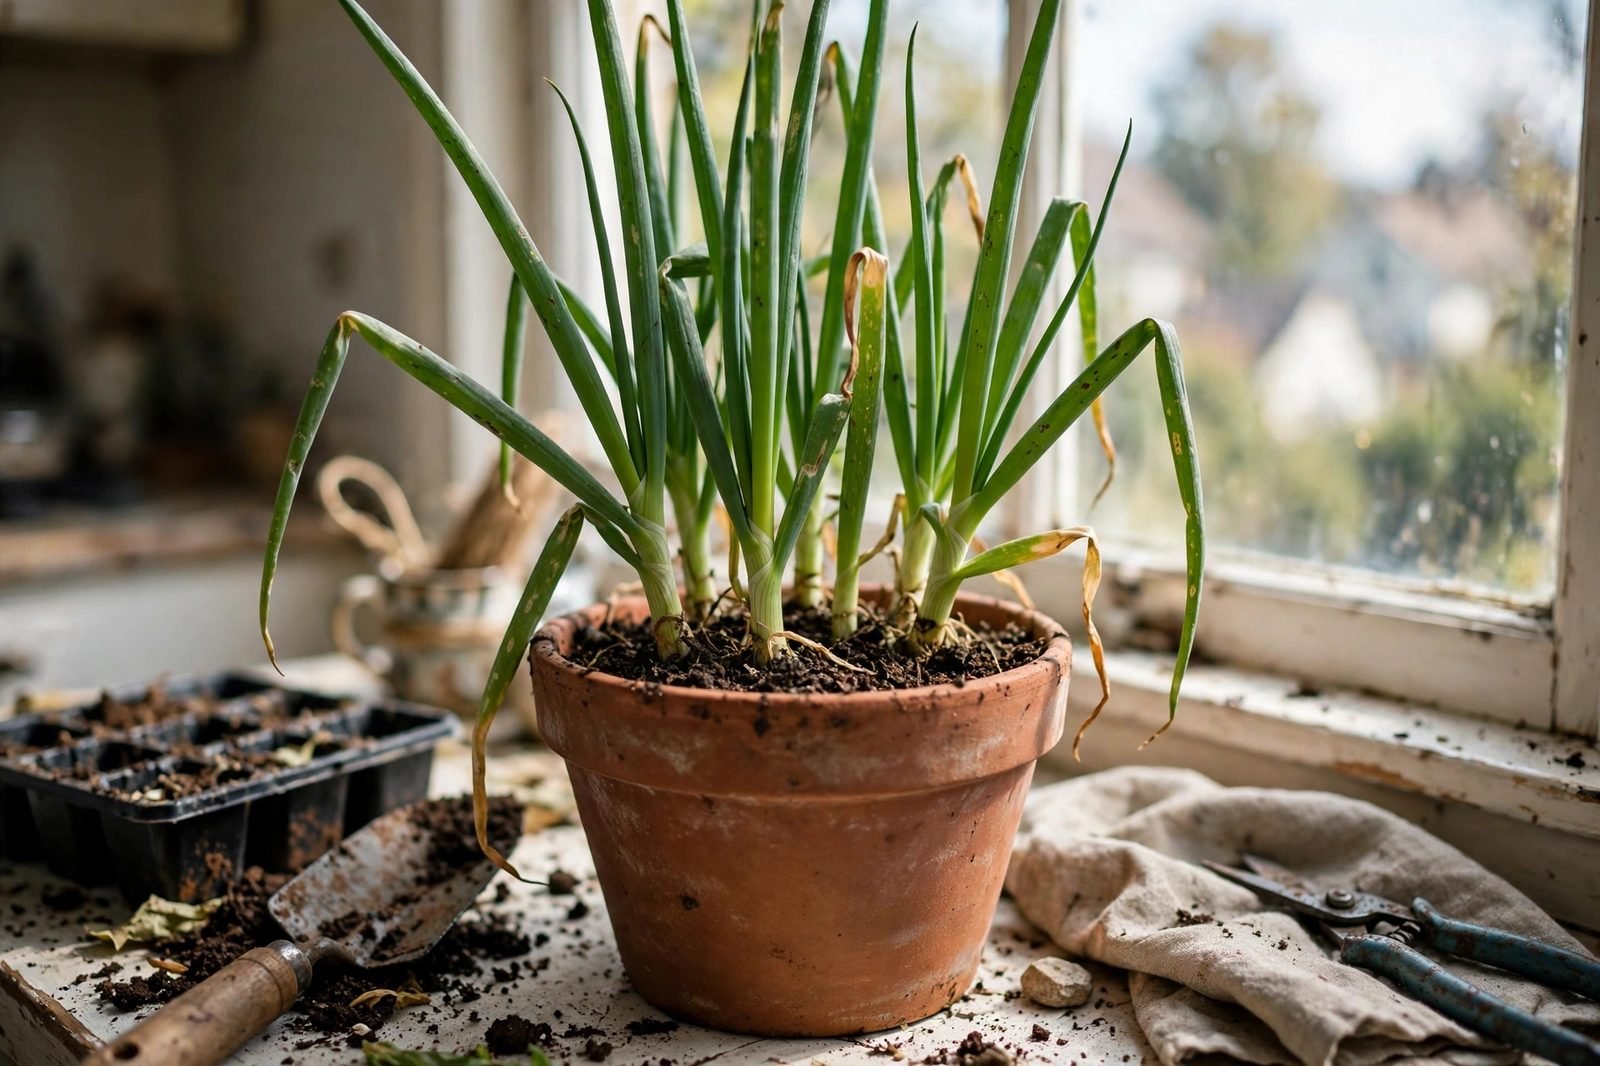
Green onions are one of the most forgiving crops we can keep on an indoor windowsill. The white base and roots from a store-bought bunch want to regrow, and a small pot of seed grows into a steady supply of fresh tops for eggs, soups, noodles, and salads. They ask for modest light, a container that drains, and regular small drinks of water. In return, a single pot can give cutting after cutting for months.
This guide covers both reliable routes. We start with regrowing kitchen scraps, first in water and then into soil for a longer life, and then walk through growing from seed in a pot for the fullest, longest-lasting plants. Along the way we cover light, watering, how to harvest so the plant keeps producing, and the point at which refreshing the pot makes more sense than pushing old plants further.
| Light | 6 or more hours of bright light; a sunny south or west window, or 12 to 14 hours under an LED bar |
|---|---|
| Water | Keep mix evenly moist; water when the top half inch feels dry, and empty the saucer after draining |
| Container or tray | Pot at least 6 inches deep with drainage holes; a wide pot holds a full bunch |
| Soil or medium | All-purpose potting mix with perlite for drainage, refreshed when it compacts |
| Days to harvest | Regrowth tops in 7 to 14 days; seed-grown plants ready for first trims in about 60 days |
| Common problems | Thin floppy tops from low light, sour soil from overwatering, slowing growth in an old crowded pot |
Two Ways to Grow Green Onions Indoors
Both methods work, and they suit different timelines. Regrowing from scraps is fast and costs nothing beyond a bunch of green onions we already bought for cooking. Growing from seed takes longer to reach harvest size but produces thicker, sturdier plants that hold up to repeated cutting for a longer season. Many indoor growers run both at once: a jar of regrowing scraps for this week, and a seeded pot coming along behind it.
New to growing food in pots? The basics of drainage, pot size, and watering rhythm in our guide to container gardening for beginners apply directly to a green onion pot, and the same shelf setup described in our seed starting station guide gives young onion seedlings a strong start under lights.
Method 1: Regrowing From Kitchen Scraps
When a recipe leaves us with the white ends of green onions, we save the bottom inch or two with the roots attached. Those roots are still alive, and the center of the cutting holds a growing point that pushes new green growth quickly once it has water.
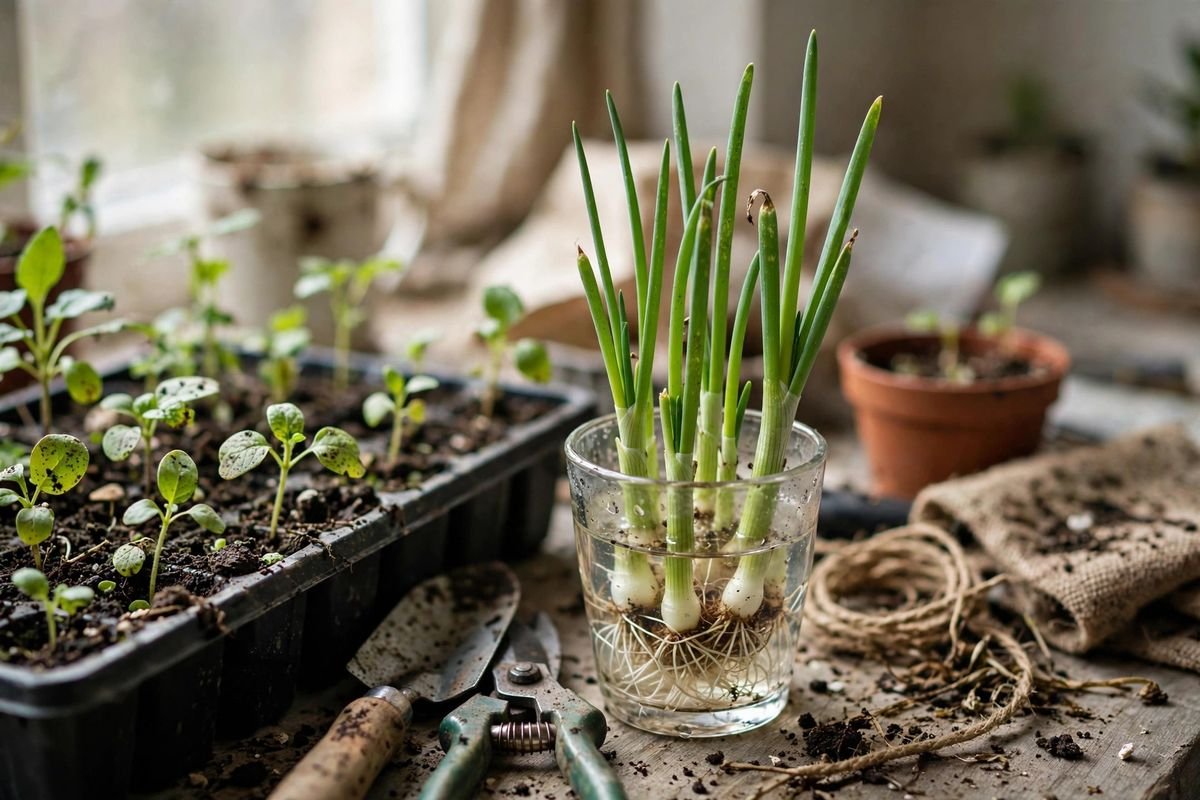
Stand the cuttings root-down in a small glass or jar with enough water to cover the roots and the lower part of the white base. Set the glass on a bright windowsill and change the water every day or two so it stays clear and fresh-smelling. Within a few days, new green shoots rise from the center and the roots lengthen. Tops can reach a usable size in about a week, and we can snip what we need while the cuttings sit in water.
Water alone has limits, though. Each regrowth round draws on the stored energy in the base, so shoots come back thinner over time, and a forgotten jar turns slimy. For plants that last, we move water-started cuttings into soil once the new growth stands 4 to 5 inches tall. Plant them so the roots and the white portion sit below the surface of moist potting mix, firm gently, and water in. In soil, the plant can feed itself properly and keep producing far longer.
Method 2: Growing From Seed in a Pot
Seed gives the longest-lived indoor planting. Choose a bunching onion variety, sometimes labeled as scallion or Welsh onion, since these types are grown for their tops rather than a large bulb. Sow seeds about a quarter inch deep in a pot of pre-moistened potting mix, spacing them roughly an inch apart or scattering them evenly and thinning later. A light covering of mix and a gentle watering settle them in.
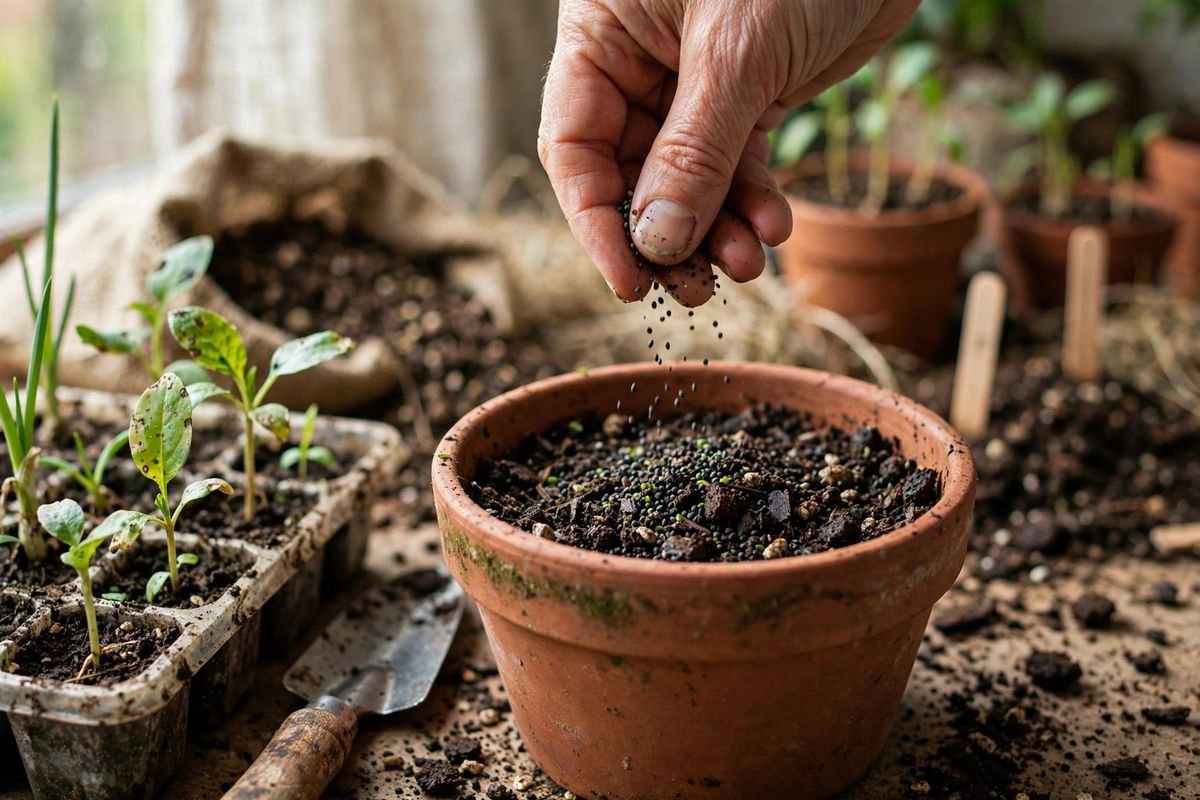
Keep the surface moist until germination, which usually takes seven to fourteen days. A clear lid or a piece of plastic wrap over the pot holds humidity during this window; remove it as soon as green threads appear so air can move. Young onion seedlings look like tiny green loops, then straighten into slender spears. They grow slowly at first, and that is normal. Once the roots fill in and light is steady, growth picks up and the pot fills out into a grassy clump we can begin trimming at about 6 to 8 inches tall.
A packet of bunching onion seeds holds enough for many pots, and seed stays usable for a year or two stored cool and dry. Sowing a fresh small pot every month or two keeps different ages in rotation, so one pot is always at its peak.
Light Needs for Straight, Sturdy Tops
Green onions grow best indoors with six or more hours of bright light. A south- or west-facing window often does the job in spring and summer. In winter, or in rooms where the only window faces north, tops stretch thin, lean toward the glass, and flop. That stretched, weak growth is the same response we see in young seedlings, and the fixes in our guide on why seedlings get leggy under grow lights apply here: more intensity, closer placement, and longer days.
An LED bar 4 to 6 inches above the tops for twelve to fourteen hours a day keeps plants compact and deep green. Our comparison of an LED grow light vs. a sunny window helps weigh when a window is enough and when a fixture earns its place, and grow light bars vs. bulbs compares the two common fixture styles for a small indoor shelf. Rotating a window pot a quarter turn every few days keeps growth even on all sides.
Watering Without Souring the Pot
Onions have shallow roots that like steady moisture but dislike sitting in water. We water when the top half inch of mix feels dry to the touch, then water thoroughly until a little drains from the bottom. The saucer gets emptied after a few minutes so the pot never stands in a puddle. That rhythm keeps roots healthy and avoids the sour smell that signals waterlogged mix.
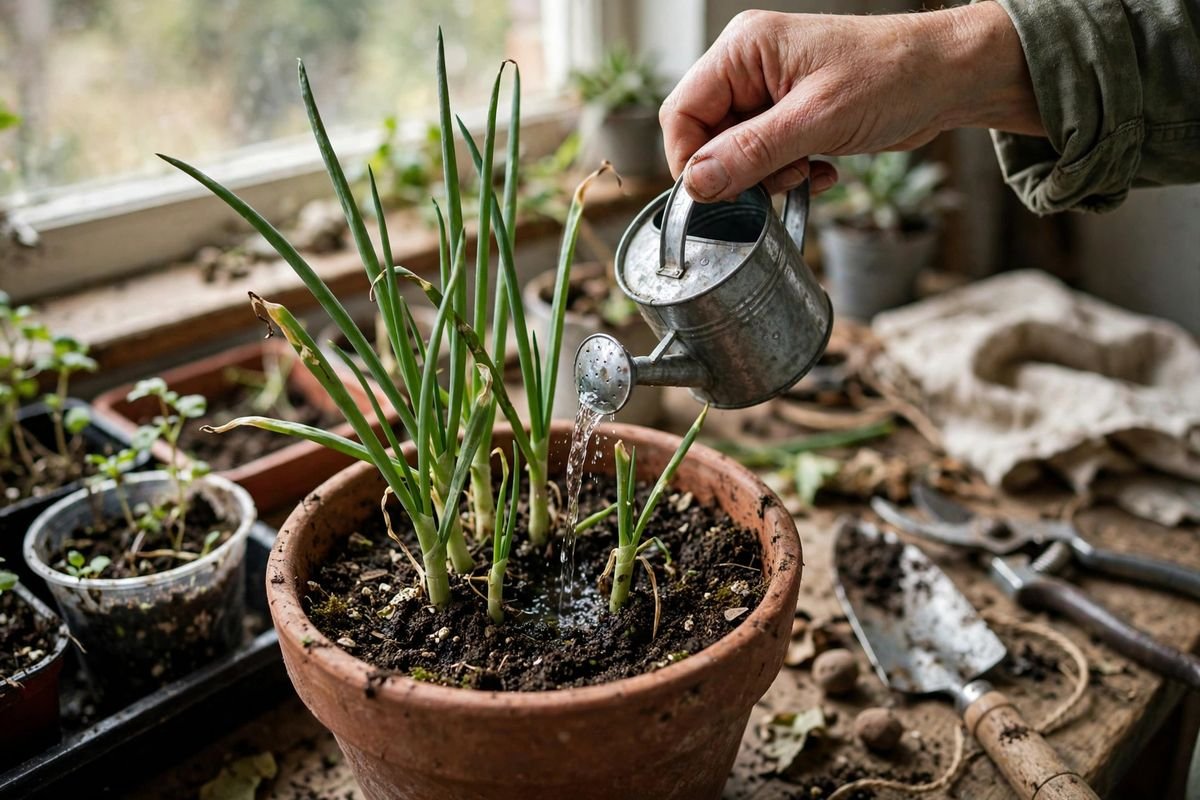
Small pots on a bright sill dry faster than expected, especially near heating vents in winter. Checking with a fingertip every couple of days beats watering on a fixed schedule, because the pot tells us what it needs in that week’s weather. Bottom watering works well here too. Setting the pot in a shallow dish of water for fifteen minutes lets the mix wick moisture up evenly, the same method we describe for bottom watering seedlings. Whichever method we use, thinning a crowded pot improves airflow between the plants and reduces the chance of soft, yellowing bases.
Feeding can stay light. A diluted balanced liquid fertilizer once a month during active growth keeps tops green in a pot that has been producing for a while. Fresh potting mix carries a young planting for its first several weeks without any added feed.
Harvesting for Cut-and-Come-Again Growth
The way we cut decides how long the pot keeps giving. Green onions grow from the base, with new leaves pushing up from the center of each plant. Harvesting the outer, oldest leaves first leaves the young center leaves to keep growing. We grip an outer leaf low, near the soil, and snip it cleanly with scissors, or trim the top portion of several leaves and leave the lower few inches to regrow.
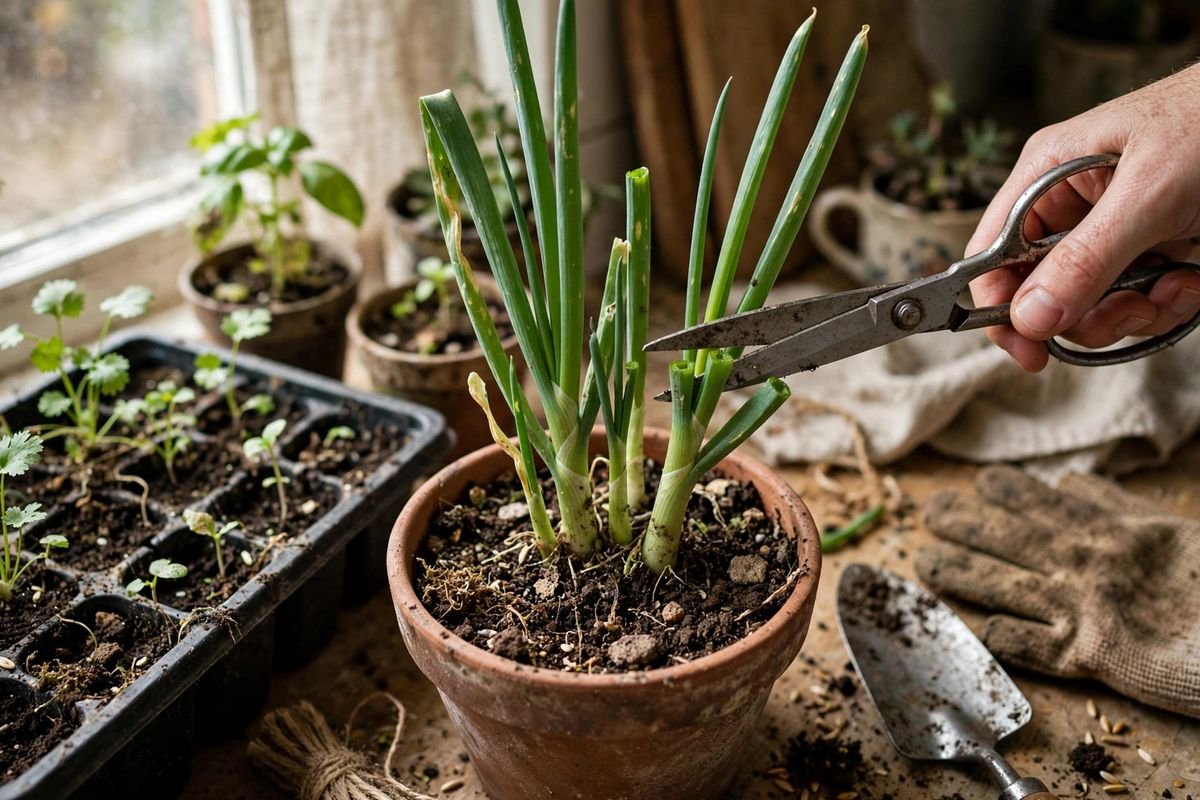
For the strongest regrowth, we avoid cutting a plant back to the soil all at once. Leaving at least 2 to 3 inches of green above the white base keeps leaf area available to feed the roots. A small pair of herb scissors makes quick, clean cuts that heal fast. Harvest in the morning when tops are crisp, rinse gently, pat dry, and refrigerate extras in a loose bag with a paper towel. Cut tops keep well for about a week.
Regular trimming also keeps the pot tidy. Removing yellowing outer leaves as they appear directs the plant’s energy into fresh growth and keeps airflow open at the base, where crowded old leaves can turn soft.
When to Refresh the Pot
Even a well-kept pot slows down eventually. After several months of cutting, regrown scrap plants produce noticeably thinner tops, and seed-grown pots become crowded as plants divide and roots fill every bit of space. Growth that stays thin despite good light and steady water is the plant telling us its reserves or its room have run low.
Refreshing is simple. We tip the clump out, shake off the old mix, divide crowded plants into smaller groups with roots attached, and replant them into fresh potting mix with a little space between divisions. Tired bases with mushy roots get composted rather than replanted. A refreshed pot usually pushes strong new growth within a couple of weeks. Keeping a younger succession pot in progress means the kitchen never waits on a refresh to recover.
Scrap cuttings that have gone through many rounds in water are best retired to the compost once the base feels soft or the shoots come up spindly. Starting fresh from a new bunch or from seed restores thick, flavorful tops.
Troubleshooting Green Onions Indoors
Why are the tops thin and flopping over?
Low light is the most common cause, followed by crowding. Move the pot to the brightest window or closer under a light, and thin or divide crowded clumps so each plant gets light at its base.
Why do the leaf tips turn yellow or brown?
Dry mix, fertilizer salts, and low humidity near heating vents all show up at the tips first. Water more consistently, flush the pot with plain water once in a while, and move it away from direct heat.
Why does the pot smell sour?
Waterlogged mix is the usual reason. Check that the drainage holes are open, empty the saucer after watering, and let the surface dry slightly between drinks. Badly soured mix should be replaced.
Why did my water-glass cuttings stop regrowing?
Each cutting holds a limited store of energy. After several rounds the base is spent. Move promising cuttings into soil early for a longer life, and retire soft or mushy bases to the compost.
FAQ
How many times can we cut the same green onion plant?
A healthy plant in soil gives many cuttings over several months when we harvest outer leaves and leave the center growing. Regrown scraps in water alone usually manage a few rounds before thinning out.
Can green onions grow in water forever?
Not really. Water grows quick first shoots, but without soil nutrients the cuttings weaken. Potting them up once roots and tops are established gives a far longer harvest.
How deep should the pot be?
At least 6 inches deep gives roots room and holds enough mix to stay evenly moist. Wider pots are useful because they hold a full bunch with space for airflow.
Do green onions need fertilizer indoors?
Only lightly. Fresh mix feeds young plants for weeks. A diluted balanced feed once a month keeps an older, hard-working pot green.
Sources & Further Reading
- Iowa State University Extension and Outreach — starting onions the right way, indoor sowing, light, and timing guidance (extension.iastate.edu)
- University of Maryland Extension — growing onions in the home garden, green onion spacing and care (extension.umd.edu)
- Colorado State University Extension — container gardens, vegetables suited to pots including green onions (extension.colostate.edu)
- University of Missouri Extension — planting, growing, and harvesting onions, soil and temperature needs (extension.missouri.edu)
More indoor growing guides:
Set a pot on the brightest sill we have, keep the mix evenly moist, and take the first small cutting sooner than feels brave. Green onions reward that light touch with a steady handful of fresh tops week after week. Which method will we start with — the jar of scraps or a fresh pot of seed?