
This post may contain affiliate links. If you buy through links on this page, we may earn a commission at no extra cost to you.
As an Amazon Associate I earn from qualifying purchases.
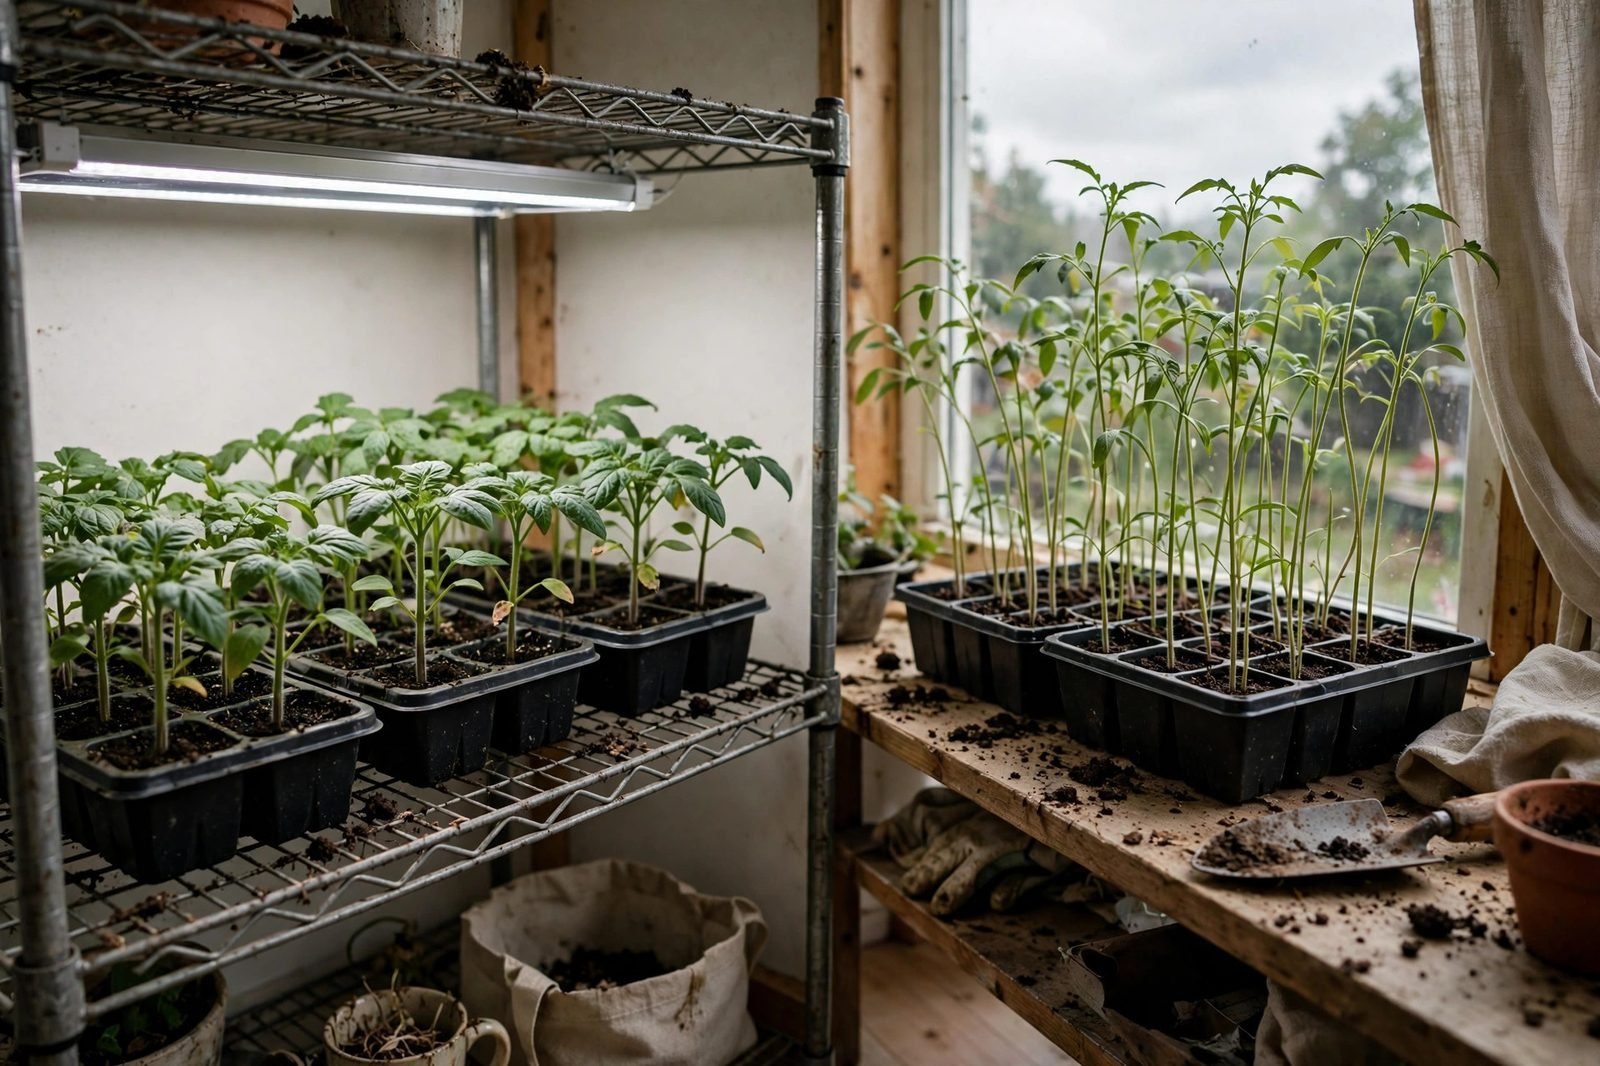
Every spring the same hopeful scene plays out on kitchen counters across the country: a tray of tiny green seedlings leaning hard toward the nearest window, stems stretched thin, leaves pale and hopeful. A few feet away, another tray sits under a slim LED bar, compact and sturdy, leaves a deeper green, stems short and thick. Both trays started the same week. The difference is rarely the seed. It is almost always the light.
If you are deciding between a sunny window and an LED grow light for your seedlings this year, here is the honest, practical comparison — what each option actually delivers, where each one falls short, how much it costs to run, and how to get good results with whichever setup you choose. Use your local frost dates and regional planting guidance — not your USDA hardiness zone alone — to choose planting dates, then count backward from that date to decide when to sow indoors.
| Best for | LED: consistent, sturdy seedlings on your schedule. Window: a few casual starts when you already have a bright south-facing sill. |
|---|---|
| Light strength | LED delivers steady, close light for 14–16 hours a day. Window light varies with weather, season, and window direction — often 1/4 to 1/2 of what seedlings need in late winter. |
| Control | LED: you set height, hours, and coverage. Window: you work around clouds, short days, and cold glass. |
| Cost to start | LED bar or small panel: modest one-time cost, then pennies a day to run. Window: no extra cost. |
| Main risk | LED: light set too far away or left on too few hours. Window: leggy, leaning, weak stems that struggle after transplant. |
| Our usual pick | A simple LED bar over a small shelf for most home gardeners starting more than a tray or two. |
What Seedlings Actually Need From Light
Seedlings are hungry for light in a way houseplants are not. A young tomato or pepper plant is trying to build a thick stem, a strong root system, and several sets of true leaves in just a few weeks, all from a tiny seed. That takes bright light, close to the leaves, for many hours a day. Extension guidance for indoor seed starting commonly points to 14 to 16 hours of light per day, with the light source kept just a few inches above the seedling tops and raised as the plants grow.
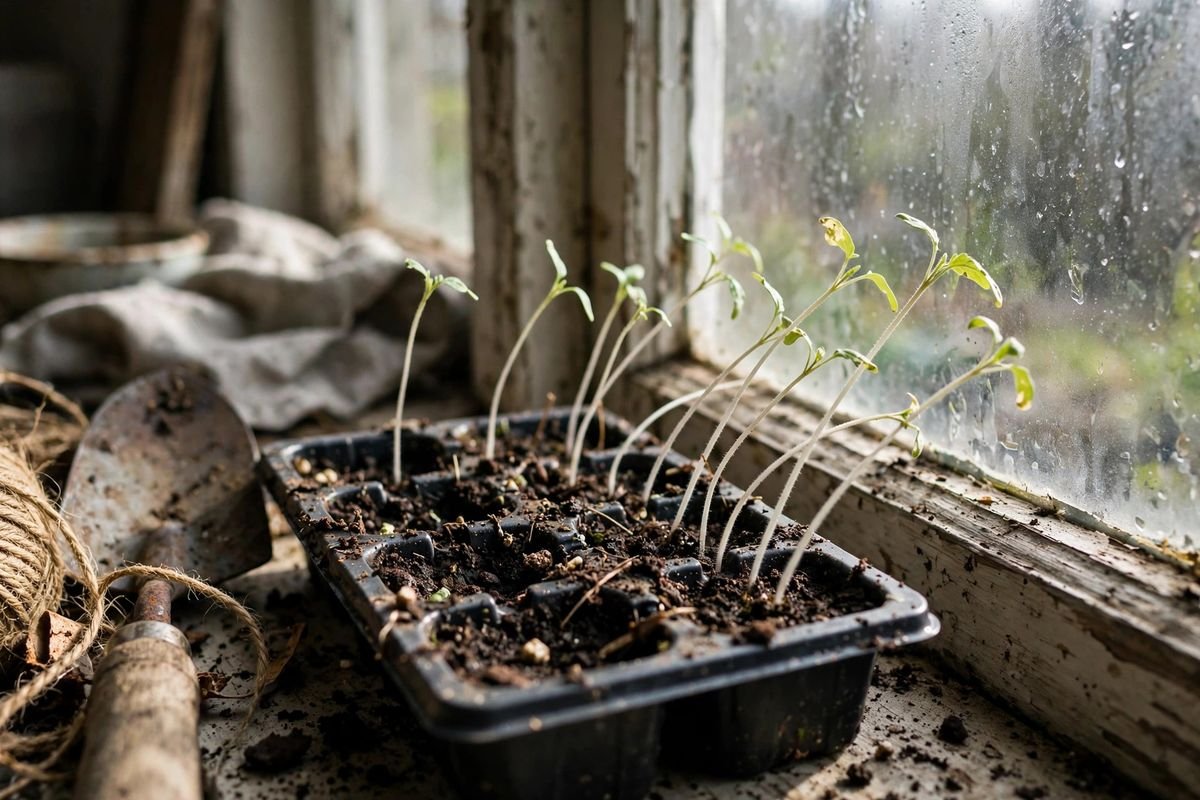
When light is too weak or too far away, seedlings stretch. The stem elongates as the plant reaches for brightness, cells grow long and thin, and you get the classic leggy seedling — tall, pale, floppy, and hard to transplant without damage. Weak light also slows leaf development, so plants stay small even as they get tall, which is the worst of both worlds. Strong, close light does the opposite: short internodes, thick stems, dark green leaves, and a root system that keeps pace with the top growth.
Duration matters almost as much as brightness. A window that looks bright at noon may only give seedlings three or four hours of direct sun in February, with dim, indirect light the rest of the day. An LED on a timer gives the same long day every day, rain or shine. That consistency is why two trays sown on the same date can look like different plantings by week three.
The Sunny Window: What It Does Well
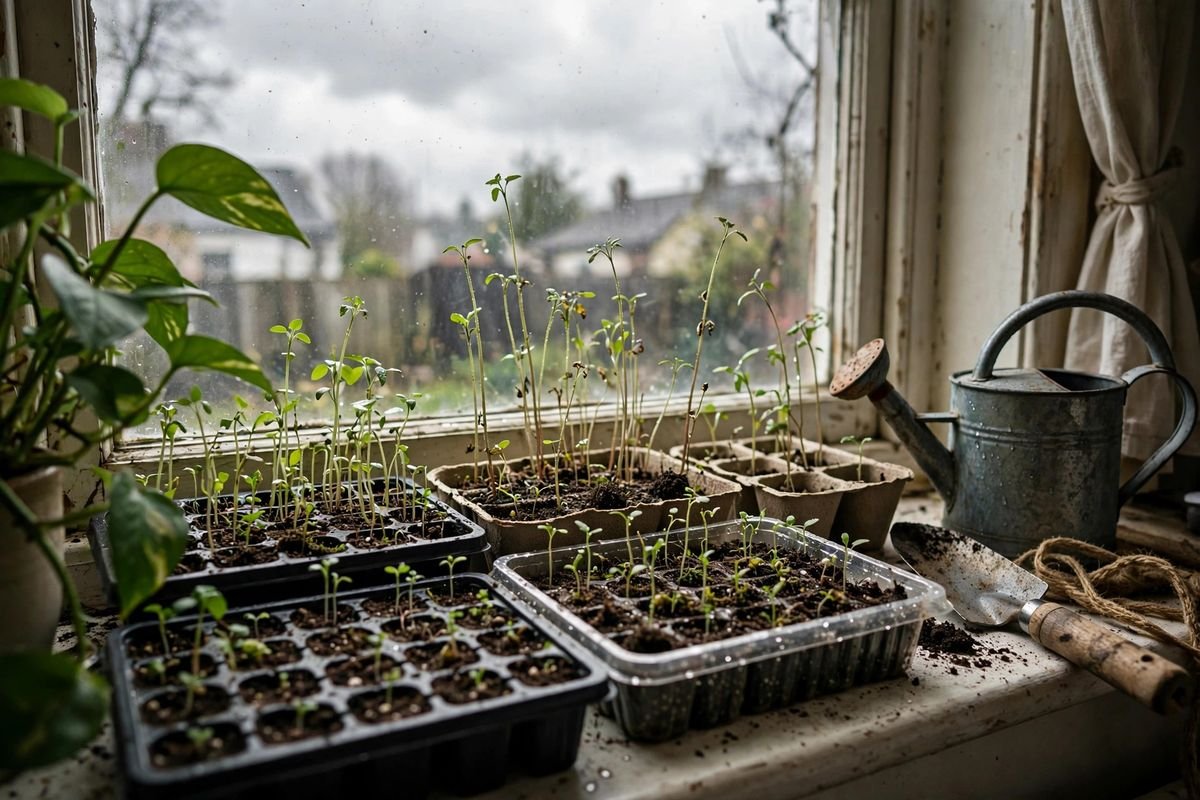
A bright window is free, silent, and already in your house, and for a very small number of starts it can work. If you have a clean, unobstructed south-facing window (or a good southeast or southwest exposure in the Northern Hemisphere), live where late-winter days are already lengthening, and you are starting just a handful of fast, forgiving crops, a windowsill can get you to transplant size without extra gear.
Windows also give seedlings real sunlight spectrum and gentle air movement when you crack the window on mild days, and there is no electricity cost and nothing to store in the off-season. For herbs you plan to keep on the sill, or for a few flower starts you are not in a hurry with, the simplicity is appealing. Many gardeners raised perfectly good plants on windowsills for decades before affordable LEDs existed, and plenty still do for small batches.
Where Windows Struggle
The problems show up at scale and in late winter. Glass filters some light, screens and low-e coatings filter more, and the light drops off fast just a foot or two back from the glass. Seedlings crowd the brightest strip of sill, lean in one direction, and need daily turning to grow straight. Cloudy stretches — exactly the weather you get in February and March in much of the country — leave plants stretching for days with no way to make it up.
Cold is the other quiet issue. A window that is bright at noon can be chilly at night, especially in older houses, and soil in a tray pressed against cold glass cools down, which slows germination for heat-loving crops like peppers. Heat mats help with soil warmth (see our guide on whether seedlings need a heat mat), but they cannot fix weak light. And if you are starting the number of plants most vegetable gardeners actually need — a flat of tomatoes, a flat of peppers, brassicas, herbs, and flowers — very few homes have enough prime sill space to hold it all without stacking trays in dim corners.
The LED Grow Light: What It Changes
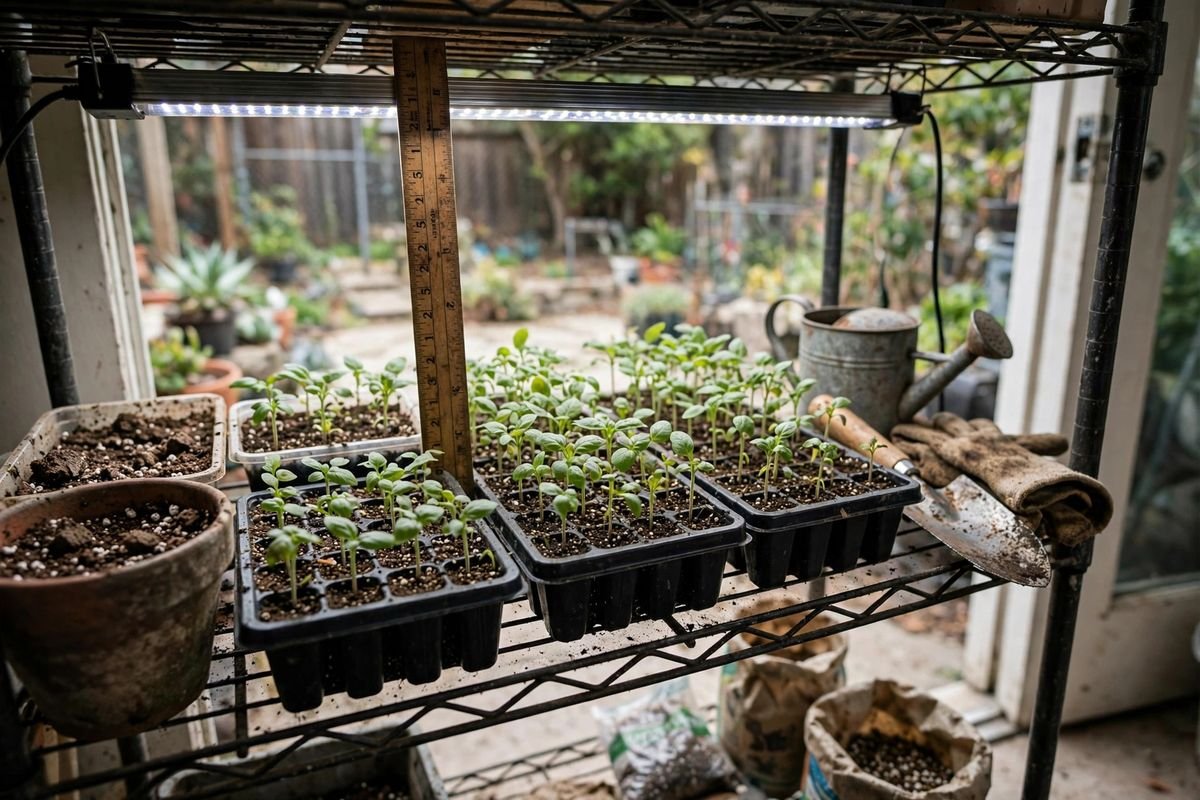
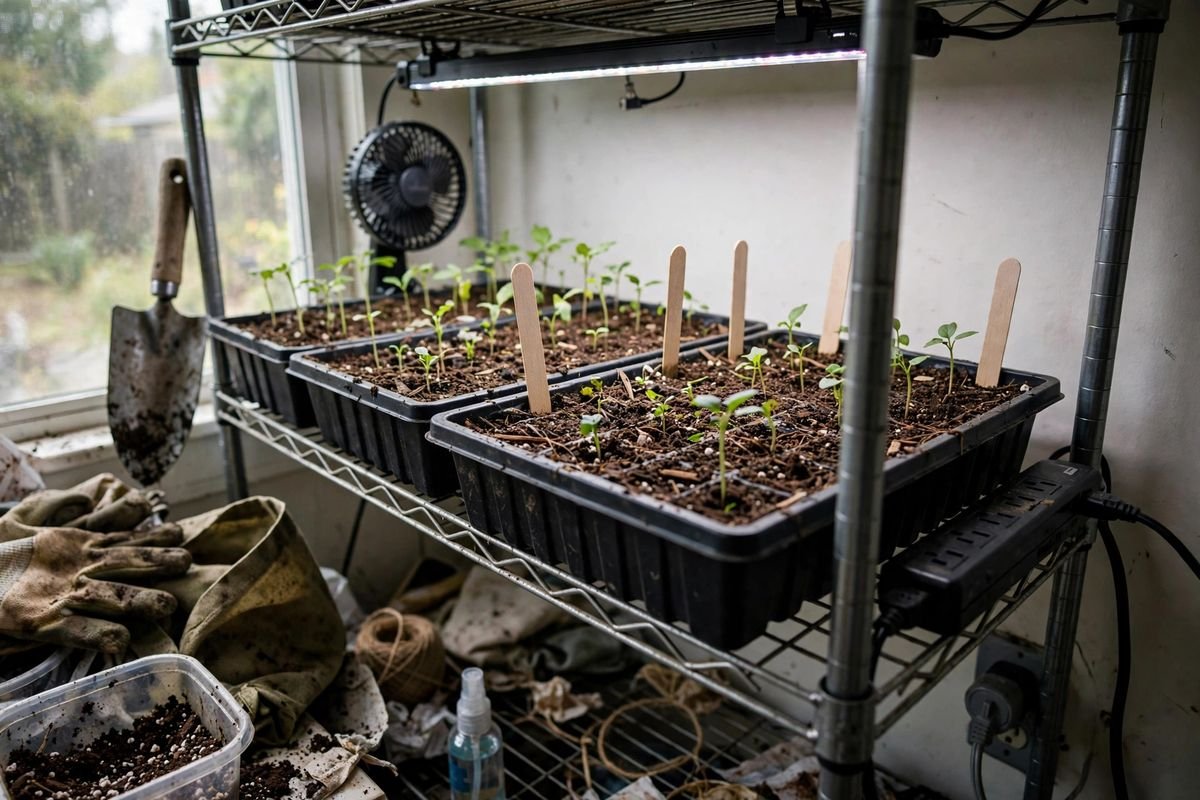
A modern LED grow light built for seedlings is usually a slim bar or a small panel in a full-spectrum or daylight-balanced white output. You hang it or set it a few inches above the seedling canopy, plug it into a simple outlet timer, and give your plants the same long, bright day every day. Because the light sits close, intensity stays high without wasting energy lighting the whole room, and LED efficiency keeps the electricity cost low — often just a few cents per day for a small shelf setup, depending on your local rates and the wattage you choose.
The bigger win is control. You decide when the day starts and ends. You raise the light as seedlings grow, keeping it close through the whole run. You can start seeds earlier, when outdoor days are still short, because your indoor day length no longer depends on the weather. And you can put the shelf anywhere — a spare room, a basement corner, a garage workbench (within safe temperature ranges for the crops) — instead of fighting for the one good window. For a full seed-starting station with multiple trays, that freedom is the difference between a workable system and a crowded sill. Our walkthrough on how to set up a seed-starting station lays out a simple shelf layout that works for either light source.
LEDs also run cool compared with older fluorescent shop lights and much cooler than incandescent bulbs, so you can keep them close to leaves without scorching, and the room does not heat up. Most seed-starting LEDs are rated for tens of thousands of hours, so a modest bar can serve many seasons. If you are shopping, a basic search for LED grow light bars for seedlings or a full-spectrum LED panel will show the common sizes; match the footprint to your tray or shelf width, and favor a model with a simple way to raise and lower it.
Where LEDs Fall Short
LEDs are not magic. Set the bar too high — a common mistake when people hang it from the top of a tall shelf — and seedlings stretch almost as badly as they do in a dim window. Run it for only eight or nine hours and you lose the long-day advantage. Cheaper bars with narrow coverage can leave tray edges dim while the center is bright, so plants at the corners lean inward. And there is the obvious point: you have to buy the light, find a shelf or stand, and store it after transplant season. For someone starting six tomato plants and nothing else, that may be more system than the job needs.
Side-by-Side: Light, Growth, and Cost
Light quantity is best thought of as brightness times hours. A south window in late winter might give strong light for a few midday hours, then drop off. An LED two to four inches above the canopy gives moderate-to-strong light for fourteen-plus hours. Over a week, the LED plants simply collect more usable light, and they show it: shorter, thicker stems; earlier true leaves; and a more even tray where the edge plants look like the center plants.
On cost, the window wins on purchase price (zero) and ties on simplicity if you already have the sill. The LED wins on cost per healthy transplant once you start more than a tray or two, because leggy window seedlings that need replacing, or that limp through the season, carry their own cost in lost time and weaker harvests. Electricity for a small LED seed-starting setup is modest; a mechanical outlet timer set once for a 14- to 16-hour day keeps the schedule without daily attention. The real budget question is scale: one bright window for a few plants costs nothing, while outfitting a full multi-shelf station costs more up front but serves years of starts, including fall brassicas and winter herbs.
There is also a middle path many of our readers land on: start under LEDs for the first, most light-hungry weeks, then move sturdy plants to a bright window or a sunny porch to harden off before transplant. That uses the LED where it matters most — early stem building — and the window where it shines, as a transition space. Whichever route you take, rotate window trays a quarter turn daily, keep LED bars close, and give every tray the same turning and watering attention. A simple routine for bottom watering seedlings keeps foliage dry and roots even in both setups.
Which One Should You Choose?
Choose the window if all of the following are true: you have a genuinely bright, unobstructed south (or bright southeast/southwest) window, you are starting only a few trays, your crops are relatively forgiving (many herbs, fast flowers, greens you will eat young), and your indoor start date is close enough to spring that days are already reasonably long. Turn trays daily, keep them as close to the glass as temperature allows, and accept some variation from plant to plant.
Choose the LED if any of the following are true: you are starting tomatoes, peppers, eggplant, onions, or other crops that need a long indoor run; you need more than a couple of trays; your best window faces east, west, or north, or is shaded by buildings or trees; or you have had leggy seedlings in past years. In our experience advising readers, legginess is the single most common seed-starting frustration, and it is almost always a light problem (we cover the full diagnosis in our piece on why seedlings get leggy under grow lights). An LED at the right height solves the root cause instead of asking you to compensate later.
Choose both if you garden at any real scale: LEDs over the seed-starting shelves for the first weeks, windows and bright porches for holding and hardening off. That is the setup most high-volume home gardeners drift toward, and it spreads the cost across many seasons of plants, from spring tomatoes to a fall sowing of kale and broccoli for the cool season.
Getting Good Results With Either Setup
Keep light close. For most LED seed-starting bars, a few inches above the leaf tops is the working range; raise the light (or lower the tray) as plants grow. For windows, keep trays right at the glass, not on a table a few feet back.
Give long days. Fourteen to sixteen hours is a solid target for most vegetable and flower seedlings. A timer makes LED schedules automatic; window growers should pick the longest-day spot in the house and supplement with a small LED on cloudy stretches if plants start to stretch.
Move the air. A small fan on low, set to brush the seedlings gently for part of the day, encourages thicker stems in both setups. It also helps dry the soil surface slightly between waterings, which discourages damping off.
Watch the plants, not the calendar. Stocky, deep-green, slow-to-stretch growth means light is adequate. Rapid stem elongation, pale color, and leaning mean it is not — get light closer, add hours, or move the tray to the LED shelf.
Troubleshooting Common Problems
Seedlings are tall, thin, and falling over
This is classic low-light stretch. Move the tray to stronger, closer light today — do not wait for the weekend. If stems are very weak, transplant tomatoes deeper (they root along the stem) and give everything else the brightest spot you have while you correct the setup. Going forward, shorten the distance between light and leaves and lengthen the lit hours.
Seedlings lean in one direction
Window trays lean toward the glass; LED trays lean toward the center of a narrow bar. Rotate window trays a quarter turn every day. Under LEDs, center the tray under the bar, use a bar that covers the full tray width, or rotate the tray 180 degrees every few days so growth evens out.
Leaves look pale or yellow-green
Pale color with stretch points to insufficient light; pale color with stocky growth may be a feeding or temperature issue instead. Confirm light distance and hours first, then check that you are not overwatering — soggy mix in cool window soil is a common companion problem.
Seedlings grow slowly despite a bright window
Measure the actual bright hours. A window that feels bright to your eyes at noon may give seedlings only a few hours of direct light, and a week of clouds can stall growth. If slow growth repeats each year, that window is telling you it is a holding spot, not a starting spot — start under LEDs and use the window for hardening off.
FAQ
Can I start seeds in a north-facing window?
For most vegetables and flowers, a north-facing window alone (in the Northern Hemisphere) does not provide enough light for sturdy seedlings. You may germinate seeds there, but plan to move trays to a brighter window or under an LED within days of emergence to prevent stretching.
How many hours a day should seedlings get under LEDs?
Fourteen to sixteen hours per day works well for most vegetable and flower seedlings, with a consistent dark period overnight. A simple outlet timer keeps the schedule steady without daily switching.
How far should an LED be above seedlings?
Follow the specific guidance for your light, but the working principle is close — often just a few inches above the leaf canopy for seed-starting bars — and raise it as plants grow. If seedlings stretch, the light is usually too far or on for too few hours.
Is sunlight through a window the same as direct outdoor sun?
No. Glass, screens, and distance from the glass all reduce light, and indoor window light comes from one direction. Seedlings moved from a window to full outdoor sun still need a gradual hardening-off period of increasing outdoor exposure over about a week.
Do I still need a window if I have LEDs?
You do not need one for starting, but a bright window or sheltered porch is still the handiest place to hold and harden off plants before transplant. LEDs handle the starting; real outdoor conditions, introduced gradually, prepare plants for the garden.
Sources & Further Reading
- University of Minnesota Extension — starting seeds indoors and providing adequate light for seedlings
- University of Maryland Extension — indoor seed starting, light requirements, and preventing leggy transplants
- Iowa State University Extension and Outreach — seed starting at home, light distance and duration guidance
- USDA Agricultural Research Service — plant light requirements and photoperiod basics for home gardeners
Keep reading:
- Best Seed Starting Trays for Home Gardeners
- How to Grow Tomatoes From Seed to Harvest
A sunny window can raise a few good plants, and an LED shelf can raise a season’s worth of sturdy ones. Match the setup to the number of plants you actually start and the light your home really offers in late winter — your seedlings will show you, in stem thickness and leaf color, whether you chose well.