
This post may contain affiliate links. If you buy through links on this page, we may earn a commission at no extra cost to you.
As an Amazon Associate I earn from qualifying purchases.
Dull pruning shears crush stems instead of cutting them, and that crushed edge heals slowly on a living plant. The fix is short: clean the blade, sharpen only the beveled edge on a bypass pruner at a steady 20 to 25 degree angle, remove the thin burr, and test the cut. Done a few times a season, that routine keeps a decent pair slicing for years. Our steps below walk through each part in order, with safety notes and a worked angle example.
Our guidance follows standard extension tool-care advice for bypass pruners, the type with two curved blades that pass each other. Anvil pruners sharpen differently, covered further down. For help choosing a pair worth maintaining, see our roundup of the best pruning shears for home gardeners.
What You Need Before You Start
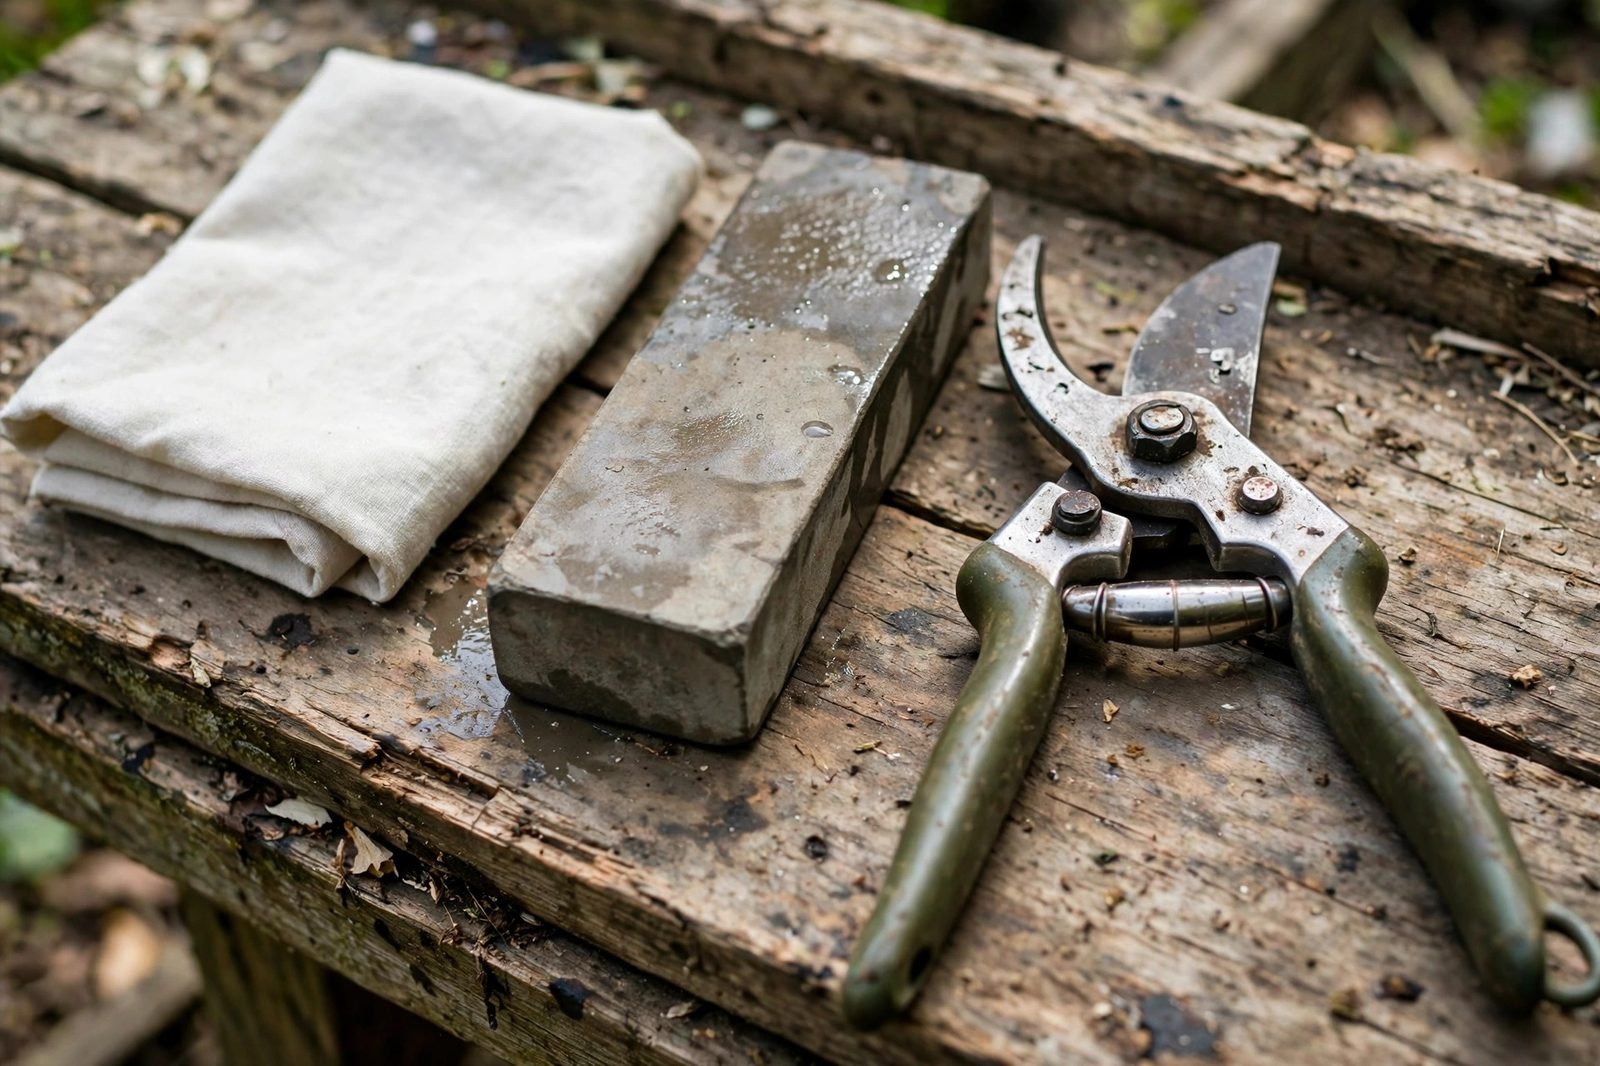
Gather the kit on a bench before you open the shears. You need a fine whetstone or a fine flat file made for tool edges, a cloth, warm soapy water or a household cleaner for sap, light tool oil, and gloves. A stone in the 600 to 1000 grit range suits routine edge work; a coarser surface is for nicks, not regular sharpening. Paper for the test cut and one spare green stem finish the list.
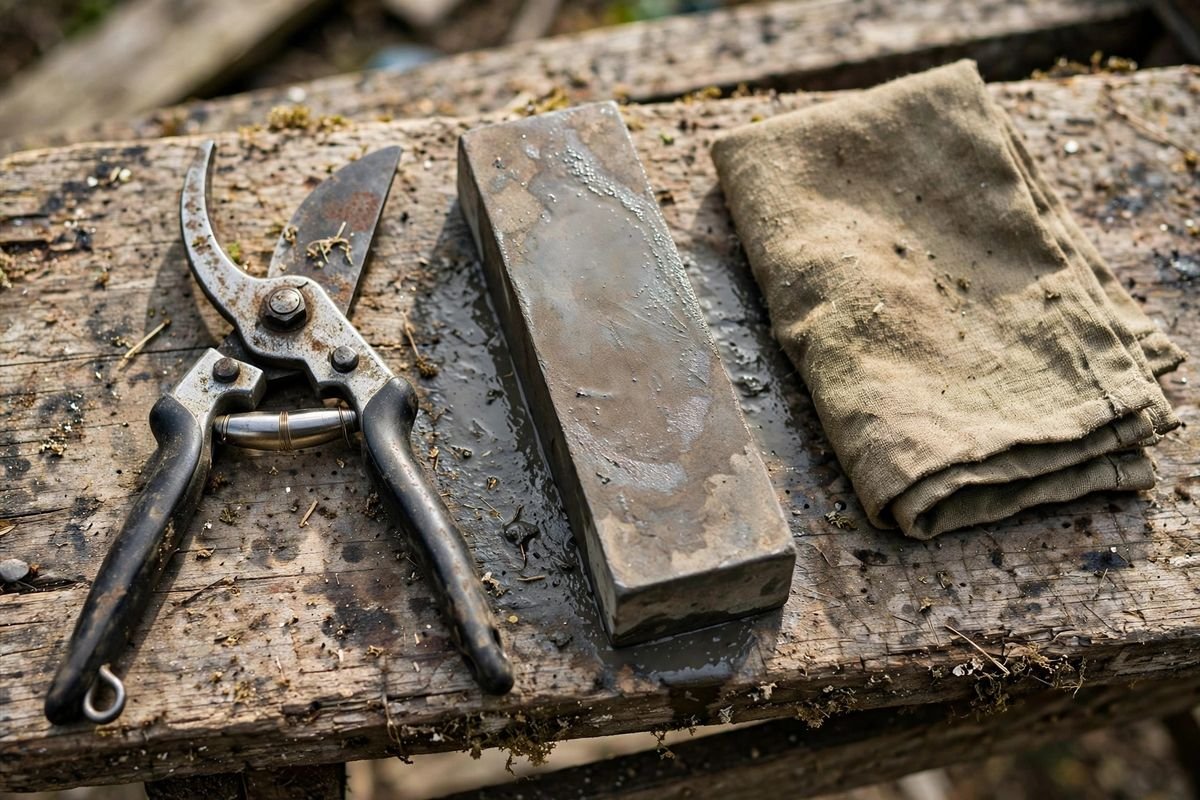
Set the stone on a damp cloth so it holds still, or clamp a file so both hands stay free to control the blade. Good light matters more than fancy gear: you need to see the bevel face and the line of reflected light along the edge. If the shears come apart at the pivot bolt, sharpen with the blade removed. If the design stays assembled, open the handles fully and hold them steady throughout.
Safety and Setup
Wear gloves and treat the closed shear as a loaded tool. Work with the blade pointing away from your body, and keep strokes moving away from the edge rather than toward your fingers. Set small parts, such as the pivot nut and washer, in a tray so nothing rolls off the bench. Keep solvents off the stone and plastic handles, and let the blade dry before sharpening so residue does not load the stone.
Step by Step: Sharpening a Bypass Pruner Blade
- Clean first. Wash the blades with warm soapy water and a cloth to remove soil and sap. Sap left on the blade gums the stone and hides the true edge. Dry the metal fully. When plant disease is a concern, follow the routine in our guide to how to clean and disinfect garden tools after sharpening, and dry again before oiling.
- Inspect the edge. Look along the blade under light. A sharp edge reflects almost no light; a dull edge shows a bright line. Note any nicks or flat spots, because those spots need extra strokes while the rest of the edge may need only a few.
- Find the bevel. On a bypass pruner, only one side of the cutting blade is beveled; the other side is flat. Sharpen the beveled side only. Filing the flat side changes how the blades pass each other and can open a gap that tears stems. Lay the bevel flat against the stone so the whole bevel face makes contact. That contact sets your starting angle.
- Hold 20 to 25 degrees. Keep the bevel face on the stone and lift the spine just enough that the edge leads. Most bypass blades sit near a 20 to 25 degree bevel. The worked example below shows what that angle means. Lock your wrist and move the whole arm so the angle does not rock.
- Stroke in one direction. Push the blade across the stone as if slicing a thin layer off the surface, moving from the base of the blade toward the tip. Lift, return, and repeat on the same path with light, even pressure. Count strokes, then check the edge: routine sharpening takes a modest number of passes, and extra grinding only removes metal.
- Work out nicks patiently. For a nick, keep the same angle and give that section extra strokes until the notch smooths into the line of the edge. Deep damage may call for a coarser stone first, then the fine stone. Stop when the edge line looks even under light.
- Remove the burr. After sharpening, a thin foil of metal, called a burr or wire edge, folds over the flat side. Lay the flat side nearly flat on the stone and make one or two very light passes to lift the burr away. Keep the flat side flat; the goal is to clean the edge, not create a second bevel.
- Oil, reassemble, and set the pivot. Wipe the blade, add a drop of light tool oil to the edge and pivot, and reassemble if needed. Tighten the pivot so the blades pass with close contact and no side play. A loose pivot lets the blades separate mid-cut and chew the stem.
- Test the cut. Try the paper test below, then a spare green stem. Adjust the pivot a fraction at a time if the cut tears, and return to the stone only if the edge still shows a bright line.
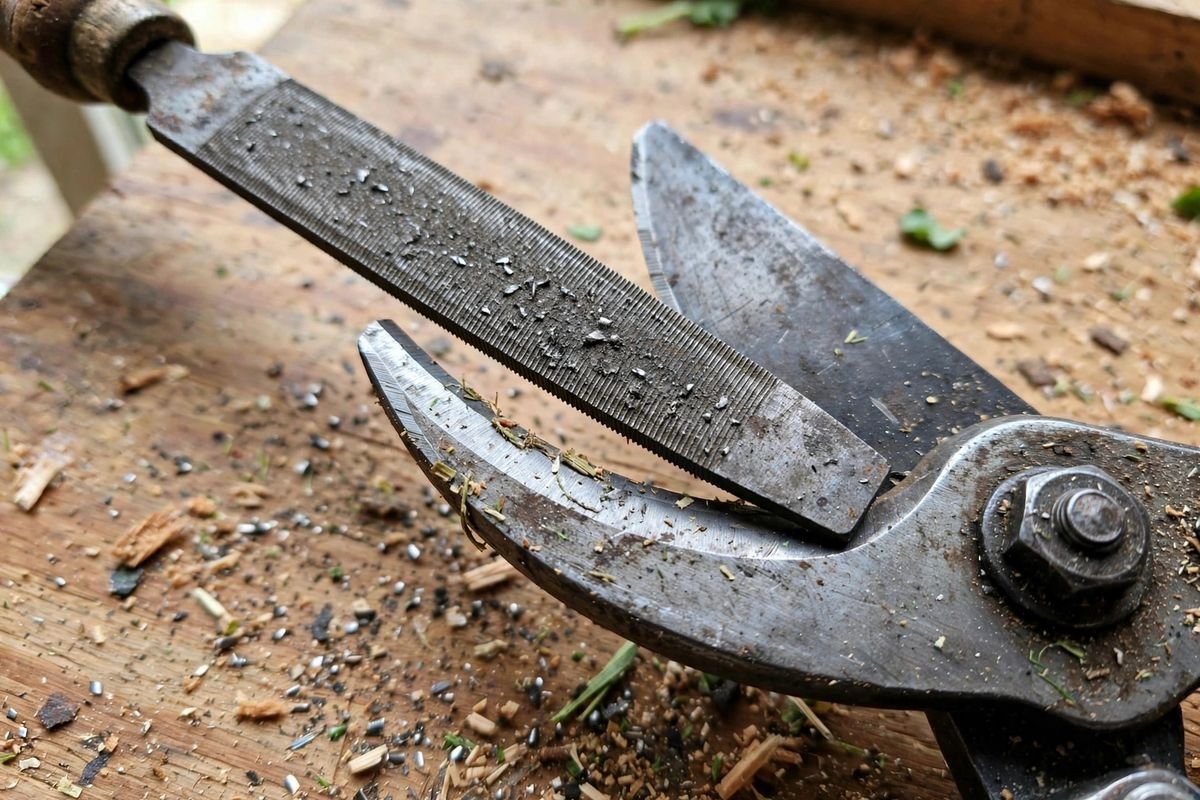
Technique beats pressure. A steady angle with light strokes restores the edge; heavy pressure with a rocking wrist rounds the bevel.
What a 20 Degree Bevel Means: A Worked Example
Angles feel abstract until you put numbers on the blade. Here is a simple example with stated assumptions.
Assumptions. The bevel angle is 20 degrees, and we measure across a short stretch of blade edge 1/8 inch (0.125 inch) long. We use the standard tangent ratio: rise = run × tan(angle).
The arithmetic. tan(20°) ≈ 0.364. So rise = 0.125 × 0.364 = 0.0455 inch, about 1.2 millimeters. Across an eighth of an inch of bevel, the blade surface climbs less than a twentieth of an inch. That shallow climb is why small wrist changes matter: rocking the blade by a few degrees thickens or thins that tiny slope and changes how the edge meets the stem.
Time and cost. Assume a fine stone costs $12 and lasts 3 seasons, and sharpening takes 5 minutes twice a season. Stone cost per season = $12 ÷ 3 = $4. Total time over 3 seasons = 5 minutes × 2 sessions × 3 seasons = 30 minutes. Compare a replacement path at $24 per pair, replaced once per season: $24 × 3 = $72 over 3 seasons, or $24 per season. The stone path spends $72 − $12 = $60 less across 3 seasons, before counting cleaner cuts on living plants.
A sharpening stone for pruning tools on Amazon in a fine grit covers routine work for most home shears; check the listing for grit and size before ordering.
The Clean-Cut Test: Paper First, Then a Stem
Hold a sheet of ordinary paper by one edge and cut it with the middle of the blade. A sharp bypass blade slices the paper with a smooth edge and little tearing. A dull or misaligned blade folds the paper or leaves a frayed line. Paper tells you about the edge quickly, without risking a plant.
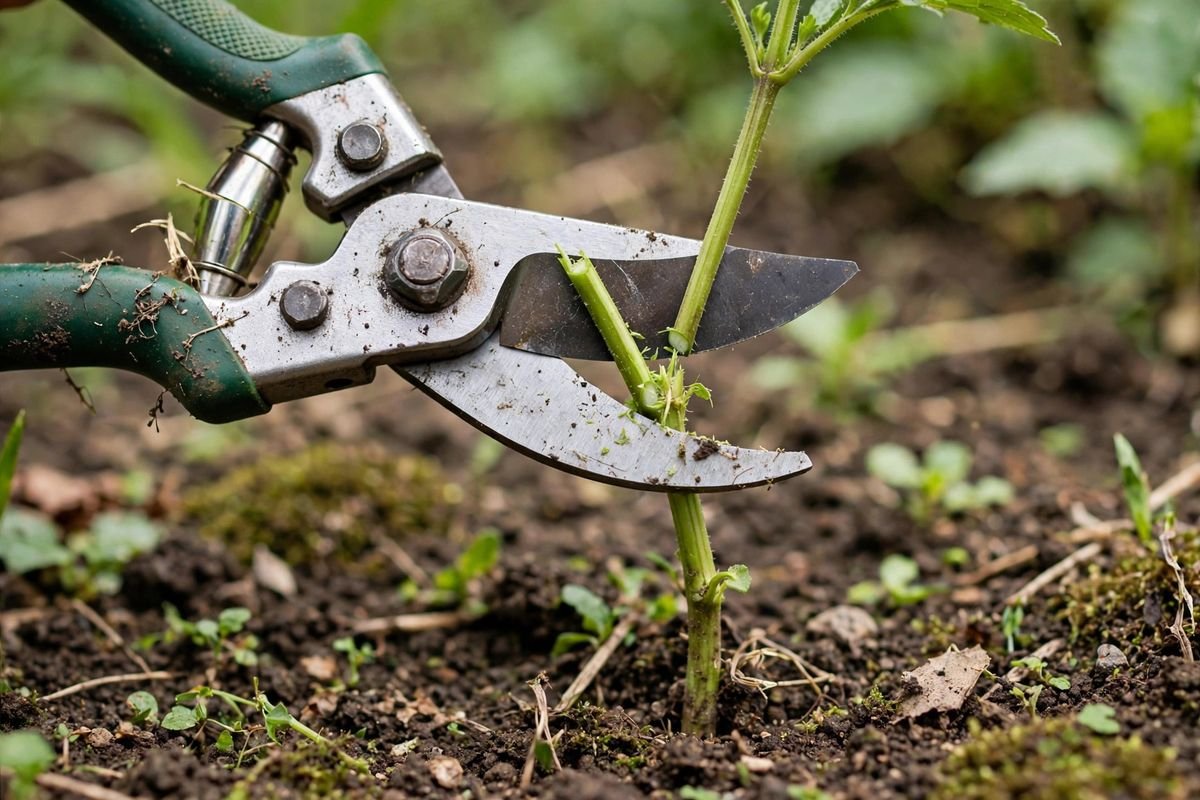
Follow the paper test with one spare green stem. The cut face should look smooth, with the bark edge intact and no crushed band. If the stem bends or the blade pushes it sideways, check pivot tightness before returning to the stone. Many “dull” cuts are alignment problems.
Bypass vs Anvil: Sharpening Is Not the Same
The steps above serve bypass pruners, where a curved blade slices past a hooked blade. Sharpen the beveled side only, and keep the flat side flat so the blades keep passing closely. Our comparison of bypass pruners vs anvil pruners shows how the two cutting actions differ.
An anvil pruner drives one straight blade onto a flat pad. Sharpen that straight edge evenly, following the existing bevel, and inspect the pad rather than filing it. A pad with a deep groove folds stems instead of supporting them, and replacement pads restore the cut. Never file the pad flat as a shortcut, and never sharpen an anvil blade into a bypass-style single bevel.
Troubleshooting
The cut tears after sharpening. Check pivot play first. If the blades separate under load, snug the pivot in small increments and retest on paper. If the blades stay tight, look for a leftover burr and lift it with one light pass on the flat side.
The edge still shows a bright line. The bevel face may not be meeting the stone evenly. Re-set the bevel flat, confirm the 20 to 25 degree hold, and take a few counted strokes with your wrist locked. Changing angles mid-job is the usual reason an edge refuses to sharpen.
The blade sticks or drags. Sap and grit cause most dragging. Clean the blade again, dry it, and add a drop of oil at the pivot. If one spot drags, look for a matching nick or bent section before grinding more metal away.
The shears cut at the base but not the tip. That pattern points to blade alignment or a worn pivot rather than a dull edge alone. Tighten the pivot, inspect for a bent tip, and test again. Sharpening cannot correct blades that no longer meet.
Common Questions
How often should pruning shears be sharpened?
Sharpen when the paper test starts to fray or when green stems show a crushed edge. For many home gardens that means a light session a few times a season, plus a check before heavy pruning days. Light, early sharpening removes less metal than a rare heavy repair.
Can a file replace a whetstone?
A fine flat file works for field touch-ups, as long as you hold the same bevel angle and stroke in one direction. A stone gives a finer finish for routine work. Either tool fails with a rocking angle, so choose the one you can hold steady.
What grit stone suits pruner blades?
A fine stone around 600 to 1000 grit handles routine edges. Reach for a coarser surface only to work out nicks, then finish on the fine side.
Should both blades on a bypass pruner be sharpened?
No. Sharpen the beveled cutting blade, and keep the mating blade clean and flat where the two pass. Filing both sides into bevels opens a gap at the cut point and turns slicing into tearing.
Sources & Further Reading
- Cooperative Extension System resources (extension.org) for pruning tool care, cleaning, and disinfecting guidance.
- Land-grant university extension publications on pruning cuts and tool maintenance, available through state extension offices.
- United States Department of Agriculture (USDA) plant health resources on clean cuts and disease prevention in home gardens.