

This post may contain affiliate links. If you buy through links on this page, we may earn a commission at no extra cost to you.
As an Amazon Associate I earn from qualifying purchases.
A crowded perennial tells you it needs dividing. The center dies out, the flowers shrink, and the clump pushes against its neighbors. Dividing fixes all three at once: it revives the plant, it gives you new plants for free, and it opens up the border. Fall is the best season to do it, because the soil is still warm, the air is cool, and the divisions have weeks to root before winter.
This guide shows how to divide perennials in fall, step by step, with a worked example using one hosta clump and a timing table for five common perennials. The rule for timing is simple: divide at least four weeks before your first frost, so the new roots settle in before the ground cools. Use your local frost dates and regional planting guidance — not your USDA hardiness zone alone — to choose planting dates.
Why fall, and which plants to divide
Fall dividing works because the plant is heading into dormancy. It has stopped putting energy into leaves and flowers, so a division shocks it less than a spring split would. Warm soil and cool air are the ideal pair: roots grow in soil above 40 degrees while the tops rest, and the divisions go into winter with roots already in place.
Divide perennials that bloom in spring and summer: hostas, daylilies, astilbe, bearded iris, and ornamental grasses are the usual candidates. Skip plants that bloom in fall, like asters and chrysanthemums, because dividing them now cuts off their bloom and leaves them no time to root. Skip peonies unless you have to; they resent moving and may skip flowering for a year or two after a split. For the same seasonal logic on garden cleanup, see our guide on fall garden cleanup.
Our worked example: one hosta clump becomes four plants
Here is the math for a typical fall dividing job, so you can plan the border before you lift the spade. We assume one hosta clump 24 inches across, a first frost of November 15, and a replanting date at least four weeks before that frost, which gives a deadline of October 18.
Lift the whole clump, shake off the loose soil, and split it into 4 pieces with two garden forks worked back to back, or a sharp spade driven through the crown. Each piece should carry at least two or three shoots and a good handful of roots. Replant the pieces 18 inches apart, which covers 6 feet of border: 4 pieces times 18 inches of spacing equals 72 inches, or 6 feet. One crowded clump becomes a 6-foot row of hostas, and the original spot gets a fresh plant in its place.

Water each piece deeply after replanting, then mulch with 2 to 3 inches of straw or shredded leaves. The mulch holds soil warmth and keeps the new roots growing through the mild weeks left in fall. For the mulching step, see our guide on how to mulch perennials for winter.
Five perennials: when to divide and how often
| Perennial | Divide every | Best fall timing | Notes |
|---|---|---|---|
| Hosta | 3 to 5 years | 6 weeks before first frost | Split into pieces with 2 to 3 shoots each |
| Daylily | 3 to 5 years | 6 weeks before first frost | Trim leaves to 6 inches before lifting |
| Bearded iris | 3 to 4 years | 6 to 8 weeks before first frost | Replant rhizomes shallow, tops just showing |
| Astilbe | 3 to 4 years | 4 to 6 weeks before first frost | Keep roots damp; astilbe dries out fast |
| Ornamental grass | 3 to 4 years | 6 weeks before first frost | Use a sharp spade; roots are tough |
The timing column counts back from a first frost, and the same shift rule applies as in any fall planting: if your first frost comes two weeks earlier than November 15, move every date two weeks earlier. The four-week rule is the floor, not the target; six weeks gives the divisions more time to root, and that margin shows in how well they grow next spring.
Tools and steps
You need a sharp spade, two garden forks, a wheelbarrow, and a watering can or hose. A sharp spade matters more than a strong back: a dull edge crushes roots, while a sharp one cuts cleanly and the divisions recover faster. You can browse garden forks on Amazon to compare handle lengths and tine shapes.
Step 1: Water the clump the day before, so the soil is damp and the roots lift cleanly. Dry soil crumbles off the roots and leaves them bare; wet soil holds together and protects them.
Step 2: Cut around the clump with the spade, about 6 inches outside the outermost shoots, and drive the spade under the root ball to lift it. Work the spade around the clump in a circle rather than levering from one side, which tears half the roots.
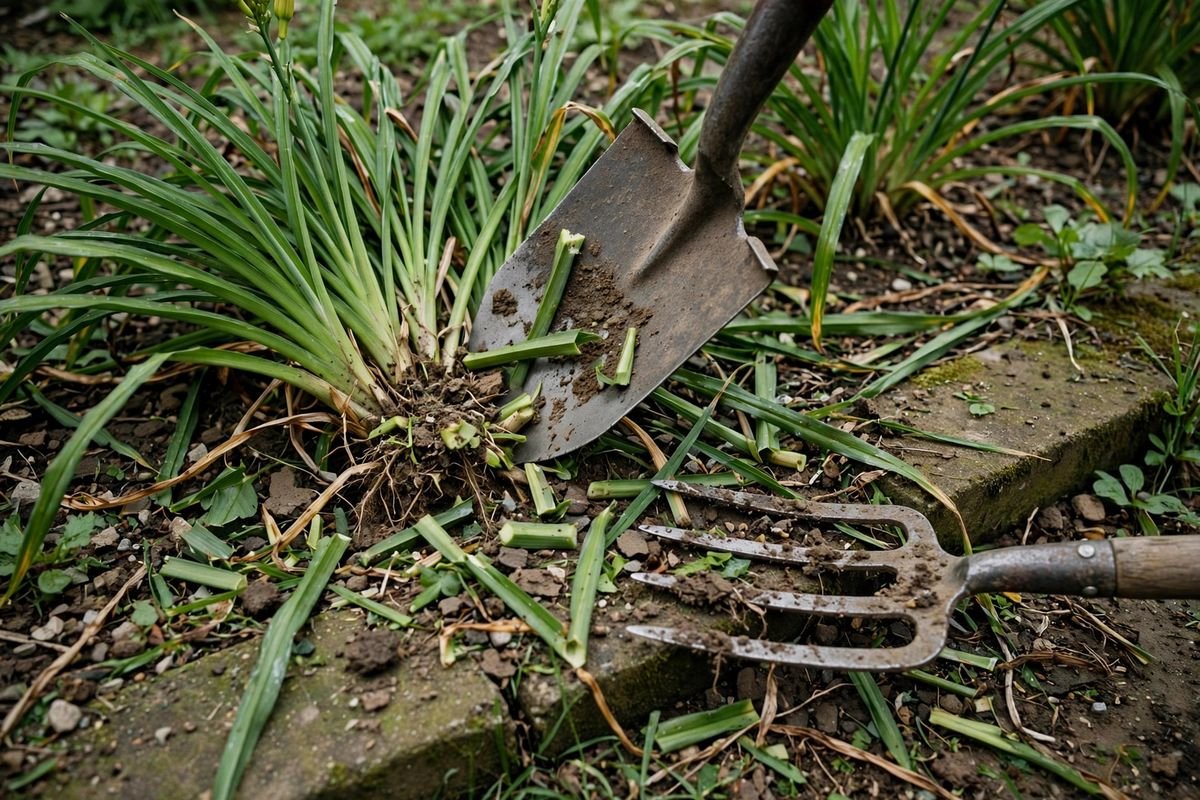
Step 3: Set the clump on the ground and shake off the loose soil so you can see the crown and the natural splitting points. Look for the gaps between shoots; those are the lines the plant wants to split along.
Step 4: Split the clump. For a hosta or daylily, push two garden forks back to back into the center and lever them apart. For a tough grass or a woody crown, drive the spade straight through. Each piece needs shoots and roots of its own; a piece with shoots but no roots will not take hold.
Step 5: Trim the pieces. Cut back the leaves to about 6 inches to reduce water loss, and trim any torn or damaged roots back to clean tissue with a sharp knife. A clean cut heals faster than a ragged tear.
Step 6: Replant at once, at the same depth the pieces grew before. A division planted too deep rots at the crown, and one planted too shallow dries out. Water deeply, then mulch with 2 to 3 inches of straw or shredded leaves.
Replanting and aftercare
Replant divisions the same day you lift them. Roots left exposed to air dry out in hours, and a division that dries out before replanting may never recover. If you must wait, heel the pieces into a shallow trench or a bucket of damp soil, and keep them in the shade.

Mark each replanted piece with a small label or a short stick. Fall divisions look alike once the leaves die back, and a marker stops you from digging up a new hosta by mistake in spring. Water the divisions once a week if fall rain stays away, and stop watering once the ground cools and the plants go dormant.
Do not feed new divisions in fall. Fertilizer pushes soft growth that frost damages, and the divisions need roots, not leaves, before winter. Feed lightly in spring when new shoots appear. For other fall tasks in the same bed, including strawberry care, see our guide on how to overwinter strawberry plants.
Troubleshooting
Divisions wilt after replanting
Some wilting in the first few days is normal while the roots re-establish. Water deeply and shade the divisions with a piece of cardboard for a day or two if the sun is strong. If a division still wilts after a week, lift it and check the roots: a piece with too few roots will not recover, and it is better to replace it with a stronger piece from the same clump.
The clump will not split
An old, woody clump can resist forks and even a spade. Saw through it with a pruning saw or an old bread knife, cutting between shoots. A saw gives a cleaner cut than forcing a spade, and clean cuts heal faster. Wash the tool between cuts if the plant shows any sign of disease.
New divisions heave out of the ground in winter
Frost heave lifts shallow divisions when the soil freezes and thaws. A 2-to-3-inch mulch layer slows the cycle and holds the divisions in place. Check the bed after the first hard freeze and press any lifted division back into the soil, then add more mulch around it.
Leaves turn yellow after dividing
Yellowing on the outer leaves after a fall split is usually the plant shutting down for dormancy, not a problem. If the whole division yellows within days, it was divided too late or the roots dried out during the move. Water it well and mulch it; if it survives winter, it will regrow from the crown in spring.
Frequently asked questions
Can I divide perennials in spring instead?
Yes. Spring dividing suits fall bloomers like asters and grasses that need a full season to root, and it suits plants you missed in fall. The trade-off is that a spring division spends its first season recovering instead of flowering, while a fall division is established before growth starts.
How small can a division be?
A division needs at least one shoot and a handful of roots. Smaller pieces grow, but they take a year or two to reach flowering size. For a quicker result, keep divisions the size of a fist or larger, with two or three shoots each.
Should I divide a perennial that is flowering well?
No. A plant that flowers well and holds its center is not crowded yet. Divide when the center dies out, the flowers shrink, or the clump pushes into its neighbors. Dividing a healthy plant early only sets it back for no gain.
What do I do with the extra divisions?
Pot them up for friends, swap them with neighbors, or plant them in a spare bed. A division in a pot needs water through fall and shelter from hard frost, so keep potted divisions near the house wall until spring.
Sources and further reading
- University of Minnesota Extension, How and when to divide perennials
- Purdue Consumer Horticulture, Indiana Yard and Garden, Dividing Perennials
- Penn State Extension, A Guide to Dividing Perennials
Related reading: How to Mulch Perennials for Winter, Fall Garden Cleanup, How to Overwinter Strawberry Plants