
This post may contain affiliate links. If you buy through links on this page, we may earn a commission at no extra cost to you.
As an Amazon Associate I earn from qualifying purchases.
Bare-root fruit trees and roses often arrive in a plain box, with no pot and no soil around the roots. The plants are dormant, and they look like sticks with a tangle of roots at one end. That bare state is normal for winter stock, and it is also the reason the first hours after delivery matter so much.
Without soil, roots lose water fast: a few minutes in sun and wind can dry out the fine feeder roots that do the real work after planting. Cold is the second risk, since roots left out in a hard freeze can suffer damage before they ever reach the ground.
The fix is simple and cheap. Keep the roots damp, cool, and out of sun and wind until you can plant. If the wait runs past a week, or the ground is frozen or waterlogged, heel the plants into a shallow trench. This guide covers each option, how long each one lasts, and the trench math for a bundle of ten trees.
Two other posts here cover which bare-root trees to buy and how bare-root compares with container-grown trees. This one starts where those stop.
What bare-root plants need while they wait
Every storage method in this guide serves the same three needs: moisture, cool air, and shelter from sun and wind. Roots must stay damp but never sit in standing water. The air around them should stay cool, roughly 35 to 45 degrees Fahrenheit, so the plant stays dormant. Sun and wind pull water out of exposed roots in minutes.
Use your local frost dates and regional planting guidance — not your USDA hardiness zone alone — to choose planting dates. A hardiness zone tells you how cold a winter can get, not when the last frost falls in your town. Your local extension service publishes frost dates for your county, and those dates are the ones to plan around.
How long bare-root stock can wait
The honest answer depends on the storage method. In the original packing, kept cool, damp, and shaded, bare-root plants hold for about a week. Purdue Extension advises keeping the roots moist in a cool place out of direct sun, with the goal of keeping the plant dormant until planting time.
Heeled into a trench, the same plants can wait several weeks, as long as they stay dormant and the trench soil stays moist. The Royal Horticultural Society notes that bare-root trees and shrubs should be planted immediately, but if that is not possible they can be heeled in until planting is possible. No method stretches into a full season: heeling in is a short-term hold, not a second planting site. Move every plant to its permanent home before buds swell in spring, and sooner if the weather turns warm. If you are still waiting after three or four weeks, check the buds every few days; swelling buds mean planting day has arrived, ready or not.
Step 1: open the box and check the roots
Open the box the day it arrives, even if planting has to wait. Do not leave the parcel unopened in a warm garage or on a sunny porch, where the damp packing dries out fast.
Pull the plants out and look at the roots first. Firm roots that bend a little without snapping are in good shape; roots that feel brittle and dry, or soft and mushy, need attention before storage. Trim only roots that are broken, dead, or badly damaged, cutting back to clean, firm tissue with sharp pruners, and leave healthy roots alone.
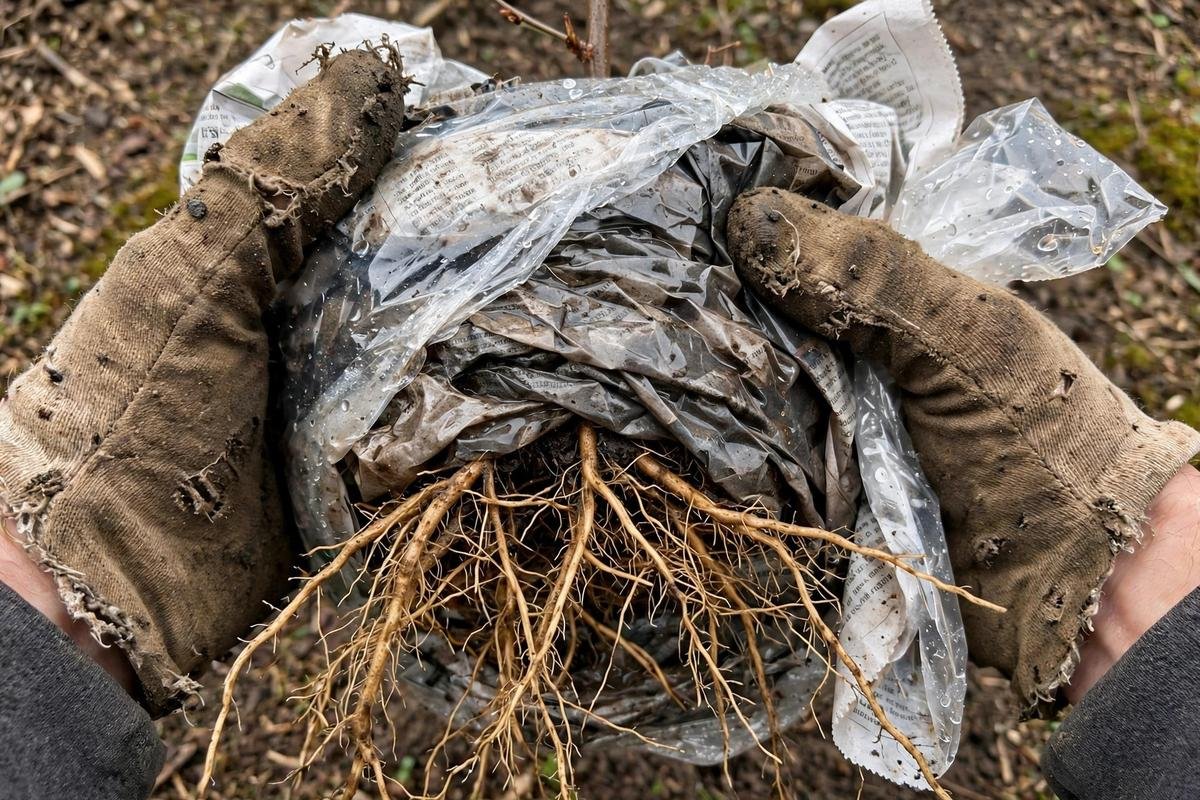
Check the packing material too: it should feel damp, like a wrung-out sponge. If it dried out in transit, dampen it and wrap it back around the roots. Keep the labels on and varieties separate. A bundle of ten trees with no labels is a guessing game at planting time, so tie a tag to each one with garden twine. Look for plain jute twine, which holds a knot and breaks down in the soil if a scrap gets left behind. Work in the shade and keep the roots covered between steps, since five minutes of exposure to dry wind can kill fine roots.
Step 2: keep the roots damp for a short wait
If planting day is less than a week away and the weather is mild, the packing the plants arrived in is enough. Put the roots back into the damp packing, wrap the bundle in plastic, and set it in a cool, dark place out of direct sun: an unheated garage, a shed, or the north side of the house, as long as the spot stays above freezing and below about 50 degrees. Check the packing every two or three days and dampen it again if it has started to dry.
A spare fridge can hold small plants for a short wait at 38 to 45 degrees, the range the University of Georgia recommends, with the roots wrapped in their moistened packing material. One rule matters here: do not store plants in the same fridge as fruit and vegetables, since ripening produce gives off ethylene gas, which can harm dormant plants.
Never store bare-root plants standing in a bucket of water. The University of Georgia is direct about this: a bucket of water cuts off all oxygen to the roots. A short soak right before planting is a different thing, and it comes later in this guide.
Step 3: heel the plants in when the wait runs longer
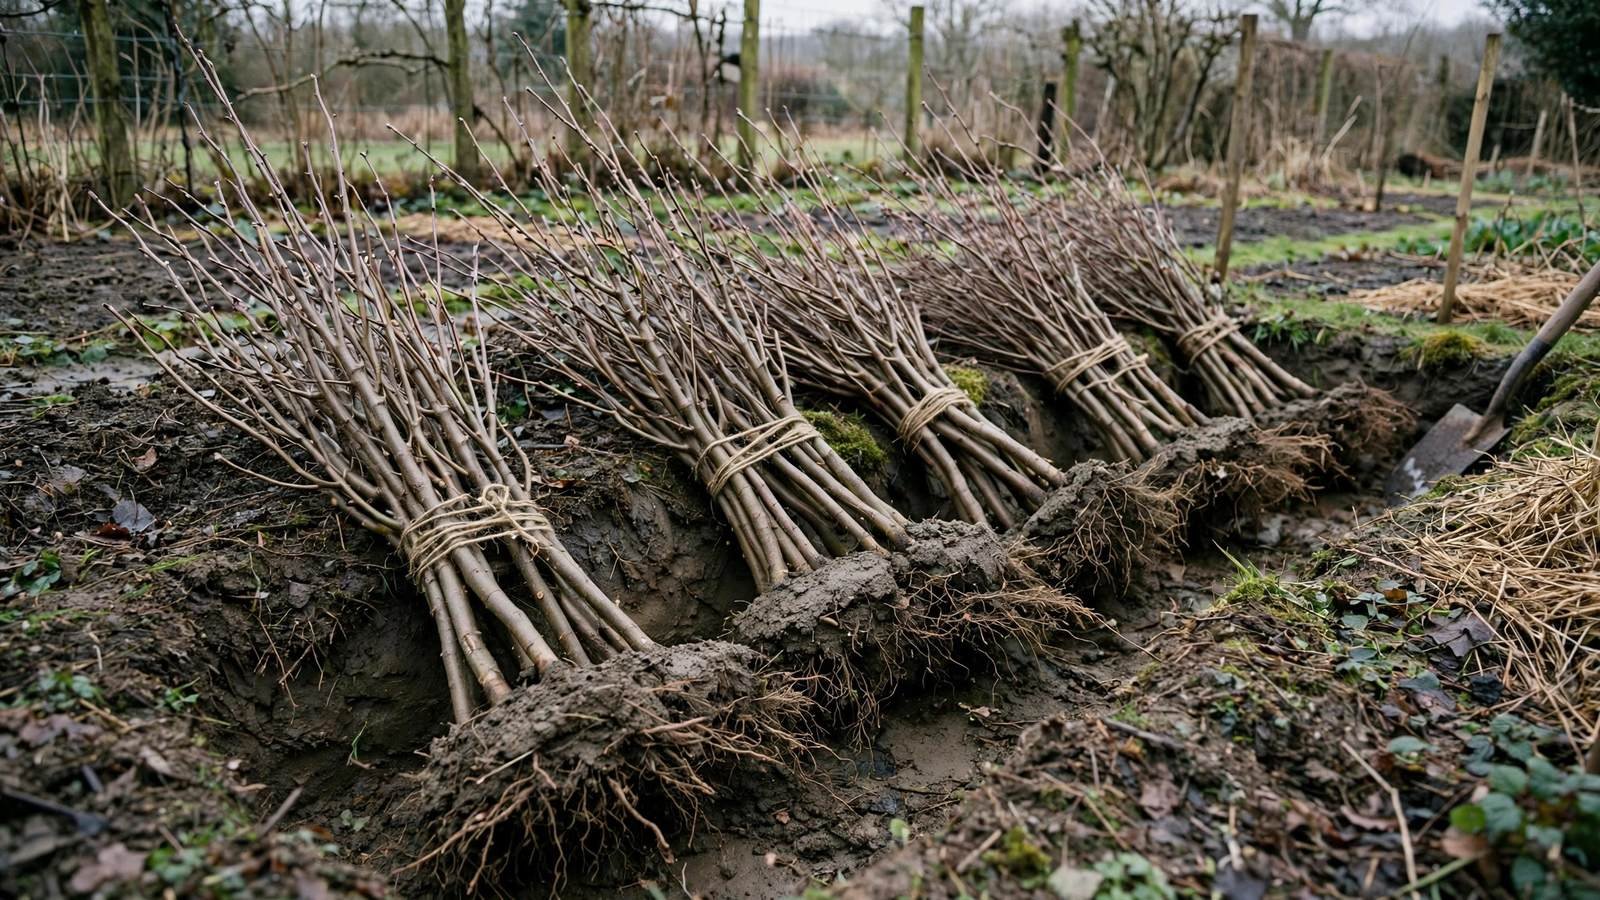
When planting will be delayed more than a week, or the planting ground is frozen or waterlogged, heeling in is the best storage: lay the plants in a shallow trench and cover the roots with moist soil, sawdust, or peat moss until the permanent site is ready.
Pick a spot in light shade with soil that drains well, close enough to the house that you will actually check on it. Purdue Extension advises a V-shaped trench, wider at the top than the bottom, wide and deep enough to hold the roots without bending or crowding them, with the tops of the plants leaning out at an angle above it.
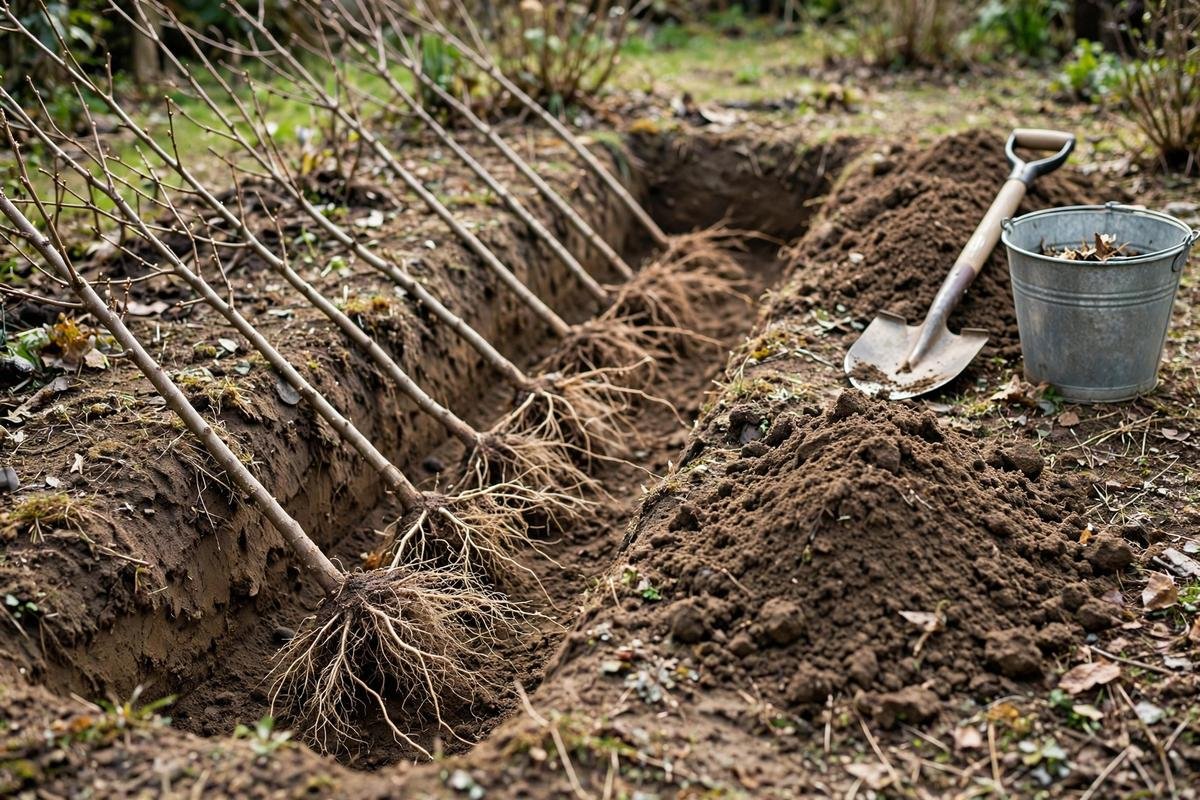
Lay the plants in at about 45 degrees, roots in the trench and tops above ground. Spread the roots out so they do not sit in a tight bunch, and keep varieties in separate groups with their labels attached. Cover the roots with loose, well-drained material such as garden soil mixed with peat moss, or plain sawdust; look for peat moss in a compressed bale, which stores dry and fluffs up when broken apart. Firm the cover gently and water it in, just enough to settle the material around the roots and close any air pockets.
Top the trench with straw or mulch, which slows drying and steadies the temperature. Water as needed to keep the cover moist but not wet: squeeze a handful, and if water runs out it is too wet, if it crumbles to dust it is too dry.
When planting day comes, dig the plants out with care, lifting from well outside the root zone so the fork does not cut through roots. Shake off the loose trench mix and carry the plants to the planting site with the roots wrapped in damp burlap, never exposed to sun and wind on the walk across the garden.
Step 4: use a pot when the ground cannot be worked
Sometimes no patch of workable soil exists: the ground may be frozen solid, or the only open bed may be waterlogged after a week of rain. In that case, pot the plants up for the wait instead of forcing them into frozen ground or standing water.
Choose a container with drainage holes and enough room for the roots without forcing them into a tight bundle. Fill it with moist, well-drained potting mix, set the plant in at its nursery depth, and cover the roots fully. Water lightly, let the excess drain away, and never leave the pot standing in a tray of water.
Keep the potted plant in a cool, frost-free place. An unheated garage works if the temperature inside stays in the right range, but check it with a thermometer rather than guessing: some garages warm up fast on a sunny day, and some fall below freezing on a cold night. A potted plant dries out faster than a heeled-in one, so check the mix every two or three days and water until a little runs out of the drainage holes, then let it drain fully. Potting up is still a short-term hold. Move the plant to its permanent spot as soon as the ground can be worked.
Step 5: soak the roots before planting
The soak happens on planting day, not during storage. Once the plants are out of the trench or the pot and the planting holes are ready, soak the roots in a bucket of water to rehydrate them before they go in the ground.
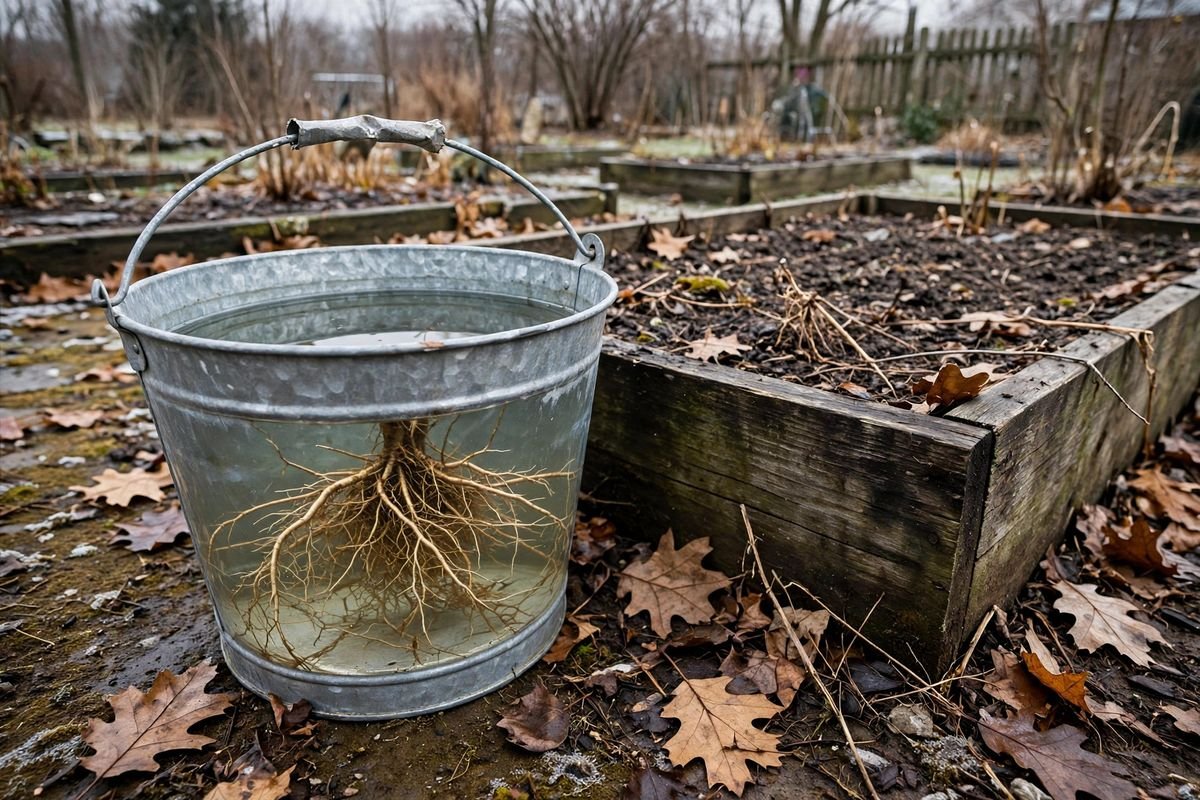
Purdue Extension advises 20 to 30 minutes. The RHS advises about 30 minutes for bare-root trees and shrubs. Iowa State and South Dakota State extension services advise one to two hours, with a warning not to go past two. A soak of 30 minutes to an hour sits inside the range every source agrees on, so use that window unless your own extension service says otherwise. Use a plain 5 gallon bucket, deep enough to cover the roots without bending them.
Soak only the roots, not the whole plant. Set the bucket in the shade, and plant straight from it. If the planting holes are not ready yet, do not start the soak: the point is to send the plant into the ground fully hydrated, not to add another holding step.
After soaking, inspect the roots once more. Cut off anything dead, damaged, or broken, and shorten any root too long to spread out in the planting hole. Then plant at the nursery depth, spread the roots out, backfill with the soil from the hole, and water well.
The heel-in trench, worked out for 10 trees
The math below is a worked example for a bundle of ten two-year-old bare-root fruit trees, the size most home gardeners order. The numbers change with the size of your stock, but the method stays the same: measure the roots, size the trench to fit them, and count the cover material before you start digging.
Assumptions: each root system is about 12 inches wide and 10 inches deep when fanned out; the trees lie at about 45 degrees, 6 inches apart; the trench is V-shaped, 12 inches wide at the top and 12 inches deep; the cover mix is loose garden soil with peat moss or sawdust; the trench sits in light shade at 35 to 50 degrees.
Trench length: ten trees at 6 inches apart need 60 inches, plus 6 inches of spare room at each end, for 72 inches, or 6 feet (about 1.8 metres). Trench volume: the V-shaped cross-section is half of 12 by 12 inches, or 0.5 square feet, so a 6-foot trench means 3 cubic feet of soil dug out, about 85 litres.
Cover material: the roots need a cap of 2 to 3 inches of loose mix above them. A 2.5-inch cap over a 6-foot trench, 1 foot wide, is about 1.25 cubic feet. The soil you dug out covers most of the roots, so one 3-cubic-foot bag of peat moss or sawdust gives you the cap with material to spare. Water to settle: about 2 gallons poured slowly along the 6-foot trench if the soil is dry; skip it if the soil is already damp from rain.
Moisture-check schedule: check on the day you heel the plants in, again on day 2, then every 3 days. In dry wind, check every 2 days; after rain, wait a day and check. Each check is the same squeeze test: take a handful of cover mix from beside the roots and squeeze it. It should hold its shape and feel like a wrung-out sponge. If water runs out, leave it alone and check again in two days. If it crumbles to dust, water slowly until the top few inches feel damp again. Put the check days on a calendar: a trench that nobody checks is a trench that dries out.
Mistakes that kill bare-root stock in storage
Most bare-root losses come from avoidable errors. The first is leaving the box unopened: a sealed box in a warm room dries out the packing and wakes the plant up. Open every delivery the day it arrives. The second is standing roots in water for days. A soak is measured in minutes, right before planting; storage in water is measured in rot.
The third is heeling in where water stands: a trench in a low spot keeps roots wet and airless after rain, which is worse than a dry trench. Pick high ground that drains. The fourth is forgetting the labels: ten bare trees look alike once the tags come off, so keep them on and varieties in separate groups.
Frequently asked questions
How long can bare-root plants stay heeled in?
Several weeks, as long as the plants stay dormant and the trench soil stays moist. The practical limit is the buds: once buds swell and new growth starts, plant within days, because lifting a growing plant tears its new roots.
Can I store bare-root plants in the fridge?
Yes, for a short wait, if the fridge holds 38 to 45 degrees and the roots are wrapped in damp packing. Keep the plants away from fruit and vegetables, because the ethylene from ripening produce can harm them. For anything longer than a week, heel the plants in instead.
What if the ground is frozen when my plants arrive?
Do not plant into frozen ground, and do not try to dig a trench in it. Keep the plants in their damp packing in a cool, dark place, or pot them up in moist potting mix in a cool, frost-free spot. Wait for a thaw, then heel them in or plant them as soon as the soil can be worked.
How do I know the roots are too dry to save?
Soak the roots for an hour, then check them. Healthy roots feel firm and bend without snapping, and the tissue under the bark looks pale and moist when scratched lightly with a thumbnail. Roots that stay brittle after soaking, or that feel soft and mushy, are dead. Trim dead parts back to firm tissue. If the whole root system is brittle or mushy, the plant is unlikely to recover, so tell the supplier promptly.
Sources and further reading
Purdue Extension: Temporary Shelter for Bare-Root Plants
University of Georgia Extension: Store bare roots in cold storage or temporary, outdoor spot
RHS: Trees and Shrubs, Planting Guide
Related reading: Best Bare-Root Fruit Trees to Plant in Winter, Bare-Root vs. Container Fruit Trees, What to Plant in November, Fall Garden Cleanup
By the Pot and Plot Team