
This post may contain affiliate links. If you buy through links on this page, we may earn a commission at no extra cost to you.
As an Amazon Associate I earn from qualifying purchases.
A garden hose left full of water through winter will split, kink, or crack at the fittings, and the damage usually shows up on the first warm day of spring, when you need the hose most. Putting a hose away for winter takes about twenty minutes: drain it fully, wash off the season’s grime, coil it without kinks, and store it somewhere dry and out of the freeze. That short routine adds years to a hose that would otherwise fail at the first cold snap.
Why hoses fail in winter
Water expands when it freezes, and a hose full of water gives that expansion nowhere to go. The walls stretch, the inner lining cracks, and the brass or plastic fittings split at their weakest point. A hose that looks fine in November can leak from three places in March. The damage is worse on hoses left stretched across a lawn or draped over a fence, where water pools in the low spots instead of draining out.
Sun and soil wear a hose down too. Ultraviolet light hardens rubber and vinyl over a season, and dried mud holds moisture against the surface all winter. A hose stored dirty and wet goes into spring stiff, faded, and more likely to kink at the same spot every time you pull it out. Cleaning and drying the hose before storage is what keeps it supple for the next season.
Drain the hose completely
Draining is the single step that prevents freeze damage, so do it first and do it well. Turn off the water at the spigot and disconnect the hose from the tap. If the hose has a spray nozzle or a splitter attached, remove those too, since water hides behind every fitting. Open the nozzle, if one is still attached, so air can move through the hose while it drains.
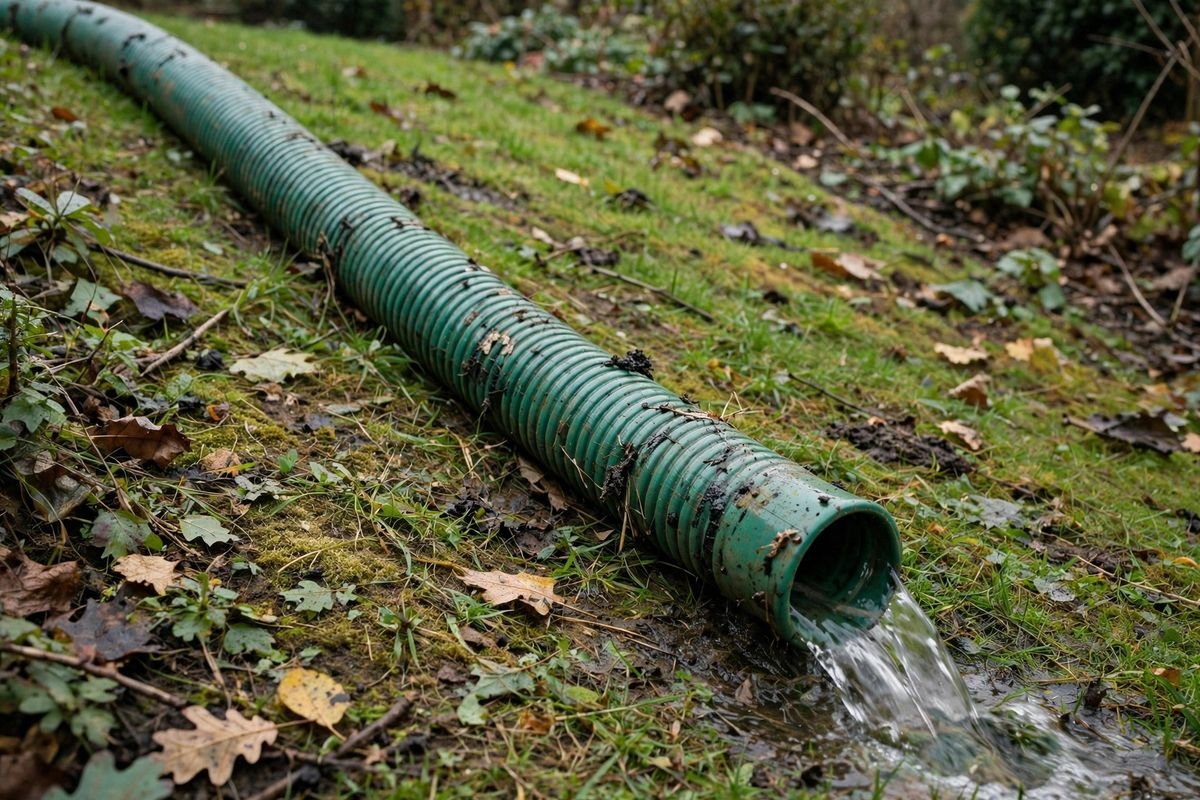
Stretch the hose out in a straight line on a gentle slope, with the open end at the low side. Walk from the high end toward the low end, lifting the hose as you go so water runs ahead of your hands. A second pass catches the pockets that the first pass missed. For a long hose, coil it loosely over your shoulder and walk the coil downhill, letting each loop drain as you go. The goal is a hose that feels light and empty, with no sloshing when you shake a loop.
Do not rely on gravity alone for a flat yard. A hose lying flat holds water in every dip, and even a cup of water left in a low loop can freeze, expand, and split the wall. Pick the hose up section by section and tip each part toward the open end. If your hose has an in-line shutoff valve, open it while you drain so the valve body empties too.
Clean the hose before you put it away
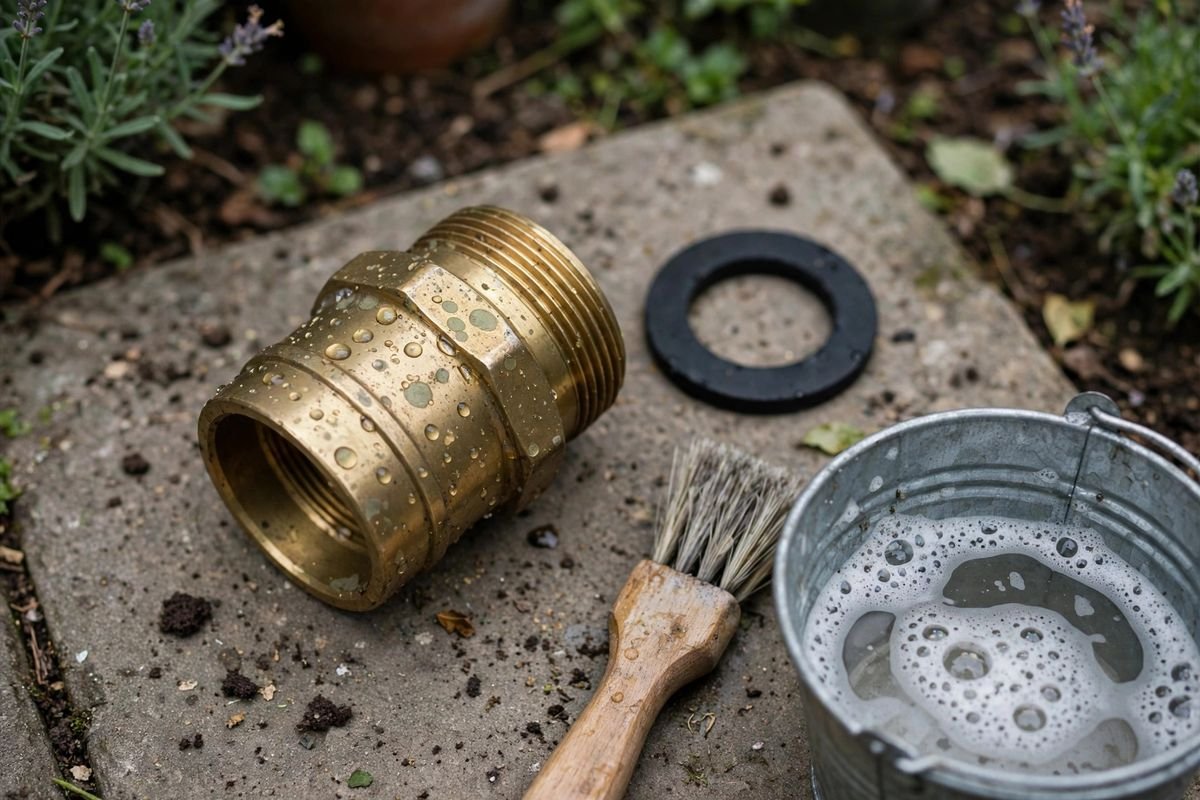
A clean hose stores better and lasts longer. Lay the drained hose on a driveway or patio and wipe it down with a damp cloth, working from one end to the other. Scrub off dried mud, algae, and sap with a soft brush and a bucket of warm soapy water. Pay attention to the fittings, where grit collects in the threads and keeps the washer from sealing next spring.
Rinse the outside with a light spray and let the hose dry in the sun for an hour or two. Check the washer inside each fitting while it dries: a cracked or flattened washer is the most common cause of a leak at the spigot, and a pack of replacement washers costs very little. Swap in a fresh washer now, while you are already holding the hose, rather than discovering the drip in April. Our guide to cleaning and disinfecting garden tools uses the same wash-and-dry habit for pruners and spades, and it pays off the same way here.
Look over the full length of the hose while you clean it. Soft spots, bulges, and cuts near the fittings are signs the hose is near the end of its life. A small cut can be repaired with a hose mender kit, but a hose with several soft spots is better retired than patched again. Mark the bad spots with a twist of tape so you can find them fast if you decide to repair rather than replace.
Coil it without kinks
How a hose is coiled decides whether it kinks next spring. Never wrap a hose tight around a post or a nail, and never fold it in half and stuff it into a bin. Tight bends crease the inner lining, and a crease becomes a permanent kink that chokes the water flow every time you use the hose.
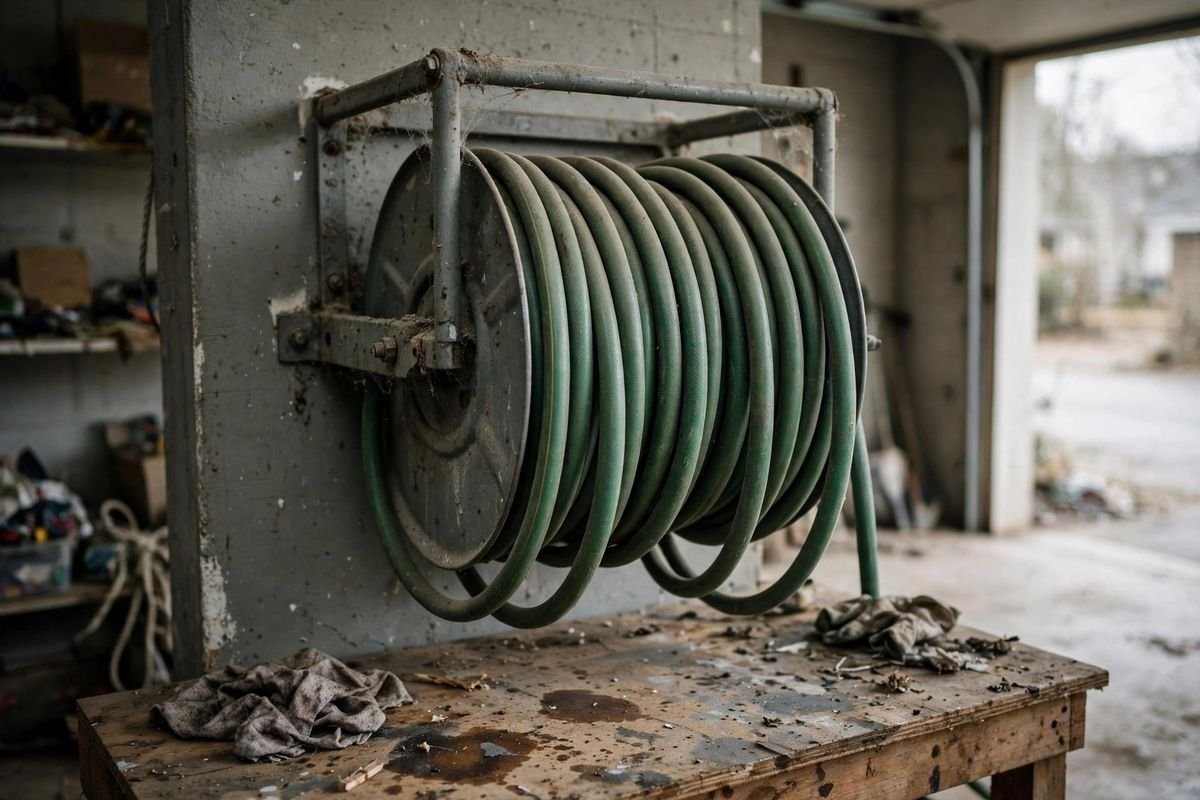
Coil the hose in wide, even loops about two feet across, turning your wrist as you go so each loop lies flat against the last instead of twisting. A wall-mounted hose reel or a freestanding hose pot does this job well, since the reel sets the loop size for you. If you coil by hand, hold the loops in one arm and let them drop into a loose circle on the ground, then pick the whole coil up as one bundle.
Keep the fittings at the top of the coil, where they will not get knocked or stepped on. If the hose has a brass fitting, a wrap of cloth around it stops it from scratching the hose wall all winter. A loose tie around the middle of the coil, made from a soft strap rather than wire, holds the loops together without biting into the rubber.
Where to store it
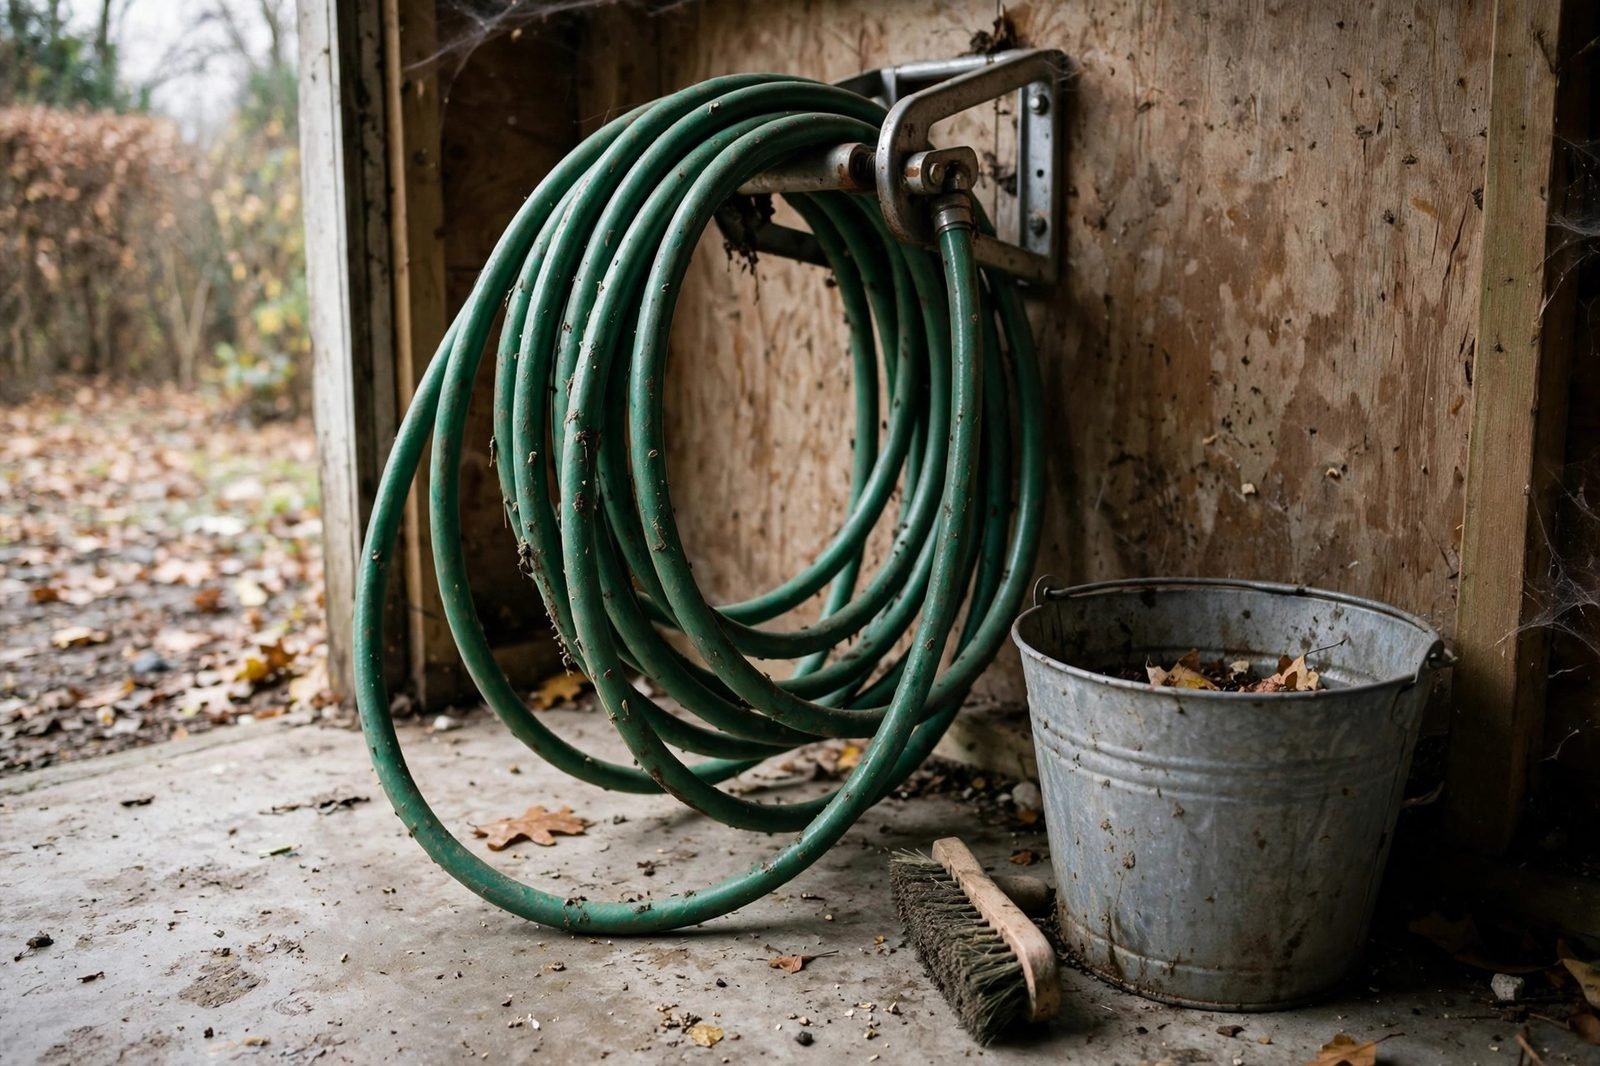
Store the hose somewhere dry, out of direct sun, and above freezing if you can manage it. A garage wall, a shed shelf, or a basement hook all work. Avoid the floor, where the hose sits in dampness and gets stepped on, and avoid hanging it from a single nail, which bends one loop into a sharp crease over months. A hose reel mounted on the wall spreads the weight across the whole coil and keeps the hose off the ground.
Take a 100-foot hose as an example. Coiled in loops 2 feet across, each loop uses about 6.3 feet of hose, so the full length makes about 16 loops. With a 5/8-inch hose, 16 loops stacked together stand about 12 inches tall, and the coil itself spans 2 feet across. That means the hose needs a reel or a shelf about 2 feet wide and a foot of depth, a modest corner of a garage wall. Draining that same hose takes about 3 minutes if you walk it out on a slope, and the full job, drain, wash, dry, and coil, runs about 20 minutes for a 100-foot length. Shorter hoses scale down in proportion: a 50-foot hose makes about 8 loops and drains in half the time.
If the only storage is an unheated shed, drain the hose even more carefully, since a shed can drop below freezing on a cold night. A hose stored in a shed should be fully dry inside, with the ends left open so any last drops can escape. Never store a hose in a spot where it will sit in standing water, and never leave it connected to the spigot, since a connected hose can trap water back into the outdoor tap and crack the pipe inside the wall. If you water on a timer, pull the timer off the spigot for winter too, and store it with the hose; our notes on the best garden hose timers cover which models hold up to a season of outdoor use.
What to check in spring
When the frost risk has passed, uncoil the hose and lay it in the sun for an hour so it softens and straightens. Reconnect it to the spigot with the fresh washer you fitted in autumn, turn the water on slowly, and walk the length of the hose looking for drips. Check each fitting first, then the spots you marked with tape in autumn.
If a fitting drips, tighten it by hand and check the washer again before reaching for a wrench, since overtightening cracks plastic fittings. If the hose kinks at the same spot every time, straighten it in the sun and coil it wider next winter. A hose that was drained, cleaned, and coiled well in autumn usually needs nothing more than a fresh washer and a few minutes in the sun before it is ready for the season. For tools that share the same storage space, our guide to storing garden tools in a small garage shows how to fit hoses, tools, and pots into one tidy wall.
Sources & Further Reading
University of Minnesota Extension, winterizing garden hoses and outdoor water systems; Clemson Cooperative Extension, garden hose care and storage guidance; USDA Natural Resources Conservation Service, home water system winterization guidance.