
This post may contain affiliate links. If you buy through links on this page, we may earn a commission at no extra cost to you.
As an Amazon Associate I earn from qualifying purchases.
Starting with pots and soil can feel messy when every bag looks alike and the shelf holds a dozen add-ons. Our checklist below covers the supplies we would gather before potting day, the amounts for a small starter setup, and the extras we would leave on the shelf for now. With these items on hand, we can fill pots, plant, and water without a mid-job trip to the store.
What to gather before potting day
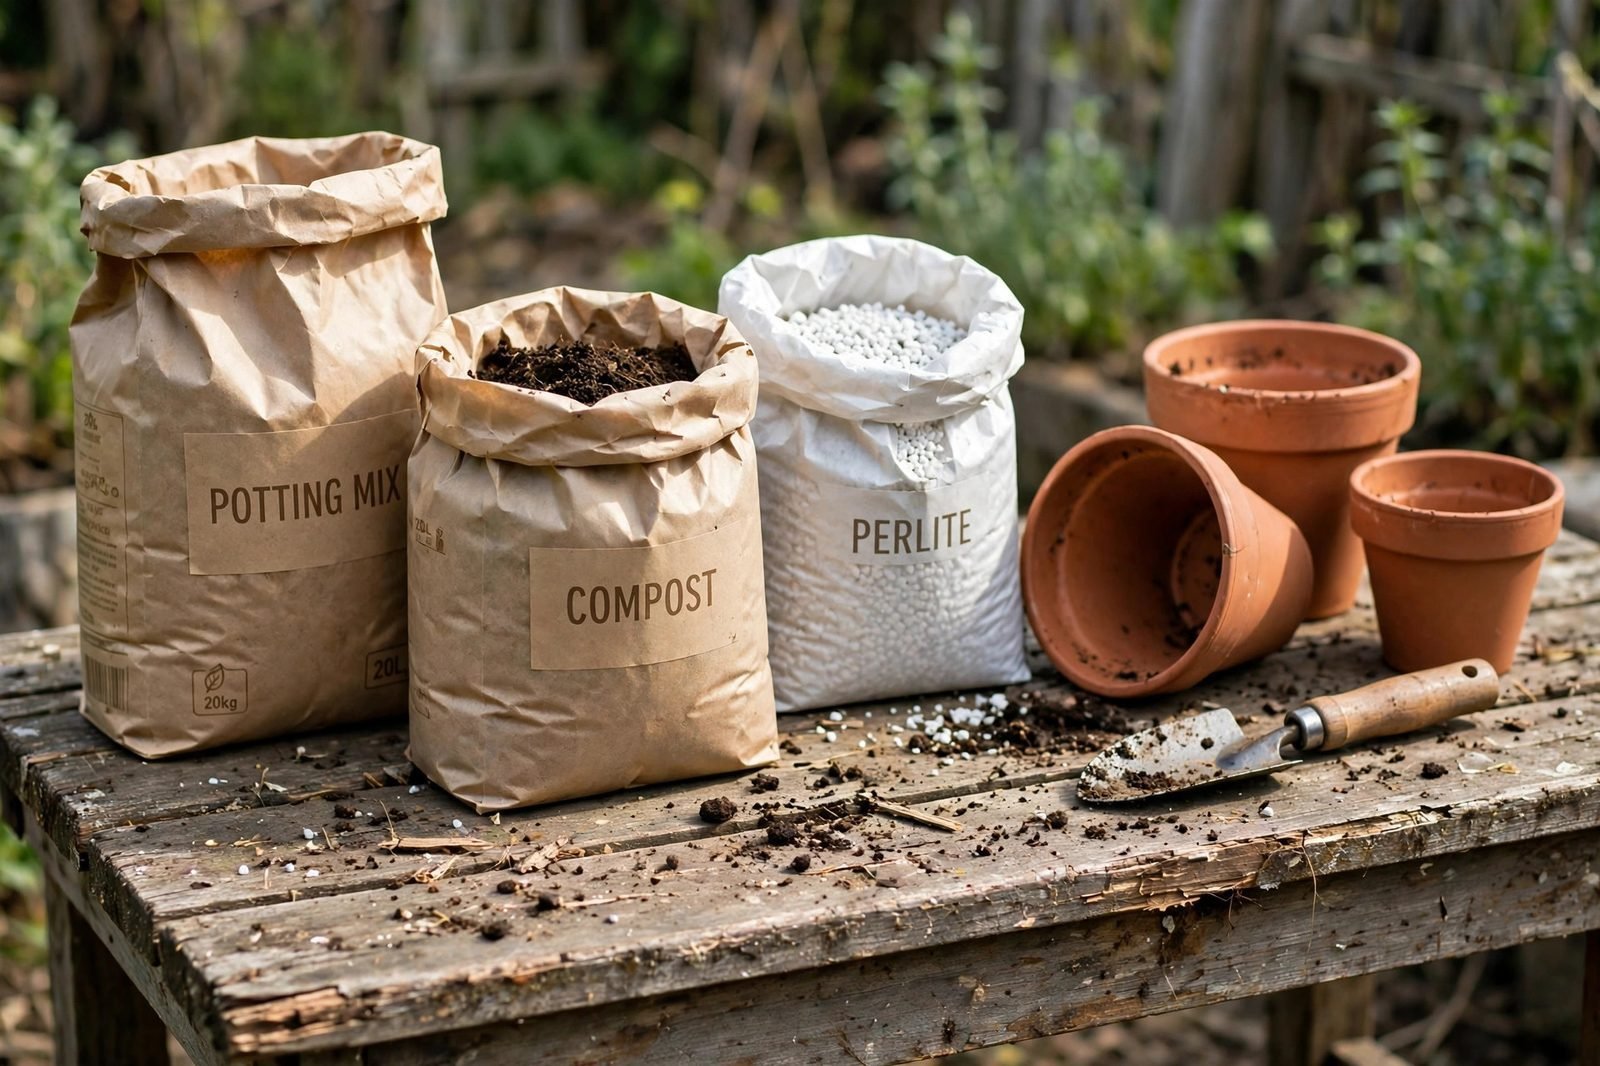
Our starter list stays short on purpose. We gather bagged potting mix, finished compost, perlite, six pots with drainage holes, trays or saucers, a watering can with a gentle rose, a hand trowel, a bucket for mixing, plant labels and a pencil, gloves, and a tarp or old sheet for the work surface. A bagged potting mix suits containers better than soil dug from a garden bed, since bed soil packs down hard in a pot and drains slowly. For more on that difference, see our guide on how to make potting mix drain better.

- Bagged potting mix, for the bulk of each pot
- Finished compost, for slow, steady feeding and better soil structure
- Perlite, for air pockets and drainage in the mix
- Six pots with drainage holes, plus trays or saucers to catch drips
- A watering can with a gentle rose, a hand trowel, and a bucket for mixing
- Plant labels, a pencil, gloves, and a tarp or old sheet
If our watering can is old and pours in a hard stream, we look for a replacement through a general search, such as this search for a watering can with a rose. A soft pour keeps seeds and fresh mix in place.
How much soil, compost, and perlite to buy
Amounts get easier once we fix the size of the setup. Our worked example below uses six 5-gallon pots, a common starter kit for a patio or a small balcony. We count 20 quarts of mix per pot as a planning figure, which leaves a little room at the rim for watering. Six pots times 20 quarts gives 120 quarts of mix in total. Our blend per pot is 12 quarts of potting mix, 4 quarts of compost, and 4 quarts of perlite, which adds to 20 quarts. Across six pots, that comes to 72 quarts of potting mix (6 times 12), 24 quarts of compost (6 times 4), and 24 quarts of perlite (6 times 4). Those three totals add back to 120 quarts (72 plus 24 plus 24), so the arithmetic checks out. We check the quart count printed on each bag label and buy enough to cover those totals, plus a small extra bag or two of mix for topping up after the first few waterings settle the surface down by an inch or so.

Perlite deserves a note of its own, since too little leaves the mix soggy and too much leaves it drying out fast. Our guide on how much perlite to add to potting mix walks through the balance, and our comparison of store-bought potting mix versus DIY potting mix helps when we are deciding whether to mix our own blend or buy a ready bag. If a pot still stays wet for days after watering, our guide on how to fix potting soil that stays too wet covers the usual causes.
Setting up a small potting station
We set up on a flat surface we can sweep, with the tarp under the work area and the bucket close at hand. We mix in the bucket rather than in each pot, so every pot gets the same blend: potting mix first, then compost, then perlite, stirred with the trowel until the colour looks even. We fill each pot, tap the side gently to settle the mix, and leave about an inch of space at the top for water. Labels go in right away, while we still remember what went where, with the plant name and the planting date written in pencil.

Once the pots are filled, we water slowly until water runs from the drainage holes, then let the pots drain fully before moving them to their trays. That first deep watering shows us which pots settle most, and we top those up with a little extra mix before planting.
What to skip until later
We skip specialty mixes, moisture crystals, large bags of fertilizer, self-watering pots, and fancy soil meters at the start. None of those items fixes a poor basic mix, and each one adds a habit to learn while we are still learning how often our pots dry out. Compost in the blend already feeds plants gently over the first weeks, and plain water plus attention to drainage covers most early needs. Later, when we know which pots dry fast and which stay damp, we can add one item at a time and see whether it helps. If we want to make our own compost down the road, our guide on how to make compost at home is a good place to start, and our look at worm bins versus traditional compost bins compares two common routes.
Storing leftovers
We fold bag tops closed, clip them shut, and store them upright in a dry spot out of direct rain. A label with the quarts left in each open bag saves us from guessing at the next potting session. Perlite blows around in a breeze, so we keep that bag clipped and handle it gently, and we wash the trowel and bucket before putting them away so dried mix does not cake onto them.
Sources & Further Reading
- University of California Agriculture and Natural Resources
- Cornell Cooperative Extension
- USDA Natural Resources Conservation Service