
This post may contain affiliate links. If you buy through links on this page, we may earn a commission at no extra cost to you.
As an Amazon Associate I earn from qualifying purchases.
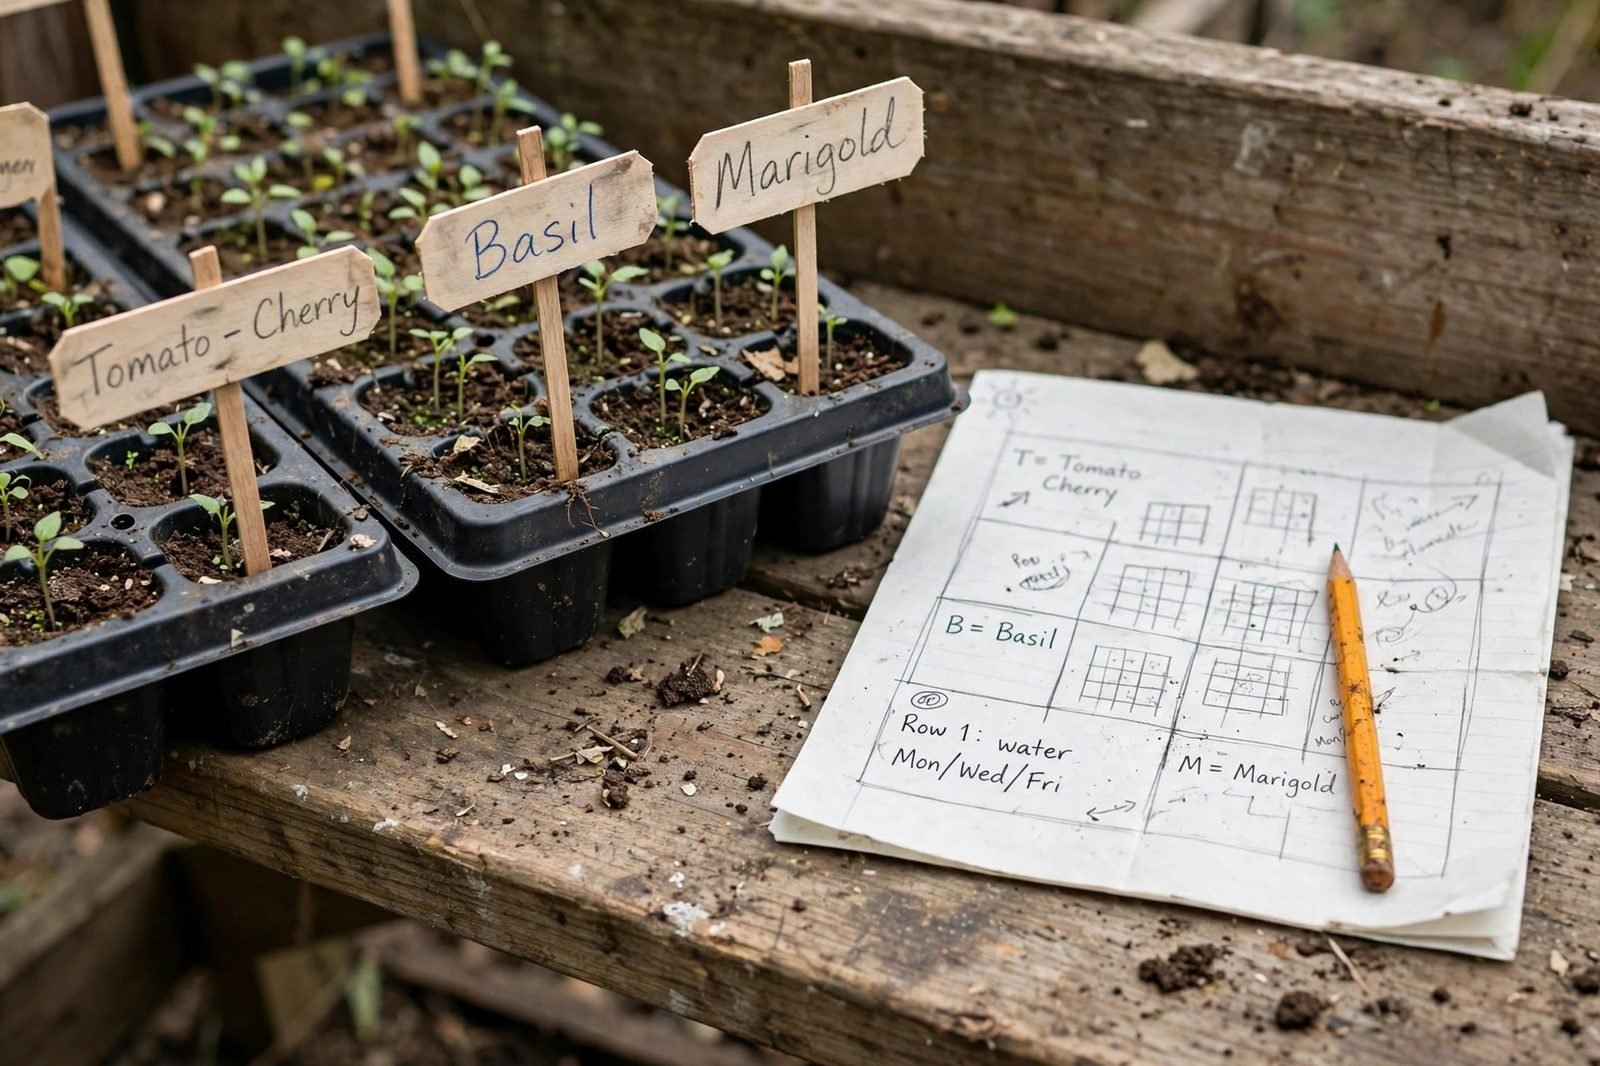
A tray of seedlings with no labels turns into a guessing game by transplant time. Tomato varieties look alike as seedlings, pepper varieties look alike, and flower seedlings look alike for weeks. Labels fix that problem at sowing time, when the variety name is still in hand, rather than at transplant time, when it is gone. A simple system, used the same way for every tray, keeps each variety in its place from sowing to garden bed.
The system in this guide has three parts: a code for each variety, a paper tray map kept away from water, and a label in the tray itself. The code gives a short name for small cells. The map gives the full picture for the whole tray. The tray label gives a backup in case the map is misplaced.
Start with a variety code
Give each variety a short code at sowing time, and write the code down in full on the tray map. A code can be the first letters of the variety name, plus a number when two varieties share letters. For example, a tray with two tomato varieties might use TOM-1 and TOM-2, while a tray with one tomato and one pepper might use TOM and PEP. Keep codes short, because a small cell label has room for a short code plus a sowing date, and little else.
Write the full variety name on the map next to its code, along with the sowing date and the seed source when you have it. The map is the record that matters, and the tray label is only a pointer to that record. When a tray label fades or falls out, the map plus the tray position still identifies the variety.
Build a tray map
A tray map is a grid on paper that matches the tray cell by cell. Draw the grid before sowing, and fill in each cell as seeds go in, not after the tray is full. Filling in the map after sowing invites errors, because a full tray of similar-looking cells is hard to reconstruct from memory.

Use rows and columns as the map grid. Rows run across the short side of the tray, and columns run down the long side. Label rows with letters and columns with numbers, so each cell has one address, such as B-4 or F-11. Write the variety code in each grid cell on the map, and keep the map flat in a folder, away from watering cans and damp benches.
Photograph the map after sowing, and keep the photo with your garden notes.
Worked example: one 72-cell tray, six varieties
Assumptions. We use one standard 72-cell tray, laid out as 6 rows, labeled A through F, by 12 columns, labeled 1 through 12. That layout gives 6 times 12, or 72 cells. We sow 6 varieties, with 12 cells for each variety, and we sow 2 seeds per cell.
The math runs as follows. Six varieties times 12 cells per variety equals 72 cells, which fills the tray exactly, with no empty cells and no variety spilling into a second tray. Two seeds per cell times 12 cells gives 24 seeds per variety. Six varieties times 24 seeds per variety gives 144 seeds for the whole tray.
Assign rows by variety in this example, because rows are easy to read at a glance. Variety 1 takes row A, cells A-1 through A-12. Variety 2 takes row B, cells B-1 through B-12. Variety 3 takes row C, variety 4 takes row D, variety 5 takes row E, and variety 6 takes row F. Place one tray label at the start of each row, at cells A-1, B-1, C-1, D-1, E-1, and F-1.
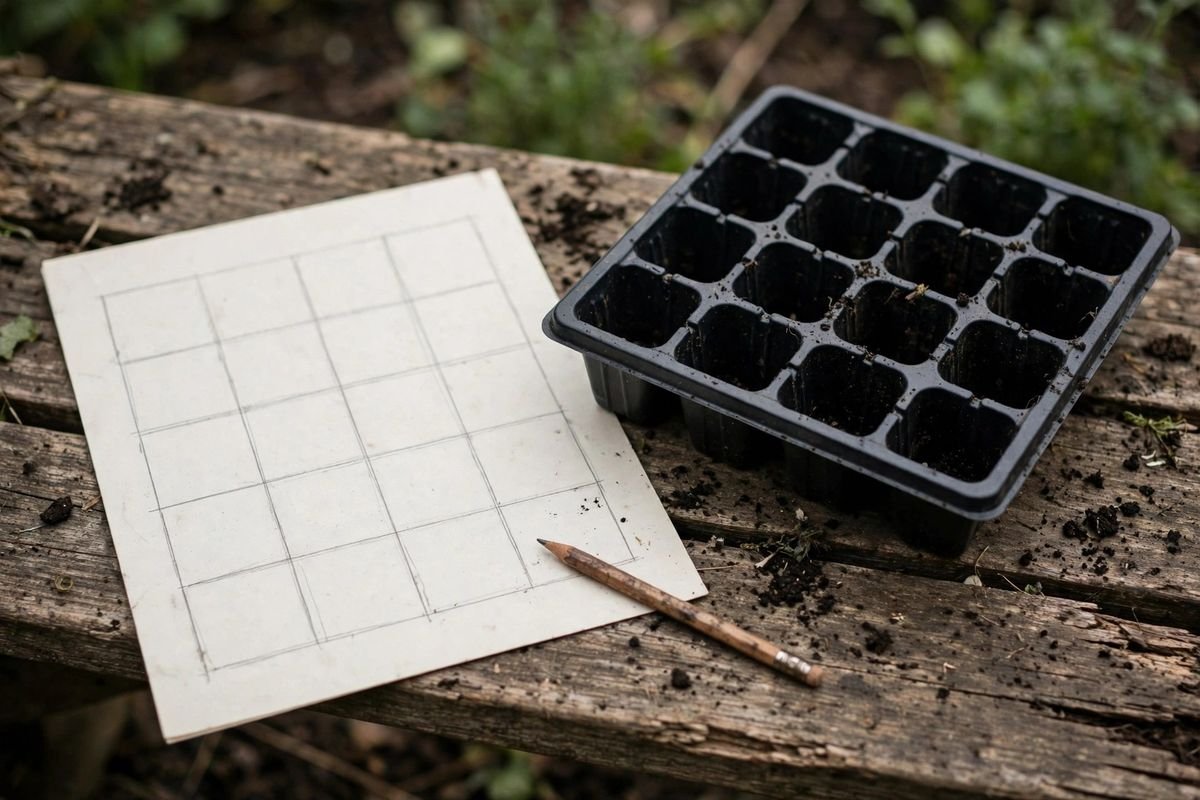
Change the layout when varieties need different cell counts. A variety sown in 6 cells takes half a row, and the map shows that split as A-1 through A-6 for the first variety and A-7 through A-12 for the second. A variety sown in 24 cells takes two full rows, and the map shows both rows under one code. Keep one map per tray, labeled with the tray number and the sowing date, and keep the paper map separate from the tray, since a map taped to the tray gets wet.
Label types compared
Four label types cover most seed starting. Wooden sticks suit short indoor runs and pencil writing. Plastic T-labels suit longer runs and repeated watering. Tape on the tray edge suits row labels and quick notes. A paper map suits the full record, and it is not a substitute for a tray label, since a map kept elsewhere does not help when trays are carried outside.
| Label type | How to write on it | Durability notes | Best use |
|---|---|---|---|
| Wooden sticks | Pencil | Pencil marks last through light watering, and sticks can swell or darken with damp mix | Short indoor runs, one season |
| Plastic T-labels | Pencil or permanent marker | Plastic resists water, and marker can smudge when wet or fade in strong sun | Longer runs, trays moved outdoors |
| Tape on tray edge | Marker on masking tape | Tape peels when wet, and marker on tape smudges with damp hands | Row labels, quick notes |
| Paper map | Pen or pencil on paper | Paper kept dry lasts the season, and paper left on a damp bench does not | Full tray record, kept separate |
Pencil is the safer writing tool for wooden sticks and plastic labels, because pencil marks resist water better than many markers. Permanent marker works on plastic when the label is dry, but marker on a wet label smears, and marker in strong sun fades over weeks.
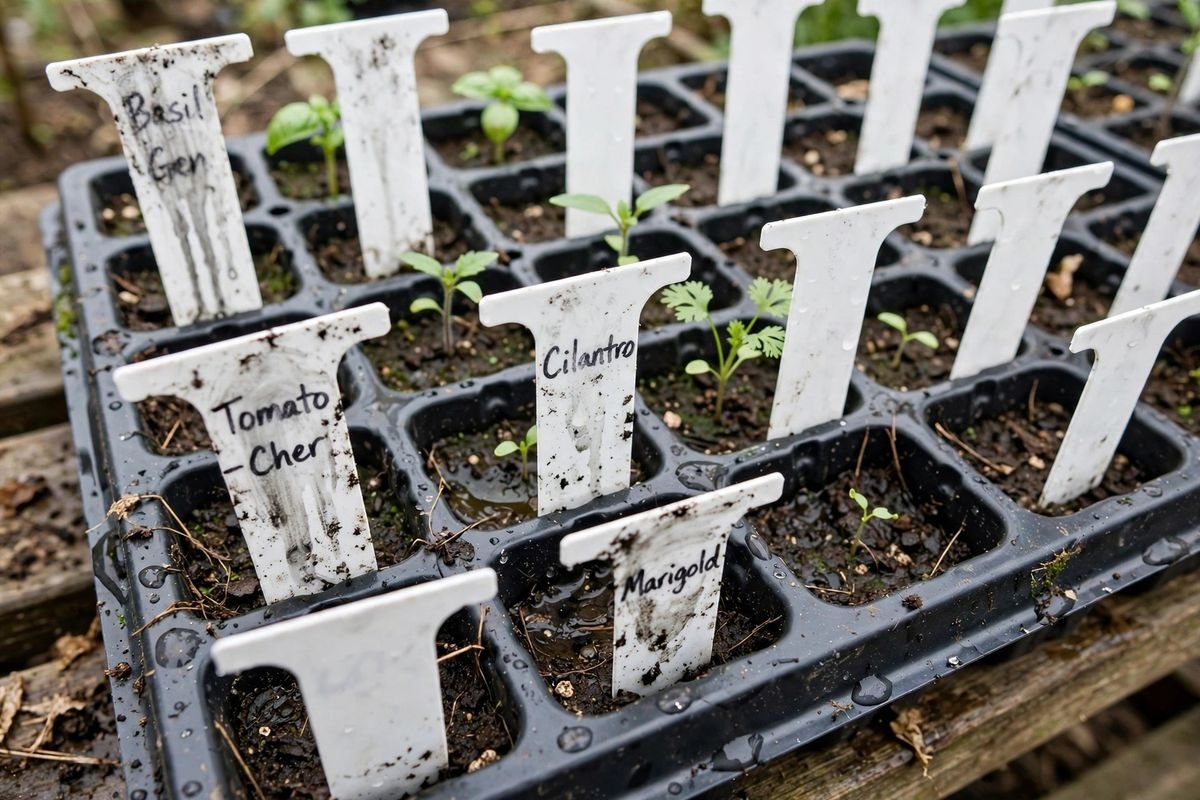
Place labels at the same spot in each row or block, so a quick look finds them without hunting. One label per variety block is enough when blocks are rows. Add a second label at the far end of a long row when trays are carried often, since a single label at one end is easy to miss from the other end. Replace a label the day it becomes hard to read, not at transplant time. Keep spare labels and a pencil at the seed starting station, so replacing a label takes seconds.
Keep labels through hardening and transplanting
Labels face their hardest test during hardening off, when trays move outdoors each day and back indoors each night. Wind can lift loose labels, rain can wash marker, and sun can fade ink. Push labels firmly into mix, and use plastic labels for trays that go outdoors, since wooden sticks soften with repeated wetting and drying.
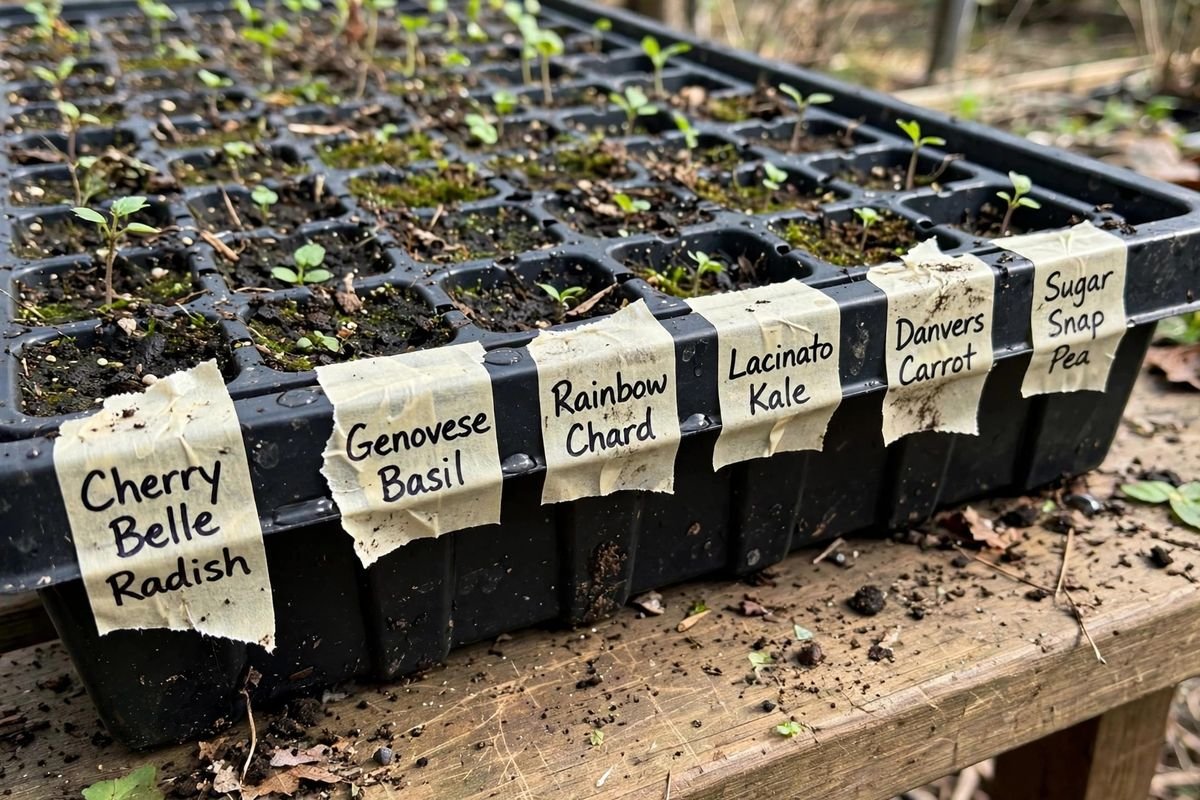
At transplant time, move the label with the seedling to the garden bed, or write the variety on a garden label at planting. A garden label at the row end, plus a note in your garden journal with the bed and row, closes the loop from tray map to harvest notes.
Tray choice affects labeling, too. A cell pack with loose packs needs a label per pack, while a rigid tray with fixed cells needs a label per block. Our comparison of seed starting tray versus cell pack covers that trade-off, and our guide to best seed starting trays covers tray sizes that suit the row system in this guide. Our guide to best seedling labels that do not fade covers label materials in more depth. A plant label search on Amazon shows the wooden and plastic options in one place.
Sources & Further Reading
- University of Minnesota Extension, Starting seeds indoors: https://extension.umn.edu/planting-and-growing-guides/starting-seeds-indoors
- North Carolina State Extension, Extension Gardener Handbook Chapter 13 Propagation: https://content.ces.ncsu.edu/extension-gardener-handbook/13-propagation