This post may contain affiliate links. If you buy through links on this page, we may earn a commission at no extra cost to you.
As an Amazon Associate I earn from qualifying purchases.
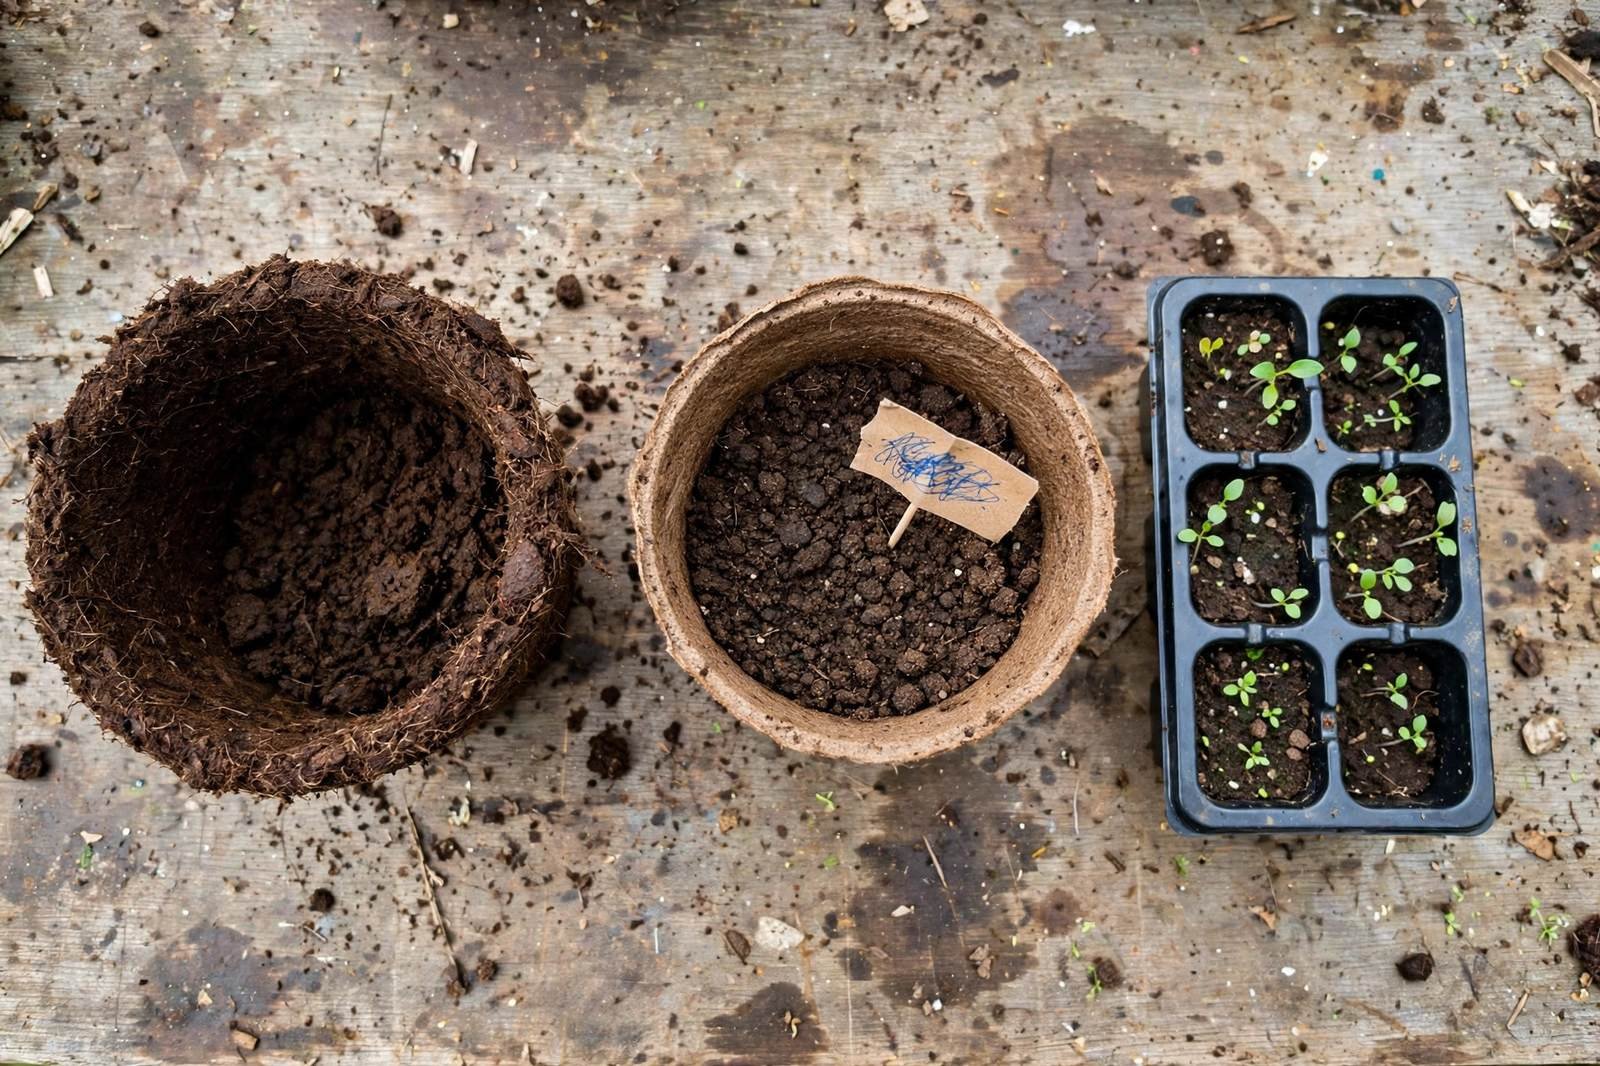
Transplant day is where seed starting succeeds or fails. A seedling grown perfectly indoors can stall for weeks if its roots get torn, dried out, or left sitting inside a pot wall that never breaks down. The pot we start seeds in decides how that day goes. Three types dominate the market: cow pots pressed from composted manure, peat pots pressed from peat fiber, and plain plastic cells. All three grow fine seedlings. They differ in what happens at transplant, what they cost per seedling, and how often we need to water.
We have not run hands-on product trials on the pots linked here, and listings change often. Check pack counts and pot dimensions before ordering. Our contribution is the math: cost per seedling across the three, and a step count for transplant day, both with assumptions stated.
| Pot type | Made from | How we transplant | Cost per seedling | Main strengths | Main tradeoffs |
|---|---|---|---|---|---|
| Cow pots | Composted cow manure, pressed into shape | Plant the whole pot | Highest of the three | Fastest breakdown in soil; no peat use | Dry out fastest; limited sizes |
| Peat pots | Peat fiber, pressed | Plant the whole pot | Middle | Cheap in bulk; widely sold | Walls can persist; peat is slow-renewing |
| Plastic pots | Plastic cells or inserts | Pop the seedling out | Lowest, lower still when reused | Hold water longest; reusable for years | Roots get disturbed; washing is a chore |
The table is the short version. The rest of this guide walks through the three differences that matter: transplant steps, cost math, and watering.
How transplant day works with each pot
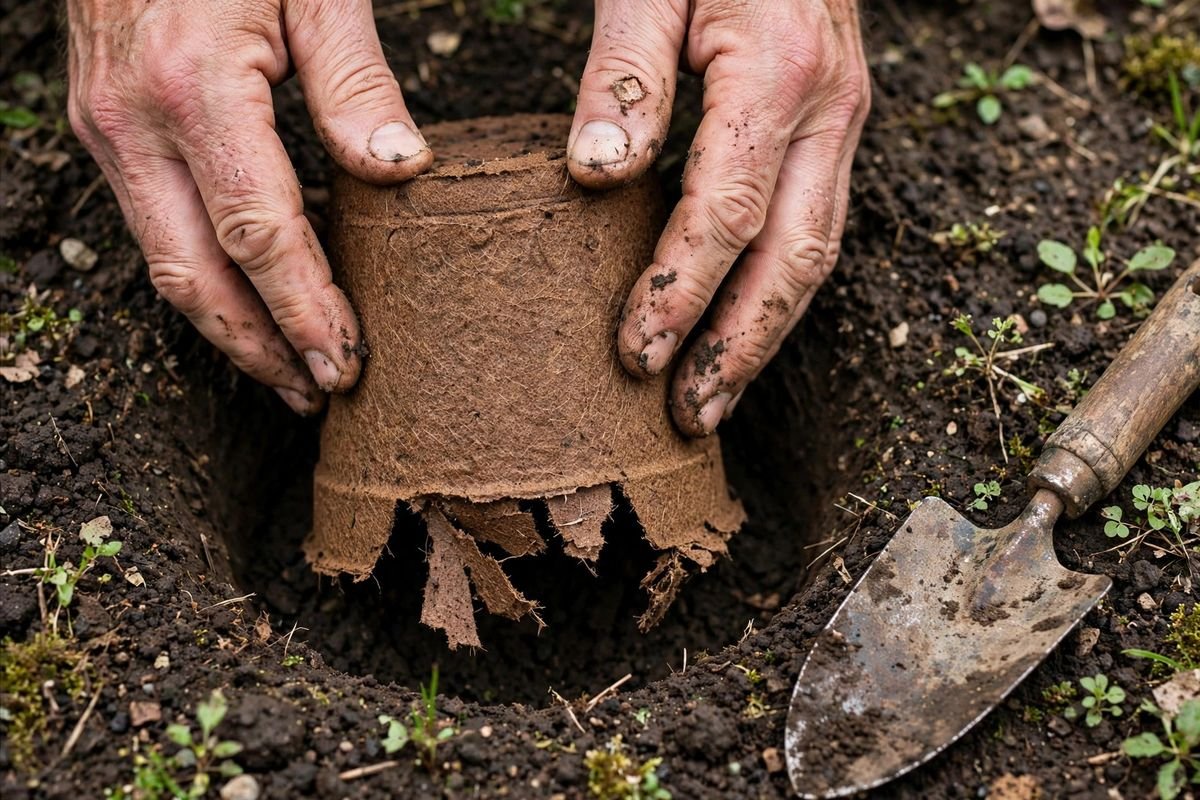
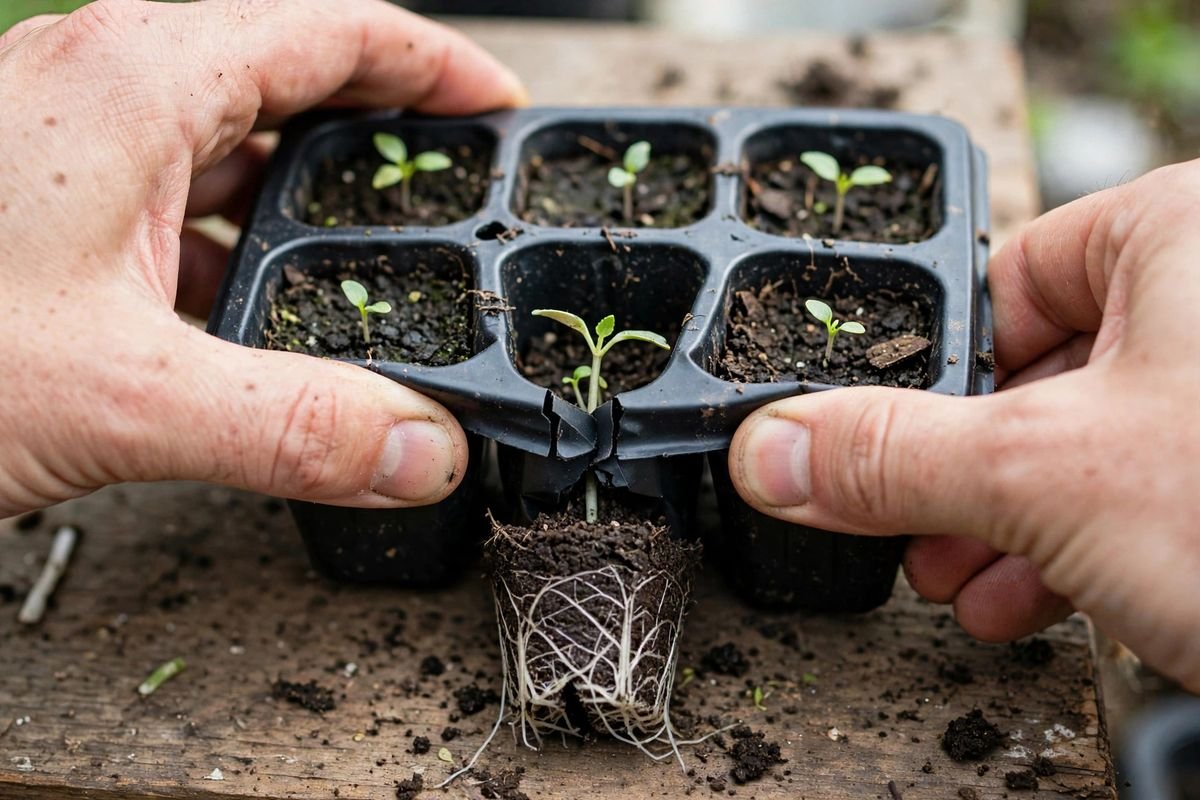
With plastic cells, we squeeze each cell and slide the seedling out, set the root ball in the hole at the same depth it grew, backfill, and water. That pop-out step is the risk: fine roots tear, and a root ball that falls apart sets the plant back. With cow and peat pots, the whole pot goes in the ground, so roots never get touched. The tradeoff is the pot itself. In cool or dry soil, peat walls can sit intact for weeks and act like a cage around the roots. Cow pot walls break down faster in warm, moist soil, but in a dry spring they can persist too.

Gardeners who use plantable pots have a standard fix for the wall problem: tear off the bottom of the pot and score or peel the sides before planting, and set the whole pot so its rim sits below the soil surface. A rim left sticking up wicks moisture out of the root ball. That advice applies to peat pots and, in dry soil, to cow pots too.
Our cost math: what 100 seedlings really cost in pots
Assumptions. We start 100 seedlings in one season. Cost per seedling equals the pack price divided by the number of pots in the pack. Plantable pots are single-season; plastic cells can be washed and reused for several seasons. We state no single price because listings shift; the formula lets us plug in the numbers we see.
The math. In most listings we check, the per-seedling ranking runs plastic lowest, peat in the middle, and cow pots highest. The gap widens with reuse: a plastic cell insert used for five seasons divides its cost by five, while plantable pots are bought fresh every spring. Over five seasons, 100 plantable pots a year means buying 500 pots; 100 plastic cells means buying 100 once and washing them. The washing is the hidden price of plastic, and the yearly repurchase is the hidden price of plantable pots.
How we use the result. If we start 20 seedlings a year, the per-pot ranking barely matters and the convenience of plantable pots wins. If we start 500, plastic’s reuse math dominates. The break-even sits where our tolerance for washing trays meets our budget for new pots each spring.
Cow pots: pros and cons
Cow pots are pressed from composted cow manure by a dairy farm in Connecticut, and they carry that origin honestly: they look and smell faintly like what they are until they dry. Pros: the whole pot plants with the seedling, so roots stay untouched; the walls break down faster than peat in warm, moist soil; no peat is harvested to make them; and the decaying wall feeds the soil a little organic matter. Cons: they cost the most per pot of the three; they wick water fastest, so they need the most attentive watering; and sizes and sellers are limited compared with peat and plastic. Browse cow pots for seed starting on Amazon and confirm pot diameter and pack count in the listing details.
Peat pots: pros and cons
Peat pots are the familiar brown fiber pots sold in every garden center. Pros: plant the whole pot with no root disturbance; cheap in large packs; widely available in sizes from two to four inches and up. Cons: the walls can persist in the ground and restrict roots unless we tear or score them, the complaint we hear most; like cow pots they wick moisture and dry faster than plastic; the outer wall can grow a film of mold or algae in a damp room; and peat itself is a slow-renewing resource, which bothers some growers. Our guide to coco coir vs peat moss for seed starting covers the peat question in more depth. Compare peat pots for seed starting on Amazon. Check whether the listing means round pots or square strips.
Plastic pots: pros and cons
Plastic means cell-pack inserts, square nursery pots, and the trays most kits ship with. Pros: the lowest cost per seedling, lower still across reused seasons; they hold moisture the longest between waterings; sizes run from tiny 128-cell plugs to gallon pots; and sturdy ones last years. Cons: transplanting disturbs roots at the pop-out step; thin single-season cells become trash if tossed; and every season ends with washing and disinfecting, which is a real chore at scale. Our routine for that chore is in how to clean seed starting trays, and the reuse question is settled in reusable vs disposable seed trays. Browse plastic seed starting cell trays on Amazon and check wall thickness notes, since thin cells crack when squeezed.
Watering: where the three diverge most
Pot material changes watering more than most growers expect. Fiber walls wick: they pull moisture from the mix and lose it to the air, so cow and peat pots in the same room dry about a day faster than plastic cells. That wicking guards against overwatering and punishes a loose watering schedule. In a humid room, the outside of fiber pots can grow a harmless-looking film of algae or mold; it rarely hurts seedlings, but it signals the walls are staying too wet. Bottom watering suits all three, and our method in how to bottom water seedlings keeps fiber walls from sitting soggy.
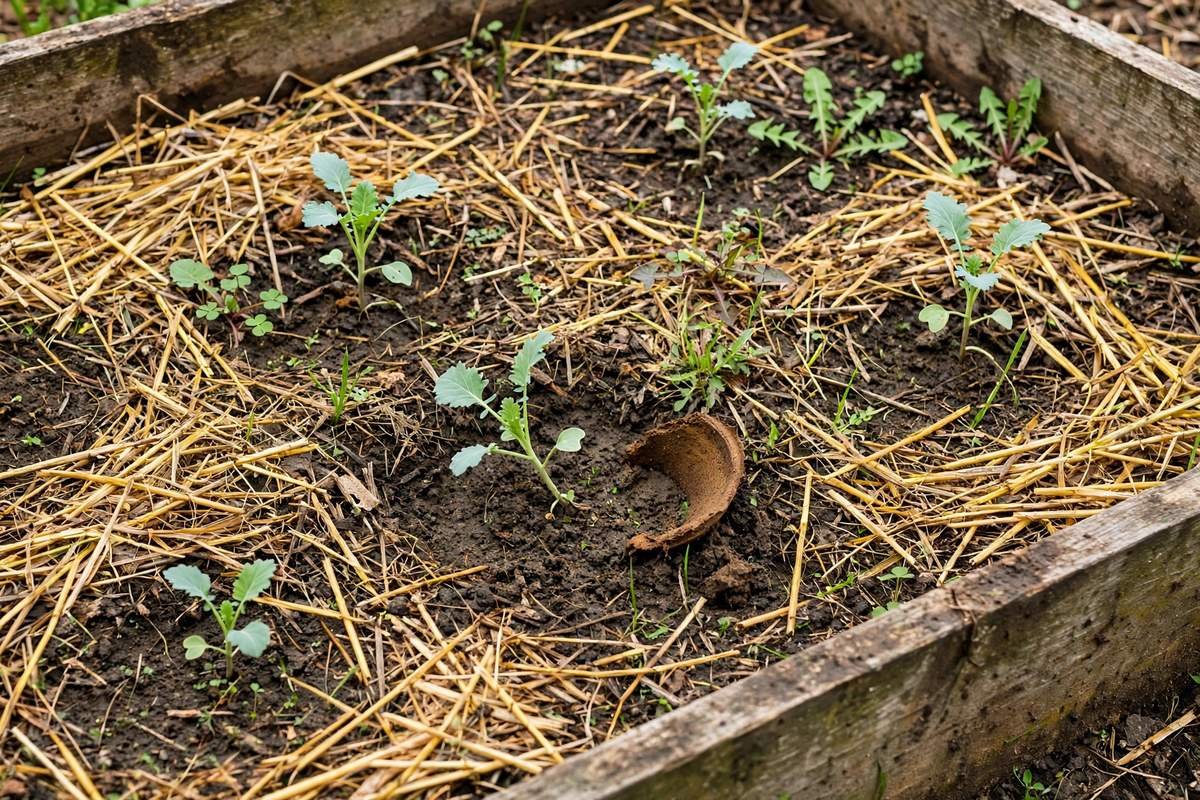
Practical rhythm: check fiber pots daily by touch once seedlings are up; plastic cells can usually go a day longer. A fan on low speeds drying for all three, which firms up stems and shortens the watering window. Match the pot to the watering habit we actually keep.
Which pot should we choose?
Choose cow pots if we start a modest number of seedlings, want the gentlest possible transplant, and can check water daily. Choose peat pots if we want plantable pots at the lowest price, can find them locally, and will tear the bottoms before planting. Choose plastic pots if we start hundreds of seedlings, reuse gear across seasons, and want the lowest long-run cost per plant. When in doubt, split the difference: plantable pots for crops that hate root disturbance, like cucumbers and squash, and plastic for everything else.
Common problems and plain fixes
Seedling wilts right after transplanting from a plantable pot. The rim was left above the soil and wicked the root ball dry. We replant with the rim below the surface and water deeply. Roots circle inside a peat pot instead of pushing through. Next time we tear the bottom and score the walls at planting. Fiber pots dry out every single day. We switch those crops to bottom watering and check them each morning. Plastic cells crack when we squeeze. We water first so the root ball holds together, and squeeze the cell sides rather than pushing from the bottom. Mold films the outside of peat pots. We improve air flow, let the surface dry between waterings, and stop misting the walls.
FAQ
Do I need to remove the peat pot before planting?
No, the pot plants with the seedling, but tear off the bottom and score the sides first, and bury the rim below the soil surface. An intact pot in cool soil can restrict roots for weeks.
Are cow pots really made from manure?
Yes. They are pressed from composted cow manure, which is why they break down in soil and add organic matter as they decay. The composting process removes the smell once they dry.
Can I reuse peat or cow pots?
Not really. They are designed to break down, and used ones fall apart when handled. Plastic is the reusable choice; wash and disinfect it between seasons.
Which pot is best for seedlings that hate transplanting?
A plantable pot, either cow or peat, since roots stay untouched. Cucumbers, squash, and melons are the classic candidates, though plastic works too when we transplant carefully.
Sources & Further Reading
- University of Minnesota Extension, starting seeds indoors: https://extension.umn.edu/planting-and-growing-guides/starting-seeds-indoors
- Colorado State University Extension, growing plants from seed: https://extension.colostate.edu/topic-areas/yard-garden/growing-plants-from-seed-7-409/
- University of California Agriculture and Natural Resources, seed starting: https://ucanr.edu/site/uc-master-gardeners/seed-starting
Keep growing with these guides
Use your local frost dates and regional planting guidance — not your USDA hardiness zone alone — to choose planting dates. That timing sets when we sow indoors, which sets the pot size we need, which closes the loop on this whole comparison.